


· By Boat Juice Team
Sealant for Your Boat: A DIY Guide to a Lasting Shine
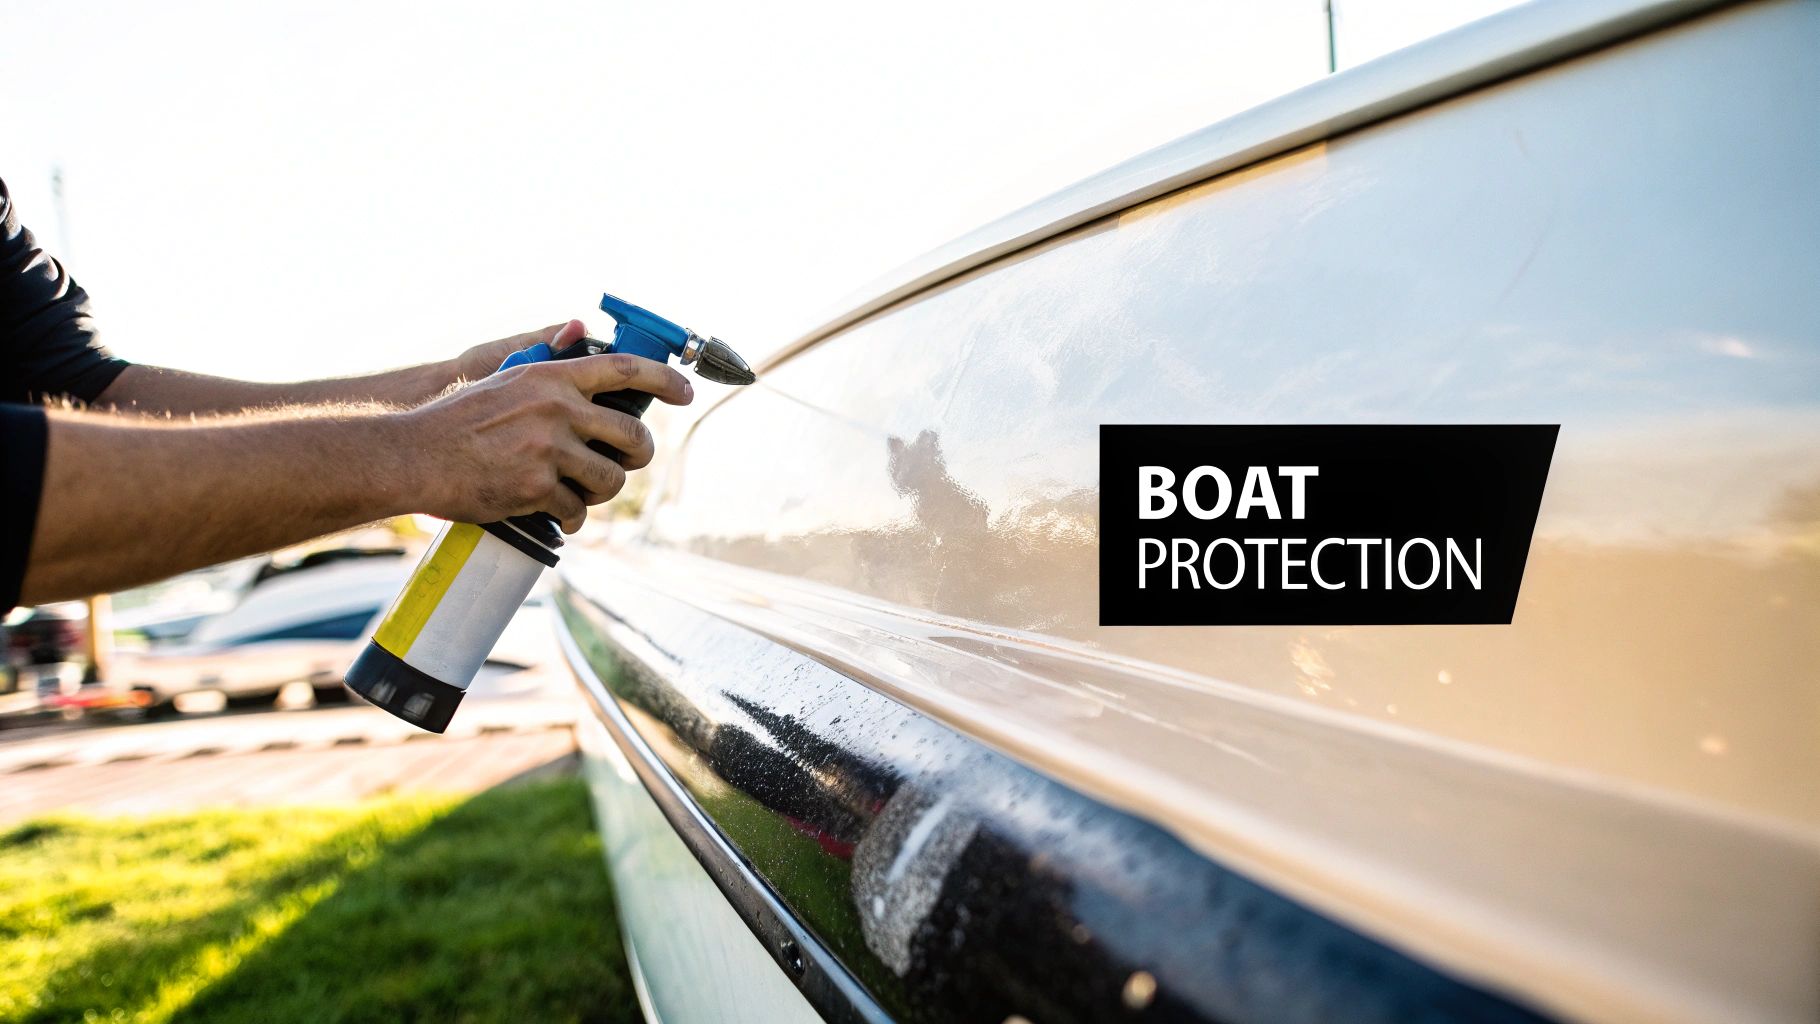
If you’ve ever walked the docks and wondered how some boats keep that incredible, fresh-from-the-factory shine, the answer is almost always a quality boat sealant. So, what exactly is this stuff, and how can you use it to protect your boat?
Think of a sealant for your boat as a high-tech, liquid shield. It’s a synthetic polymer formula you apply that creates an incredibly durable, protective layer over your boat’s gelcoat. It’s your best defense against the things that want to ruin your finish—harsh UV rays, corrosive saltwater, and those annoying water spots.
What Is a Boat Sealant and Why Do You Need It?
Alright, let's cut through the noise. Staring at a wall of boat care products can be overwhelming, but understanding what a sealant does is your first step toward maintaining your boat like a pro. A good sealant is one of the most critical tools for protecting your investment.
Here’s a simple way to think about it: your boat's gelcoat is a lot like your own skin. You wouldn't spend a day in the sun without sunscreen, right? A sealant does the same thing for your boat, creating a tough barrier engineered specifically for the brutal marine environment.
The Science Behind the Shine
This is where a modern sealant really pulls away from old-school waxes. A traditional carnauba wax just sits on top of the surface, creating a temporary layer that wears away quickly. A synthetic sealant for a boat, on the other hand, is designed to chemically bond with the gelcoat.
This process, called molecular cross-linking, creates a slick, semi-permanent shield that’s way more resilient than wax. Why does this matter to you? This powerful bond is the secret to its impressive lifespan. While you might get a few weeks out of a traditional wax, a solid sealant gives you 3-6 months of serious protection.
Think of it this way: Wax is like a raincoat. It works for a bit, but it’s just a temporary layer you put on. A sealant is more like a waterproof membrane bonded directly into the fabric of the jacket. One is temporary coverage; the other is integrated, long-lasting defense.
Key Benefits of Using a Boat Sealant
Using a sealant is about more than just a pretty shine—it's one of the smartest maintenance moves you can make. It saves you time, money, and a lot of future headaches. Here’s why it should be a non-negotiable part of your boat care routine:
- UV Protection: The sun is your gelcoat's worst enemy. Its UV rays cause oxidation—that chalky, faded look that makes a boat look old. Sealants contain powerful UV inhibitors that block this damaging radiation.
- Corrosion and Stain Resistance: The formula creates a hydrophobic (water-repelling) surface. Water beads up and rolls right off, taking salt and minerals with it before they can etch into your finish. This makes cleanup a breeze.
- Enhanced Gloss and Slickness: You can't beat that slick, wet look. That smooth surface also makes it much harder for grime and marine growth to get a foothold on your hull.
- Long-Term Value Protection: A boat's finish is a huge part of its resale value. Regularly applying a sealant helps you avoid a costly gelcoat restoration down the road, which can easily run into thousands of dollars.
When you boil it down, spending a few hours each season applying a quality sealant is one of the best investments you can make for your boat. It’s your first and best line of defense against everything the water can throw at it.
Choosing Your Armor: Sealant vs. Wax vs. Ceramic Coating
If you're trying to figure out the best way to protect your boat, you've probably heard a few key terms: wax, sealant, and ceramic coating. It can get confusing, fast. Let's break down what each one does so you can pick the right one for your boat and your schedule.
Think of it like this: each option offers a different level of defense. You've got the old-school classic, the modern workhorse, and the ultimate high-tech shield.
The Classic Defender: Natural Wax
Natural waxes, usually made from carnauba, are the traditional go-to for a reason. They deliver a beautiful, deep, wet-looking shine that’s hard to beat. If you love that classic, rich gloss, wax is your friend.
But that beautiful shine is fleeting. Wax simply sits on top of your gelcoat and wears down quickly in the sun and salt. You’ll be out there reapplying it every few weeks to a month to keep that protection up. You can learn more in our deep dive on waxing your boat's gelcoat.
The Modern Workhorse: Synthetic Sealant
This is where a sealant for your boat really shines. A synthetic polymer sealant is the dependable, all-around performer for the vast majority of boaters. Unlike wax, it doesn't just sit on the surface; it chemically bonds with the gelcoat for a much tougher, longer-lasting barrier.
The result is a sharp, slick, and highly reflective finish that holds up for months, not weeks. A quality sealant provides serious UV protection and makes cleaning a breeze because grime and water just slide right off that slick surface.
A synthetic sealant strikes the perfect balance for the DIY boater. It gives you months of solid protection without the crazy prep work or high cost of a professional ceramic coating. It’s the ideal solution for your seasonal maintenance routine.
The Ultimate Guardian: Ceramic Coating
Ceramic coatings are the top of the food chain in marine protection. These are liquid polymers that cure into an incredibly hard, glass-like shell over your boat's surfaces. This layer is semi-permanent and ridiculously resistant to UV rays, chemicals, and even minor scratches.
So, what's the catch? The application process is a beast. It demands a perfectly decontaminated surface and a climate-controlled environment, which means it's usually a job best left to the pros. While a ceramic coating can offer years of protection, the steep cost and intense application make it less practical for most DIYers.
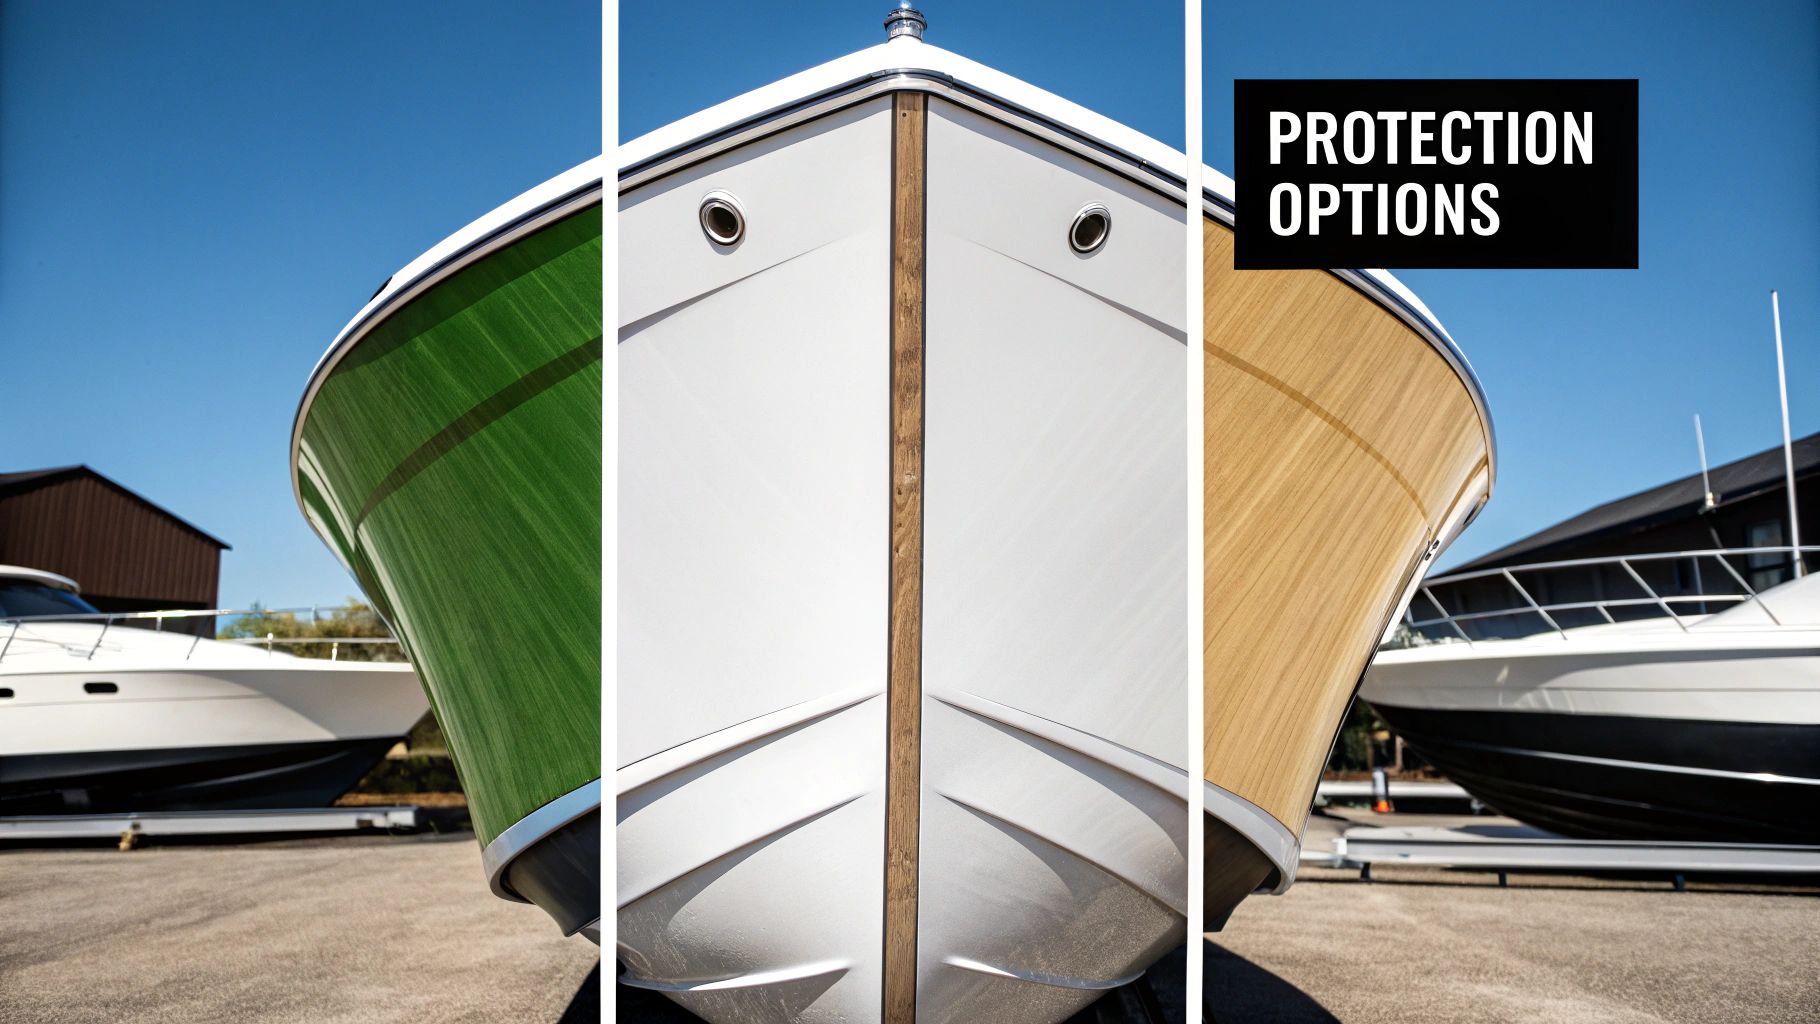
Boat Protection At a Glance
Feeling a little overwhelmed? No worries. This table breaks down the key differences to help you decide.
| Feature | Natural Wax | Synthetic Sealant | Ceramic Coating |
|---|---|---|---|
| Durability | 3-6 weeks | 4-6 months | 2+ years |
| Protection Type | Sits on surface | Chemically bonds | Forms a hard shell |
| Shine/Gloss | Deep, warm glow | Sharp, reflective | Candy-like, glossy |
| Ease of Use | Easy DIY | Easy DIY | Professional install |
| Cost | $ | $$ | $$$$ |
| Best For | Traditionalists who enjoy frequent upkeep and a classic look. | The everyday boater looking for a great balance of durability, shine, and ease of use. | Owners who want the absolute best long-term protection and are willing to invest in a professional application. |
The global market for marine-grade silicone sealants is projected to hit USD 3.14 billion by 2033. This shows that more boat owners are looking for tougher, longer-lasting solutions. For most of us, a high-quality synthetic sealant is the perfect sweet spot between performance, value, and practicality.
Matching the Right Sealant to Every Boat Surface

You wouldn't use one tool for every job on your boat, right? The same logic applies to protection. Slapping one product on every surface is a recipe for disappointment because your boat is made of different materials, each needing specific care.
Choosing the right sealant for your boat surfaces is all about playing matchmaker. You’re pairing a specific type of protection with the material that needs it most. Let's break down the common areas of your boat and find the perfect sealant for each one.
For Your Gelcoat and Painted Hull
This is your boat’s armor—the biggest and most visible surface. It’s constantly under attack from the sun's harsh UV rays that cause that chalky, faded look (oxidation), and saltwater that works tirelessly to dull its shine.
For the hull, you need a heavy-duty synthetic polymer sealant formulated specifically for gelcoat. The label should scream about two things: UV inhibitors and hydrophobic properties. This one-two punch stops the sun from fading your finish and makes water bead up and zip right off.
For Your Vinyl Seats and Cushions
Your boat's upholstery gets a completely different kind of abuse. It's constantly being sat on, stretched, and exposed to everything from sunscreen to spilled drinks. A rigid hull sealant would just crack and peel off in a matter of days.
This is where a dedicated vinyl sealant comes in. These formulas are built to be flexible, bonding with the material to create a barrier that repels UV rays, prevents cracking, and fights off stains from mildew and sunscreen. A good vinyl sealant is the key to keeping your seats soft and looking like new.
For Your Metal Hardware and Rails
Stainless steel railings, cleats, and T-tops might seem tough, but they are vulnerable to corrosion and ugly water spots, especially in salt water. A specialized metal sealant or polish is your best friend here.
It creates a slick, invisible shield against salt and oxidation, keeping your chrome and stainless steel sparkling. Aluminum, in particular, oxidizes quickly, so you'll want something specific for those surfaces. You can dive deeper in our guide on choosing the right aluminum sealant for boats.
For Your Windshield and Glass
Having a clear view on the water isn't just nice—it's a critical safety issue. A good glass sealant turns your windshield into an ultra-slick, hydrophobic surface. When spray or rain hits it, the water beads up and flies right off, which makes a massive difference in visibility.
Pro Tip: Think of your main sealant application as the foundational layer of armor for your boat. To keep that armor strong all season long, you need a "topper" spray after each trip. A product like Boat Juice Protection Spray is perfect for this.
A quick spray and wipe-down reinforces your base sealant, boosts that water-beading action, and adds a crazy amount of gloss. It turns your end-of-day cleanup from a chore into a quick, satisfying task, making that initial sealant job last much longer.
How to Apply Boat Sealant for a Flawless Finish
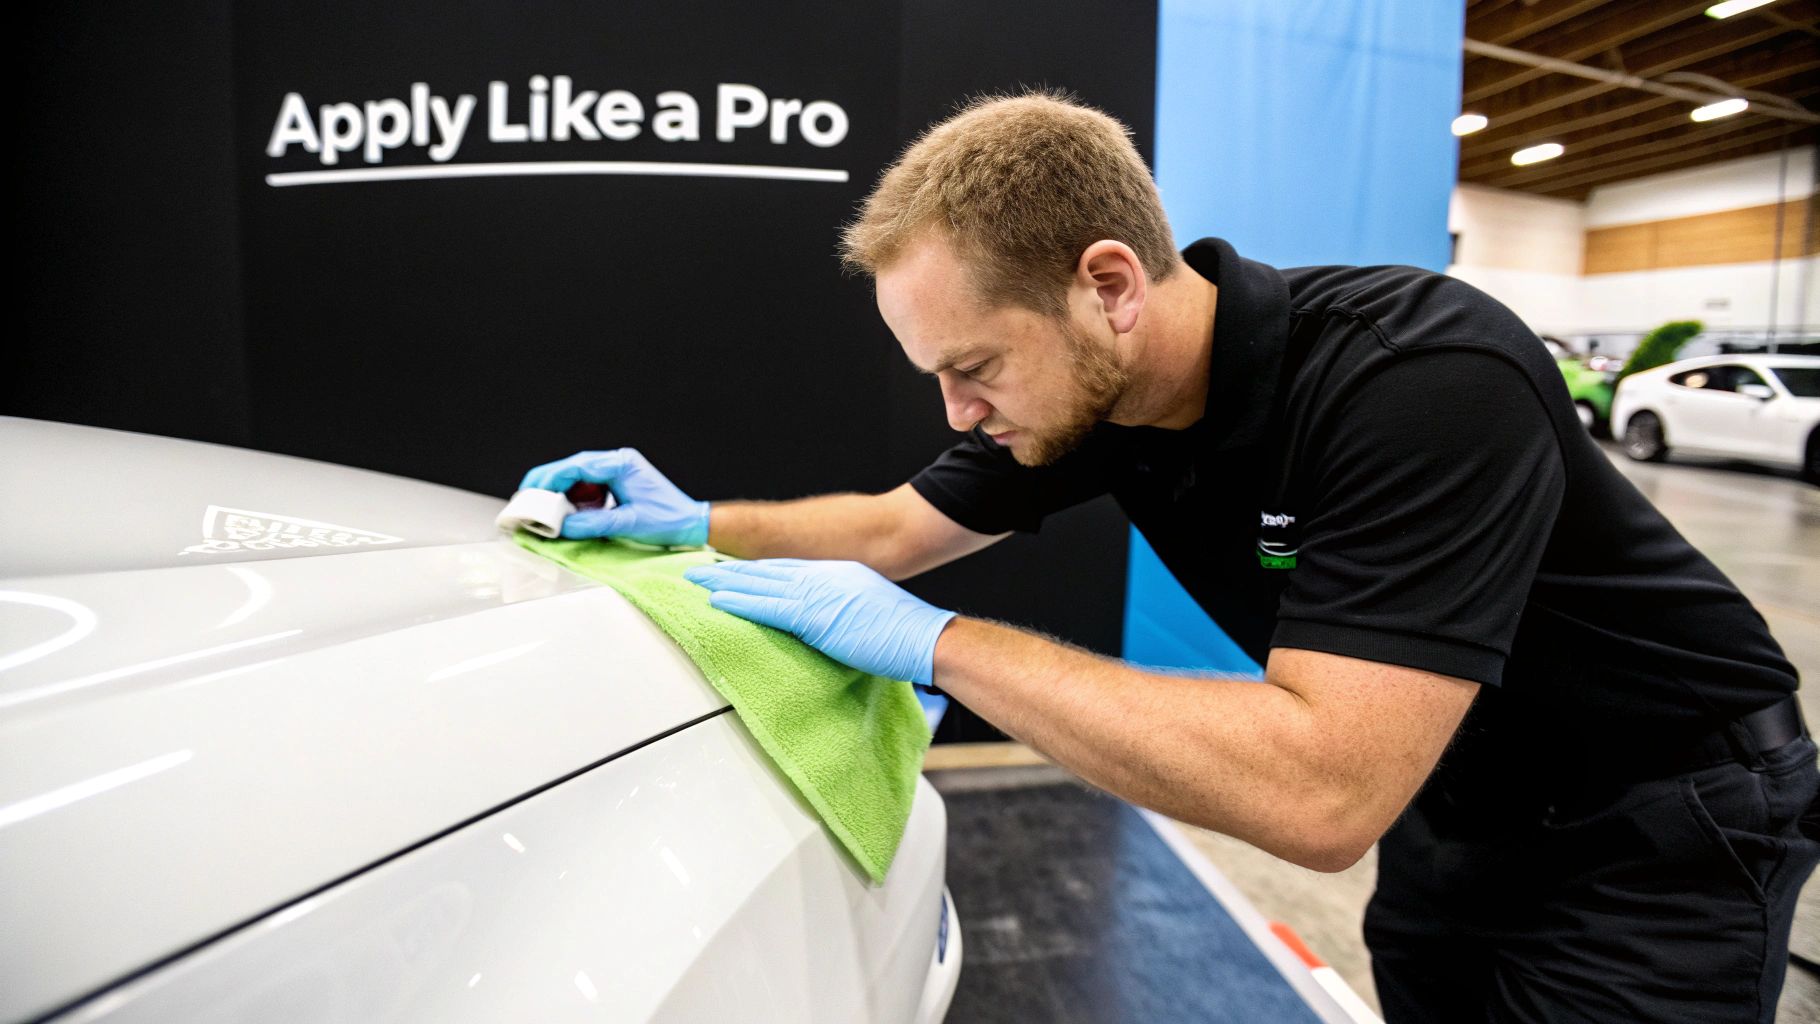
So, you've picked out the perfect sealant for your boat—now for the really satisfying part. Applying a sealant isn't rocket science, but getting it right is what separates a breathtaking shine from a streaky, frustrating mess.
Think of it like painting a room. You’d never just slap a coat of paint over a dirty wall, would you? The prep work is 90% of the job, and it’s the non-negotiable secret to that professional-grade finish you're after. Follow these steps to do it right.
Stage 1: The Critical Preparation Work
Your goal here is to create an immaculately clean, smooth surface that the sealant can grab onto and bond with. If you try to apply a sealant over old wax, dirt, or oxidation, it’s going to fail. It'll either look terrible from the start or it won't last more than a couple of weeks.
- Wash It Down: Start with a thorough wash using a high-quality boat soap. A dedicated cleaner like Boat Juice Exterior Cleaner is ideal here because it’s tough on grime but won't leave behind any residue that could interfere with the sealant bond.
- Decontaminate the Surface: After you've washed and dried the boat, gently run your hand over the gelcoat. Does it feel gritty? Those are stubborn contaminants embedded in the surface. Use a clay bar or a clay mitt to gently lift them out, leaving the surface feeling smooth as glass.
- Correct Any Imperfections (If Needed): Now, take a close look at the finish. See any swirl marks, oxidation, or light scratches? A sealant is a shield; it protects your finish, but it won't fix it. If your gelcoat is looking dull, you’ll need to polish it first. Learn how in our complete guide to boat compounding and polishing.
- Final Wipe-Down: Right before you apply the sealant, do one last wipe-down with an isopropyl alcohol (IPA) solution (mixed with water). This strips away any lingering polishing oils, making the surface surgically clean for the strongest possible bond.
Stage 2: Applying the Sealant
With your surface perfectly prepped, the application itself is pretty simple. The biggest mistake people make is using way too much product. With today’s advanced sealants, a little goes a long way.
Work in small, manageable sections—think 2x2 feet at a time. This keeps the sealant from drying out before you can buff it off.
- Apply a few pea-sized drops of sealant to a clean microfiber applicator pad.
- Spread it thinly and evenly across your section with light, consistent pressure. Use overlapping passes, first going side-to-side, then up-and-down.
- Let it haze. Check the product's instructions, but this usually takes anywhere from 5-15 minutes, depending on the heat and humidity.
- Buff it off using a separate, clean microfiber towel to reveal that slick, brilliant shine.
Flip your buffing towel to a clean side often to prevent streaking. If you spot a "high spot"—a darker patch where you left too much product—don't panic. Just dab a tiny bit more sealant on the spot to re-liquefy it, then immediately buff the area clean.
Stage 3: Curing for Maximum Durability
Okay, the boat looks incredible. You might think you're done, but the most important part is just beginning: the curing process. This is when the sealant's polymers cross-link, hardening and bonding to the gelcoat to create that tough, protective shell.
Most sealants need 12-24 hours to cure fully. During this window, it's crucial to protect the surface from water. If the surface gets wet, the sealant can’t form a proper bond, and all your hard work can be compromised. If you can, keep the boat in a garage or under a cover to let it cure undisturbed.
The global marine sealants market hit a value of about US$331.5 million in 2024 and is set to grow as boat owners demand better, more durable protection. You can learn more over at Persistence Market Research.
Keeping Your Sealant Working All Season Long
Alright, you've put in the work to apply a great sealant, and your boat looks incredible. So, how do you keep that deep gloss and tough protection going strong all season? It all comes down to simple, smart maintenance.
A little bit of upkeep goes a long way in extending the life of your sealant. The whole idea is to protect that base layer you worked so hard on, not strip it away with harsh chemicals. With the right routine, you can easily keep that flawless finish from spring prep right through to winterization.
Wash Your Boat the Right Way
After a day on the water, it’s easy to grab whatever soap is handy to get the salt and grime off. This is one of the biggest mistakes you can make. Most household cleaners have a high pH, which can literally eat away at your sealant’s protective layer.
Stick with a pH-neutral boat soap. These formulas are made to gently lift dirt and salt without being aggressive toward your sealant. A product like Boat Juice Wash & Shine is ideal because it cleans effectively while being totally safe for the protection you already have in place.
The Real Secret to Longevity? A 'Topper' Spray.
If you take one thing away from this article, let it be this: using a topper spray is the single most important habit for sealant maintenance. Think of your base sealant as the foundation. To keep it strong, you add a quick, sacrificial layer on top—that's your topper.
Using a quality detail spray like Boat Juice Protection Spray after every wash or outing is a total game-changer. A quick spray and wipe-down does a few incredible things all at once:
- It instantly refreshes the hydrophobic properties, making water bead up and roll right off.
- It adds a slick layer of defense, taking the hit from UV rays and bird droppings so your base sealant doesn't have to.
- It seriously boosts the gloss, giving your boat that "just detailed" look in minutes.
This quick step is the key to getting the maximum life out of your sealant and makes your regular cleanups ridiculously fast.
Your Simple Sealant Maintenance Schedule
Keeping your boat protected doesn't need to be a complex chore. Here’s a super simple schedule you can follow to ensure your boat stays protected all season long.
Weekly (or After Each Use): Give it a quick wash with a pH-neutral soap and follow up with a topper like Boat Juice Protection Spray. This simple 5-10 minute job is your most powerful weapon for long-lasting protection.
Every 3-6 Months: Do a quick "water test." Spray some water on the hull. If it beads up into tight little drops, your sealant is still working. If the water starts to lay flat or "sheet" off slowly, you know it's time to re-apply your base sealant.
The demand for quality marine sealants is huge. The market was valued at an impressive USD 2.92 billion in 2024 and is only expected to grow. Recreational boaters are a major force behind this trend, proving that smart owners like you are investing in better, longer-lasting protection. You can read more about these market trends.
Your Top Boat Sealant Questions Answered
Let's dive into some of the most common questions we get from boaters just like you. Nailing the small details can make a world of difference, so here are the straightforward answers you need for that perfect, long-lasting shine.
Can I Apply Sealant Directly Over Old Wax?
This is a big one, and the simple answer is a hard no. You absolutely shouldn't.
Imagine trying to paint on a greasy wall—it’s just not going to stick right. A synthetic sealant for a boat is designed to create a strong chemical bond directly with your boat's gelcoat. Any old wax, grime, or oils act as a barrier, completely blocking that bond. If you do this, you'll end up with a streaky mess that will fail in just a few weeks. Always start with a squeaky clean, stripped surface.
How Do I Know When It Is Time to Reapply Sealant?
Your boat will give you clear signals when its protective layer is wearing thin. The easiest way to check is with a simple water test.
Just grab a spray bottle and mist a section of your hull. If the water instantly forms tight, round beads that roll right off, your sealant is still working. But if the water starts to "sheet"—laying flat and clinging to the surface—that's your sign. The hydrophobic magic is gone, and it’s time to reapply.
Key Takeaway: Tight water beading is the visual proof that your sealant is actively pushing away water. When that beading action starts to look weak or disappears, so has your protection.
What Is the Difference Between a Polish and a Sealant?
This is another classic point of confusion, but it's crucial to understand they do two completely different jobs. You have to use them in the right order to get the results you want.
-
Polish corrects. Think of polish as a restorative treatment. It’s a very fine abrasive designed to remove imperfections like light scratches, swirl marks, and the chalky oxidation that makes your gelcoat look dull. Its entire purpose is to smooth out the surface and bring back the gloss.
-
Sealant protects. A sealant has zero ability to fix scratches or oxidation. Its only job is to lay down a tough, durable shield over that beautifully polished surface. It locks in the shine and protects your gelcoat from UV rays, salt, and grime.
The process is always polish first, then sealant second. You fix the imperfections, then you protect your work. Of course, being a responsible boat owner goes beyond just maintenance; knowing you have access to reliable boat towing services for unexpected situations provides crucial peace of mind on the water.
Ready to give your boat that head-turning, long-lasting gleam? Your next step is to grab the right products for the job. Boat Juice has everything you need, from our heavy-duty exterior cleaners to the legendary Protection Spray that keeps your sealant going strong all season long.
Shop the Boat Juice Exterior Collection and Protect Your Investment