


· By Boat Juice Team
A DIY Guide to Aluminum Boat Polish for a Head-Turning Shine
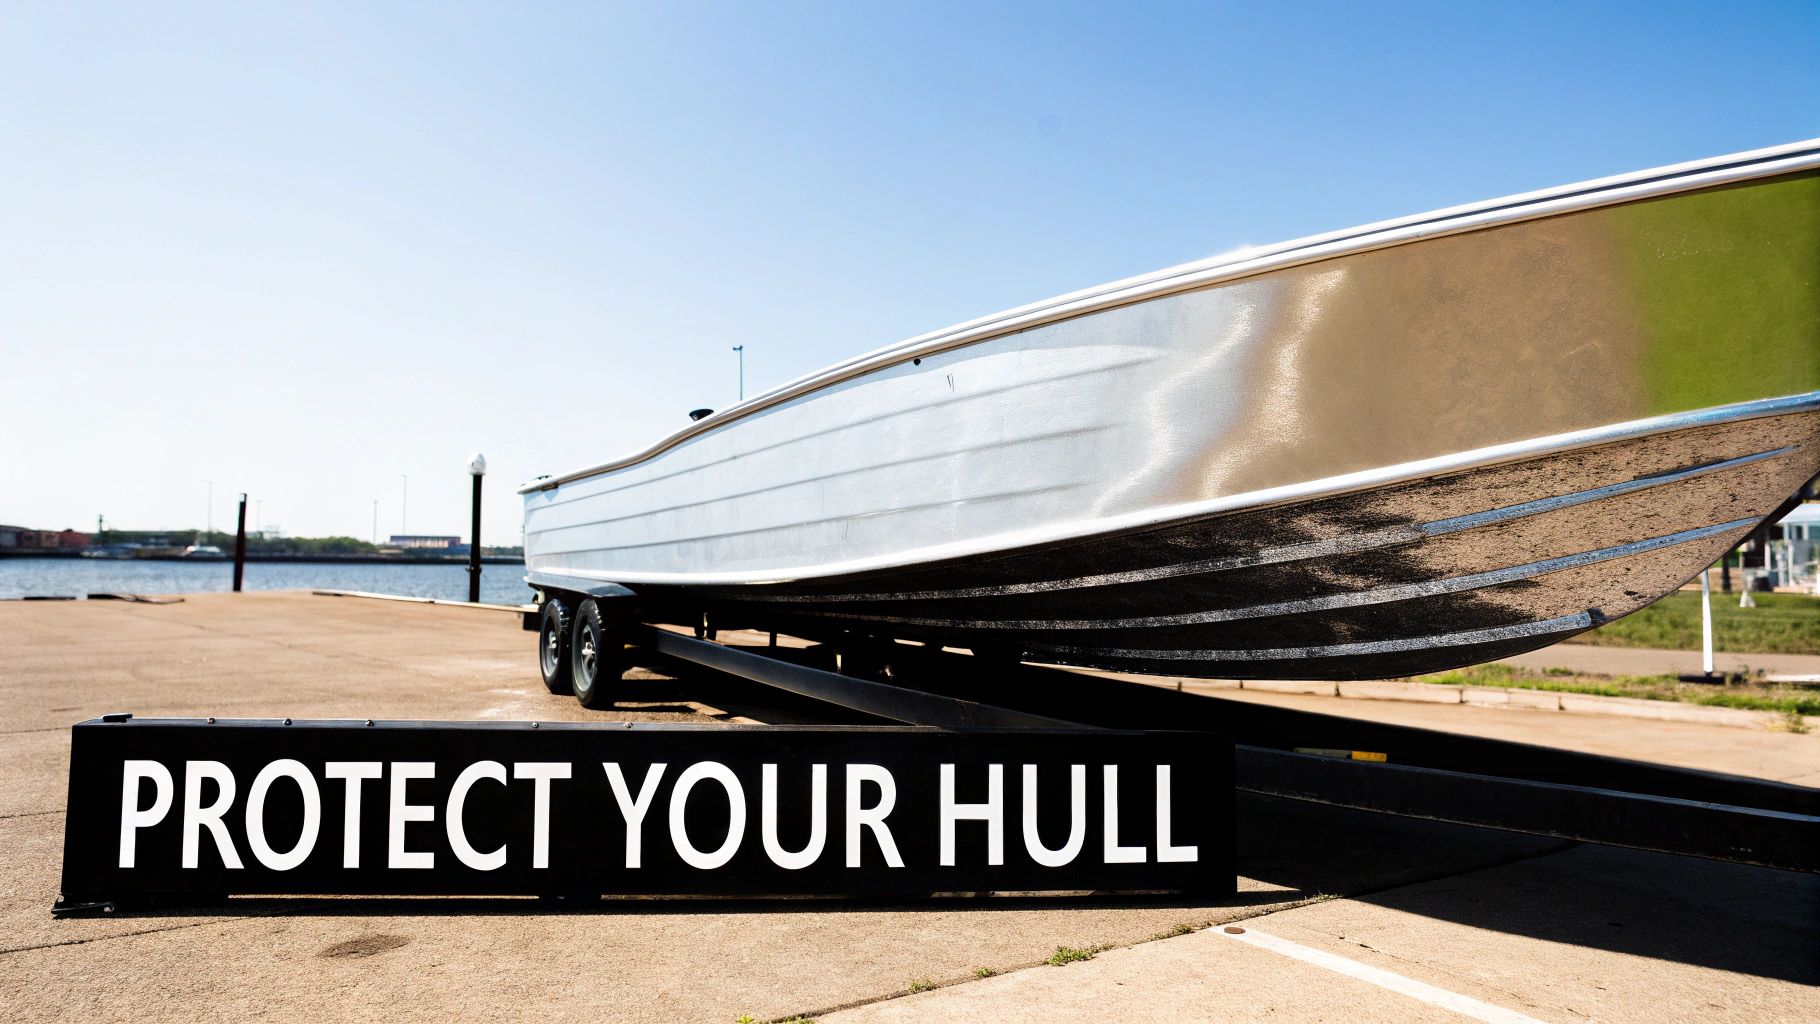
Using the right aluminum boat polish is your ticket to restoring that head-turning shine and, more importantly, protecting your hull from the elements. This isn't just about making your boat look good at the dock; it’s essential maintenance that shields your investment from corrosion and oxidation. With a little work, you can transform a dull, chalky surface into a brilliant, mirror-like finish that looks like it just rolled off the showroom floor.
Why Bother Polishing Your Aluminum Boat?
Ever notice that dull, chalky film that builds up on your aluminum boat? That’s not just accumulated grime—it’s oxidation. You can think of it as rust, but for aluminum. If you let it go, this process slowly eats away at the metal, weakening your hull and leaving it vulnerable to damage from saltwater, sun, and whatever else the water throws at it.
Polishing is your first line of defense. It's not just a cosmetic touch-up; it's a critical maintenance task that preserves the strength and value of your boat for years to come. By removing that oxidized layer, you create a clean, stable surface that can be protected for the long haul.
Protection Is the Real Prize
A good polish and seal does way more than just bring back the sparkle. It creates a smooth, slick barrier that armors your hull against the harsh marine environment. This protective shield is what keeps corrosive elements from getting a foothold and starting the oxidation process all over again.
Here’s what that protection gets you:
- Corrosion Resistance: Saltwater is brutal on raw aluminum. A properly polished and sealed surface stops salt from sticking to the hull, preventing the pitting and corrosion that can cause serious damage over time.
- UV Defense: Think of it like sunscreen for your boat. A quality sealant protects the aluminum from the sun’s relentless UV rays, which can dramatically speed up oxidation and dull the finish.
- Easier Cleanups: A polished hull is naturally hydrophobic—meaning water just beads up and rolls right off. This means algae, scum lines, and general grime have a tough time latching on, making your end-of-day wipe-downs a whole lot faster.
The effort you put into polishing today pays dividends all season long. You’re not just cleaning your boat; you're actively preserving its structure and making every future cleanup easier.
Boost Your Boat’s Value
Let's be honest, a gleaming, well-cared-for hull is the first thing anyone notices, especially a potential buyer. Spending a weekend polishing your boat can have a huge impact on its resale value. A pristine hull signals that you took meticulous care of your vessel.
Regular polishing can extend the life of your hull by preventing the 20-30% corrosion rate often seen in untreated aluminum. Some modern formulas can even boost your boat’s resale value by up to 15%.
While you're focused on that perfect hull finish, don't forget the other details. Things like professional boat tinting services can add to the overall look and comfort, further enhancing its appeal. It's an investment that pays you back, not just in pride of ownership but in real dollars when it’s time to sell or trade up.
Choosing Your Tools for the Perfect Polish
Before you even think about cracking open a bottle of aluminum boat polish, you need to gather your toolkit. The final look of your boat is directly tied to the gear you use, and jumping in unprepared is a surefire way to get a disappointing result.
First, take a good, hard look at your boat’s hull. Are you dealing with a light haze from a single season on the lake, or are you up against years of chalky, caked-on oxidation that feels rough to the touch? The answer will guide every decision you make from here on out.
Building Your Polishing Arsenal
Think of this as your mission prep. Having everything you need within arm's reach means a smoother workflow and far less frustration. There’s nothing worse than getting into a rhythm, only to stop because you ran out of clean towels.
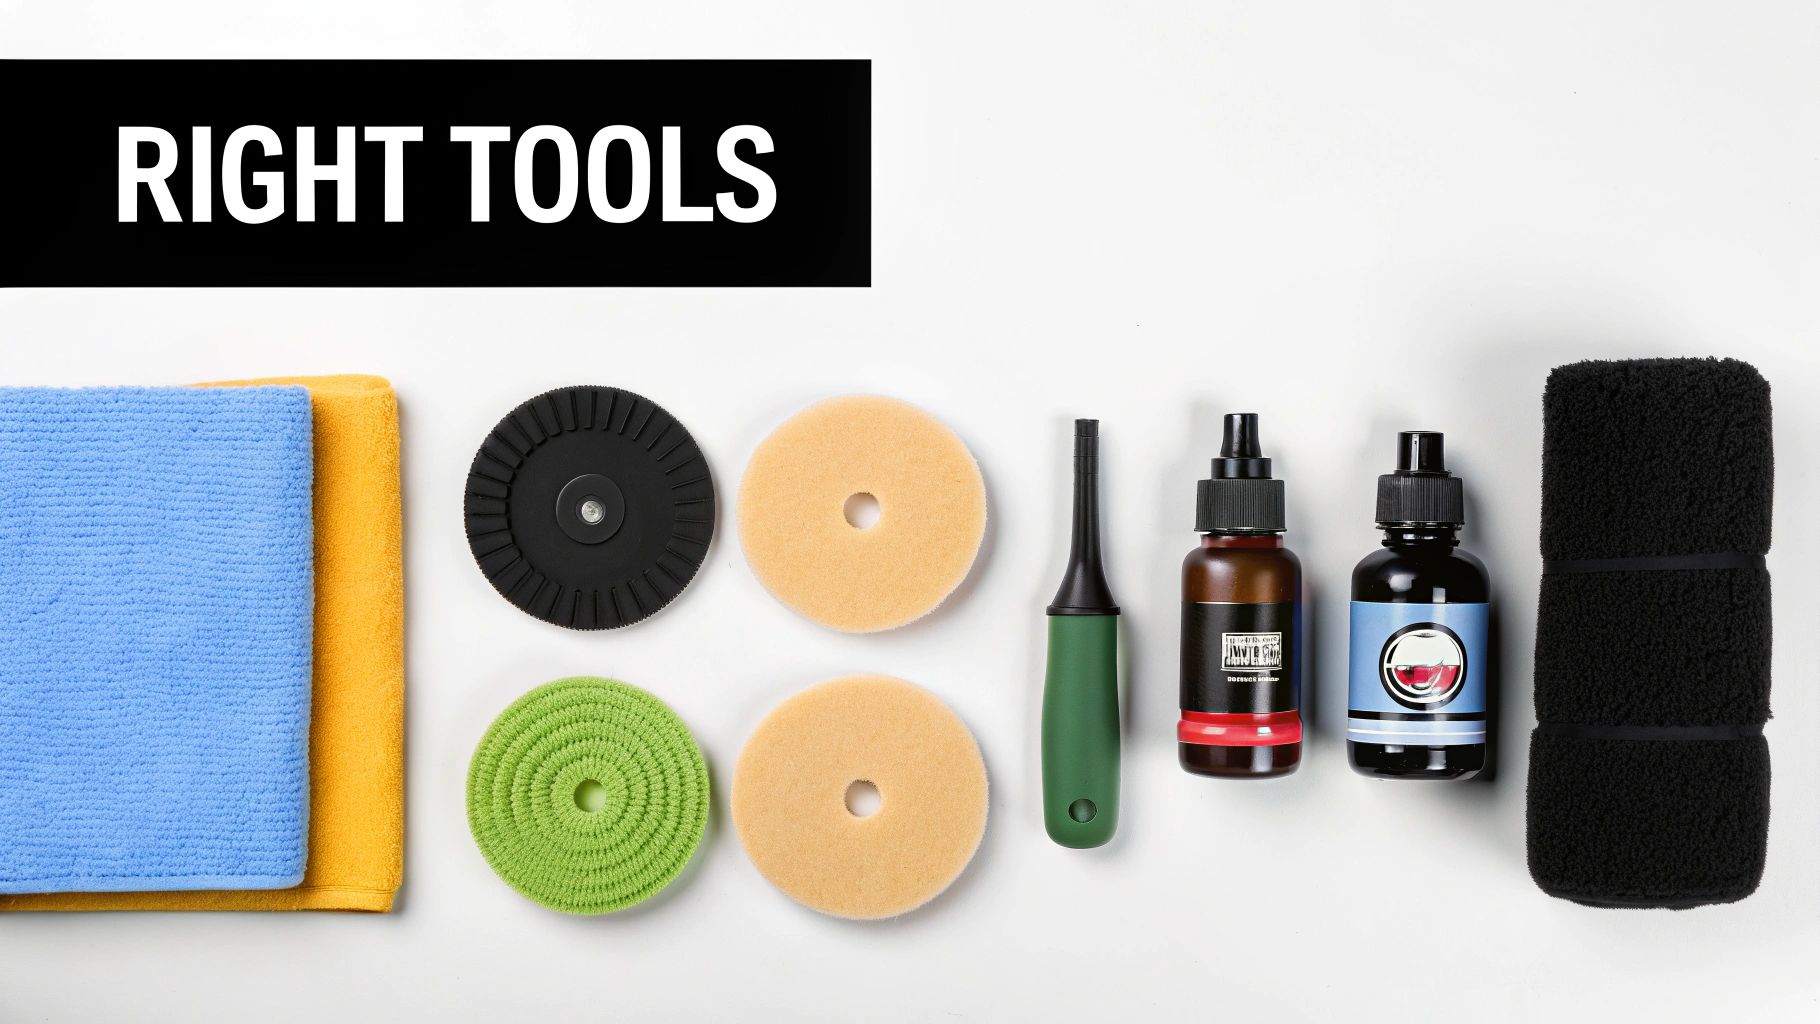
Here's your essential checklist:
- Safety Gear: Don't skip this. You'll want safety glasses to keep polish from splattering in your eyes and nitrile gloves to keep the gunk off your hands. A dust mask is a smart move too, especially if a buffer is kicking up old oxidation.
- Applicator Pads: If you're going the manual route, foam or microfiber applicator pads are your best friends. They help you spread the polish evenly without causing new scratches.
- High-Quality Microfiber Towels: Stock up on these—you'll need more than you think. You’ll use these for wiping away polish residue, and using cheap ones can leave lint and fine scratches, undoing all your hard work.
- Detailer's Tape: This is perfect for masking off any decals, rubber trim, or painted stripes you don't want the polisher to touch.
Hand Polishing vs. Machine Buffing
Alright, this is the big fork in the road. Are you going to put in the elbow grease yourself, or let a machine do the heavy lifting? Polishing by hand offers incredible control, making it perfect for smaller boats, tight corners, or light touch-ups. A machine buffer, on the other hand, brings speed and power to the table, blasting through years of neglect in a fraction of the time.
The choice between hand and machine polishing isn't about which is "better"—it's about what's right for your boat and your comfort level. A machine is a massive time-saver, but if you're inexperienced, you can do more harm than good if you aren't careful.
To help you decide which path to take, here’s a quick comparison.
Hand Polishing vs Machine Buffing: What to Choose
| Factor | Hand Polishing | Machine Buffing (Orbital/Rotary) |
|---|---|---|
| Best For | Light oxidation, small boats, and tight areas. | Heavy oxidation, large surfaces, and achieving a deep, mirror-like shine. |
| Effort | Labor-intensive and time-consuming. It's a real workout! | Much faster and less physically demanding, letting the machine do the heavy lifting. |
| Control | Excellent control over pressure and application, minimizing risk of damage. | Requires practice to avoid swirl marks or burning the surface, especially with a rotary buffer. |
| Cost | Very low initial cost. You just need applicators and polish. | Requires investment in a quality orbital or rotary buffer and various pads. |
If you decide a machine is the way to go, a dual-action (DA) orbital polisher is the safest bet for anyone new to this. It mimics the motion of your hand, which dramatically reduces the risk of creating swirl marks. For a deeper dive into power polishing, our guide on using a boat buffing compound for a perfect shine has all the details you'll need.
The Prep Work That Guarantees a Mirror Finish
You wouldn’t wax a dirty car, and you definitely shouldn't polish a dirty boat. It's a simple idea, but it's where most people go wrong. Polishing is all about refining the surface, not just cleaning it. If you try to polish over a film of grime, hard water spots, or embedded dirt, you’re just grinding those tiny bits of grit right into the aluminum.
This not only wastes your time but can actually create new scratches and swirls. The result? A hazy, disappointing finish that's a shadow of what it could have been. A perfectly clean, decontaminated surface is the only way your polish can do its job on the metal itself, letting it cut through oxidation and create that deep, even gloss.
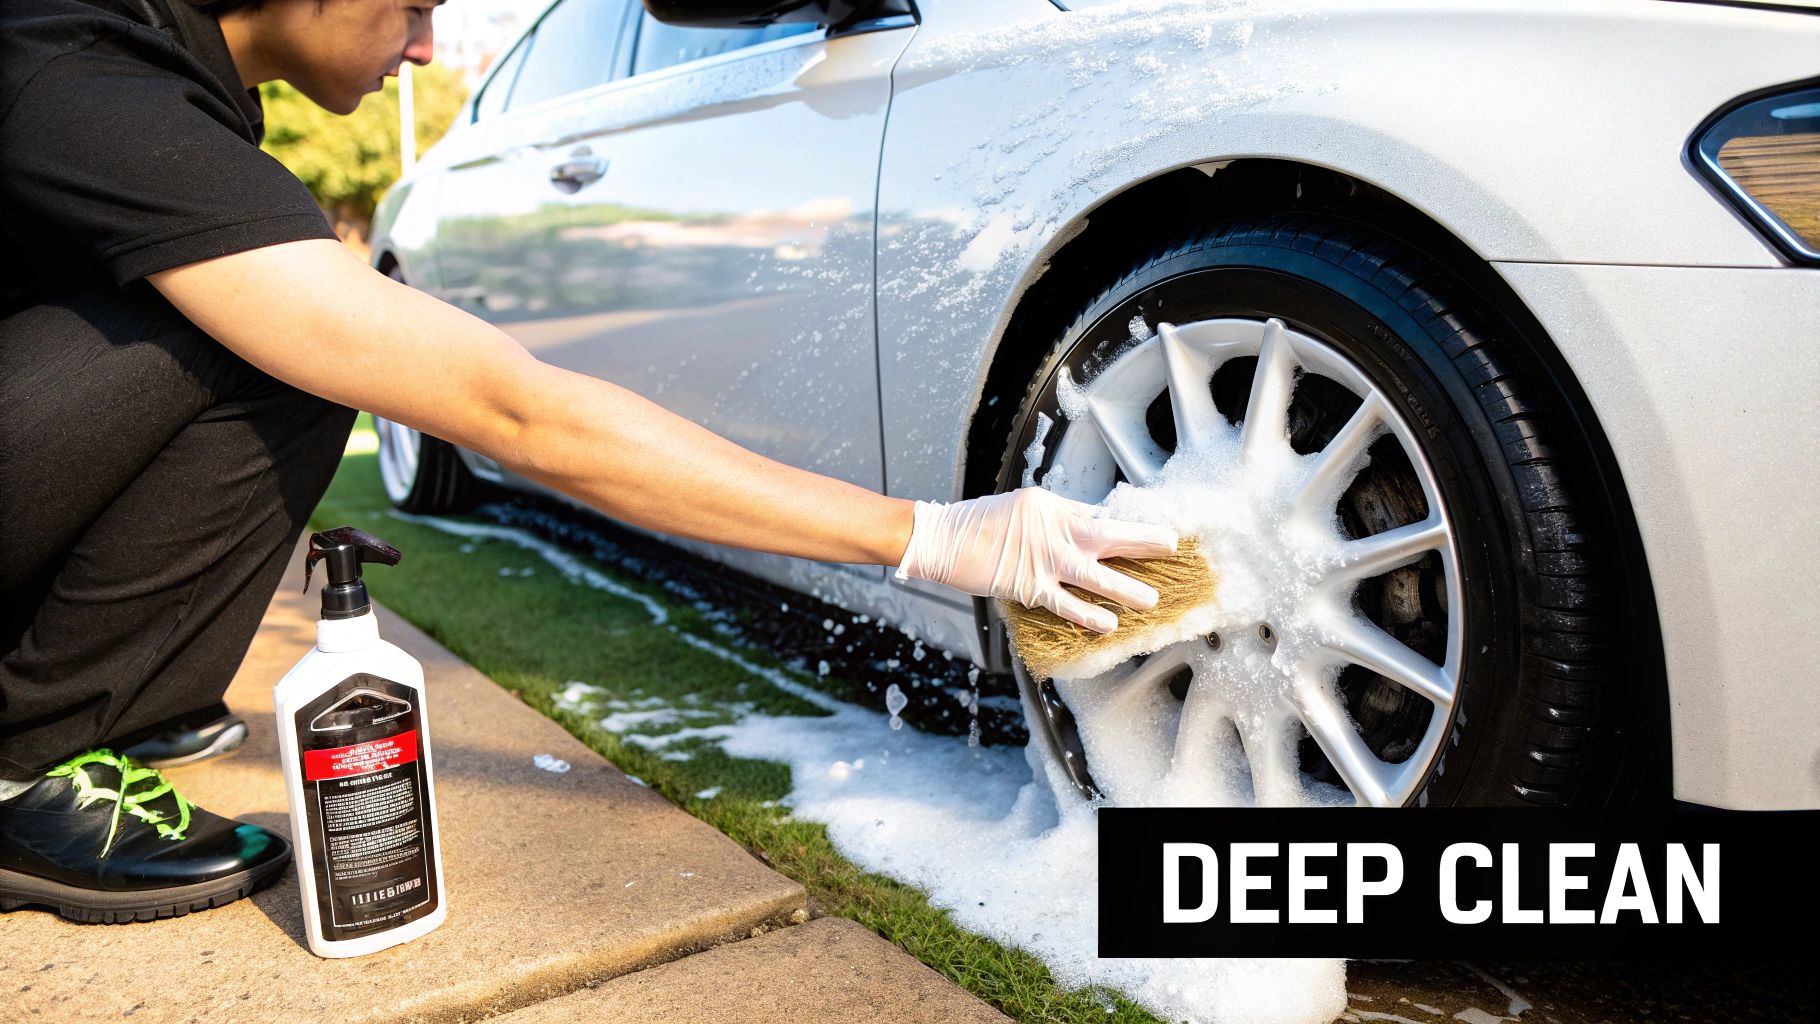
Step 1: Start With a Powerful Wash
First things first, you've got to get rid of all the loose stuff like dirt, algae, bird droppings, and general grime. And please, don't reach for the dish soap. Household cleaners often have harsh detergents that can strip away any existing sealants and aren't formulated for a marine environment.
For this initial deep clean, you need a powerful, but safe, pH-balanced boat soap. A product like Boat Juice Exterior Cleaner is perfect for this job because it's built to cut through tough grime without damaging your vinyl seats or decals. Try to work in the shade to keep the soap from drying on the hull. Wash and rinse from the top down so you’re not washing dirty water over areas you just cleaned.
Step 2: Target the Tough Contaminants
With the surface grime gone, it's time to play detective. Get up close and inspect the hull for the stubborn stuff that a regular wash won't touch. These are the real enemies of a great polish job.
Keep an eye out for these common culprits:
- Mineral Deposits & Water Spots: Those white, chalky-looking spots are calcium and magnesium deposits left behind after hard water evaporates.
- Scum Lines: That ugly yellowish-brown stain at the waterline is a nasty cocktail of algae, oils, and pollutants.
- Industrial Fallout: Sometimes you'll see tiny, rust-colored specks. This is often "rail dust" or other airborne metal particles that have embedded themselves in the surface.
Ignoring these is a huge mistake. Polishing over them is like trying to sand a piece of wood that still has staples in it—you’ll just drag those contaminants across the aluminum and create a web of micro-scratches.
Step 3: Dissolve Water Spots and Mineral Buildup
Those annoying white spots aren't just ugly; over time, they can actually etch into the aluminum. The secret is to dissolve them with chemistry, not trying to scrub them off with brute force. A dedicated remover is your best friend here.
If your hull is covered in these spots, a product like Boat Juice Extreme Water Spot Remover will be a game-changer. Its formula is specifically designed to break down those mineral deposits without harming the metal underneath. Just spray it on, give it a minute to work its magic, and wipe it away. You’ll watch the spots vanish, leaving you with a clean slate for the polish. If you're dealing with more serious oxidation, you might want to learn more about cleaning aluminum corrosion on your boat before you move on.
Pro Tip: Whatever you do, never use abrasive scrub pads or steel wool to get rid of water spots or scum lines on aluminum. You will absolutely create a mess of deep scratches that are far worse than the original problem.
Step 4: The Final Wipe-Down and Inspection
Alright, you've washed the boat and treated the problem areas. There's one last, crucial check before you pick up that polisher. You need to make sure the surface is bone dry and has zero lingering residue. Grab a clean microfiber drying towel and go over the entire hull.
Now, run your clean, bare hand over the surface. Does it feel perfectly smooth, almost like glass? Or can you feel any gritty little bumps? Any roughness you feel is contamination that will get in the way of a good polish. This final check ensures that your aluminum boat polish has nothing but pure, clean metal to work its magic on.
Your Guide to Applying Polish Like a Pro
With a perfectly clean and prepped hull, you're ready for the main event. This is where all that prep work pays off and the magic really happens. It’s all about technique, a little patience, and working smart, not hard.
Whether you decide to tackle this by hand or bring in the power of a machine buffer, the core principles are the same. You need to maintain control, apply consistent pressure, and work in small, manageable sections. This method is key—it stops the polish from drying out too quickly and ensures you get an even, professional-looking result.
Use a Two-Step Polishing Method
For boats with any real oxidation, a single, all-in-one polish just won't cut it if you want a deep gloss. To get professional results, you need to use a two-step approach: first a cutting compound, then a finishing polish.
-
Step 1: The Cut: An aluminum cutting compound is the workhorse here. It's a more aggressive formula designed to slice through that heavy, chalky layer of oxidation and buff out minor scratches. Think of this as the heavy-lifting phase that restores the metal's clarity.
-
Step 2: The Finish: After the cut, a finishing polish refines the surface. It's a much finer abrasive that smooths out any micro-scratches left by the compound, creating that deep, liquid-metal look. This is the step that makes it shine like a mirror.
This two-part process is why so many boat owners are getting incredible results on their own. The global boat polish market hit USD 145 million in 2024, with recreational boating driving 75% of that demand. Liquid polishes are popular, making up 55% of sales because they're easy to use. You can read the full research on the boat polish market to see how the industry is growing.
Why You MUST Work in Small Sections
If I can give you one single piece of advice for a flawless finish, it’s this: work in small, 2x2 foot sections. This is big enough to feel like you're making progress but small enough that you can fully work the polish before it dries, which is especially important on a warm day. Trying to polish the entire hull at once is a classic rookie mistake that will leave a streaky, uneven finish.
Use painter's tape to actually mark off your 2x2 foot sections. This visual guide keeps you focused on one area at a time and guarantees a consistent result across the whole boat.
Applying Cutting Compound with a Buffer
Using a dual-action (DA) orbital polisher is the fastest way to cut through years of oxidation. For this stage, you’ll want a medium-cut foam or microfiber pad.
- Dab a few pea-sized drops of your cutting compound directly onto the pad.
- Press the polisher flat against the hull before you turn it on to prevent the compound from slinging everywhere.
- Set the buffer to a low speed (settings 1-2) to spread the polish evenly across your section.
- Kick the speed up to a medium setting (3-4) and work the area in a crosshatch pattern—first side-to-side, then up-and-down.
- Apply light, consistent pressure and let the machine do the work. Overlap each pass by about 50% to ensure full coverage.
- Keep buffing until the polish starts to look clear or "break down." That’s your signal that the abrasives have done their job.
- Turn off the buffer while it's still flat against the hull, then lift it away.
Wiping Away Residue the Right Way
Once you've buffed a section, grab a clean, plush microfiber towel. Wipe the residue away gently, always moving in one direction. Don't scrub back and forth, as this can put fine scratches right back into the surface. Flip the towel to a clean side often.
Use a bright light, like a headlamp, and hold it at an angle to the hull. This will light up any leftover haze or imperfections. If you spot anything, it might need another quick pass with the compound before you move on.
Refining with a Finishing Polish
After you’ve compounded the entire boat, it's time to bring out that incredible gloss. Switch to a soft finishing pad on your buffer. The technique is identical to the compounding step, but this time you’ll use even less pressure and a slightly higher machine speed (settings 4-5). The goal here is to burnish the surface to a brilliant shine.
Time to Lock In That Hard-Earned Shine
You've put in the hours, and the aluminum on your boat is gleaming. But don't celebrate just yet—all that effort will go to waste if you don't take one last, crucial step: sealing the surface. Polishing strips away the dull, oxidized layer, but it also leaves the aluminum raw and exposed.
Without a protective barrier, the air, water, and sun will immediately get back to work, dulling your finish. Sealing your freshly polished hull is your best defense against future oxidation, UV damage, and those annoying water spots.
Your Shield: Waxes vs. Sealants
When it comes to protection, you’ve got two solid options: a classic marine wax or a modern synthetic sealant.
-
Marine Wax: Usually made with carnauba, a good wax gives you a really warm, deep gloss. It's the old-school favorite, but you’ll likely be reapplying it every 1-3 months, especially in saltwater.
-
Synthetic Sealants: These are polymer-based and designed to chemically bond with the aluminum. This creates a much tougher, longer-lasting shield—typically 4-6 months—with a slick, glassy finish that sheds water and grime.
Choosing between wax and a sealant often comes down to personal preference. A wax might give you a slightly deeper glow, but a sealant delivers far better durability. That means less work for you throughout the boating season.
The Quick-and-Easy Maintenance Secret
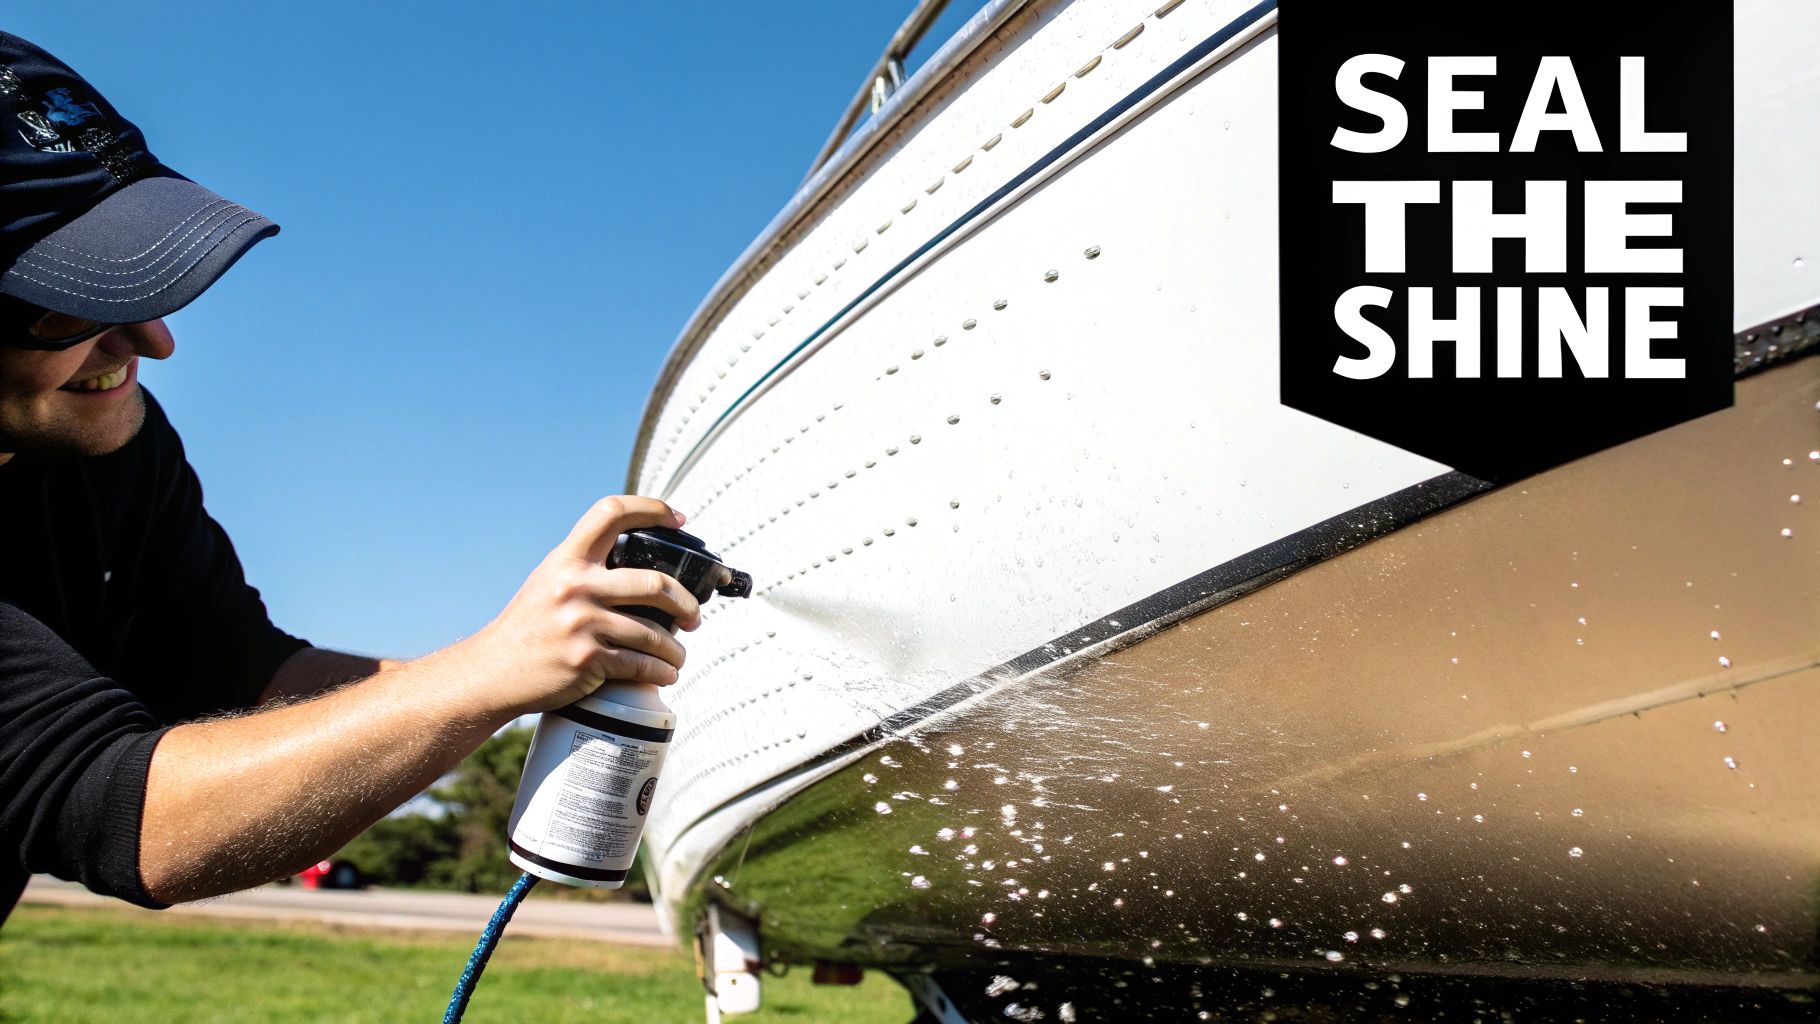
Between those big polishing sessions, the goal is to keep that shine with as little effort as possible. This is where a spray-on protectant becomes your new best friend. These products are made for a quick application right after you've hosed the boat down.
A product like Boat Juice Protection Spray is perfect for this. In just a few minutes, it creates an incredibly slick, hydrophobic barrier on the aluminum. All you do is spray it on a clean, dry surface and wipe it off with a microfiber towel.
The result is a surface so slick that water beads up and rolls right off, taking dirt and salt with it. A quick spritz after each wash is the single best way to extend the life of your main sealant and keep your boat looking freshly detailed all summer long. You can get the full rundown in our guide to the best aluminum sealer for boats.
A Simple Routine to Keep the Gleam
You don't need to dedicate another whole weekend to maintenance. A simple, consistent routine is all it takes to preserve that shine.
Here’s a practical schedule that works:
-
After Every Trip: Give the hull a quick rinse with fresh water to get the salt and grime off. Then, do a quick wipe-down with Boat Juice Protection Spray to amp up the water-beading and add a pop of gloss.
-
Once a Month: Do a proper wash with a pH-balanced boat soap. This gets rid of any buildup the quick rinses missed. Check if water is still beading up like crazy—if so, your sealant is still working.
-
Every 4-6 Months: This is when you’ll reapply your main coat of wax or sealant. The tell-tale sign is when water starts to "sheet" off the hull instead of forming tight beads. That simple water test is your clear signal that it's time to re-seal.
Got Questions About Polishing Your Aluminum Boat?
You've got questions, and that's a good thing. Polishing an aluminum boat for the first time can feel like a huge undertaking. Let's tackle some of the most common questions we hear from boat owners like you.
How Often Do I Really Need to Polish My Aluminum Boat?
The real-world answer is… it depends. That full-on, multi-step restoration with a cutting compound is a major job you should only have to tackle every 1-2 years, or maybe even longer if you stay on top of maintenance.
The secret is what you do in between those big polishing sessions. If you seal the finish with a high-quality protectant and wash it regularly, you’ll keep that deep shine for a long time.
Can I Polish an Anodized Aluminum Boat?
This one is crucial. The short answer is no, you absolutely cannot use a standard aluminum polish on an anodized surface. Anodizing is a special protective coating that gives pontoon tubes, towers, and trim that distinct matte or satin look.
Trying to "polish" an anodized surface with an abrasive compound will just strip that protective layer right off, leaving a blotchy, uneven mess. For anodized parts, you need to stick with gentle, non-abrasive cleaners made specifically for that type of finish. If your aluminum has that satin, non-reflective look, it's almost certainly anodized.
What’s Causing These Annoying Swirl Marks, and How Do I Stop Them?
Those fine, spiderweb-like scratches are the bane of every detailer's existence and only seem to pop out in the bright sun. They're almost always caused by one of three things:
- Contaminated pads or towels: Even a single piece of grit can get dragged across the surface, creating thousands of tiny scratches.
- Poor buffing technique: Running the buffer too fast, tilting it on its edge, or applying too much pressure can leave ugly swirls.
- Skipping the prep work: Trying to polish over a dirty, gritty hull is a guaranteed recipe for swirls.
The best defense is a good offense. Be obsessive about cleanliness. Use fresh, clean pads and have a huge stack of clean microfiber towels on hand. Let the machine do the heavy lifting—your job is just to guide it with light, even pressure.
Is It Okay to Polish My Boat While It's in the Water?
It might seem tempting, but it's a terrible idea. For one, you’ll never get the hull properly prepped at the waterline, and polish is totally ineffective on a wet surface.
More importantly, you'll end up dripping polish, compound, and other chemicals directly into the water, which is a big no-no for the environment. Do this job on the trailer. It’s the only way to get a professional result and be a responsible boater.
Once you've put in the hard work, keeping that mirror finish looking its best is all about easy maintenance. Your next step is to make that maintenance routine a habit. A quick wash and a spritz of a quality protectant after you pull it out of the water is all it takes.
For the best spray-on protection to lock in that shine and make your life easier, head over to shopboatjuice.com and grab the right stuff to keep your boat gleaming all season long.