


· By Boat Juice Team
Your Guide to Choosing and Using Aluminum Sealant for Boats
That nagging drip from a leaky seam or rivet? It’s more than just an annoyance—it's your boat telling you it needs attention. When you have an aluminum boat, grabbing the right tube of marine-grade aluminum sealant is the only way to get a permanent, waterproof fix. The wrong stuff can trap moisture and kickstart hidden corrosion, turning a tiny leak into a massive headache.
This guide will walk you through exactly how to choose the right sealant and apply it like a pro, so you can fix it right the first time and get back to enjoying your time on the water.
Why Your Aluminum Boat is So Picky About Sealants
Before you patch that leak, you need to understand that your aluminum boat behaves very differently from a fiberglass one. Aluminum has its own set of rules, and if you ignore them, you're just setting yourself up for failed repairs and the same old leaks, season after season.
Think of your aluminum hull like it's alive. When the sun beats down on it, the metal expands. When you put it in cool water, it contracts. This constant flexing, known as thermal expansion, puts a ton of stress on every single seam and rivet. Your average hardware store caulk just can't handle that kind of movement; it would get brittle and crack in no time.
The Hidden Threat of Corrosion
Then there's the big one: corrosion. Aluminum is notorious for corroding, especially in saltwater. If you smear on a sealant that isn't chemically compatible, you could be making things much worse. For instance, many common silicone sealants release acetic acid (the stuff in vinegar) as they cure, which actively eats away at aluminum.
This is the kind of hidden damage that can keep you up at night. You might think you've sealed the leak perfectly, but underneath that neat bead of sealant, you could be brewing a chemical reaction that's destroying your hull. It’s a classic case of the cure being worse than the disease.
This is exactly why grabbing a specialized product is non-negotiable. You need a sealant that does more than just plug a hole. It has to be:
- Incredibly Flexible: It needs to stretch and move with your boat's hull without ever letting go.
- Chemically Neutral: It must be formulated specifically to be non-corrosive to aluminum, preserving the metal's integrity.
- Tenaciously Adhesive: It has to create a bulldog grip that won't peel up or pull away, even under the constant stress of water and movement.
A proper marine-grade aluminum sealant for boats is engineered to handle all of this. To learn more about keeping your hull in top shape, check out our guide on finding an effective aluminum corrosion cleaner.
Choosing the Best Sealant for Your Aluminum Boat
Walking into a marine supply store can feel overwhelming. 5200, 4200, Life-Calk... they all promise a waterproof, rock-solid bond. But when you're working with an aluminum boat, grabbing the wrong tube isn't just a mistake; it can be a costly one that leads to corrosion and failed seals.
Let's cut through the noise. The best sealant for your aluminum boat needs to do two things exceptionally well: stick like crazy and stay flexible. Your boat is constantly expanding, contracting, and flexing. The right sealant moves with it, season after season.
So, What Are Your Options?
You'll generally run into three main types of sealant on the shelf: polyurethane, polysulfide, and modern hybrids like MS Polymers. While they might look similar, they behave very differently on aluminum.
-
Polyurethane: This is the bulldog of marine sealants, known for its incredible strength. It's a go-to for permanent, structural bonds below the waterline, like hull fittings. The big catch? Once it cures, it’s there for good. Removal often involves a grinder, a heat gun, and a lot of patience.
-
Polysulfide: An old-school option you'll still see around. Its main claim to fame is excellent resistance to chemicals, particularly fuel. That makes it a solid choice for things like sealing around fuel tank fittings. However, it's not as strong or flexible as newer formulas.
-
MS Polymer (Hybrid): This is where modern sealant technology really shines for you, the aluminum boat owner. MS Polymers blend the best qualities of polyurethane (strength) and silicone (UV resistance, flexibility) into one tube. They're strong, incredibly flexible, and much more forgiving to work with.
For my money, MS Polymers are the clear winner for most jobs on an aluminum boat. You get a sealant that's tough enough for life below the waterline but also won't get chalky or crack when exposed to the sun. Best of all, they play nice with aluminum, meaning no corrosion worries.
A Quick Comparison to Help You Decide
To make it even clearer, here’s a quick-glance table to help you match the right sealant to your specific project on the boat.
Sealant Type Comparison for Aluminum Boats
| Sealant Type | Best For | Flexibility | UV Resistance | Paintable? |
|---|---|---|---|---|
| Polyurethane | Permanent, structural bonds (hull fittings, keel joints) | Good | Fair to Good | Yes |
| Polysulfide | Bedding fuel fills and vents, teak decks | Fair | Good | No |
| MS Polymer (Hybrid) | General purpose (hardware, rivets, hatches, seams) | Excellent | Excellent | Yes |
As you can see, the versatility of MS Polymers makes them a fantastic all-around choice for the modern boater.
Why MS Polymer is Usually the Right Call
For almost any task on your aluminum boat, from sealing a leaky rivet to bedding a new cleat, an MS Polymer sealant is going to be your most reliable option. Its massive flexibility is a perfect match for aluminum's tendency to expand and contract with temperature swings. This prevents the seal from cracking and failing over time.
This isn't just talk; it's proven in the real world. One boat builder ran into a disaster when their aluminum hulls started delaminating just 18 months after hitting the water. The cause? A sealant that couldn't handle the different thermal expansion rates. Their solution was to switch to an MS Polymer, which resulted in their warranty claims plummeting by over 60%.
Of course, picking the right sealant is only half the battle. If you apply it to a dirty surface, even the best product will fail. Getting the surface perfectly prepped is non-negotiable, a process we dive into in our guide to the best boat cleaning products.
The Ultimate Surface Prep for a Flawless Seal
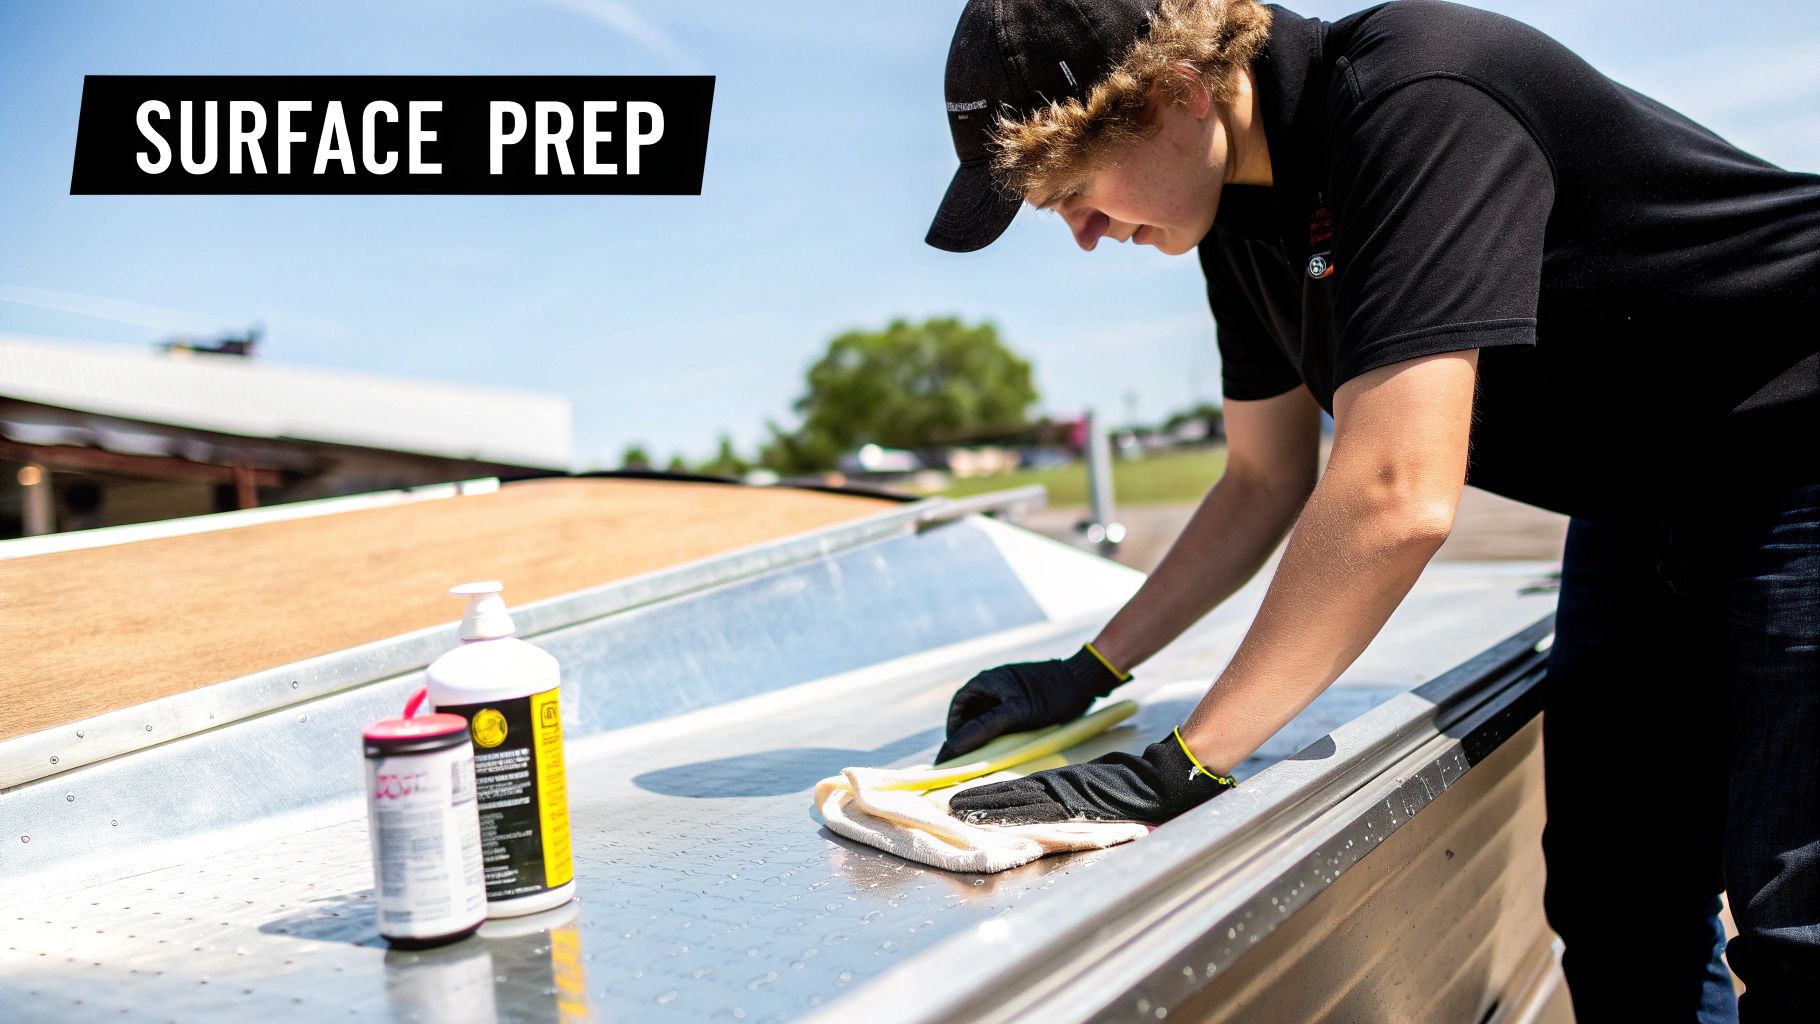
If you ask any seasoned boater the secret to a perfect sealant job, they’ll tell you it’s 90% preparation and 10% application. Skipping the prep work is the number one reason sealants fail. This is where you lay the groundwork for a bond that absolutely will not quit. It might not be the most glamorous part of the job, but it's by far the most important.
Step 1: Start with a Surgically Clean Surface
You can’t just slap new sealant over old grime, salt spray, or oxidation and expect it to work. The very first thing you need to do is get the area surgically clean, removing any and all contaminants that could get in the way of a good bond.
You'll need a cleaner that cuts through tough marine buildup without leaving any residue behind. This is a perfect job for a dedicated cleaner like Boat Juice Exterior Cleaner. It's designed to break down that stubborn salt and grime. Just spray the area, give it a light scrub with a soft brush, and rinse it thoroughly.
Step 2: Get Rid of Old, Failed Sealant
Once the surface is clean, it's time to tackle the old, failing sealant. I won’t lie, this can be the most time-consuming part of the whole project, but it’s absolutely critical. The goal here is to remove every last scrap without gouging or scratching up the aluminum.
A few tools will make your life a lot easier:
- Plastic Scraper: Always start here to lift the old stuff without damaging the metal underneath.
- Heat Gun: A little bit of heat on a low setting can soften stubborn old sealant, making it peel away easily. Just be sure to keep the gun moving.
- Mineral Spirits: For that sticky residue left behind, a rag dampened with mineral spirits or acetone will help dissolve the last of it. Follow up with a clean, dry cloth.
Whatever you do, don't be tempted to just caulk over the old stuff. It's like putting a new bandage over a dirty wound—the new sealant will only stick to the old, failing sealant, which guarantees your leak will be back in no time.
Step 3: Create the Perfect Mechanical Bond
Here's a tip that separates the pros from the amateurs: a perfectly smooth, shiny surface is actually terrible for adhesion. To get a truly permanent bond, you need to give the new sealant something to physically bite into.
Grab a piece of 80-grit sandpaper or a maroon Scotch-Brite pad and lightly scuff the entire area where the new sealant will be applied. You’re not trying to grind away metal, just dulling the finish. This simple step massively increases the surface area and gives the aluminum sealant for boats a rough texture to lock onto.
After sanding, give the surface one final wipe-down with a solvent like acetone on a clean, lint-free rag. This removes any lingering dust and oils. Now your surface is perfectly prepped and ready for a flawless, long-lasting seal. If this prep work has you inspired to shine up other parts of your boat, check out our guide on using an aluminum polish for boats.
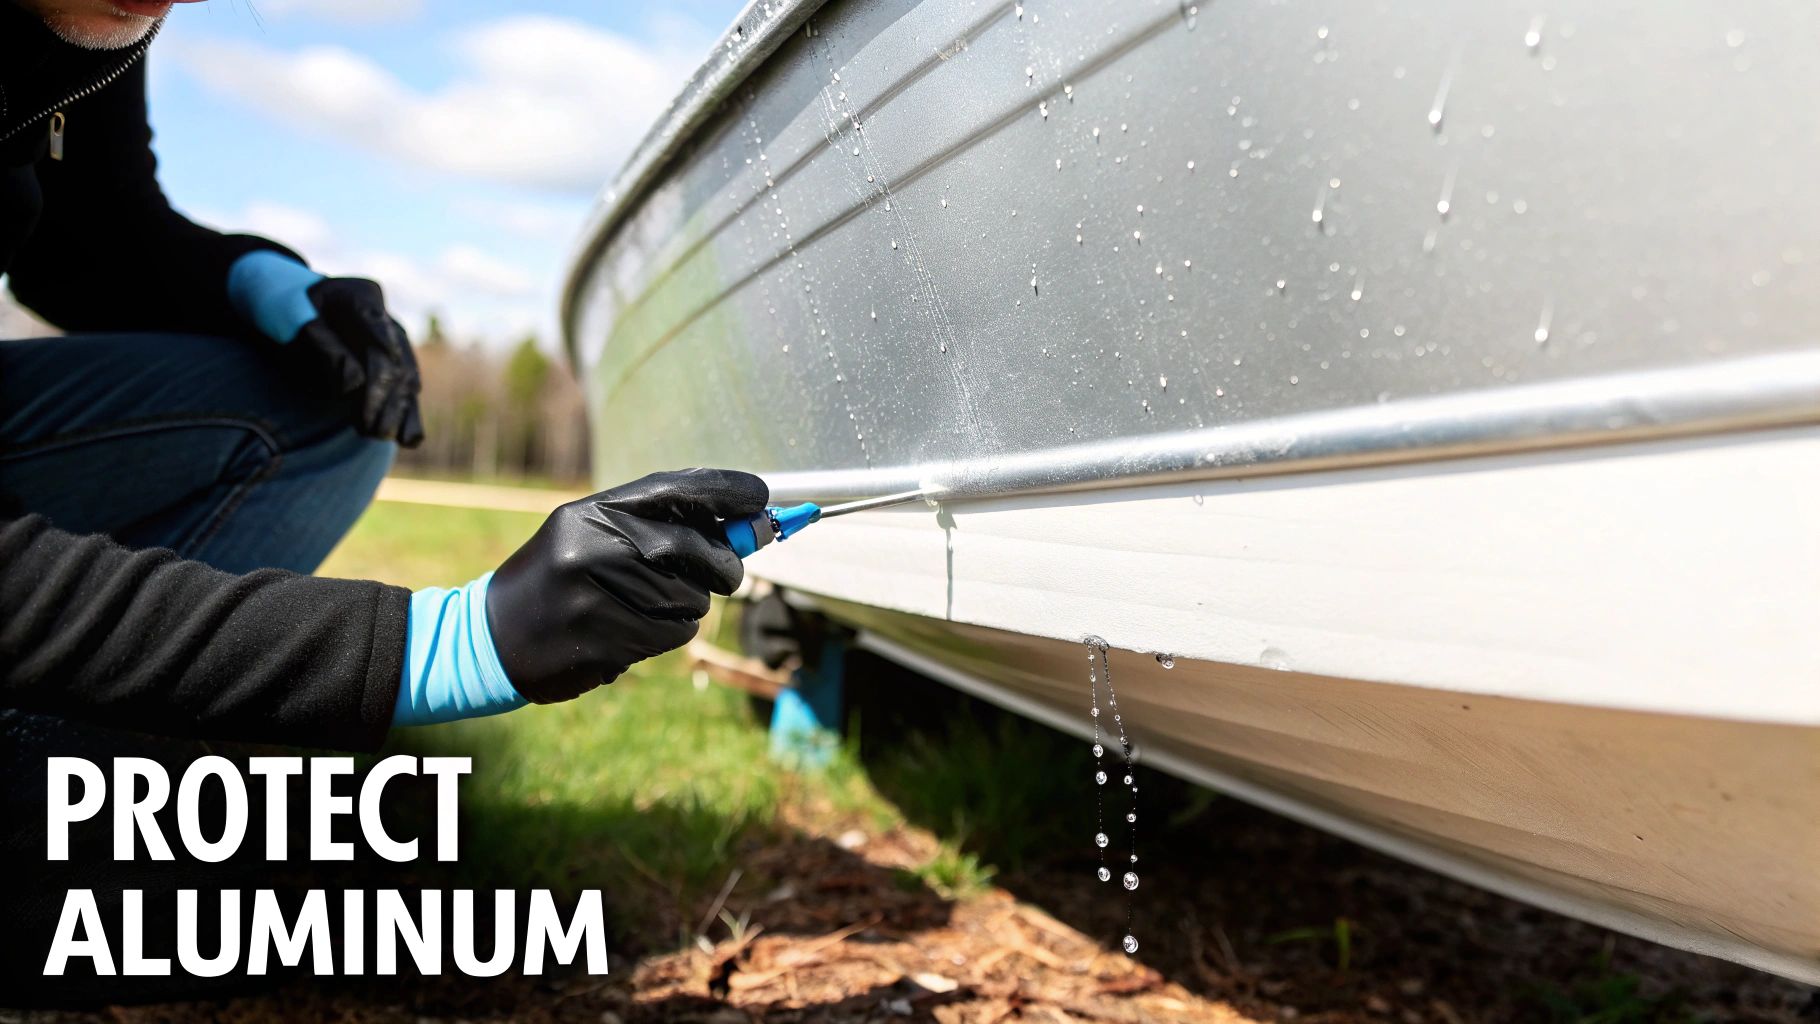
Applying Aluminum Sealant: A Step-by-Step Guide
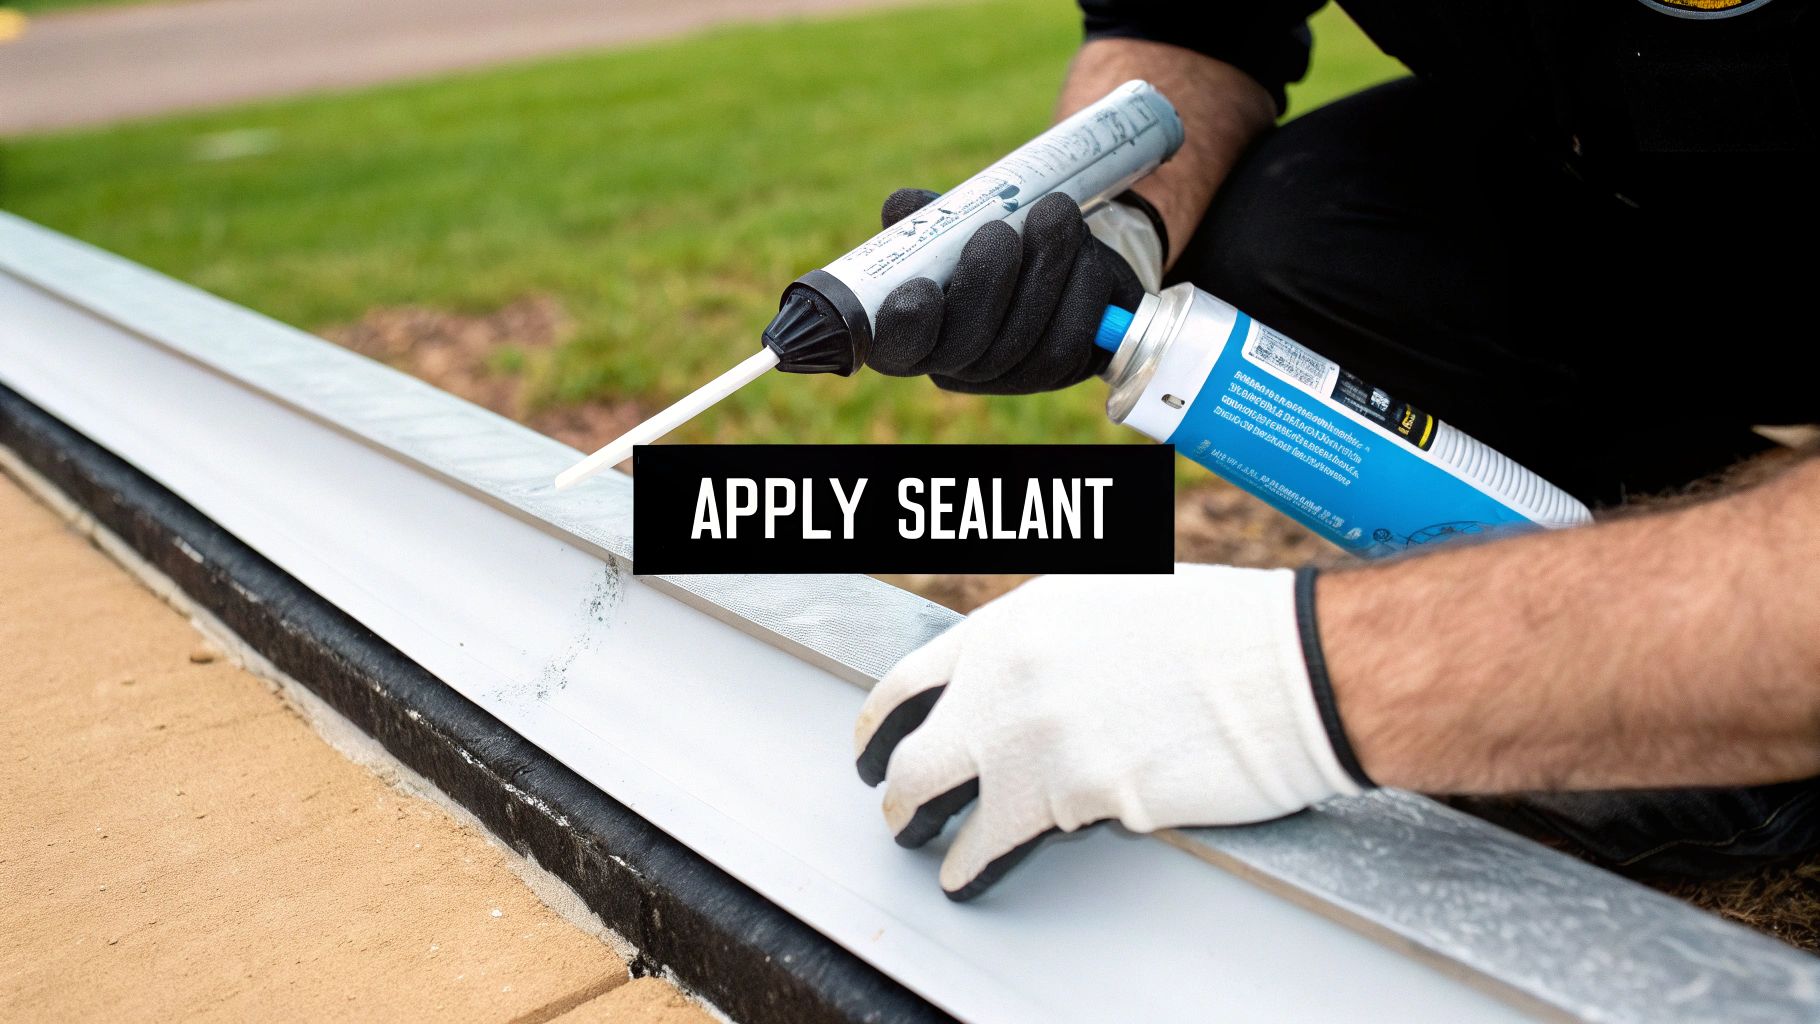
Alright, your surface is prepped and you've done the hard part. Now for the fun stuff—laying down a clean, waterproof bead of sealant. This is where a little technique separates a messy amateur job from a professional repair you can be proud of.
Step 1: Cut the Nozzle Correctly
It all begins before the tube even goes in the gun. You'll want to cut the nozzle to match the size of the joint you're filling. Grab a sharp utility knife and carefully cut the nozzle at a 45-degree angle.
Why the angle? It’s a simple trick that lets you drag the nozzle smoothly along the seam, forcing sealant into the joint while the angled tip neatly smooths the bead as you go. Always start with a smaller opening—you can always cut it bigger if you need to.
Step 2: Lay the Perfect Bead
Go ahead and load the tube into your caulk gun. A dripless caulk gun is worth its weight in gold, as it saves you from that annoying, continuous ooze of sealant after you let go of the trigger.
Position the gun at a 45-degree angle to the seam. The key here is to push the sealant into the gap, not just drag it over the top. Apply steady, even pressure and move at a consistent speed. Pushing the bead ensures the sealant gets deep into the joint and gets rid of air pockets for a stronger, waterproof bond.
Pro Tip: Don't get ambitious and try to seal a long seam all at once. Break it down into manageable sections, maybe two or three feet at a time. This gives you enough working time to smooth out the bead before the sealant starts to form a skin.
Step 3: "Tool" the Sealant for a Pro Finish
"Tooling" is just the fancy word for smoothing out the bead you just applied. This crucial step presses the sealant firmly against both sides of the joint for maximum adhesion and creates a nice, clean profile that helps water run right off.
You don't need any special equipment for this. A gloved finger dipped in a bit of mineral spirits or soapy water is what most pros use. The solvent acts as a lubricant, stopping the sticky sealant from grabbing your glove and letting you glide right over it.
- Use light, consistent pressure.
- Run your finger down the entire length of the bead you just laid.
- Keep a roll of paper towels handy to wipe the excess sealant off your glove immediately.
Step 4: Be Patient and Let It Cure
Now, you just have to let it cure. Most marine sealants use moisture in the air to cure, which means the weather has a huge say in how long it takes. On a warm, humid day, your sealant might feel tack-free in just a few hours and be fully cured within 24-48 hours. But in cool, dry weather, that same process could easily take a week or even longer.
Always check the manufacturer's instructions on the sealant tube for their specific recommendations. I know it’s tempting, but resisting the urge to get the boat back in the water too soon is the final, critical step to a long-lasting, leak-free repair.
Common Mistakes to Avoid When Sealing Your Boat

You've done all the hard work. The last thing you want is for that perfect repair to fail because of a simple, avoidable misstep. Let’s walk through the common pitfalls I’ve seen that can turn a solid job into a frustrating do-over next season.
Getting this right means your repair will hold up for years, not just months.
Using the Wrong Product
This is the biggest mistake I see. Grabbing a tube of household silicone from the hardware store is a recipe for disaster. Most of those general-purpose sealants release acetic acid (the stuff that smells like vinegar) as they cure, which will actively corrode raw aluminum.
Always, always use a marine-grade, aluminum-safe sealant for boats. Anything else is a gamble you don't want to take. You need a product that's chemically neutral and designed for the constant flex and abuse of the marine environment.
Skimping on Surface Prep
I can't say this enough: a dirty, oily, or oxidized surface is the number one enemy of a good seal. Slapping even the most expensive sealant over old, flaky caulk or a layer of grime is like building a house on a foundation of sand. It just won't stick.
Take the extra 30 minutes. Do the job right. Thoroughly clean, scrape, and scuff the area. A final wipe-down with a good solvent like acetone gets rid of any last trace of contamination, giving your new sealant a pristine surface to bond with.
Skipping the prep work is the most common reason for sealant failure. It’s tempting to rush, but all you're doing is guaranteeing you'll be fixing the same leak again sooner rather than later.
Applying Too Much or Too Little
When it comes to sealant, more is definitely not better. Laying down a huge, messy bead is wasteful and doesn't make the seal any stronger. In fact, a massive bead is much harder to tool correctly, often leaving you with a lumpy finish that traps water.
On the other hand, being too stingy is just as bad. An insufficient bead might not fill the joint completely, creating a weak spot for water to sneak through. The goal is a consistent bead that’s just slightly larger than the gap you’re filling.
The good news is that sealant technology has come a long way. Where older polysulfides often failed within 18 months on aluminum joints, newer MS polymer hybrids have slashed those failures by over 60% in documented cases. You can read more about the evolution of marine sealant technology and see how it's making our boats last longer.
Your Questions About Aluminum Boat Sealants Answered
Alright, we've covered the why, what, and how of sealing up your aluminum boat. But I know how it is—you're standing there, caulk gun in hand, and a few last-minute questions pop into your head. Let's clear up some of the most common uncertainties I hear around the marina.
Can I Just Grab Regular Silicone Sealant at the Hardware Store?
I'm glad you asked, because this is a huge one. Absolutely not. That's a hard "no," and for a very good reason. Most common household silicone sealants release acetic acid as they cure—if it smells like vinegar, that's the stuff. On raw aluminum, that acid is a killer. It will literally start corroding the metal right under your brand-new seal.
You have to stick with a marine-grade sealant that specifically says it's safe for aluminum. Look for polyurethanes, polysulfides, or even better, one of the newer MS Polymer hybrids that are chemically neutral.
How Do I Know It's Time to Replace Old Sealant?
Your boat will tell you, you just have to know what to look for. Keep an eye out for sealant that’s visibly cracking, shrinking, or pulling away from the edges of a joint. A good test is to just press on it. If it feels hard and brittle instead of having a bit of rubbery give, its days are numbered. It's lost its flexibility and can no longer stretch with the boat.
The most obvious giveaway? A new leak. If water's getting in where it shouldn't, a seal has failed. A quick visual inspection of all your seams during spring prep or winterization can help you spot trouble before it starts.
What’s the Difference Between a Sealant and an Adhesive?
Great question. The lines can get blurry with some high-strength marine products. Here’s the simplest way to think about it: a sealant’s main job is to act as a flexible, waterproof barrier, while an adhesive’s main job is to be a powerful glue.
Sure, a product like 3M 5200 is legendary as both, but its incredible bonding power is often total overkill for a simple seam. For joints that see a lot of vibration and movement, a dedicated flexible aluminum sealant is almost always the better choice because it’s built for elasticity above all else.
How Long Until I Can Get My Boat Back in the Water?
Patience is a virtue here. The real answer is always printed right on the tube, and you need to follow it to the letter. A sealant might feel tack-free in just a few hours, but getting a full, deep, waterproof cure can take anywhere from 24 hours to a full week. This is super dependent on temperature and humidity.
Tossing your boat back in the water too soon is the fastest way to ruin all your hard work. If the sealant hasn't fully cured, the bond will fail, and you'll be right back where you started.
Now that you know how to create a perfect, long-lasting seal, your next step is to tackle that leaky rivet or seam you've been putting off. Grab the right MS Polymer sealant, follow the prep steps, and enjoy the peace of mind that comes with a job done right.
Once your new sealant is fully cured and your boat is watertight, give it that showroom look with the best cleaners out there. Boat Juice has everything you need to make it shine.