


· By Boat Juice Team
Power Wash Boat: Your DIY Guide to a Pro-Level Clean
Learning how to power wash your boat is one of the most satisfying DIY jobs you can tackle. There’s nothing quite like watching months of lake scum, algae, and grime melt away, revealing that showroom gleam. It's the fastest way to get your boat looking sharp for the season or cleaned up properly for winter storage.
Why You Should Power Wash Your Boat
Let's be honest, nobody enjoys spending hours scrubbing a hull by hand. A power washer makes the job easier and delivers a level of clean that a simple hose and brush just can't match. This is your best defense against the stubborn, caked-on gunk that dulls your gelcoat and makes your boat look old before its time.
A good power wash does more than just blast away dirt. It preps the surface perfectly for a fresh coat of wax or a modern sealant, helping you spot any small issues like dings or scratches that were hiding under the grime. Ultimately, it protects your investment because a clean hull isn't just for looks—it actually reduces drag and performs better on the water.
Getting Pro Results With the Right Gear
You don’t need a giant, gas-powered beast to get the job done right. The secret to a safe, effective wash is having control over the pressure. Thankfully, today's pressure washers are more user-friendly and affordable than ever. The market has been booming, valued at around USD 4.0 billion in 2023, which means more features perfect for boat owners like you.
Manufacturers are adding better corrosion resistance for use around saltwater, more precise pressure settings to keep your gelcoat safe, and even built-in systems for applying soap. If you're curious, you can discover more about this market growth and how it’s changing marine cleaning tools.
The Bottom Line: Power washing isn't just a quick clean. It's a fundamental part of boat maintenance that protects its value and appearance. Think of it as the first, most important step in any real detailing job.
With a few simple techniques, you can turn this chore into a seriously rewarding project. Let's walk through how to do it safely and get fantastic results every single time.
Getting Your Boat and Gear Ready for the Wash
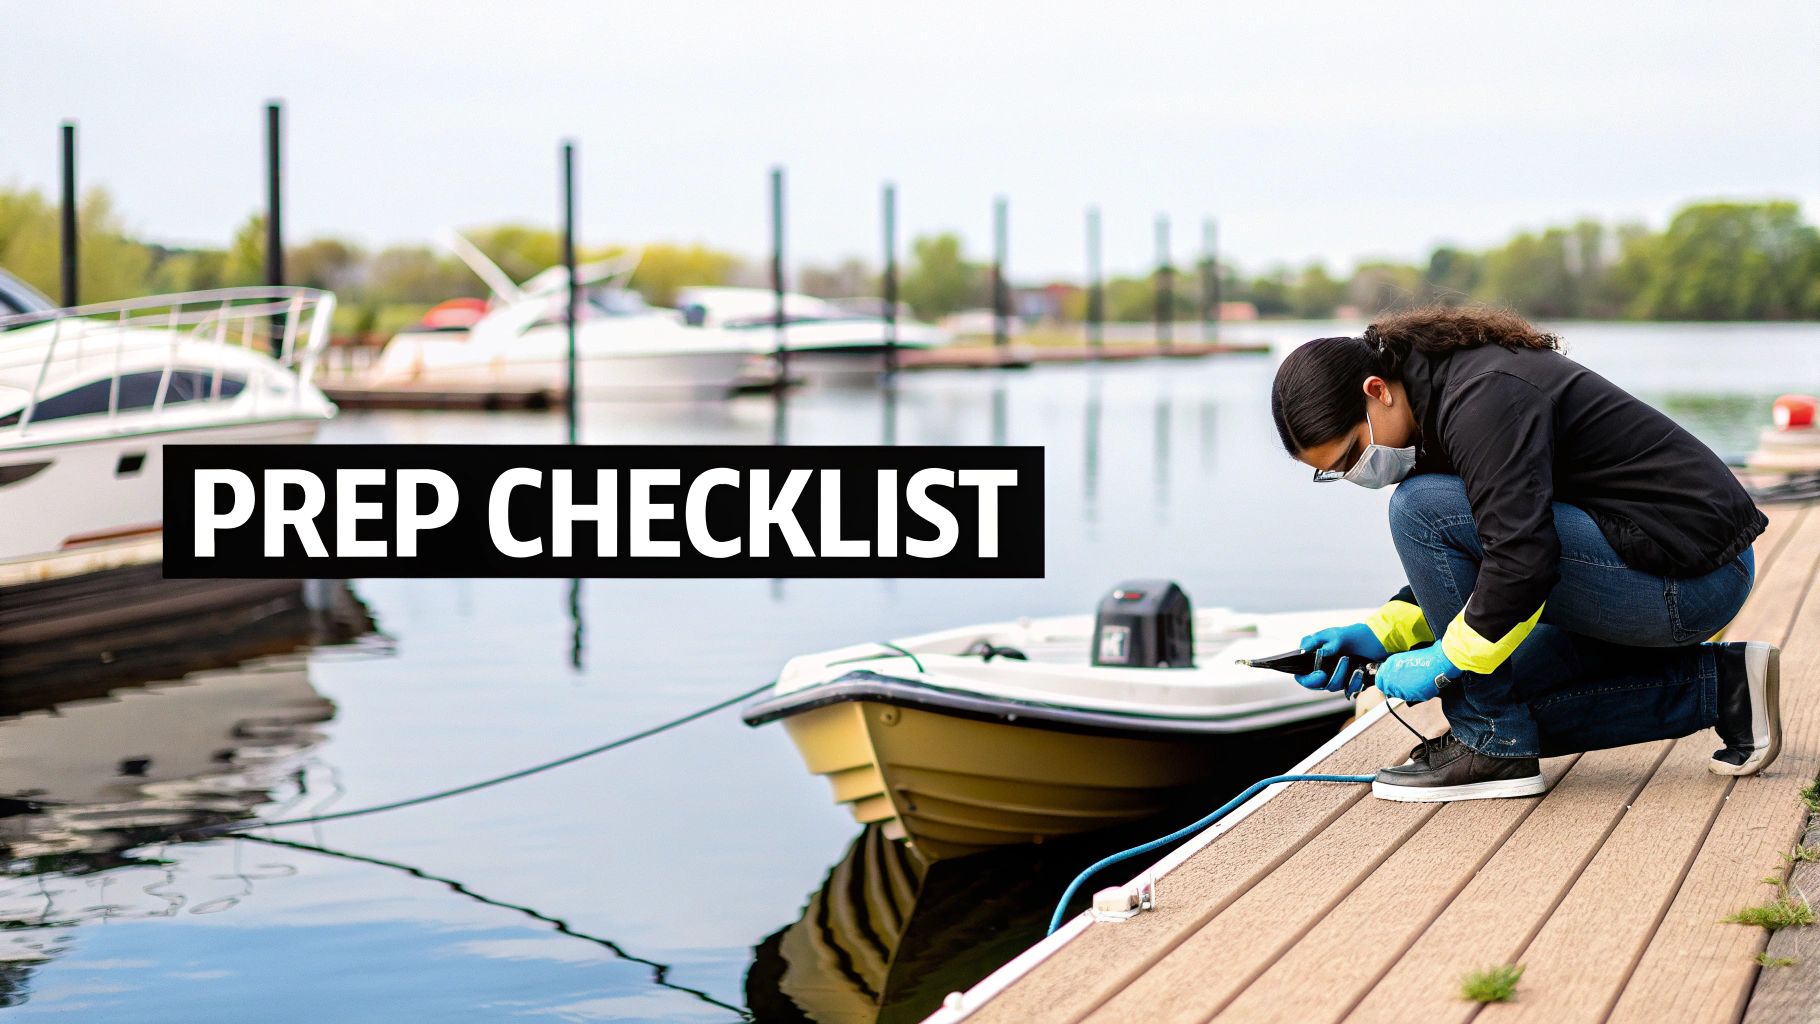
Before you pull that trigger, let's talk prep. A great wash is all about what you do before you start spraying. Taking just 15 minutes to get set up can save you from a world of hurt—like etching your gelcoat or blasting water into your electronics. This is the step most people skip, and it's the difference between a pro-level clean and a frustrating afternoon.
First, figure out where you'll be washing. Check your local rules, because many marinas and cities have strict regulations about runoff to protect the waterways. Your best bet is to use a designated wash-down area. If that's not an option, find a spot on grass or gravel that can absorb the water and keep soapy residue out of storm drains.
Choosing Your Weapon: Pressure and Nozzles
You don’t need a fire-breathing, commercial-grade monster to clean your boat. For most boat owners, an electric power washer in the 1,500 to 2,000 PSI range is the sweet spot. That’s enough muscle to cut through the grime without being so aggressive that it damages your finish.
The other number to watch is GPM (gallons per minute), which tells you about rinsing power. Look for something in the 1.2 to 2.0 GPM range. Now for the most important part: the nozzles. Those little colored tips control the spray pattern and are critical for a safe wash.
- White (40-degree): This will be your workhorse. It creates a wide, gentle fan of water that’s perfect for rinsing large gelcoat surfaces without any risk of damage.
- Green (25-degree): This one has a bit more punch. Use it carefully for stubborn scum lines, non-skid decks, and cleaning up your trailer frame. Just be sure to keep it away from vinyl seats and decals.
- Red (0-degree) & Yellow (15-degree): Here's a simple rule: never use these on your boat. They are far too powerful and will carve right through gelcoat, shred vinyl, and blast the finish off hardware in a heartbeat. Save those for stripping paint off concrete.
A quick pro tip: do a walk-around before you spray. Are all the hatches latched? Electronics covered? Drain plug in? A 30-second check can prevent you from turning a cleaning day into a very expensive repair day.
Prepping Your Workspace
Alright, your gear is sorted. Now for the final bits of prep. I always start with a quick pre-rinse using a standard garden hose. This knocks off the loose stuff—sand, dust, and cobwebs—so your power washer and soap can focus on the real, baked-on grime.
This is also when you should gear up. Grab some non-slip shoes, because things are about to get slick. Safety glasses are non-negotiable to protect your eyes from spray-back, and a good pair of gloves will keep your hands from getting grimy. Make sure you have the best boat cleaning products ready to go so you aren't scrambling mid-wash.
Getting Your Power Washing Technique Just Right
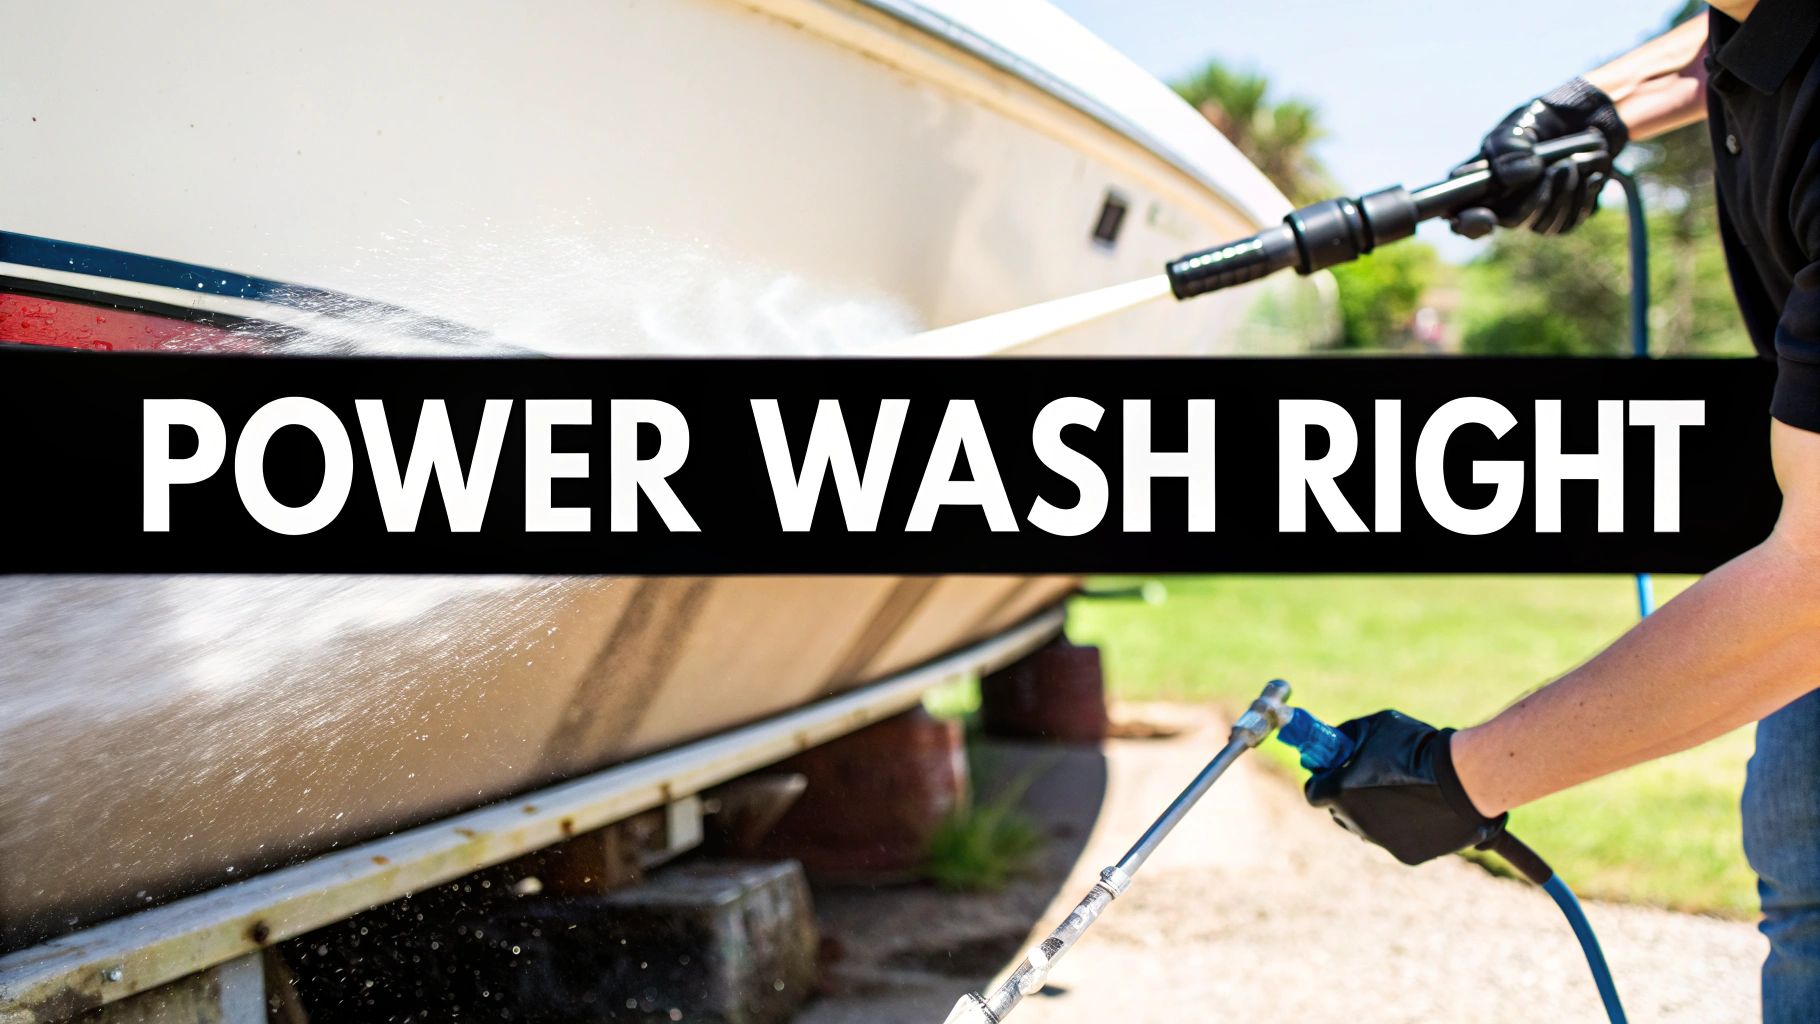
Your boat's prepped and the gear is laid out. Now for the fun part. The secret to a phenomenal wash isn't about brute force; it's about using a smart technique that cleans effectively without harming your boat's finish. Get this down, and every future wash will be a breeze.
The first rule of washing anything, from a car to a boat, is simple: work from the top down. This is non-negotiable. Why? Because gravity becomes your best friend, pulling all the dirty, soapy water down and away. This keeps grime from streaming over areas you've just cleaned, which means you won't have to wash the same spot twice.
Let the Foam Cannon Do the Heavy Lifting
Before you hit the trigger on that high-pressure stream, let your soap do its job. This is where a foam cannon attachment truly shines. It lays down a thick, clinging blanket of suds that breaks down dirt, algae, and lake scum before you apply any real pressure, making the whole process safer and more effective.
Using a quality, pH-neutral soap is important here. You want something that produces rich foam but won't strip any existing wax or sealant. Just let the foam sit for a few minutes—but don't let it dry in the sun!—and you'll be amazed at how much gunk rinses off with hardly any effort.
This pre-soak step is a huge win because it dramatically cuts down on the amount of direct, high-pressure washing you need to do. Less pressure means less risk to your gelcoat. The global market for boat cleaners hit around USD 3.29 billion in 2024 for a reason—people want products that work effectively and safely.
Tailoring Your Spray to the Surface
Here’s where many people go wrong. You can't just use the same pressure and nozzle on every part of your boat. Your gelcoat can take more of a beating than your vinyl seats can. Dialing in your technique for each material is absolutely critical to avoid causing expensive damage.
My Go-To Rule: Keep the nozzle a consistent 12-18 inches away from the surface for most general cleaning. Get any closer and you risk damage. Always keep the wand moving in a smooth, sweeping motion—never linger on one spot.
Let's break down the best approach for the different materials you'll be dealing with.
Pressure and Nozzle Guide for Your Boat
Not sure where to start? This table is your cheat sheet. Different parts of your boat require a different touch, and using the right PSI and nozzle is the key to cleaning effectively without causing any harm.
| Boat Surface | Recommended PSI Range | Best Nozzle (Color/Degree) | Key Technique |
|---|---|---|---|
| Gelcoat/Fiberglass | 1500-2000 PSI | Green (25°) or White (40°) | Spray at a 45-degree angle to lift dirt out. |
| Vinyl Upholstery | 500-800 PSI | White (40°) Only | Increase distance to 24 inches; use for rinsing only. |
| Non-Skid Decks | 1300-1500 PSI | Green (25°) | Use a shallow angle to get into the texture. Keep moving! |
| Hardware & Trailer | 1500-2000 PSI | Green (25°) | Blast away algae from metal. Use a wider spray on bunks. |
Think of this as your starting point. Always test on a small, inconspicuous area first if you're unsure. Now, let's dive a little deeper into the technique for each.
Hitting the Major Areas
- Gelcoat and Fiberglass Hull: This is where you’ll tackle the heaviest grime, especially that stubborn waterline stain. Use your white (40-degree) or green (25-degree) nozzle. The key is to hold the wand at a 45-degree angle to the hull. This angle helps lift the grime off the surface instead of driving it deeper into the gelcoat's pores. For more tips on hull care, check out our guide on how to clean fiberglass boats.
- Vinyl Upholstery and Seats: Handle with care! You need to be extra gentle here. Stick with the white (40-degree) nozzle and stand back at least 24 inches away. The goal is just to rinse away soap and loose dirt. Never use a narrow, high-pressure nozzle—it will shred or scar the vinyl in a heartbeat.
- Non-Skid Decks: Those textured surfaces are magnets for dirt. The green (25-degree) nozzle is perfect for this job. Just remember to keep the wand moving and spray at a shallow angle. This lets the water get into all the little crevices without being overly aggressive.
- Hardware and Trailer Bunks: For stainless steel cleats, railings, and the trailer frame, the green (25-degree) nozzle works great for blasting off caked-on gunk. When it comes to carpeted trailer bunks, use a wider spray from a bit further away to flush out trapped sand and salt that can scratch your hull.
Dealing With What the Power Washer Leaves Behind
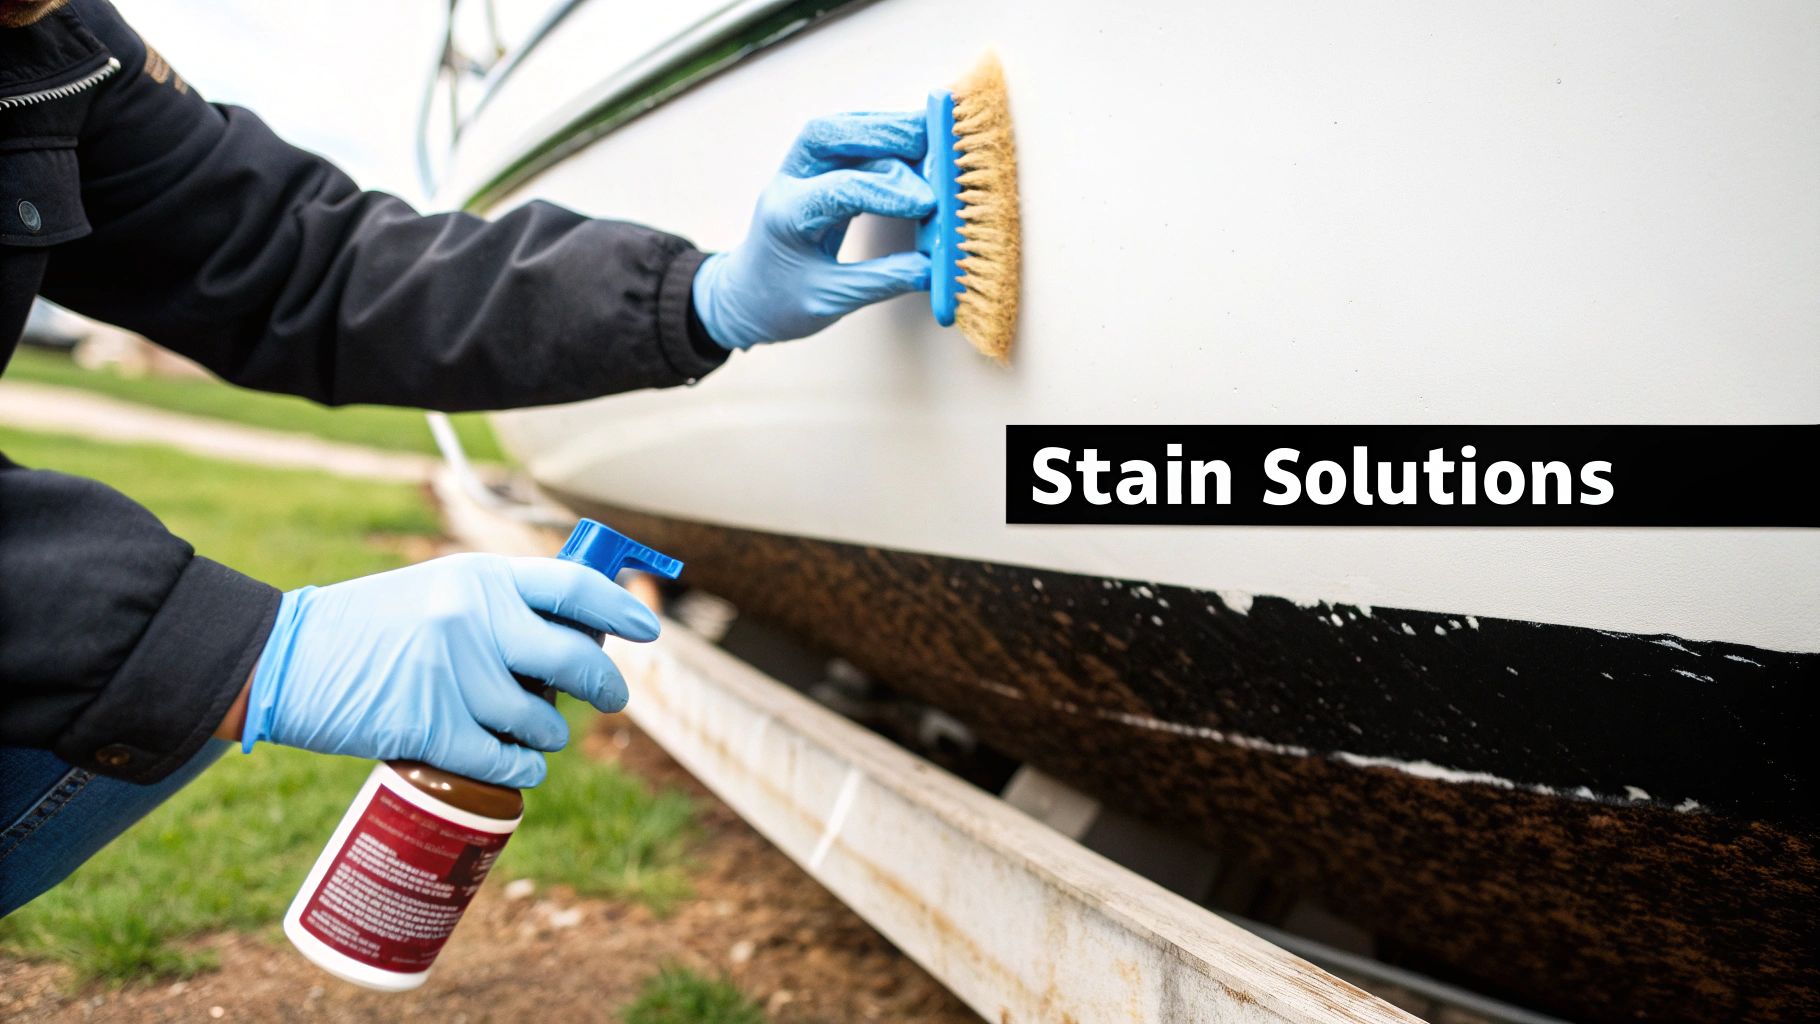
So, you’ve finished the power wash, and the boat looks great. But then you spot them—stubborn stains that just laughed at the high-pressure water. Don't worry, this happens to everyone. The biggest mistake you can make now is cranking up the pressure, thinking more force will solve it. That’s a fast track to damaging your gelcoat.
Some issues, like deep-set mildew or crusty water spots, are a chemical problem, not just a dirt problem. Think of your power washer as the tool for the big stuff. Now, it's time to switch to specific cleaners to finish the job.
Banishing Water Spots and Mildew for Good
Let's start with those chalky white spots that plague your hull and windshield. Those are hard water spots—mineral deposits left behind after water evaporates. They've essentially bonded to the surface, and pressure washing alone won't get them off without risking scratches to your finish.
For this, you need a dedicated water spot remover. A product like Boat Juice Extreme Water Spot Remover is perfect because it uses a mild acid to gently dissolve those mineral bonds. It breaks them down chemically, so you can just wipe them away without harsh scrubbing. If you want to learn more, we have a whole guide on finding the https://shopboatjuice.com/blogs/boat-care/best-water-spot-remover-for-boats that explains why this approach is so much safer and more effective.
Pro Tip: Power washing is like sweeping the floor—it gets the loose dirt. Using a spot remover is like using a specific cleaner to lift a sticky spill. Two different tools for two very different jobs.
And what about those ugly little black or pinkish dots on your vinyl seats? That’s mildew, and it has grown into the material. A power washer might shear off the top layer, but the roots are still there, waiting to grow back. A targeted cleaner like Boat Juice Mildew Stain Remover is the right tool here. You just spray it on, let it work, and give it a light rinse—no high pressure needed.
How to Handle Non-Skid and Other Sensitive Areas
Your boat's non-skid deck is designed to trap dirt. While you can use a bit more pressure here, you still have to be careful not to gouge the textured finish. The best method is to spray it down with a good cleaner, work it into the texture with a medium-bristle brush, and then use your power washer with a wide fan nozzle to rinse it all clean.
Beyond the deck, you need to be smart about where you point that wand.
- Decals & Striping: Always use the white 40-degree nozzle and keep your distance. Catching the edge of a decal with a direct blast is the fastest way to peel it right off.
- Electronics & Gauges: Just don't. Keep the power washer far away from these. A simple damp microfiber towel is the only tool you should use on your dash and screens.
- Hardware & Snaps: Be careful around the snaps for your cover. It's easy to force water underneath them, trapping moisture that can lead to corrosion.
Finally, remember that a clean bottom is a fast bottom. The market for quality boat hull cleaners is expected to hit USD 500 million by 2025 for a reason. Even a thin layer of slime can destroy your fuel efficiency by 10–20%. That’s why a thorough power wash, especially when you pull the boat out of the water for the season, is so critical.
So, What's Next? Protecting Your Freshly Washed Boat
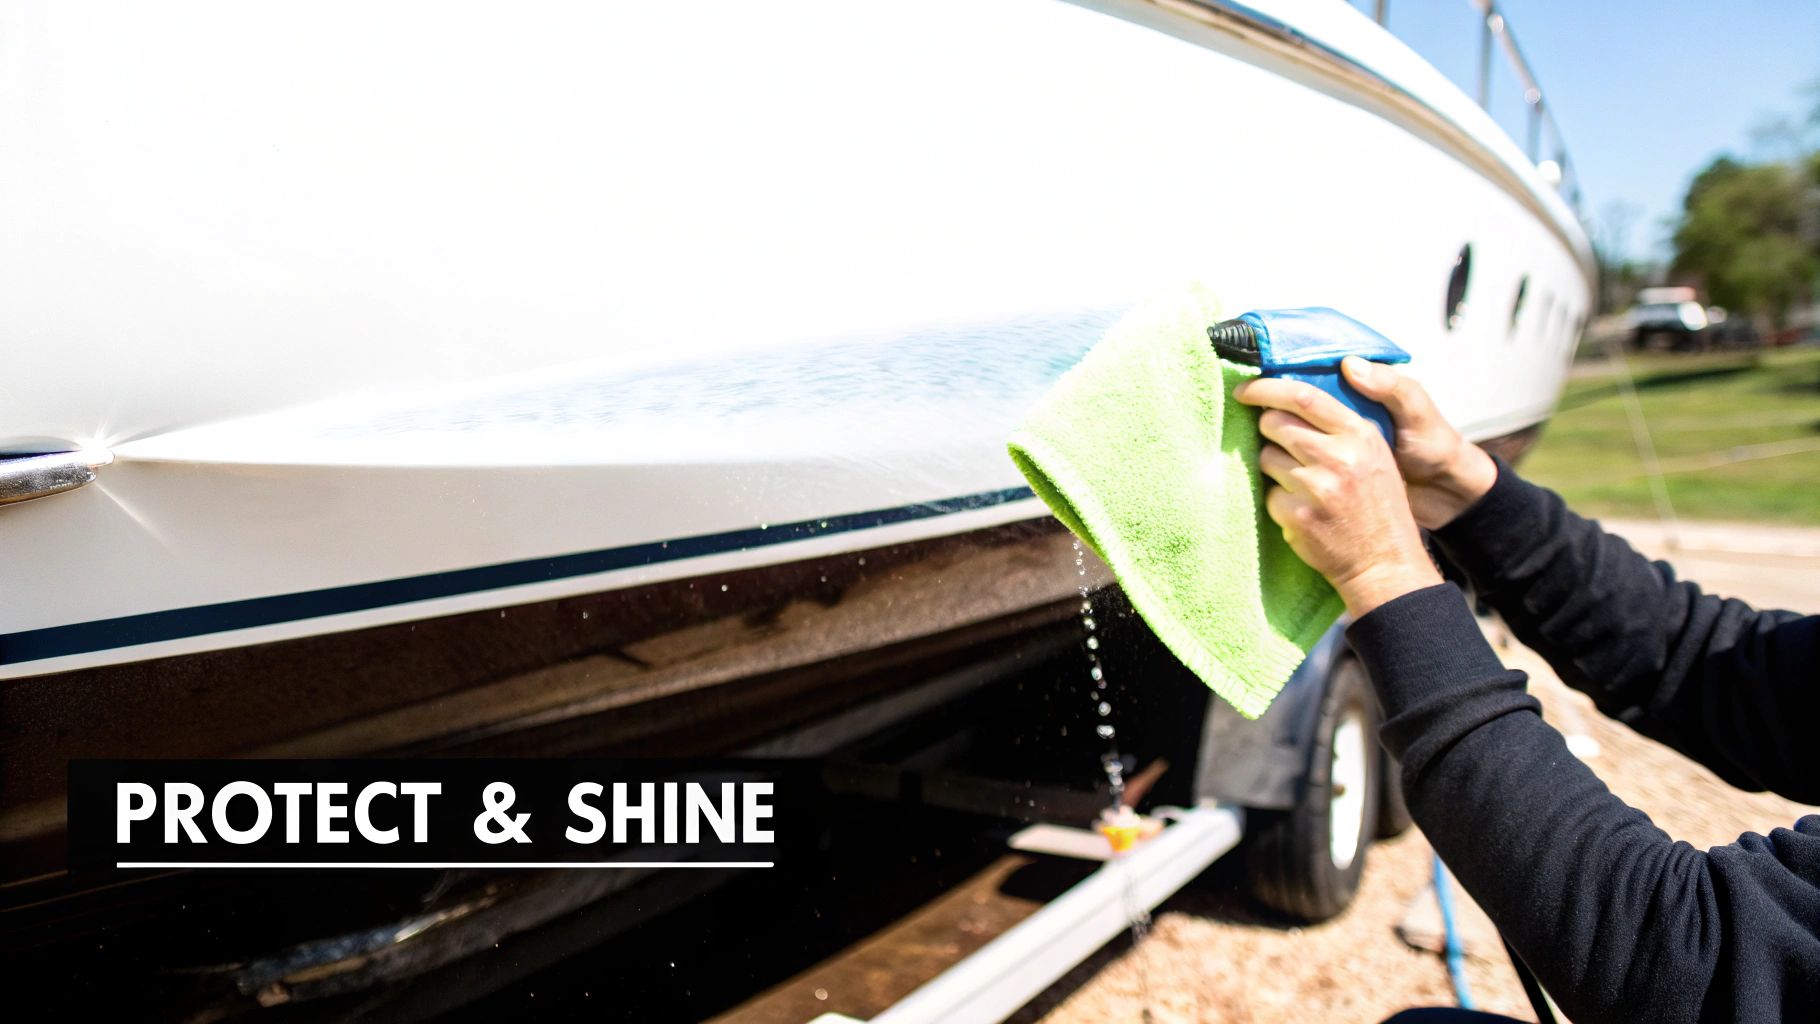
Alright, you’ve put in the work. The grime is gone, the hull is gleaming, and your boat looks a thousand times better. But don’t just walk away yet. If you skip this last step, all that effort could be for nothing. A squeaky-clean boat is a perfect canvas, but it's also completely exposed to the elements.
The absolute worst thing you can do now is let it air dry. As that water evaporates, it leaves behind every mineral and impurity, creating those maddening water spots you just spent an hour blasting away. Your first move in protecting that finish is getting it dry, and doing it properly.
Don't Skip the Dry-Down
Your mission here is to get every drop of water off the boat, and fast. Grab a high-quality, ultra-absorbent microfiber drying towel. The good ones can soak up an incredible amount of water and won’t scratch your gelcoat or leave lint behind.
Just like when you were washing, work from the top down. This common-sense approach keeps you from dripping water all over a section you just finished drying. Gently blot and drag the towel to lift the water off the surface. Pay special attention to the little spots where water loves to hide—around cleats, window frames, and hardware—before it can sneak out and leave ugly streaks.
Pro Tip: A good dry-down does more than just stop water spots. It's the essential prep step for applying a protectant. You need a bone-dry surface for any wax or sealant to bond properly and give you that lasting shine and durability.
It's Time for the Protective Shield
Now that your boat is perfectly clean and dry, it's time to lock in that look with a layer of defense. This is the secret to keeping that glossy shine, making your next wash way easier, and protecting your finish from the sun's harsh UV rays that cause gelcoat to fade and oxidize.
Instead of an old-school wax that can take all day to apply, a modern spray-on protectant is the way to go. A product like Boat Juice Protection uses an SiO2 ceramic formula to create an incredibly slick, hydrophobic (water-repelling) barrier on the surface. You'll literally see water and dirt bead up and roll right off instead of sticking.
Applying it is a breeze:
- Lightly mist the protectant over a small, manageable section, about 2x2 feet.
- With a clean microfiber towel, gently wipe the product across the area to get even coverage.
- Flip your towel to a clean, dry side (or grab a second one) and buff the section to a brilliant, high-gloss shine.
This creates a durable shield on your gelcoat, vinyl seats, and even your boat’s decals. That ceramic layer gives you a deep, wet look and acts as a sacrificial barrier, taking the hit from sun and salt. It’s a simple step that makes a huge difference, ensuring your boat stays cleaner for longer after every power wash boat session.
Got Questions About Power Washing Your Boat? We've Got Answers
Even after you've got the basics down, a few questions always pop up. That’s a good sign! It means you’re really thinking about how to get the job done right and protect your investment. Let's tackle some of the most common things people ask when they're getting ready to power wash their boat.
Can I Use a Gas-Powered Washer on My Boat?
Technically, yes, but you have to be incredibly careful. Gas-powered washers are beasts, often starting at 2,500 PSI or higher. That’s way more power than you need for most parts of your boat and can easily damage your gelcoat.
If a gas washer is your only option, make sure it has an adjustable pressure regulator and dial it way down. Honestly, the risk is rarely worth it. An electric washer in the 1,500-2,000 PSI range is the sweet spot—plenty of muscle to clean effectively without the high risk of gouging your finish. For pretty much every boat owner, electric is the smarter, safer bet.
How Often Should I Be Power Washing?
The ideal schedule really comes down to how you use and where you keep your boat. For most recreational boaters, a good rule of thumb is to plan a deep power wash at two critical times of the year:
- Beginning of the Season: Think of this as your spring prep. It blasts away all the dust, pollen, and grime that settled on your boat during storage, getting it primed and ready for the water.
- End of the Season: This one is non-negotiable, especially for winterization. Getting all that lake scum, salt, and marine growth off the hull prevents it from hardening and causing permanent stains during the long off-season.
If your boat lives in a slip, you’ll probably want to do a mid-season wash to tackle waterline scum. If you trailer your boat, a quick power wash every month or two during the busy season keeps things looking sharp and makes the final wipe-down at the ramp a breeze.
Remember, regular cleaning is about more than just looks. It stops nasty buildup in its tracks, so you won't have to resort to harsh chemicals and aggressive scrubbing down the line. That's always better for your boat in the long run.
What’s the Deal with Decals and Striping?
This is where your technique really matters. You can definitely power wash over decals and striping, but the keyword is gently. Grab your widest angle nozzle (the white 40-degree one is perfect) and back up a bit—keep the nozzle at least 18-24 inches away from the surface.
The classic mistake is aiming the water jet directly at the edge of a decal. That pressure can get right underneath and peel it off in a heartbeat. Instead, spray at a shallow angle and use smooth, sweeping motions across the graphic. Your goal is to gently rinse it, not blast it. If you notice any edges starting to lift, stop right away and clean that spot by hand.
You've put in the work, and now your boat looks fantastic. Your next step is to protect that shine. Following up with a quality protectant locks in your results and makes every future cleanup that much easier. At Boat Juice, we’re all about creating products that give you a professional-grade finish without all the hassle.
Explore Our Complete Boat Cleaning and Protection Kits at shopboatjuice.com