


· By Boat Juice Team
How to Clean Fiberglass Boats: A Step-by-Step Guide for a Lasting Shine
Keeping your fiberglass boat looking its best is about more than just a quick rinse after a day on the water. It’s a simple but crucial system: you need to clean, polish, and then protect the gelcoat. Once you get this routine down, you’ll not only have a vessel that turns heads at the dock but also one that’s shielded from the harsh realities of sun, salt, and water.
This guide will walk you through exactly how to do it, making sure you get a professional-quality shine that actually lasts. You'll learn the why behind each step, so you can confidently keep your investment in top shape without calling in the pros.
Why a Clean Fiberglass Boat Matters
That shiny, colorful surface on your boat? It’s not paint. It's a special resin layer called gelcoat, and it’s the first line of defense for the fiberglass structure underneath. So, when we talk about cleaning a fiberglass boat, you're really talking about caring for this critical protective layer.
Proper care is what stops the gelcoat from getting chalky and faded from UV rays and salt. When you let grime sit, the gelcoat breaks down through a process called oxidation—that dull, cloudy look that kills your boat's shine. This not only looks bad but also opens the door for deep stains and even structural issues down the road.
The Value of a Good Cleaning Routine
A solid cleaning schedule is one of the smartest things you can do as a boat owner to protect your investment. A well-maintained boat not only looks better but also holds its value. There's a reason the global market for boat hull cleaners is expected to hit around $500 million in 2025—boaters everywhere are realizing that preserving the gelcoat is non-negotiable.
Sticking to a simple routine now saves you from a world of hurt (and a ton of elbow grease) later. It really boils down to three core stages:
- Routine Washing: This is your quick cleanup after a day on the water. It gets rid of fresh salt, grime, and bird droppings before they can bake in and cause real problems.
- Deep Cleaning and Restoration: This is where you roll up your sleeves and tackle the tougher stuff—oxidation, deep-set stains, and ugly scuff marks that a simple wash won't touch.
- Protecting and Waxing: After all that hard work, this is the final, crucial step. You lay down a protective barrier that seals the gelcoat, amps up the gloss, and makes your next cleanup way, way easier.
Here’s the key takeaway: Your goal isn't just a clean boat for the weekend. It's about building up a durable shield that preserves the life, look, and value of your vessel for years.
Here's a quick summary of the core cleaning stages, the goal of each, and how often you should do them.
Fiberglass Cleaning At a Glance: Your Quick Start Plan
| Cleaning Stage | Primary Goal | Recommended Frequency |
|---|---|---|
| Routine Washing | Remove fresh surface dirt, salt, and grime. | After every 1-2 uses. |
| Deep Cleaning & Restoration | Remove oxidation, tough stains, and scuffs. | 1-2 times per year, or as needed. |
| Protecting & Waxing | Seal the gelcoat, add UV protection, and enhance shine. | Every 3-4 months. |
Think of this table as your basic game plan for keeping that gelcoat in prime condition all season long.
Beyond the Hull: Your Complete Boat Care Plan
While this guide focuses on your exterior fiberglass, a truly well-kept boat is clean inside and out. Sunscreen smudges, spilled drinks, and fishy messes from inside can easily end up on your deck and hull. A complete approach means every part of your boat gets the care it needs.
Once you’ve got the exterior dialed in, you can apply the same principles to the cockpit and cabin to really elevate your whole boating experience. For more on that, take a look at our guide on how to clean your boat interior. When you tackle both, you’re creating a comprehensive care plan that keeps every inch of your boat protected and looking incredible.
Gathering Your Fiberglass Cleaning Arsenal
Having the right gear can turn a dreaded chore into a seriously satisfying afternoon on the dock. You don't need a pro-level workshop to get your fiberglass boat gleaming, but having a few key items will make the job faster, safer, and give you a result you can be proud of.

Brushes and Towels: The Foundation of a Scratch-Free Clean
If there’s one golden rule for cleaning your boat’s gelcoat, it’s this: do no harm. Using the wrong tools can create a web of tiny scratches that dull the finish and attract more dirt. This is why your choice of brushes and towels is a bigger deal than you might think.
Your go-to tool should be a soft-bristle brush with a long handle. It’s your workhorse for washing the hull and deck without scratching that sensitive gelcoat. It’s also smart to keep a medium-bristle hand brush around for getting into tight corners or dealing with stubborn scuff marks.
Next up, grab a good supply of quality microfiber towels. Forget old cotton rags—they just push dirt around and leave lint everywhere. Microfiber is specifically designed to trap and lift grime away from the surface, which is exactly what you want for a scratch-free finish.
Choosing Your Cleaners Smartly
The cleaners you use are just as important as the tools you scrub with. Harsh, abrasive chemicals can easily strip away your boat's protective wax layer. Once that's gone, the gelcoat is left exposed to damaging UV rays and the elements.
Your goal is to find products that are tough on grime but gentle on your boat's finish. A pH-balanced soap is always the best starting point for a routine wash, as it cleans effectively without compromising your wax protection.
This isn't just about protecting your boat, either. There's been a major industry shift away from harsh, solvent-based cleaners that harm the environment. Research shows that pH-neutral cleaners are safe for 95% of surfaces and can prevent the 10-15% faster gelcoat degradation caused by aggressive chemicals.
Your Essential Cleaning Kit Checklist
You don't need to buy out the store. Start with these must-haves, and you’ll be ready for pretty much any cleaning job that comes your way.
- Two 5-Gallon Buckets: This is for the "two-bucket method," a pro-level trick to avoid dragging gritty dirt right back onto your clean hull. One bucket holds your soapy water, the other clean rinse water.
- pH-Balanced Boat Soap: A dedicated boat wash is formulated to be gentle on wax and gelcoat.
- Soft-Bristle Deck Brush: Your main tool for washing large surfaces without a scratch.
- Microfiber Towels & Mitts: A clean stack is non-negotiable for a perfect finish.
- Hose with a Quality Spray Nozzle: Essential for a good pre-rinse and final rinse.
For a deeper dive into picking the right products, check out our guide on finding the best boat cleaning products for a pristine vessel.
Gear for the Deeper Clean
When it’s time for bigger jobs—like tackling that chalky oxidation we talked about—you'll need to bring in a few heavier hitters.
- Oxidation Remover or Rubbing Compound: These are mildly abrasive products that gently cut away the dull, oxidized top layer of your gelcoat, revealing the fresh, glossy finish underneath.
- Orbital Buffer/Polisher: You can apply compound by hand, but trust me, a machine makes the job infinitely faster and gives you a much more even, professional-looking result.
- Polishing and Compounding Pads: You'll need a few different foam or wool pads for your buffer—some for cutting (compounding) and others for finishing (polishing).
- High-Quality Marine Wax or Sealant: This is the final, crucial step. It protects all your hard work and keeps that freshly polished gelcoat looking amazing.
With this complete toolkit, you're not just ready for a quick wash. You're fully equipped to handle everything from a simple post-outing rinse to a full-blown gelcoat restoration.
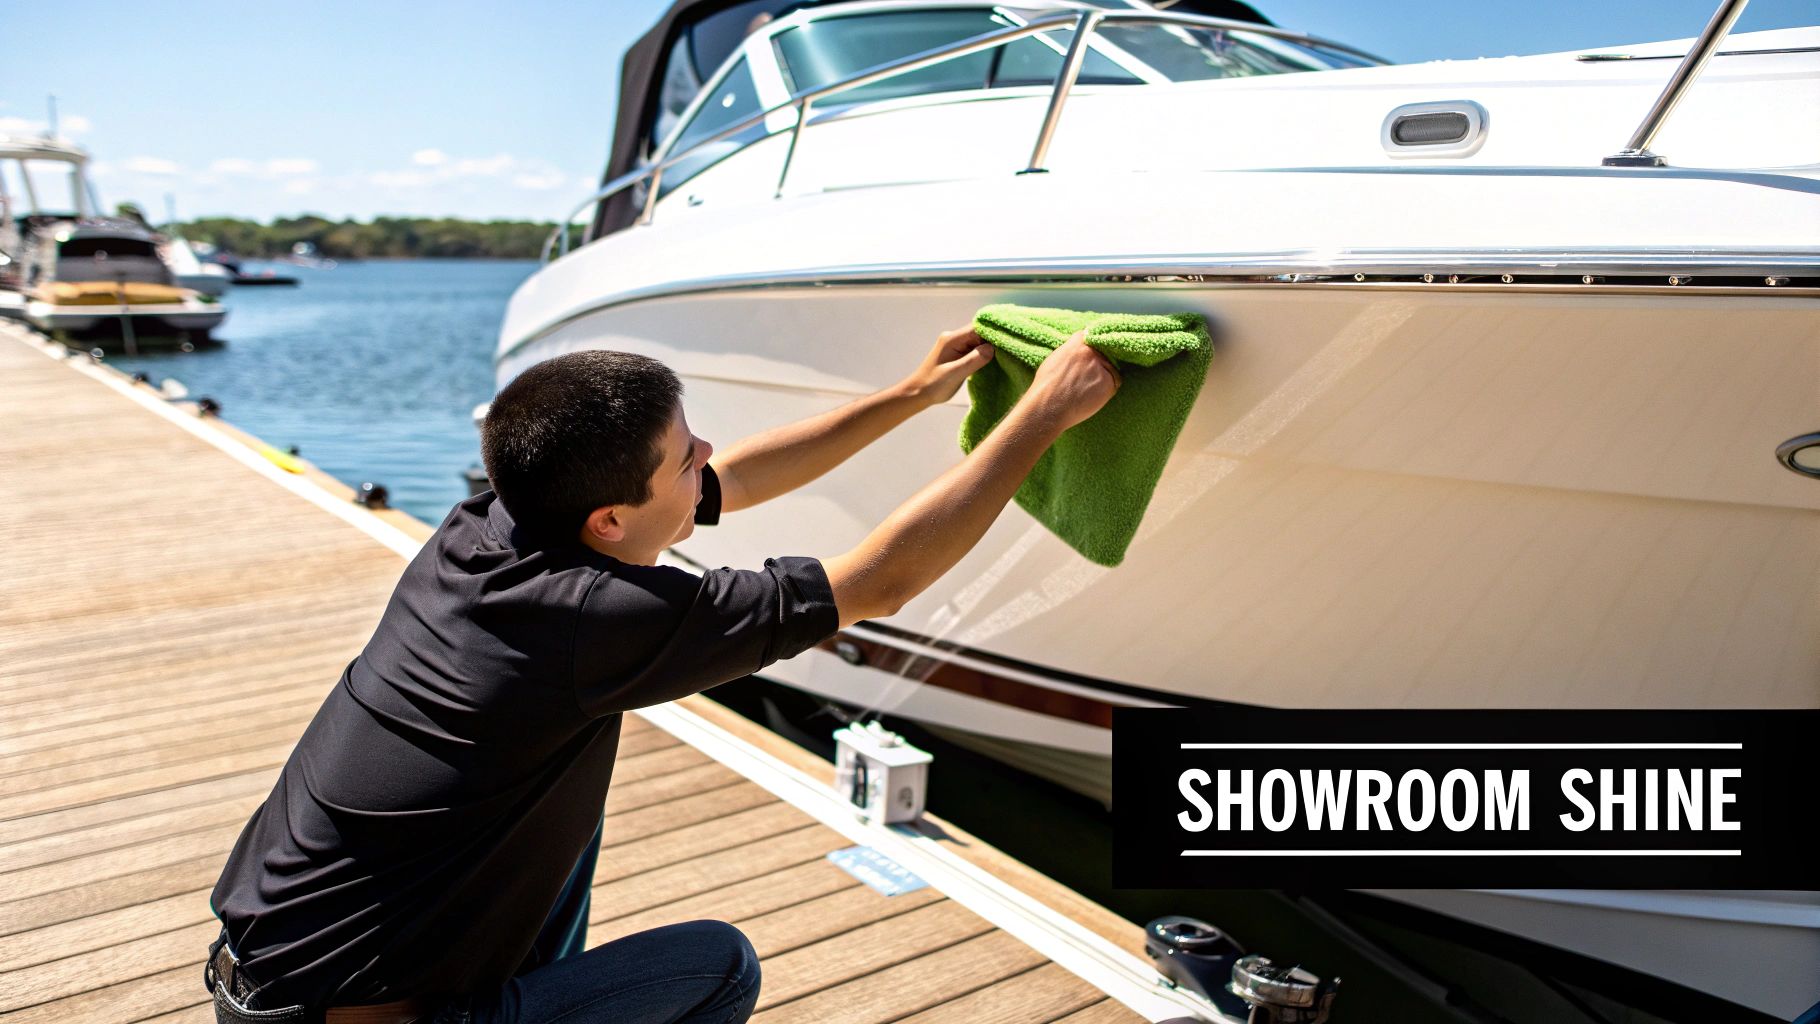
Your Method for a Showroom Shine
Alright, you’ve got your gear sorted, and you're ready to make that boat sparkle. Following the right process not only gets you a better finish but also protects your gelcoat from the tiny scratches that dull its shine over time.
Step 1: Start with a Solid Pre-Rinse
Before any soap touches that hull, give the entire boat a thorough rinse with fresh water, from top to bottom. Don't skip this step. This initial spray knocks off all the loose stuff—sand, salt, and other grit—that can act like sandpaper when you start scrubbing. A good pre-rinse ensures your wash mitt is only dealing with grime that’s actually stuck to the surface.
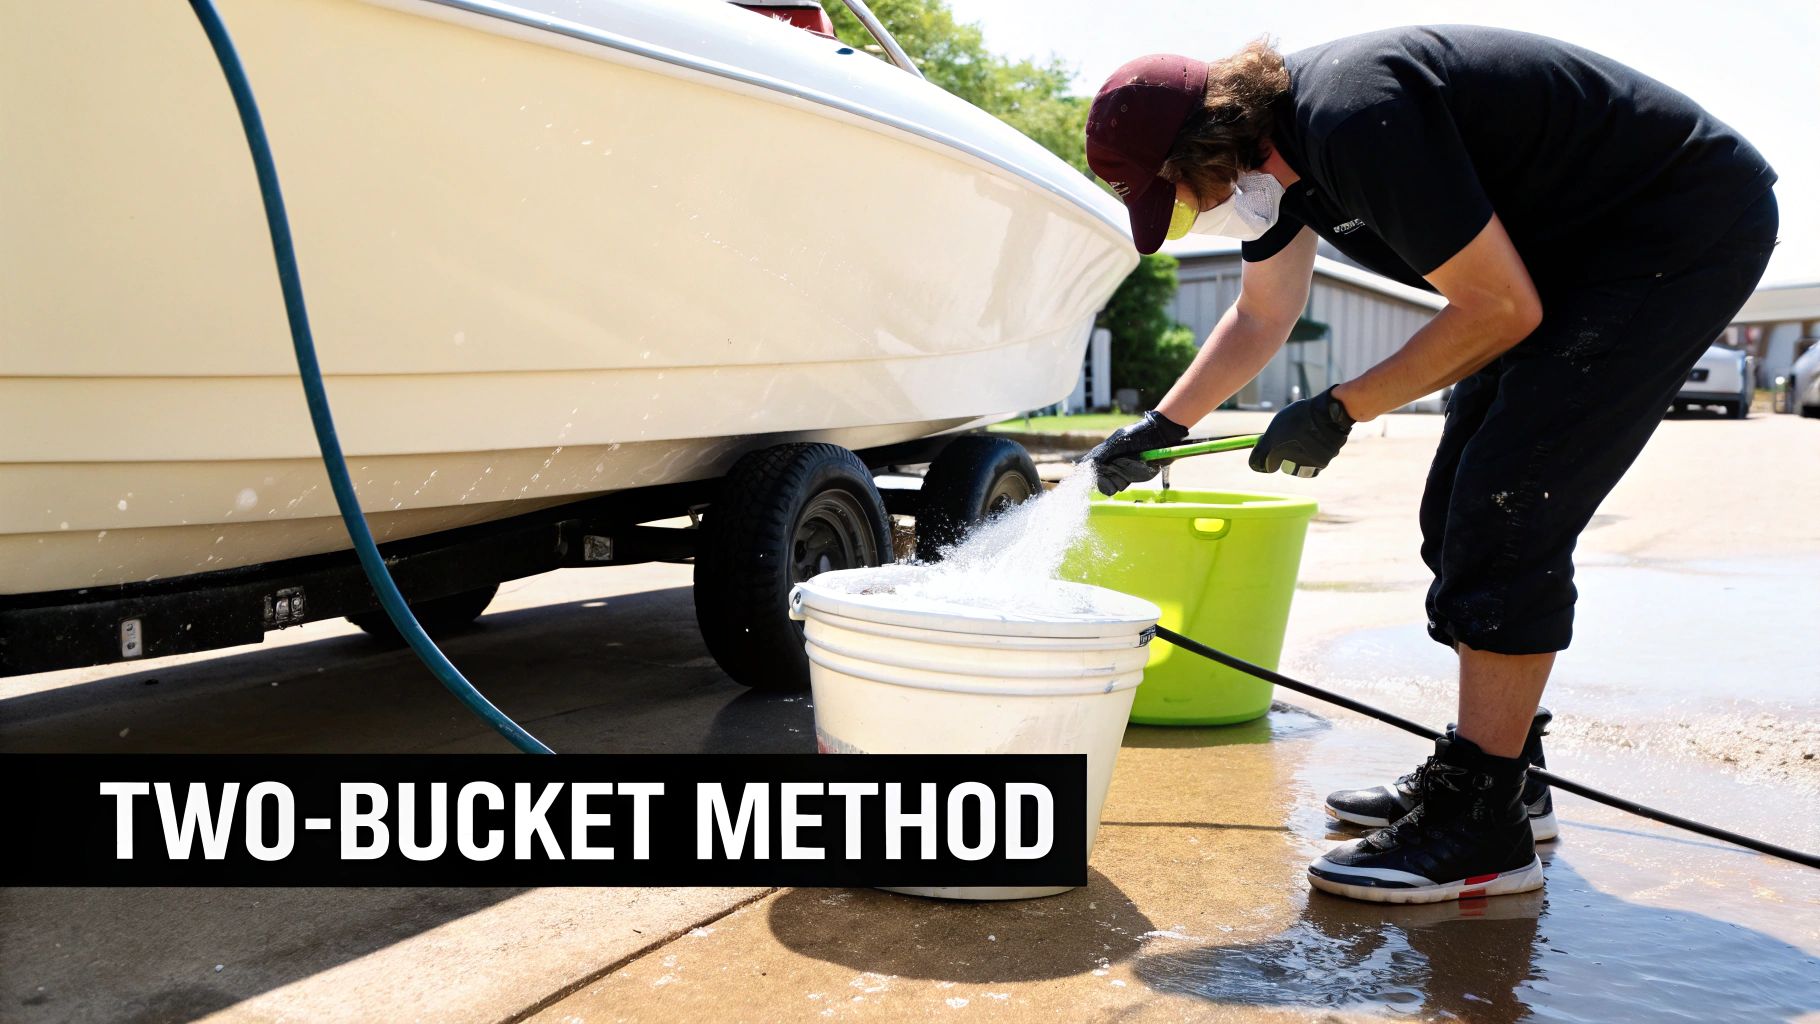
Step 2: Adopt the Two-Bucket Wash Method
This is a classic trick from pro detailers that makes a huge difference in preventing swirl marks. Grab your two 5-gallon buckets. Fill one with your boat soap solution and the other with plain, clean water.
Here's how you do it:
- Dunk your clean wash mitt into the soapy water.
- Wash a small, manageable section of the boat, about 4x4 feet.
- Before you dip back into the soap, swish your dirty mitt around in the plain water bucket.
- Once it's clean, you're clear to go back to the soap bucket and move on to the next section.
This simple routine keeps you from dragging the dirt you just removed all over the rest of your boat. You'll be amazed at how filthy that rinse water gets, and that's all the grit you just prevented from being ground into your gelcoat.
The Golden Rule of Washing: Always work from the top down. Let gravity be your friend. Start with the highest parts of your boat and work your way to the waterline. This keeps dirty runoff from streaming over the areas you’ve just cleaned.
Step 3: Tackling Specific Problem Areas
Even after a great wash, you'll probably spot a few stubborn areas that need more focused attention. This is where you can break out the specialty cleaners.
-
Exhaust Stains: Those ugly black smudges around the exhaust ports are from soot and can be tough. A good hull cleaner or a non-abrasive fiberglass stain remover will usually break them down with very little elbow grease.
-
Water Spots: Hard water spots are mineral deposits left behind when water evaporates. If they're fresh, a quick detailer spray often works. For those really etched-in spots, a dedicated product like Boat Juice EXTREME is a lifesaver. It’s made to dissolve those minerals without being harsh on your finish.
-
Mildew on Non-Skid: The textured grip of a non-skid deck is the perfect place for mildew to grow. Your best bet is a real mildew stain remover. These are formulated to kill the mildew and lift the stains without the damaging effects that straight bleach can have on gelcoat and vinyl.
Step 4: The Final Rinse and Drying Process
Once the washing and spot treatments are done, give the boat one last, thorough rinse from top to bottom. Try to let the water "sheet" off the surfaces, as this helps pull the last of the soap residue away and cuts down on potential spots.
Now for the most critical part of getting a flawless finish: drying. Letting your boat air-dry is basically asking for water spots, which undoes all the work you just did.
Your Drying Toolkit
You have a couple of great options here, and the pros often use both.
| Drying Method | Why It Works | Best For |
|---|---|---|
| High-Quality Microfiber Towels | They are incredibly absorbent and designed to soak up water without leaving lint or scratching the surface. A big "waffle-weave" towel is perfect. | Large, flat areas like the hull sides and deck. |
| Electric Leaf Blower | It's a game-changer for blasting water out of all the nooks and crannies—cleats, railings, window seals, and non-skid textures where towels can't reach. | Getting a perfectly dry finish in tight spots and preventing drips later on. |
The ultimate move is to use the leaf blower first to chase water out of all the hardware and tight spaces. Then, follow up with a plush microfiber to wipe down the large, smooth surfaces. This one-two punch guarantees every drop is gone, leaving you with a clean, dry surface that’s perfectly prepped for polishing.
Bringing Your Gelcoat Back from the Dead
If your boat's finish has gone from glossy to dull and chalky, you're looking at oxidation. It’s the inevitable result of sun and salt breaking down your gelcoat over time. But don't despair—this is one of the most satisfying restoration jobs you can do, and the results are almost always fantastic.
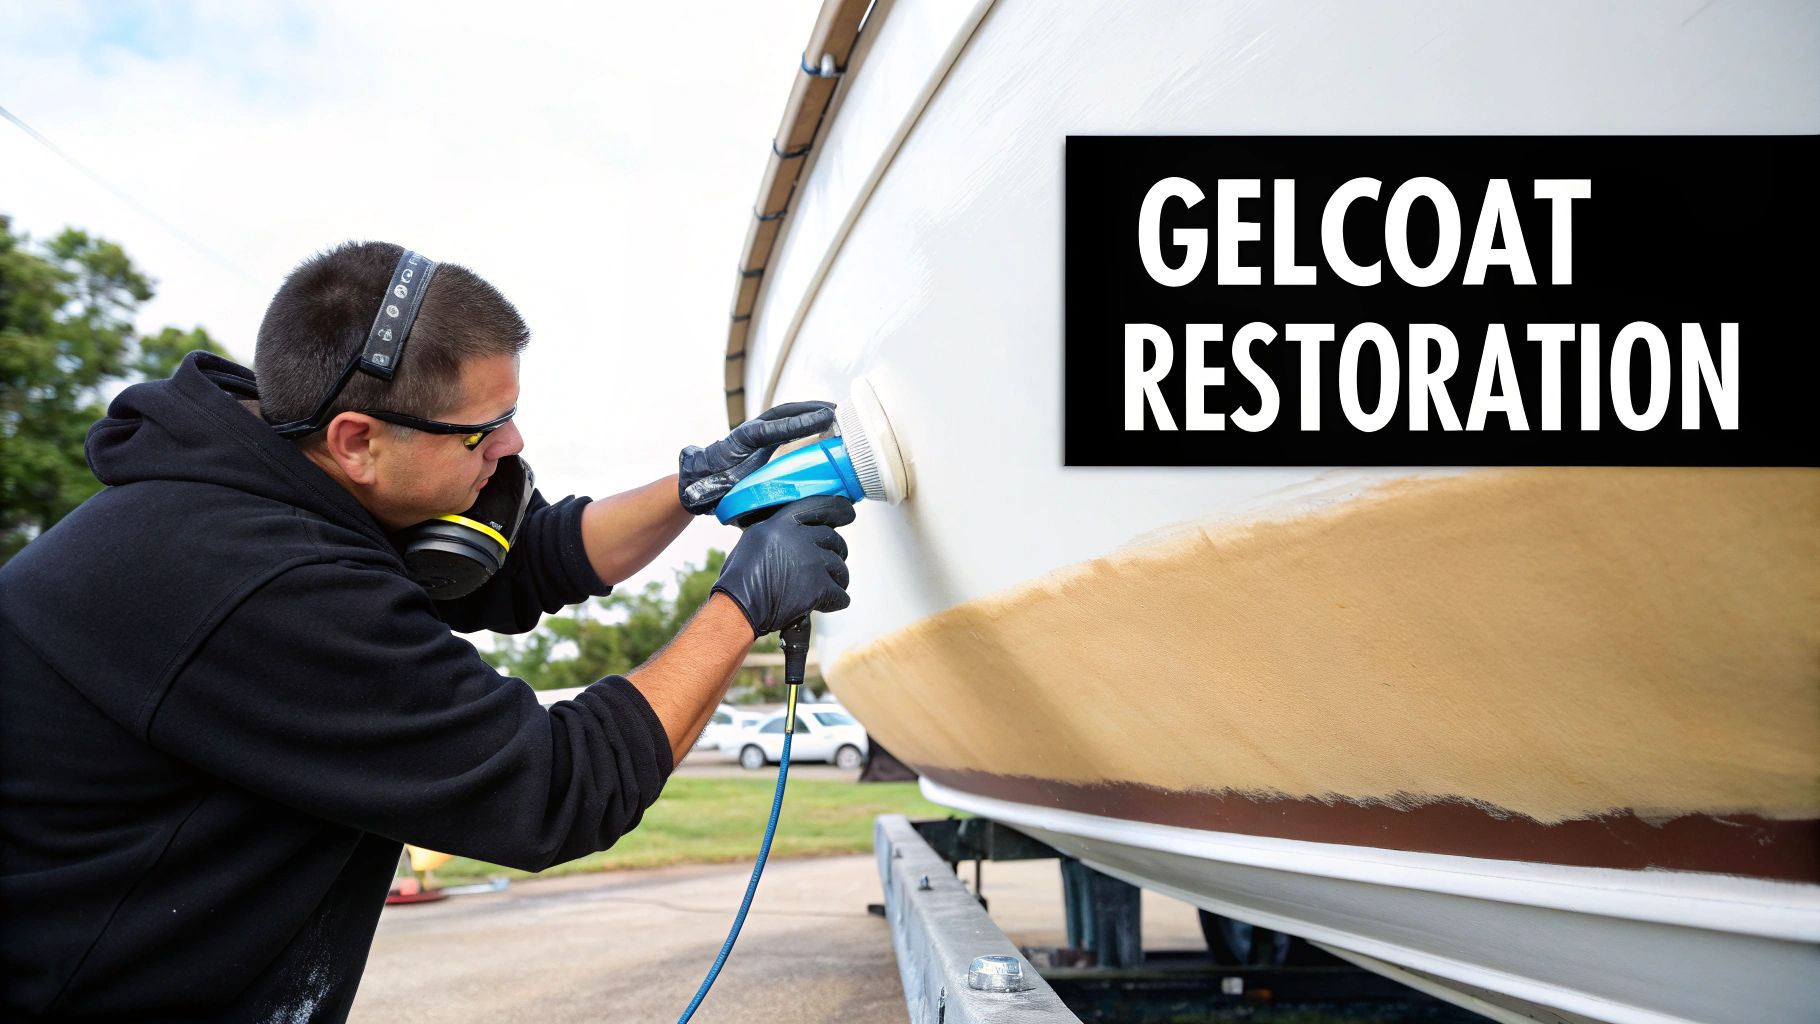
Think of that chalky layer as dead skin. Your mission is to gently exfoliate it away to reveal the healthy, vibrant gelcoat hiding underneath. This isn't just about making it look pretty; a properly sealed gelcoat is your hull's best defense against the elements.
Step 1: Figure Out How Bad the Damage Is
Before you start, you need to know what you’re dealing with. The level of oxidation dictates your plan of attack.
- Light Oxidation: The hull just looks a little hazy and has lost its deep, wet look. Rub a dark cloth on it, and you'll see a faint chalky film.
- Moderate Oxidation: You'll see noticeable fading. The surface feels a bit rough, and rubbing it with your hand leaves a definite powdery residue.
- Heavy Oxidation: The finish is completely flat, dull, and chalky to the touch. The original color is muted and faded.
For a light haze, a simple one-step cleaner wax might be all it takes. But for moderate to heavy oxidation, you’ll need to break out the bigger guns: a dedicated rubbing compound.
Step 2: Understand Compound vs. Polish
It’s easy to get these two mixed up, but they perform completely different jobs. Using the wrong one is a waste of time or, worse, can harm your gelcoat.
Rubbing compounds are the heavy lifters. They're abrasive, meaning they contain fine particles that literally cut away the dead, oxidized layer of gelcoat. This is your restoration phase.
Polishes, on the other hand, are all about refinement. They use much finer abrasives to smooth out the microscopic scratches left by the compound, which is what brings out that incredible, deep shine. It’s like sanding wood—you start with coarse grit (compound) to level the surface, then switch to fine grit (polish) to make it smooth.
Step 3: Choose Your Method: Hand or Machine?
You can absolutely do this by hand, but unless you're working on a small dinghy, it's a ton of work. For any boat of a reasonable size, a good dual-action (DA) orbital polisher is your best friend. It saves an incredible amount of time and delivers a consistent, swirl-free finish that’s tough to replicate by hand.
Pro Tip: When you're using a buffer, let the tool do the work. Don't press down hard. Use light, steady pressure and keep it moving in overlapping patterns. If you stay in one spot for too long, you can build up enough heat to burn the gelcoat.
No matter which method you choose, the key is to work in small, manageable sections, about 2x2 feet at a time. Apply your product, work it in until it starts to turn clear, and then buff off the residue with a clean microfiber towel before it dries.
Step 4: The Most Important Step: Protection
You've just spent hours compounding and polishing, and your gelcoat looks amazing. It's glossy, smooth, and… totally unprotected. If you stop now, that oxidation will be back with a vengeance, and probably faster than it appeared the first time. Applying a high-quality marine wax or a modern polymer sealant is what makes all your effort last.
This protective layer does two crucial things:
- It seals the microscopic pores in the gelcoat, blocking out water and grime.
- It provides a strong UV barrier, shielding the finish from the sun that caused the oxidation in the first place.
This is your sacrificial layer, and it makes future cleanings a breeze. While we're on the topic of cleaning, a quick word of caution about pressure washers. A direct blast can destroy the seals around windows and fittings. For tough spots and stains on the hull itself, a product like Boat Juice EXTREME is a much safer bet than risking high-pressure damage.
Protecting Your Hard Work for a Lasting Shine
Okay, you've put in the real work. After all that compounding and polishing, your boat finally has that deep, wet-looking shine back. It looks incredible! Now for the most important step of all: protecting that beautiful finish. This is what keeps all your effort from disappearing after just a few weeks on the water.
Protection is the key that separates a temporary gloss from a durable shine that lasts all season. When you remove oxidation, you're essentially opening up the pores of your gelcoat, leaving it vulnerable. Applying a good protective layer seals those pores, creating a barrier against the sun, salt, and grime that dulled it in the first place.
Wax vs. Sealant: What’s Best for Your Boat?
You have two main choices for protection: traditional carnauba waxes and modern synthetic polymer sealants. Each has its pros and cons, and the right one for you comes down to what you value most.
-
Carnauba Wax: The old-school favorite, loved for the incredible depth and warmth it adds to the finish. It creates a rich, liquid-like gloss that's tough to beat. The downside? It doesn't last very long. You'll be lucky to get a few months of protection before you need to reapply it.
-
Synthetic Polymer Sealants: These are the modern, lab-engineered champs of durability. A quality sealant can give you 4-6 months of solid protection. While it might not have the exact same warm glow as carnauba, a sealant offers far better UV protection and creates a super slick surface that makes washing off bird droppings and fish guts a whole lot easier.
Many boaters use a hybrid approach to get the best of both worlds. Lay down a durable synthetic sealant first for long-term protection, then top it with a coat of carnauba wax to get that extra pop and deep shine.
Your Simple Maintenance Schedule
Protection isn't a one-and-done deal. It's all about getting into a simple, sustainable routine. This isn’t about adding more chores to your weekend; it's about smart, preventative care that saves you from hours of heavy scrubbing later on.
The whole point of a maintenance schedule is to tackle small issues before they blow up into big problems. A five-minute rinse today can honestly prevent an hour of scrubbing next month.
Here’s a practical schedule you can actually stick with:
- After Every Trip: Give the boat a quick freshwater rinse, top to bottom. This gets fresh salt and grime off before the sun bakes it on. For a quick touch-up, you can use a spray-on exterior cleaner like Boat Juice - The Original to wipe away new water spots while adding a protective sealant.
- Once a Month: Do a proper wash with a pH-balanced boat soap and the two-bucket method. This deeper clean removes any grime that’s built up without stripping off your wax or sealant.
- Seasonally: This is when you'll do the big job—the deep clean, polish, and reapplication of your wax or sealant. For most boaters, this means once in the spring to get ready for the season, and again in the fall before winterization.
This proactive approach is also much better for the environment. In the fiberglass boat manufacturing world, mindful cleaning practices are a big deal. Simple things, like using covered containers for cleaners, can cut overall emissions by a whopping 22 percent. You can read more about it in this EPA report on reducing emissions in fiberglass boat manufacturing.
By following a simple plan like this, your boat will always be protected and looking its best, which makes every trip out on the water that much better.
Answering Your Top Fiberglass Boat Care Questions
Even with the best game plan, weird issues are going to pop up. It’s one thing to read a guide, but another thing entirely when you're staring at a stubborn stain on your own hull. Let's tackle some of the most common questions I hear from fellow boaters.
Can I Just Use Dish Soap or a Household Cleaner on My Boat?
I get it, it's tempting. You've got a bottle of something under the sink, and it seems easy enough. But please, don't do it. This is probably the one "shortcut" that will cost you the most in the long run.
Most household cleaners are designed to obliterate grease, which is disastrous for your boat's gelcoat. They are simply too harsh. They'll strip off every last bit of wax or sealant you so carefully applied, leaving your fiberglass totally vulnerable to the sun. One wash can literally erase months of protection.
Always stick with a dedicated, pH-balanced boat soap. It's made to get the grime off without wrecking the protective layers you need.
How in the World Do I Get Rid of That Nasty Waterline Stain?
Ah, the dreaded "boat mustache." That lovely yellow or brown gunk that collects right at the waterline is a universal headache. It's a stubborn mix of tannins, algae, and minerals that have bonded with your hull, and regular soap just won't cut it.
Your best weapon here is a mild acid-based hull cleaner. These products are specifically formulated to break down the organic and mineral bonds that cause the stain, all without damaging the gelcoat underneath.
My Two Cents: Safety first when you're using a hull cleaner. Always wear gloves and eye protection. Apply it to a dry hull, let it work for a few minutes (check the label), and then rinse it off completely before you start washing the rest of the boat. Whatever you do, don't let that stuff dry on the surface.
What's the Secret to Cleaning Those Grimy Non-Skid Decks?
Non-skid surfaces are a lifesaver for traction, but they can trap dirt. The texture that keeps you from slipping is also perfect at holding onto grime, scuffs, and mildew. You just need to change your tactics a bit from the smooth surfaces.
- Everyday Dirt: A medium-stiff deck brush and your go-to boat soap will do the trick. The bristles are key—they get down into the grooves where sponges and soft cloths can't reach.
- Annoying Mildew: Seeing those little black spots? You need something that will kill the mildew, not just wash it away. A dedicated mildew remover will eliminate the stains without being too harsh on the surface.
- Pesky Scuff Marks: For those black streaks from shoes or gear, a magic eraser can be a game-changer. Just be gentle and try it on a small, hidden spot first to make sure it doesn't dull the finish.
After you're done scrubbing, give the deck an extra-thorough rinse. Any leftover soap residue can make the deck slick when wet and will actually attract more dirt later on.
Seriously, How Often Do I Need to Wax My Boat?
If I had a dollar for every time I've been asked this... the honest answer is, it depends. Where do you boat and how often? If your boat sits on a covered lift in a cooler climate, you might get away with a good wax once a season. But if you have a boat baking in the intense Florida sun all year, you've got to be more diligent.
As a solid starting point, plan on applying a good wax or sealant every 3-4 months.
Here's an easy way to check: spray some water on the hull. If it beads up into tight little drops, your protection is holding strong. If the water just sort of "sheets" and runs off in a flat layer, it's time to break out the buffer and reapply.
Taking care of your fiberglass boat is one of the most rewarding parts of ownership. When you use the right products and techniques, you not only protect your investment but keep it looking sharp on the water. Your next step is to grab your cleaning gear, check the condition of your gelcoat, and get ready for a season of shine.
Explore the full Boat Juice lineup and build your perfect cleaning kit today.