


· By Boat Juice Team
A Boat Owner's Guide to Repairing Spider cracks in Gelcoat
Finding a web of fine lines on your boat can be unsettling, but here's the good news: spider cracks in your gelcoat are almost always a cosmetic issue, not a sign of major structural failure. Think of gelcoat as the tough, glossy skin that protects your boat's fiberglass skeleton. These tiny cracks are usually just on the surface.
What Are Spider Cracks in Gelcoat Anyway?

When you see those fine, web-like lines branching out from a central point on your boat’s hull, you're looking at spider cracks. You might also hear them called "crazing" or "hairline cracks." It happens because the gelcoat—that hard, brittle outer layer—and the more flexible fiberglass underneath expand and contract at different rates.
Imagine a thin layer of glass painted onto a sheet of rubber. If you bend the rubber, the glass is going to develop tiny cracks because it just can't flex as much. Your boat’s hull works in a similar way, constantly facing minor flexing from waves, temperature swings, and even the stress of being cinched down on a trailer.
Common Causes of Gelcoat Cracks
So, where did these cracks come from? It’s usually a combination of things building up over time, not just one single event.
Here are the most common culprits you'll find:
- Minor Impacts: Dropping a heavy cooler on the deck or a gentle bump against the dock can be all it takes to start a network of spider cracks. It doesn't have to be a major collision.
- Flex and Stress: Check out the areas around hardware like cleats, stanchions, or window frames. These are high-stress points where constant pulling and flexing can easily cause the rigid gelcoat to give way.
- Thermal Expansion: Your boat's hull heats up in the sun and cools down at night. This endless cycle of expansion and contraction puts a ton of strain on the gelcoat, especially on those beautiful dark-colored hulls that absorb more heat.
Don't panic when you first spot them. Spider cracks are incredibly common, and the vast majority of fiberglass boats will develop some hairline crazing within the first decade of use.
Honestly, it's not unusual for you to see the first signs within months to a few years after your boat leaves the mold, especially in spots where the gelcoat was applied a bit too thick at the factory. It’s just the nature of the material.
Distinguishing Cosmetic from Structural Cracks
The most important first step is figuring out what you're dealing with. A simple spider crack is a weekend DIY fix, but a structural crack is a whole different ball game.
Take a moment to carefully inspect the area. Do the cracks look like thin pencil lines just on the surface? Or are they deeper, wider, and running in long, straight lines?
Here’s a quick field test you can do right now: press firmly on the fiberglass around the cracks. If it feels rock solid, you're almost certainly looking at a simple cosmetic issue. If it feels soft, spongy, or flexes under your thumb, that could signal a deeper problem with the underlying fiberglass laminate that needs a professional opinion.
Quick Guide to Assessing Gelcoat Cracks
| Crack Appearance | Likely Cause | Risk Level | Recommended Action |
|---|---|---|---|
| Fine, web-like lines radiating from a point | Minor impact, stress around hardware | Low | DIY repair is usually sufficient. |
| Single, long, straight crack | Hull stress, potential structural issue | Medium | Inspect carefully. If it's deep or growing, call a pro. |
| Cracks with discoloration (brown/yellow) | Water intrusion into the laminate | Medium to High | Needs professional assessment to check for delamination. |
| Soft, spongy area around cracks | Core damage, delamination | High | Stop! Do not attempt a DIY fix. Call a marine surveyor or repair shop immediately. |
This table should give you the confidence to either grab your tools or pick up the phone.
Once you’ve confirmed you're dealing with cosmetic cracks, keeping the area clean is crucial to prevent dirt and grime from getting ground in. Our guide on how to clean fiberglass boats will walk you through the right techniques to get the surface prepped and ready for repair.
Why You Shouldn't Ignore Gelcoat Cracks
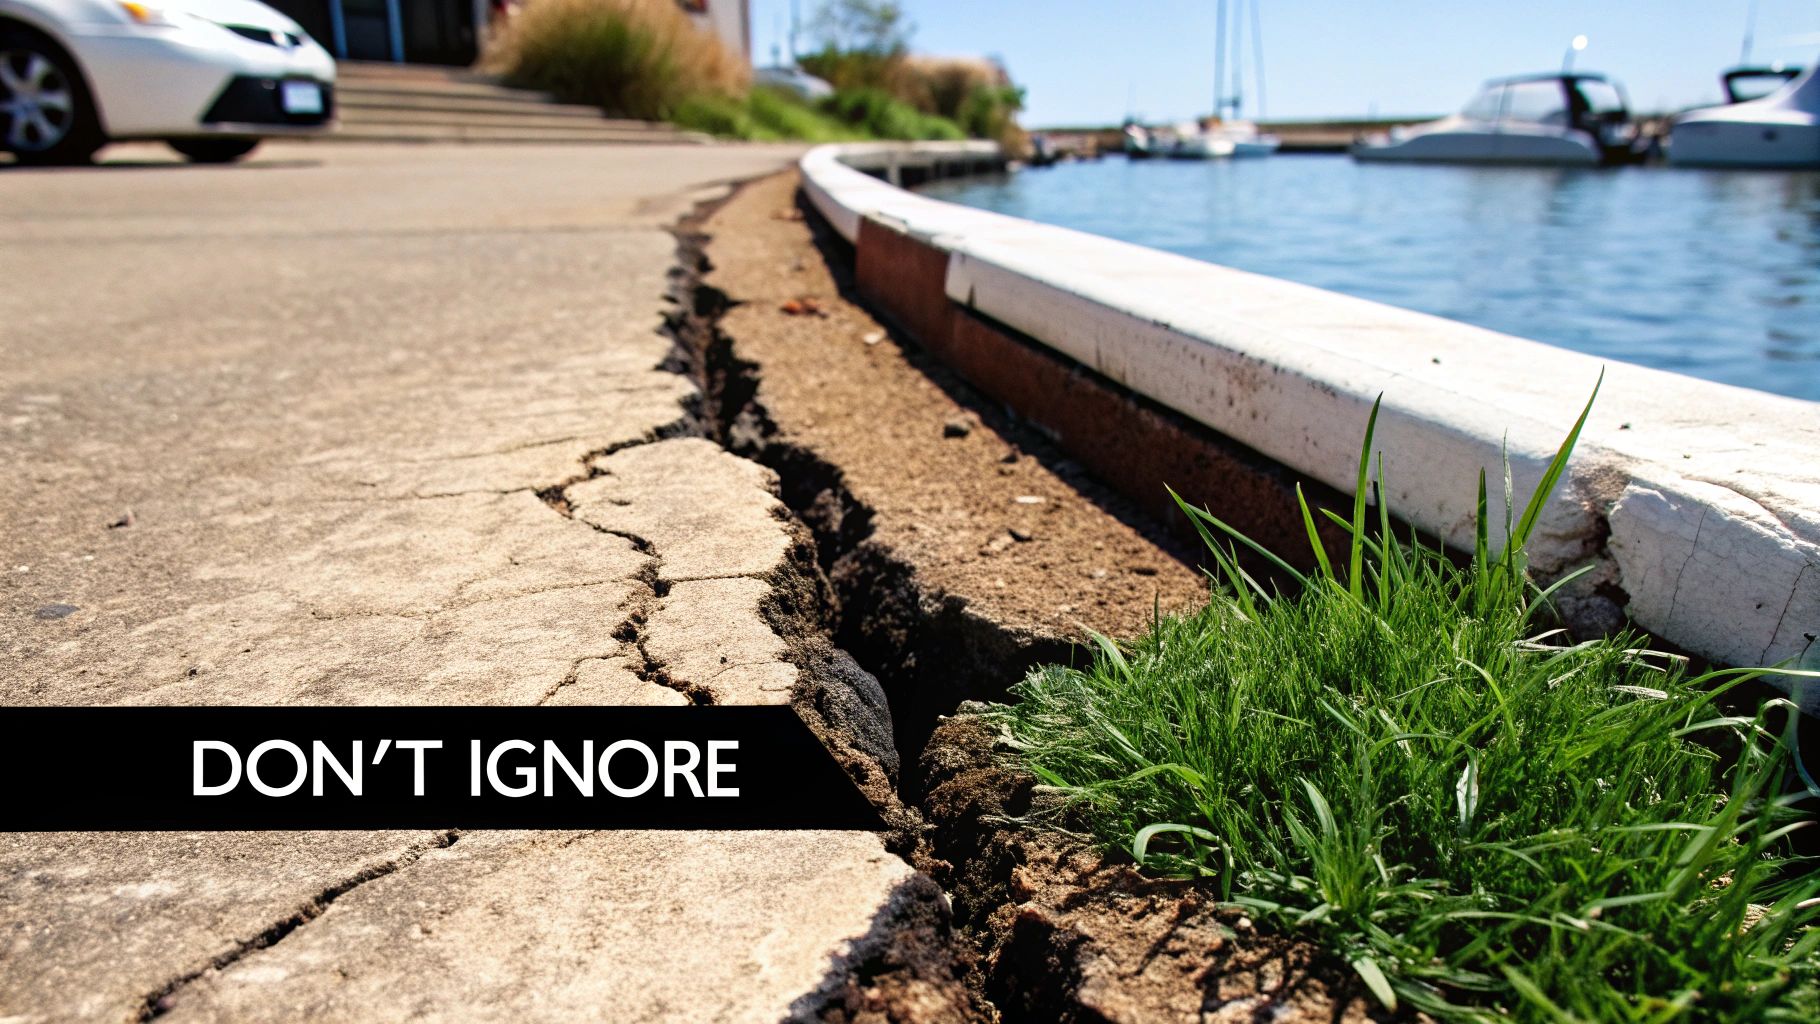
It’s easy to glance at a small web of spider cracks on your hull and just shrug it off. They’re just cosmetic, right? If the boat still runs, what’s the big deal? Well, pushing that little fix to the bottom of the "someday" list is asking for much bigger, more expensive headaches later on.
Think of every one of those fine lines as a tiny open door. Each time you're on the water, those crevices are collecting salt, dirt, and all sorts of grime. Before you know it, that buildup creates ugly, deep-set stains that are a nightmare to clean, leaving your boat's finish looking permanently dingy.
The Real Danger Is Water Intrusion
Stains are annoying, but the real trouble starts with water. The much bigger problem is that spider cracks in gelcoat create a direct pathway for water to get behind that protective outer layer and into the fiberglass laminate itself. Your gelcoat is the primary shield protecting your boat’s core from moisture.
Once water finds its way in, it's trapped. This becomes a serious issue in climates with cold nights or during winter storage.
- The Freeze-Thaw Cycle: When that trapped water freezes, it expands with surprising force.
- Worsening Damage: This expansion acts like a tiny, powerful wedge, prying that hairline crack into a wider, deeper one.
- Accelerated Aging: Just one winter of freezing and thawing can turn a minor touch-up job into a major repair project by the time spring rolls around.
This isn’t just talk. Boaters who photograph their hulls in the fall and then again in the spring are often shocked to see how much damage a single season can do.
When Cracks Compromise Your Hardware
You also need to pay close attention to where the cracks are showing up. If you spot them radiating out from high-stress areas like cleats, grab rails, or stanchions, that's a red flag. The cracks might seem small at first, but they're actively weakening the gelcoat around that critical piece of hardware.
Think about it this way: a cleat is only as strong as the surface it’s bolted to. If the gelcoat around it is shot through with a network of cracks, the constant yanking from dock lines will cause that damage to spread, eventually threatening the integrity of the hardware’s mounting point.
Ignoring these specific cracks isn't just about looks; it's a genuine safety concern. A small fix today really does prevent a massive failure tomorrow. Now that you know the risks, let's get you set up with the right tools for a proper, permanent repair.
What You'll Need to Fix Those Spider Cracks
Jumping into a gelcoat repair can seem intimidating, but half the battle is just having the right stuff on hand before you start. There’s nothing worse than having to stop mid-job with sticky resin on your gloves to run to the store.
Let's get you set up with a complete shopping list so you can knock out those spider cracks like a pro.
Think of it like a dentist fixing a cavity. They don’t just slap a filling on top. First, they clean the area, carefully remove the bad stuff, and then fill it in for a permanent fix. We’re doing the exact same thing for your boat, and that means we need the right tools for each step of the process.
Your Essential DIY Gelcoat Repair Shopping List
| Item | Its Purpose in the Repair | Insider Pro Tip |
|---|---|---|
| Safety Glasses, Respirator, Nitrile Gloves | Personal protection from dust and chemicals. | Don't cheap out on the respirator. Gelcoat dust is incredibly fine and nasty stuff to breathe. |
| Boat Juice Exterior Cleaner | Removes all wax, salt, and grime for a perfect bond. | A dedicated marine cleaner is crucial. Household cleaners can leave residues that kill adhesion. |
| Acetone or Solvent Wipe | Final decontamination after sanding to remove dust and oils. | Use a clean, lint-free rag. You want the surface surgically clean right before you apply the filler. |
| Rotary Tool (like a Dremel) | To precisely grind out each crack into a shallow "V" groove. | Get a small, cone-shaped grinding bit. It gives you incredible control for following those hairline cracks. |
| Gelcoat Paste Repair Kit | The actual filler material for the cracks. | Always buy paste, not liquid resin. Paste is thick like peanut butter and won't sag or run. |
| Mixing Sticks & Small Cups | For mixing small, manageable batches of gelcoat and hardener. | Old popsicle sticks and disposable paper cups are perfect for this. Don't mix too much at once! |
| Wet/Dry Sandpaper (80 to 600-grit) | To smooth the cured repair flush with the original surface. | A variety pack is your best friend. You'll work your way from coarse to fine grits for a seamless blend. |
| Small Sanding Block | Ensures even pressure for a perfectly flat, level finish. | A hard rubber block works best. It prevents you from accidentally creating dips or low spots. |
| Polishing Compound & Marine Wax | To remove fine sanding scratches and restore that factory shine. | Look for a two-step system: a rubbing compound first, followed by a high-quality wax for protection. |
With these items in your arsenal, you're not just prepared—you're set up for a repair that will look fantastic and last for years.
The Prep Work: Safety and a Spotless Surface
Before you touch a single tool to that gelcoat, let's talk about the two things that will make or break your repair: safety and surface prep. Seriously, don't skip this. Any leftover wax or grime will absolutely ruin the bond, and your hard work will pop right out.
First, gear up. Put on your safety glasses, a good dust mask or respirator, and some nitrile gloves.
Next, get that surface squeaky clean. You need to strip away any old wax and contaminants. We formulated Boat Juice Exterior Cleaner for exactly this job—it cuts through the gunk and leaves you with a pristine surface, ready for repair. If you want to build out your complete detailing kit, check out our guide to the best boat cleaning products for more tips.
Opening Up the Cracks
Now for the fun part. The absolute best tool for this job is a rotary tool (like a Dremel) with a small, V-shaped grinding bit. This lets you trace right over each little crack, grinding it out into a shallow groove.
Why a "V" shape? It's all about surface area. This V-groove gives the new gelcoat paste way more to grab onto, creating a strong mechanical lock that won't fail down the road. After grinding, give the entire area a final wipe with acetone. This removes every last bit of dust and oil, ensuring a bulletproof chemical bond.
Mixing and Filling
This is where your gelcoat paste kit comes into play. You'll mix a small amount of the paste with its catalyst (the hardener). Work in small batches—this stuff kicks off pretty fast! Use a popsicle stick to press the paste firmly into the grooves you made, slightly overfilling them to account for sanding.
When you're buying a gelcoat kit, look for one that says it's "waxed" or contains a "waxing agent." The wax rises to the surface as the gelcoat cures, sealing it from the air so it can get fully hard. Without it, the surface stays tacky forever, making it impossible to sand.
The Finishing Touches: Sanding and Polishing
This final stage is what separates a good-enough patch from a truly invisible repair. Patience is your best friend here.
You'll use that variety of sandpaper to carefully level the hardened paste. Start with a coarse 80-grit on a sanding block to knock down the excess filler. Then move through the finer grits—220, then 400, then 600—using water to wet-sand. This keeps the paper from clogging and gives you a much smoother finish.
Once it's perfectly smooth and flush with the surrounding gelcoat, it’s time to bring back the shine. Use a good marine polishing compound to buff away the fine sanding scratches, and then protect your beautiful new repair with a coat of high-quality wax.
Your Step-By-Step Guide to a Flawless Repair
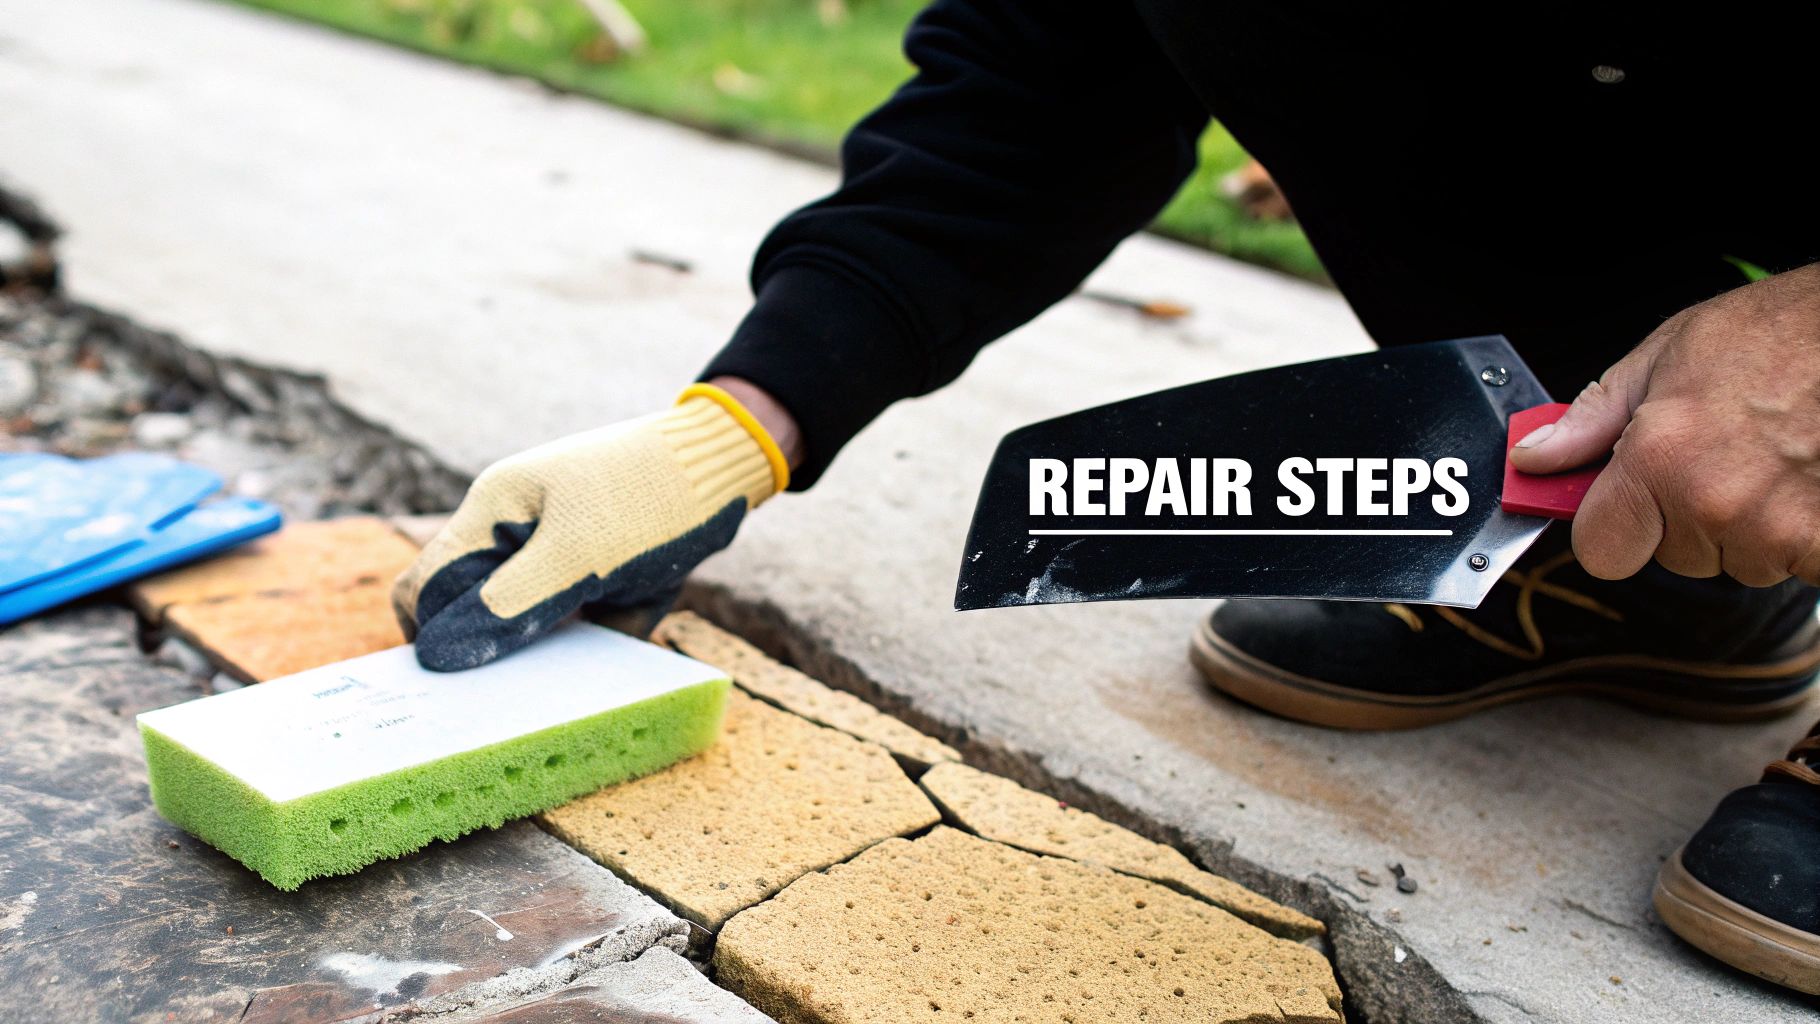
Alright, you've pinpointed the cracks and have your tools ready to go—now for the fun part. This is where we take that spidery mess and transform it into a smooth, seamless finish. Take your time with these steps, and you'll be impressed with the results you can pull off yourself.
Step 1: Prepare the Surface for a Perfect Bond
Your repair is only as good as its foundation. If you don't start with a squeaky clean surface, you're just wasting your time. Any bit of wax, salt, or grime left behind will stop the new gelcoat paste from bonding correctly, and you'll be redoing this job next season.
First things first, give the whole area a good scrub. If you've got some Boat Juice Exterior Cleaner, this is the perfect time to break it out. It's made to cut through all that marine gunk without leaving any residue that could mess with adhesion. Once it's clean and dry, grab a clean, lint-free cloth and some acetone. Give the area around the spider cracks a thorough wipe-down.
Step 2: The All-Important V-Out Technique
This next bit is the real pro secret to a permanent fix. You can't just smear filler over the top of a hairline crack; it'll reappear. We need to physically open up the cracks to give the filler something to bite into.
For this, you’ll need a rotary tool (like a Dremel) with a small, V-shaped grinding bit. With a steady hand, carefully trace right over the top of each crack. You're not trying to dig deep into the fiberglass—the goal is just to create a shallow, V-shaped channel where the crack used to be. By "V-ing out" the crack, you're creating a mechanical anchor for the new gelcoat.
Once you’ve ground out all the cracks, you’ll have a network of fresh grooves. Blow or vacuum out all the dust, then give it one last wipe with acetone on a fresh cloth to make sure it's spotless.
Step 3: Mixing and Applying the Gelcoat Paste
Time to mix your filler. Working with gelcoat paste means you need to be precise and move with a purpose—once you add the hardener, the clock is ticking. My advice is to always work in small batches so you don't end up with a hockey puck of cured gelcoat before you're done.
Follow the directions on your specific repair kit to the letter. Typically, you'll add just a few drops of catalyst to a dollop of paste and mix it until the color is totally uniform. Using a small plastic putty knife, press the paste firmly into the grooves you made. Make sure there are no tiny air bubbles trapped at the bottom of the repair and overfill it slightly, as the paste will shrink a bit as it cures.
Now, walk away. Let the repair cure completely. The time will vary based on the product and temperature, so just follow the manufacturer’s instructions. Don't try to sand it early—it’s a sticky, frustrating mess.
Step 4: The Multi-Stage Sanding Process
This is where your repair starts to disappear. The trick is to gradually move from coarse-grit sandpaper to ultra-fine grits, and always use a hard sanding block to keep the surface flat.
Start with something coarse, like 80-grit paper, on your sanding block. Use light, even strokes to knock down that excess filler until it’s almost level. Once it's level, it's time to switch to wet sanding, using water as a lubricant for a much smoother finish.
- First, grab some 220-grit wet/dry sandpaper. Dip it in a bucket of water and sand the area with circular motions.
- Next, move up to 400-grit and do the same thing. You'll feel the surface getting smoother.
- Finally, finish off with 600-grit or even 800-grit wet/dry paper. The repair should feel perfectly smooth, but it will have a dull, hazy look. That's normal!
Step 5: Restoring the Factory Shine
Your repair is now perfectly smooth and flush, but it's missing that deep, glossy shine. The last step is to use a polishing compound to buff away that haze left from sanding and bring back the gloss.
Put a small amount of a good marine rubbing compound on a microfiber cloth or a foam polishing pad. Work it into the repair area with firm, circular motions until the shine pops. Wipe the area clean with a fresh microfiber, and for the finishing touch, apply a coat of high-quality marine wax over the repair and the surrounding area. This adds another layer of gloss and protects your beautiful new finish.
Keeping Future Cracks at Bay and Your Finish Looking New
Alright, you've done the hard work and your repair looks fantastic. Now, the goal is to shift from fixing to preventing. This is all about being proactive to keep that finish flexible, protected, and free from any new spider cracks.
Think of your boat's gelcoat like your skin. To keep it healthy, it needs to be cleaned regularly and protected from the harsh elements. A simple wash-and-wax routine isn't just for looks—it creates a crucial barrier against UV rays, salt, and grime, all things that make gelcoat brittle and ready to crack.
A Quality Wax is Your First Line of Defense
The sun is, without a doubt, your gelcoat’s number one enemy. That constant UV beatdown degrades the resins, zaps the flexibility, and makes the surface way more likely to crack under stress. A high-quality marine wax acts as a sacrificial layer that takes the abuse so your gelcoat doesn't have to.
When you apply a good wax, you’re creating a shield that reflects those damaging UV rays. This helps the gelcoat hang onto its natural oils and flexibility, which is exactly what it needs to absorb the small impacts and flexing that come with being on the water. For an even tougher, longer-lasting barrier, you might want to check out how a modern ceramic coating wax for boats can seriously upgrade your protection.
A consistent waxing schedule is the single most effective preventive maintenance task you can perform to preserve the integrity and flexibility of your gelcoat.
For instance, after giving your boat a good wash, hitting it with a product like Boat Juice Protection Spray is a super easy way to add a quick layer of UV blockers. This keeps the finish slick and shielded between those bigger wax jobs, making sure your defense against the sun is always up.
Smart Boating Habits Make a Huge Difference
Prevention isn't just about what products you use—it's also about how you use your boat. A surprising number of spider cracks are caused by impacts and stress that are totally avoidable. A little extra care at the dock or on the trailer can save you a ton of repair work later on.
It’s the small changes that have a big impact:
- Dock Delicately: Instead of bumping into the dock, come in slow and use plenty of fenders. Let your lines do the work, not your hull.
- Check Your Trailer Support: Make sure your boat is sitting right on its trailer bunks. Uneven pressure or cranking down the transom straps too tight creates constant stress points that lead to cracks over time.
- Secure Your Gear: This one’s simple: don’t drop heavy stuff like anchors, coolers, or toolboxes on the deck. Those sudden impacts are what cause those classic starburst-shaped cracks.
Create a Seasonal Inspection Checklist
Spotting trouble early is everything. A quick inspection at the start and end of each season will help you catch problems before they spiral out of control. Just make it a standard part of your spring commissioning and winterization routine.
Your checklist doesn't need to be complicated:
- Walk the Hull: After a good cleaning, do a slow walk-around and eyeball the entire boat, especially the high-stress areas.
- Check Around Hardware: Get a close look at the gelcoat around cleats, railings, stanchions, and window frames. This is where you’ll often see the first signs of tiny hairline cracks.
- Inspect Stress Points: Pay attention to the corners of the transom and any sharp curves in the hull where flexing is concentrated.
- Take Pictures: If you see something that looks suspicious, snap a quick photo. This gives you a visual record so you can easily tell if a tiny crack is growing from one season to the next.
Got Questions About Gelcoat Cracks?
Even after you've wrapped up a repair, a few questions might still be nagging you. That's totally normal. Let's walk through some of the things boaters ask all the time about spider cracks in gelcoat so you can feel good about the work you've done.
Can I Just Paint Over Spider Cracks?
I get this one a lot, and the answer is a firm no. Trying to paint over spider cracks is like putting a small band-aid on a big problem. It just doesn't work.
Paint is only a thin top layer. It has zero structural strength, so it won't actually fill the crack or, more importantly, stop it from getting worse. Before you know it, that same crack will just reappear right through your fresh paint. The only real fix is to grind out the crack and fill it properly with a dedicated gelcoat paste.
How Do I Match the Color of My Old Gelcoat?
Ah, the true art of a seamless gelcoat repair: color matching. The sun, salt, and water have been working on your boat's finish for years, which means it has almost certainly faded from its original factory color.
Here's how you can tackle it:
- For Newer Boats: You might be in luck. Try contacting your boat's manufacturer with the Hull Identification Number (HIN). Sometimes, they can sell you a pre-matched gelcoat paste that’s a dead-on fit.
- For Older, Faded Hulls: This is where you get to play chemist. You'll need a good gelcoat repair kit that comes with tinting pigments—usually a set of reds, yellows, blues, and blacks. Start with a white or off-white base and begin adding tiny drops of color. Mix it completely after every single addition. Patience is key here.
My Two Cents: Always test your mix before you apply it. Put a little dab on a scrap of cardboard and hold it right up against the hull. And remember, gelcoat always dries a shade or two darker than it looks when it's wet. So, when you're mixing, aim for a color that looks just a little bit lighter than your target.
What’s the Difference Between Gelcoat Paste and Polyester Filler?
Using the right material is everything. For this job, gelcoat paste is the only way to go. It’s essentially the same polyester resin as your boat's original finish, just formulated to be thicker so it won't sag or run. This is a huge deal because it means the patch will bond chemically with the existing gelcoat and can be sanded and polished to a perfect, invisible shine.
On the other hand, polyester fillers (think Bondo from the auto parts store) are made for cars, not boats. They’re softer, way less resistant to water, and just aren't built for the harsh marine environment. Using them will only lead to a weak repair that fails down the road. Stick with the real stuff.
When Should I Call a Pro Instead of Doing It Myself?
It’s great to have DIY skills, but it's just as important to know when to put the tools down and pick up the phone. If you see any of these red flags, it’s time to call in a marine professional:
- The cracks aren't just in one spot; they're spread across a huge section of the hull.
- You've ground into a crack and can clearly see the fuzzy fiberglass matting underneath.
- The area around the cracks feels soft to the touch, flexes when you push on it, or sounds hollow when you tap it.
- The cracks are all spreading out from a major impact point that has clearly dented or deformed the hull.
Any of these are signs of a bigger, structural problem lurking beneath the surface. A pro can figure out what's really going on and make sure your boat is safe and sound for the long haul.
Keeping that gelcoat looking pristine is part of boat ownership, but with the right approach and products, it's a job you can handle. For all the day-to-day cleaning and protection that keeps your finish shining like new, your next step is to make sure you have the right tools in your arsenal.
Shop Our Full Line of Boat Detailing Products at shopboatjuice.com