


· By Boat Juice Team
Boat Gelcoat Repairs: Your Practical DIY Guide
Let's face it, those scratches and dings on your boat’s gelcoat are more than just an eyesore. They're tiny breaks in the armor that protects your fiberglass hull. The great news is that professional-quality boat gelcoat repairs are totally within your reach, and this guide will show you exactly how to do them yourself.
Why Your Boat's Gelcoat Is a Big Deal
Think of gelcoat as the tough, glossy outer skin on your fiberglass boat. It’s a specialized polyester resin that provides that beautiful, smooth finish, but its most important job is to be a barrier. It shields the underlying fiberglass from UV rays, water, and the inevitable bumps against the dock.
When that protective layer gets chipped or cracked, it’s an open invitation for more serious problems. A small chip can let water seep into the fiberglass laminate, which can lead to bigger, more expensive issues down the road. Nipping these little flaws in the bud is always the best strategy for your boat's long-term health.
You've Got This: Taking on Gelcoat Repairs Yourself
You really don't need to be a seasoned marine pro to fix the most common types of gelcoat damage. With the right tools and a little bit of patience, you can absolutely tackle everything from light scuffs to deeper chips. This guide is here to walk you through it, step-by-step.
Handling these repairs yourself comes with some serious perks:
- Save Money: Professional boatyard repairs can hit the wallet hard. A DIY approach slashes those labor costs, leaving more cash for fuel and fun.
- Learn a Valuable Skill: There's something incredibly satisfying about learning to maintain your own boat. It empowers you to handle future issues with confidence.
- Keep Your Boat in Top Shape: Proactive maintenance is the secret to preserving your boat's structural integrity and keeping its resale value high.
And you're not alone in this. The global gelcoat market hit USD 1.38 billion in 2023 and is only getting bigger, with the marine industry leading the charge. With over 12 million registered recreational boats in the U.S. alone, countless owners are dealing with the same dings and UV damage. You can learn more about the gelcoat market trends and see just how common this is.
Diagnosing The Damage And Assembling Your Toolkit
Before you even think about cracking open a can of gelcoat, the first thing you have to do is play detective. A proper gelcoat repair starts with a solid diagnosis—you've got to understand exactly what you're dealing with. Getting this right from the start dictates everything that follows, from the tools you'll need to the technique you'll use.
So, get up close and personal with the damage. Run your fingernail across a scratch. If it doesn't catch, you might be in luck and can probably buff it out. But if your nail snags, you’re looking at a deeper problem that needs a real repair.
Matching The Damage To The Right Repair
To help you figure out what you're up against, here's a quick reference table. Use this to identify the damage on your boat and get a clear idea of the best way to tackle it.
| Type of Damage | What It Looks Like | Your Best Approach | Essential Supplies |
|---|---|---|---|
| Minor Scratches & Scuffs | Light surface marks, often from fenders or light brushes with a dock. Doesn't catch a fingernail. | Buffing with a polishing compound. | Polishing compound, orbital polisher, microfiber towels. |
| Chips & Gouges | A chunk of gelcoat is missing, often exposing the dark fiberglass underneath. Common on corners and keels. | Fill with gelcoat paste. | Gelcoat paste, catalyst, Dremel tool, sandpaper. |
| Stress Cracks (Spider Cracks) | Fine cracks radiating out from a central point, like a spider's web. Usually from flexing or impact. | Grind out the cracks with a V-shaped bit and fill. | Dremel tool, gelcoat paste, catalyst, fine-tipped brush. |
| Crazing | A network of tiny, interconnected cracks over a larger area, looking like shattered glass. | This is more complex and often requires professional attention, but minor cases can be sanded and filled. | Gelcoat paste or spray, extensive sanding supplies. |
Knowing the difference between a simple scuff and a structural crack is everything. It's the key to a successful repair that blends in and lasts for years.
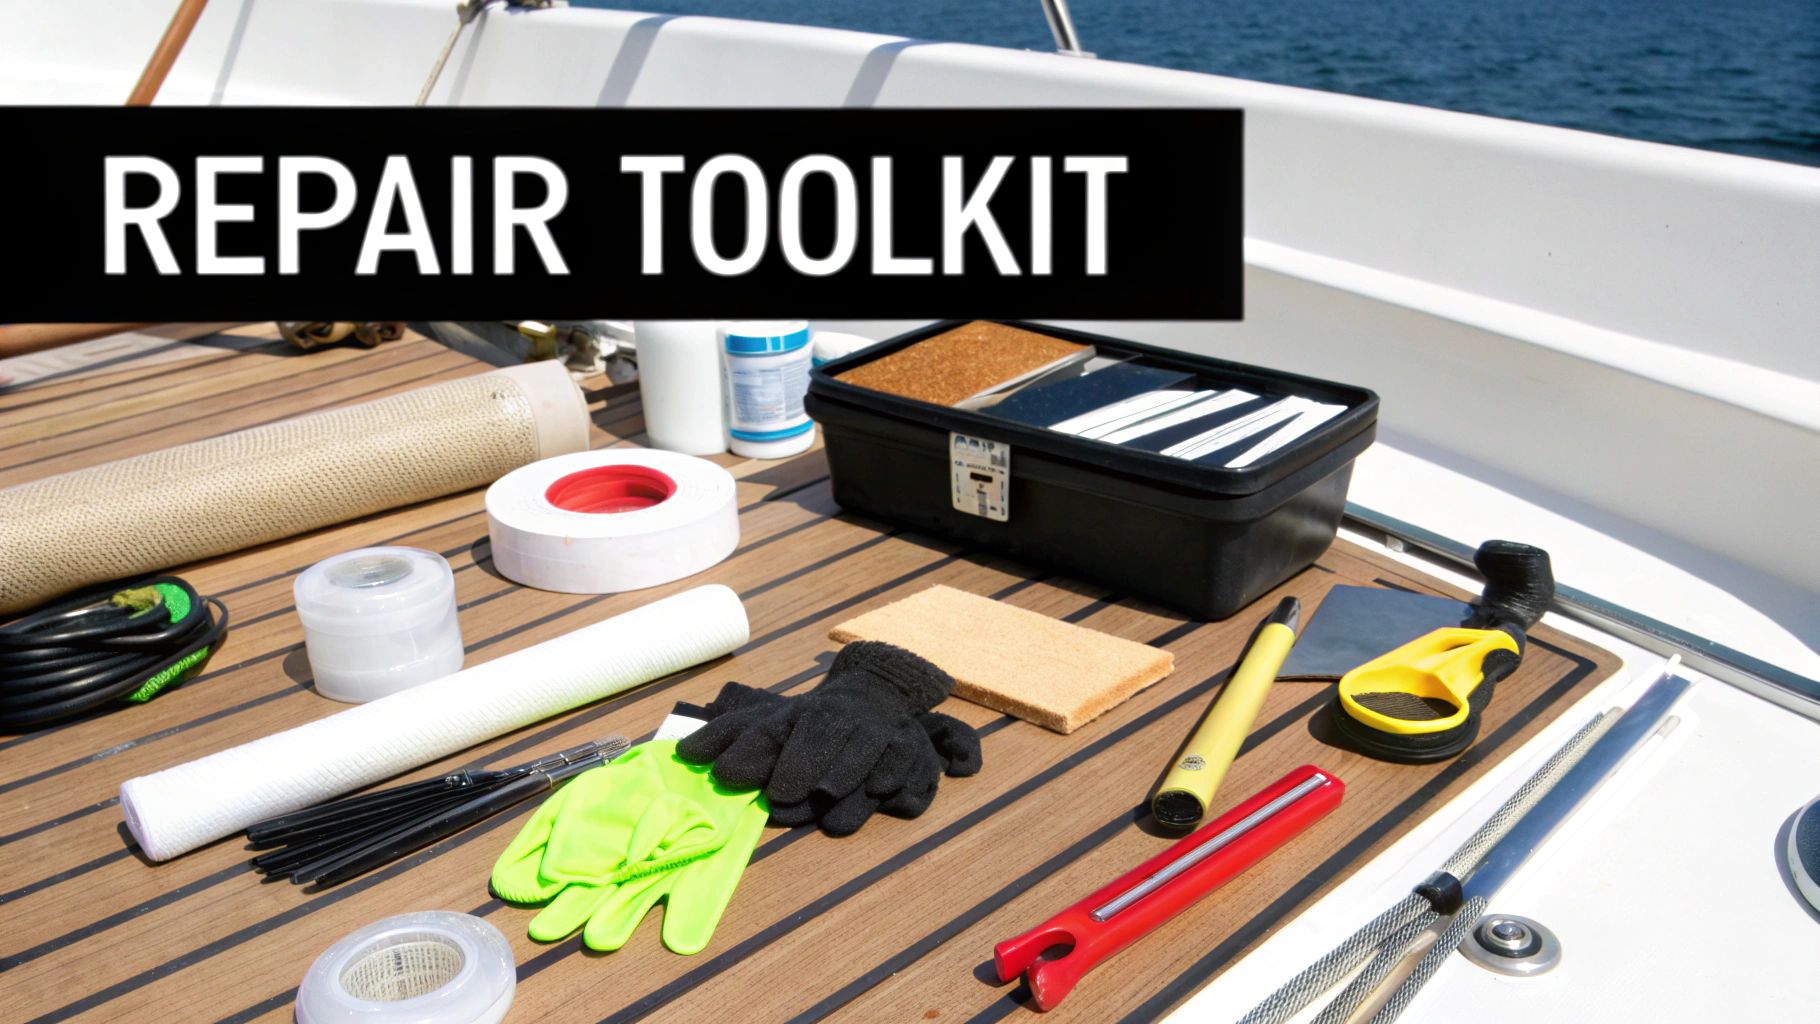
Your Essential Gelcoat Repair Toolkit
Walking into a marine supply store can be overwhelming, and it's easy to walk out with a bunch of stuff you don't need. Let's cut through the noise. Here’s a rundown of what you’ll actually want on hand for most common boat gelcoat repairs.
Safety First—Don’t Skip These:
- Respirator: Seriously, the fumes from resin and acetone are no joke. A good respirator with organic vapor cartridges is a must-have.
- Safety Glasses: Keep your eyes protected from splashes, dust, and debris.
- Nitrile Gloves: These are your best friend for keeping sticky resin off your hands.
The Repair Goods:
- Gelcoat Paste: This is much thicker than sprayable gelcoat and is what you’ll use for filling chips and deep scratches. If you can find a pre-matched color for your boat, you’ll save yourself a lot of headaches.
- Catalyst (MEKP): This is the hardener that kicks off the chemical reaction that cures the gelcoat. Handle it with care and respect.
- Acetone: Absolutely essential. You'll use it to prep the repair area and for cleaning your tools when you're done.
- Masking Tape: Good quality painter's tape is perfect for isolating the repair spot and protecting the surrounding finish.
Tools of the Trade:
- Dremel Tool: A lifesaver for cleanly grinding out cracks and gouges. This gives the new gelcoat a perfect surface to grab onto.
- Sandpaper: You’ll need an assortment of grits. Start with something coarse like 80-grit for shaping and go all the way up to an ultra-fine 1200-grit or higher for that final, glossy finish.
- Mixing Sticks & Cups: Simple but necessary for blending your gelcoat and catalyst.
- Plastic Spreader: A small, flexible spreader or putty knife is perfect for working the paste into the repair.
Never start a repair on a dirty boat. Salt, grime, and old wax will ruin your day by preventing the new gelcoat from bonding. A clean surface is the foundation of a repair that will actually last. To make sure you have a pristine surface, check out the best boat cleaning products. Once your boat is clean and your kit is assembled, you’re ready for the fun to begin.
The Hands-On Gelcoat Repair Process: A Step-by-Step Guide
Alright, you’ve figured out what’s wrong and gathered your gear. Now for the fun part—actually fixing the damage and bringing that glossy finish back to your boat. This is where we get our hands dirty and turn that ugly blemish into a strong, smooth, good-as-new patch.
Don't let this part intimidate you. It’s really just a matter of patience and following the process. Take your time, and you can pull off a repair that even a seasoned pro would respect. Let's roll up our sleeves.
Step 1: Prepare the Surface for a Perfect Repair
If there’s one secret to a boat gelcoat repair that lasts, it’s this: preparation is everything. The difference between a patch that holds for years and one that fails after a season comes down to how well you prep the surface. Rushing this is the single biggest mistake you can make.
First, the area has to be surgically clean. Any trace of wax, salt, or old grime will kill the chemical bond needed for the new gelcoat to stick. Give the spot a good scrub with boat soap and water, then follow up with a final wipe-down using acetone on a clean rag. Don't skip the acetone—it flashes off any stubborn residue and is critical for a rock-solid repair.
Next, grab some high-quality painter's tape and carefully mask off the area around the damage. This gives you a clean border to work within and saves the good gelcoat from getting scuffed or dripped on. I like to leave about a quarter-inch of breathing room around the actual chip or gouge.
Step 2: Prep the Damage for New Gelcoat
With the area clean and taped, it's time to prep the damage itself. This always feels a bit wrong, but you often have to make the damage a little bigger to make it better. This step is all about giving the new gelcoat a solid, clean foundation to lock into.
For deeper chips and gouges, a Dremel tool with a small V-shaped or ball-shaped grinding bit is your best friend. The goal here is to bevel the edges of the damage, creating a shallow "V" groove. Think of it like a dentist preparing a cavity for a filling. This tapered shape gives the new gelcoat patch way more surface area to grab onto, creating a much stronger mechanical bond.
Why bother? A chip with sharp, 90-degree edges is just asking for the repair to pop out under stress. By creating a gentle slope, you help distribute any future impacts or flexing across the whole patch, making it incredibly durable. While you’re at it, grind away any loose, flaky, or sketchy-looking material in the damaged area until you're down to solid fiberglass.
After grinding, you’ll have a fair bit of dust. Vacuum it out completely, then give it one last, careful wipe with acetone to make sure every last particle is gone. Now you’ve got a perfect canvas ready for the fill.
Step 3: Mix And Apply Gelcoat Paste
This is the moment of truth. Gelcoat paste won't harden by itself; you need to add a catalyst, which is almost always Methyl Ethyl Ketone Peroxide (MEKP), to kick off the chemical reaction. Getting this mix right is crucial.
Always read the manufacturer's directions, as they'll tell you exactly how many drops of catalyst to add per ounce of paste. Remember that temperature and humidity are huge factors. On a hot, sunny day, you’ll need a little less catalyst, while on a cool, overcast morning, you might need a bit more.
Here’s a simple mixing routine:
- Scoop a small amount of gelcoat paste into a clean mixing cup. Only mix what you can comfortably use in about 10-15 minutes.
- Add the correct number of MEKP drops according to the directions.
- Stir it thoroughly but not violently for at least a full minute. You’re looking for a totally uniform color, not a cup full of air bubbles.
Once it's mixed, it's go-time. Use a small plastic spreader to work the paste into the prepped damage. Be sure to press firmly to push the material into every little crevice and force out any trapped air at the bottom of the repair.
Step 4: Achieve A Smooth, Cured Finish
Here’s a key trick: you need to slightly overfill the damaged area. Gelcoat shrinks just a tiny bit as it cures, so by building the patch up so it sits slightly proud of the surface, you ensure that after sanding it will be perfectly flush. Aim for a gentle mound that stands just a hair above the surrounding gelcoat.
Now for the final critical step. Standard gelcoat is “air-inhibited,” meaning it needs to be sealed off from oxygen to cure properly. The easy solution is to cover the wet patch with a release film. A simple piece of clear packing tape or a small square cut from a plastic Ziploc bag works great.
Smooth the film over the patch with your spreader, gently squeezing out any air bubbles and excess paste. This little piece of plastic blocks the air so you get a full, rock-hard cure and leaves you with a much smoother surface to start sanding from. Now, you just have to wait. Let the repair cure completely for at least a few hours, or ideally 24 hours.
Mastering The Art Of Color Matching Your Gelcoat
Nothing screams "bad DIY job" louder than a repair patch that's a different color from the rest of the hull. Getting the color right is part art, part science, but it’s something you can absolutely get the hang of with a bit of patience.
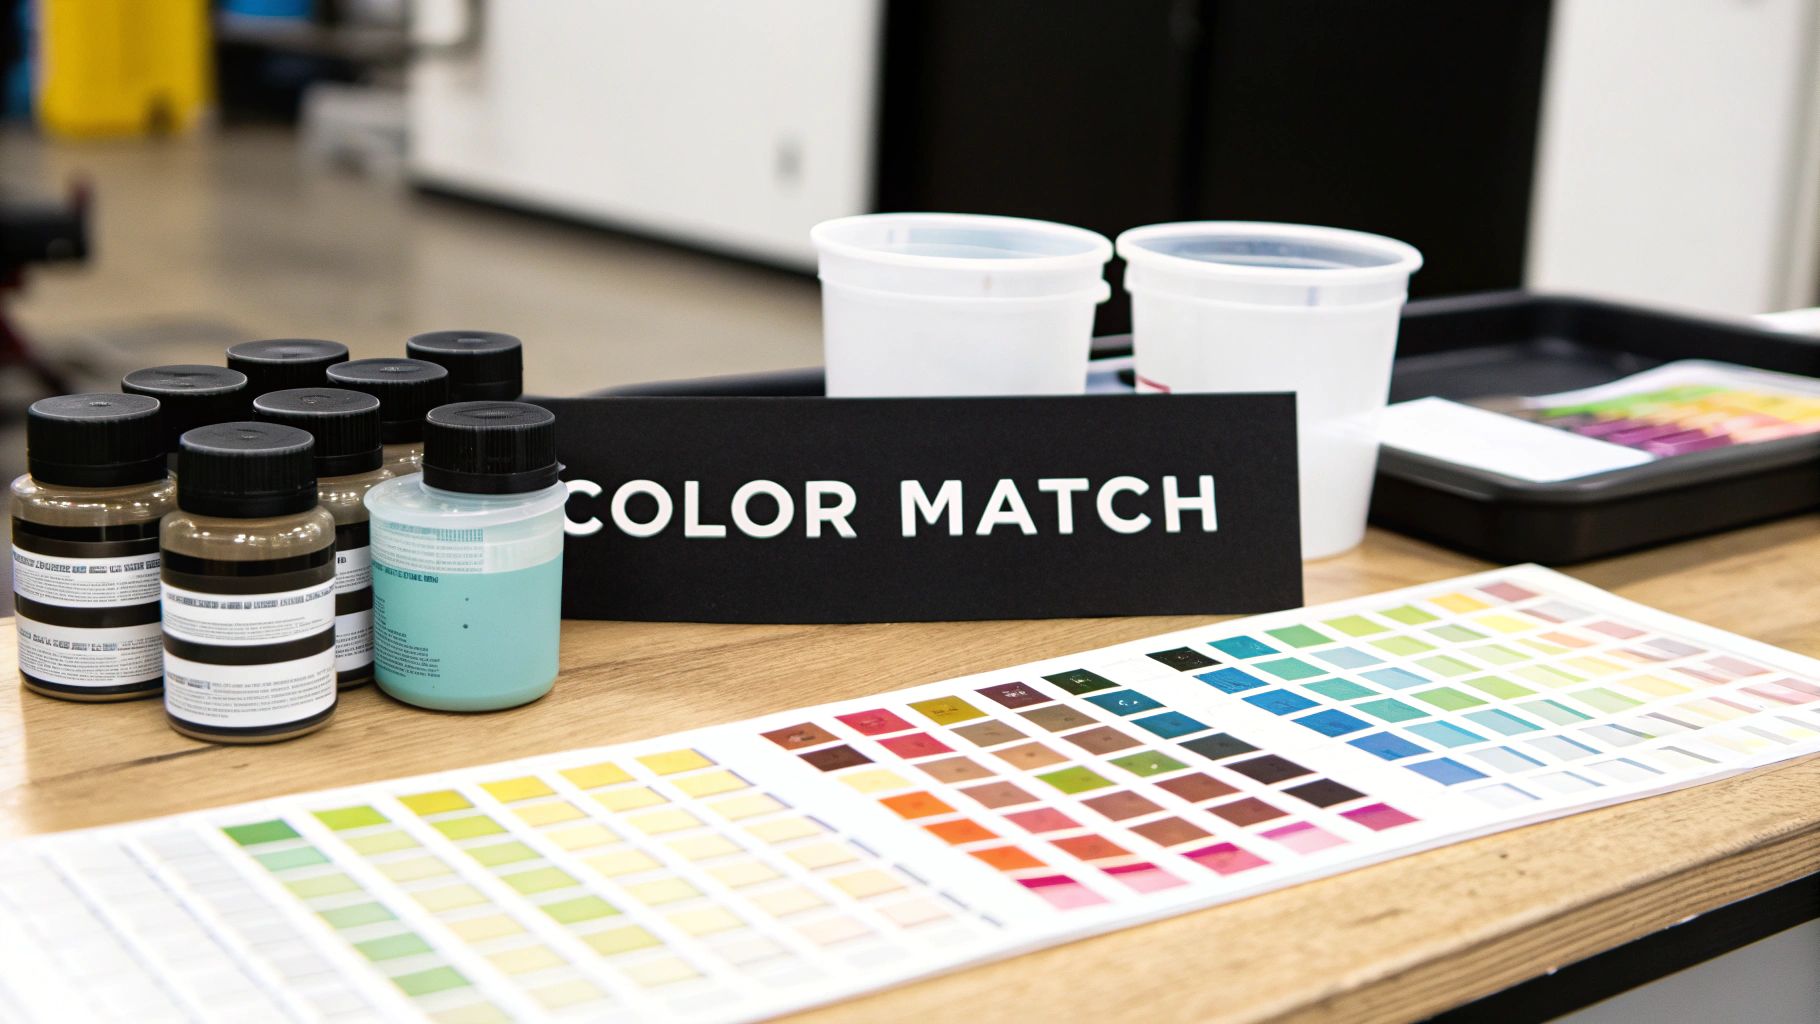
Your best bet is to see if you can get a pre-matched gelcoat kit straight from your boat’s manufacturer. A quick call or email with your Hull Identification Number (HIN) can save you a world of trouble. This is the fastest path to a perfect match, but it's often not an option for older boats.
Finding The Perfect Match From Scratch
If a pre-matched kit is a no-go, don't sweat it. The next best thing is to play chemist and tint a neutral or white gelcoat paste yourself. You'll need a set of coloring pigments, which usually come in small bottles of primary colors along with black and white.
Start with a small batch of your neutral paste in a mixing cup. Now, begin adding the pigments literally one drop at a time. This is a slow, methodical process that can’t be rushed.
- For a classic cream or off-white: Start with a white base and add a single drop of yellow and maybe the tiniest speck of brown.
- To get a light gray: Begin with white and add a very small amount of black. You can always go darker, but you can’t easily go lighter.
- Nailing a specific blue: Use a blue base, then add white to lighten it or a drop of black to deepen the shade.
Remember, you aren't matching the boat's factory color. You're matching the color of the hull today after years of sun and water have worked their magic on it. This often means you’ll need to add a touch of yellow or brown to your white mix to perfectly match that beautifully aged patina.
Before you commit, test your color. Find an inconspicuous spot on the boat, take a tiny dab of your un-catalyzed mix, and smear it on. This "smear test" is the only way to see how your custom color truly looks against the real deal.
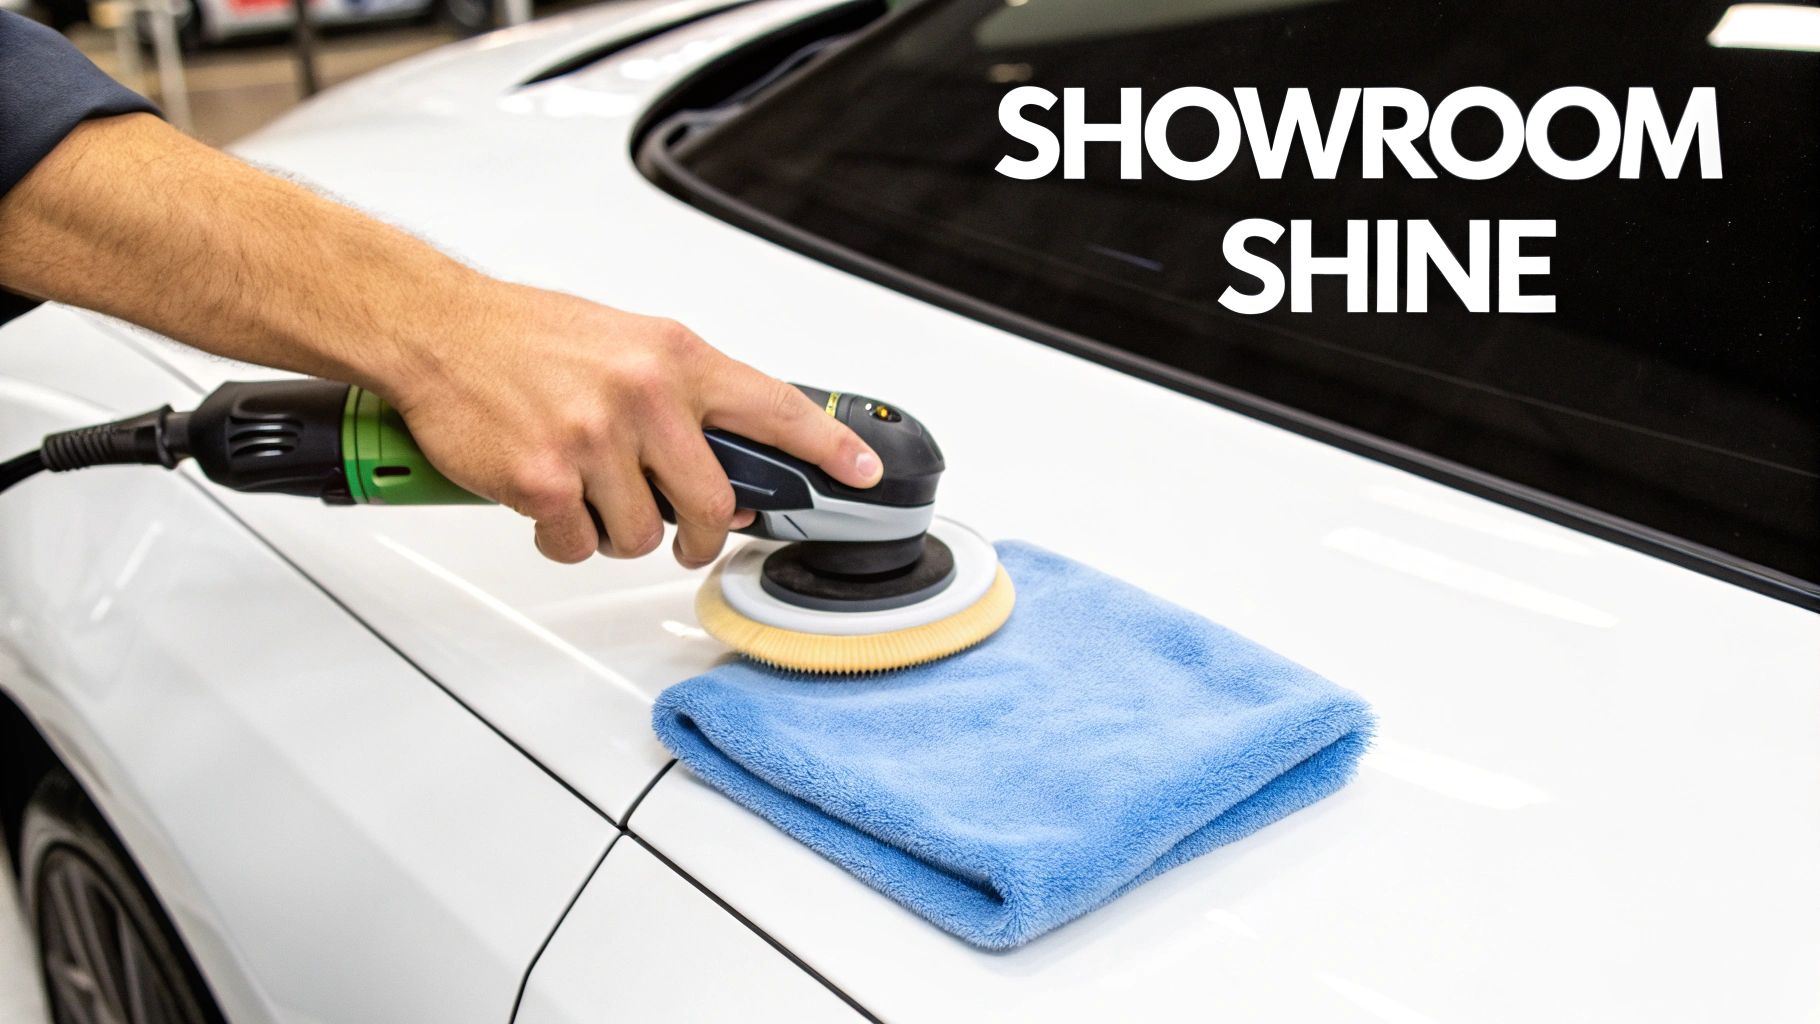
Sanding And Polishing For That Showroom Shine
You've done the hard part. The damage is filled, cured, and the color is matched. Now for the most satisfying stage of the whole process: making that repair completely disappear. This is where you transform that dull patch into a seamless, glossy finish.
Step 5: The Art Of Wet Sanding
Once your gelcoat patch is fully cured and rock-hard, it's time to start shaping it with wet sanding. The water acts as a lubricant, washing away dust so your sandpaper doesn't clog up and giving you a much smoother result. The plan is to start with a coarser grit and move to progressively finer grits.
Here’s the sandpaper progression you'll use:
- 320-400 Grit: Start here to carefully level the overfilled patch until it’s perfectly flush with the original gelcoat.
- 600 Grit: Switch to 600-grit to start smoothing out those deeper scratches from the first pass.
- 800 Grit: This step refines the surface even more, getting rid of the 600-grit marks.
- 1000-1200 Grit: This is your last sanding step. It will leave the repair area with a smooth but hazy finish, which is the perfect canvas for compounding.
The secret to an invisible transition is to "feather" the edges. As you sand, gradually extend your sanding area just a little beyond the patch itself. This blurs the line between the old and new gelcoat, making the repair virtually disappear. The global gelcoat market was valued at USD 1.28 billion in 2023 and is projected to hit $4.42 billion by 2033, so this is one of the best DIY skills a boat owner can learn. You can discover more insights about the booming gelcoat market.
Step 6: Bringing Back The Gloss With Compounds And Polishes
After wet sanding, your repair will be smooth but will have a dull, matte look. Don't panic! The next step is to bring back that deep, reflective shine using rubbing compounds and polishes. A rubbing compound is like liquid sandpaper; its job is to buff away that hazy finish and the last of the microscopic sanding scratches.
Put a small amount of compound on a clean foam pad or microfiber cloth. Work it into the repair area with firm, overlapping circular motions. You’ll see the gloss begin to return.
Wipe the area clean and switch to a finishing polish. This is an even finer abrasive meant to remove any tiny swirl marks left by the compound and bring out that deep, wet-look shine. When you’re done, you shouldn’t be able to find where the repair was. For more tips on this final wipe-down, our guide on how to clean fiberglass boats properly can help.
Protecting Your Repair and Preventing Future Damage
You did it. The gouge is gone, the color is matched, and the surface is gleaming. After all that hard work, the last thing you want is for your perfect repair to fade or get damaged again. So, let's talk about how to make sure that flawless finish lasts.
A freshly cured gelcoat patch is vulnerable to UV radiation, which can cause it to fade differently than the surrounding area. Think of this final step like putting on sunscreen. You need to protect it with a high-quality sealant or wax, which creates a tough barrier against UV rays, salt, and everyday grime.
Establishing a Smart Maintenance Routine
Protecting this one repair is the perfect excuse to get into a simple maintenance routine that will keep your whole boat looking sharp. The secret to long-term gelcoat health isn't about occasional, aggressive deep cleans; it's all about consistent, gentle care.
Here are a few habits that will make a massive difference:
- Rinse After Every Use: Give your boat a quick freshwater rinse after each trip, especially in saltwater. This washes away corrosive salt crystals before they can damage the finish.
- Use the Right Soap: Harsh detergents will strip away your wax. Stick to a pH-neutral boat wash designed to clean effectively without removing your protective layers.
- Regular Protection: Reapply a protective coating every few months. This keeps that UV and grime barrier strong. For a really durable gloss, a ceramic wax is a fantastic option. For instance, Boat Juice Ceramic Wax offers extended protection and makes future cleanups almost effortless.
By taking these small steps, you're preserving the value and beauty of your entire boat, meaning more time enjoying the water and a lot less time with sandpaper in your hand.
Answering Your Top Gelcoat Repair Questions
When you're elbows-deep in a repair, questions pop up. We've been there, so we pulled together the most common ones we hear from boat owners to get you unstuck and back on track.
Common Repair Questions
How long does gelcoat actually take to cure?
This is the million-dollar question, and the honest answer is: it depends. A full, rock-hard cure can take anywhere from 2 to 24 hours. It all comes down to the temperature, humidity, and the exact amount of catalyst you mixed in. A good rule of thumb is to let it sit overnight. But before you start sanding, do a quick "fingernail test"—if you can't make a dent, you're good to go.
What do I do if my gelcoat is still sticky?
If your repair feels tacky to the touch even after it should be cured, don't panic! This is almost always an air-exposure issue. Most gelcoat is "air-inhibited," meaning the surface layer won't fully harden without being sealed off from oxygen. Wipe the sticky layer off with an acetone-soaked rag, give it a light scuff with sandpaper, and then apply another thin coat, making sure to cover it with a release film this time.
Can I tackle a gelcoat repair when it's cold out?
You can, but I wouldn't recommend it. Gelcoat relies on a chemical reaction that needs warmth to kick off properly. Most manufacturers will tell you to work in temperatures above 60°F (16°C). In colder weather, the cure will be painfully slow or might not happen at all, forcing you to do it all over again. Patience is your best friend in gelcoat repair.
Now that your repair is solid and looks fantastic, your next step is to protect that hard work. Products from Boat Juice are made to shield that fresh finish from the sun and water. Give your boat the lasting shine it deserves by checking out our full lineup at https://shopboatjuice.com.