


· By Boat Juice Team
Your Guide to Choosing and Using the Best Boat Wash Soap
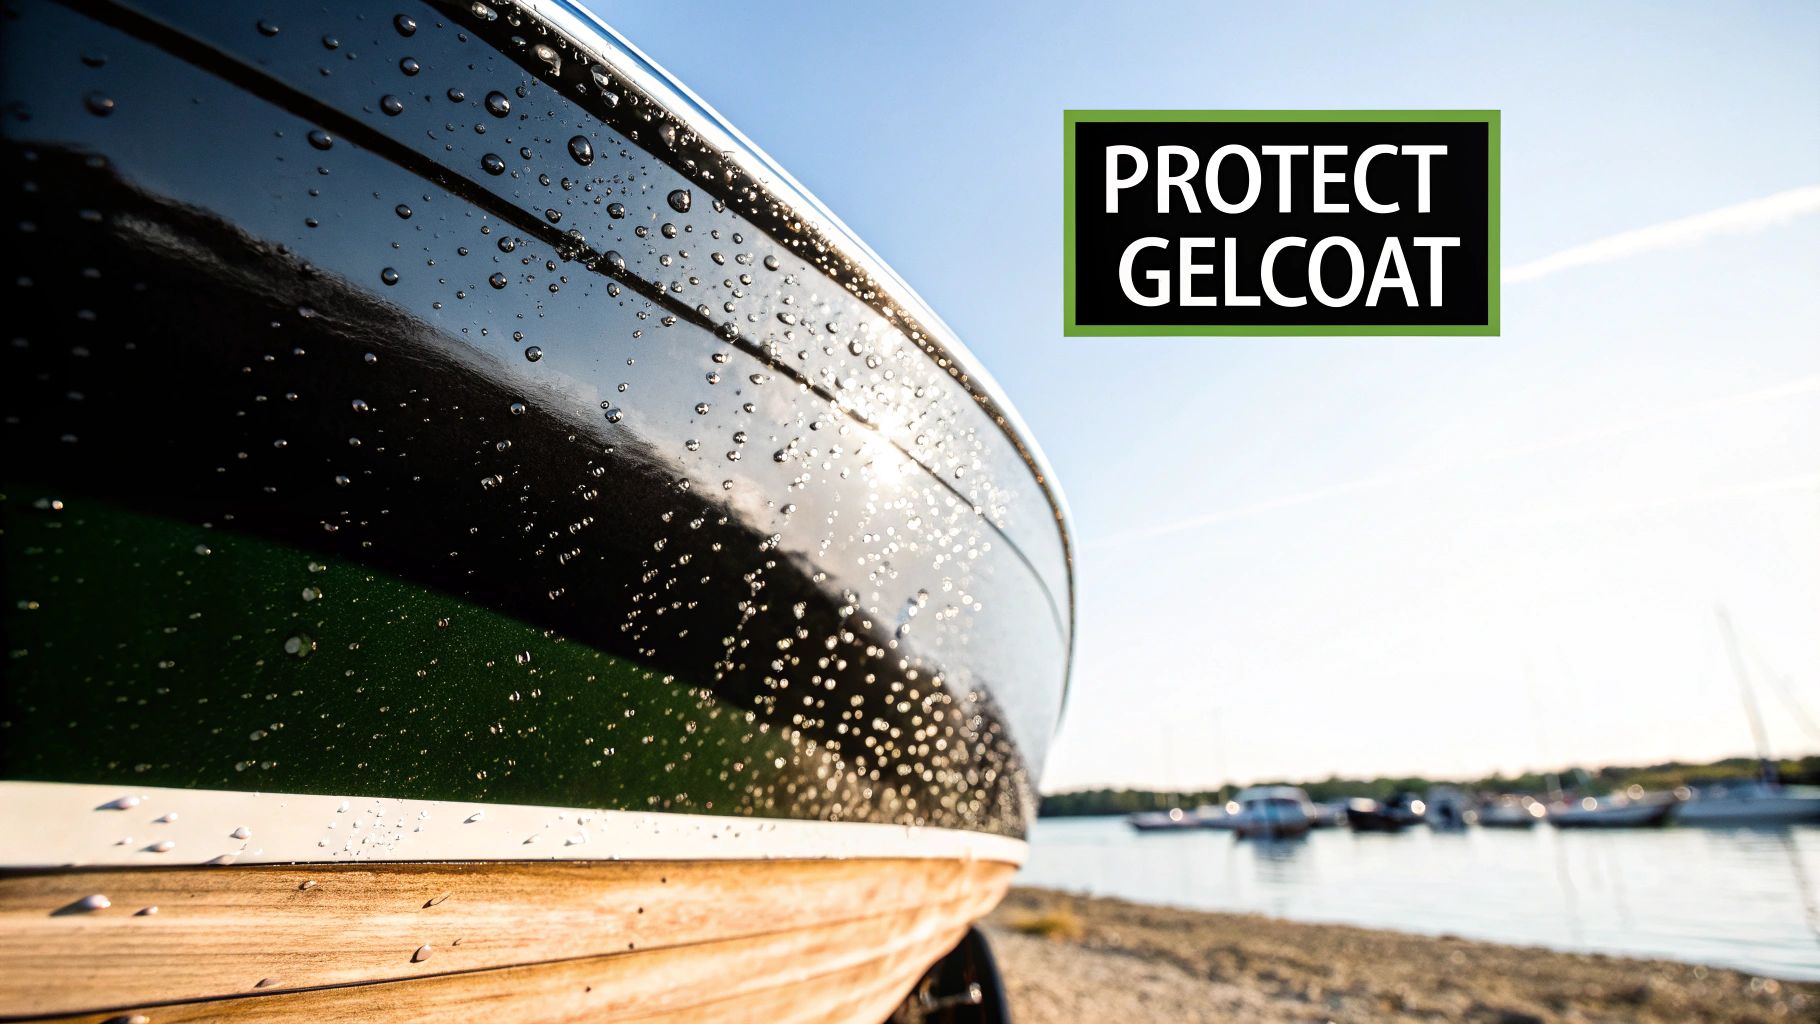
Choosing the right boat wash soap is your first line of defense in protecting your boat. It’s not just about getting the grime off; it's about doing it without damaging your boat's sensitive gelcoat finish. A proper marine soap is designed to tackle the unique messes you deal with—salt, scum, and bird droppings—while leaving your all-important wax layer intact.
That wax is what stands between your hull and the damaging effects of UV rays and saltwater. Proper washing is a critical part of your seasonal boat care, whether you're prepping for spring launch or getting ready for winter storage.
Why Your Boat Deserves More Than Dish Soap
I get it. You're at the dock, the boat's a mess, and that bottle of dish soap from the galley is right there. It makes tons of suds and seems to cut through grease, so it should be perfect for cleaning your boat, right? Honestly, it’s one of the biggest mistakes you can make as a boat owner.
Household soaps are formulated for one thing: stripping everything away. That’s fantastic for last night's greasy lasagna pan, but it's absolutely brutal on your boat's gelcoat. Your boat's tough, shiny hull relies on a protective wax coating to fend off the harsh marine environment.
The Gelcoat Stripping Problem
When you lather up with dish soap, its powerful degreasers don't know the difference between grime and your protective wax. They just strip it all away, leaving your gelcoat completely exposed. Why is this so bad? Because without that wax shield, your gelcoat is a sitting duck for serious damage.
Without wax, your hull is vulnerable to:
- UV Damage: The sun will beat down on the unprotected surface, causing it to fade, chalk up, and become brittle.
- Oxidation: Constant exposure to the elements will quickly dull that beautiful shine, making your boat look old before its time.
- Water Intrusion: A compromised gelcoat isn't just a cosmetic issue; over time it can lead to bigger structural problems.
A dedicated boat wash soap is pH-balanced. This means it’s engineered to break down salt and marine buildup while being gentle on waxes and sealants. It gets your boat clean without destroying the protective barrier you worked so hard to apply.
To do right by your boat, your first step is choosing the best boat wash soap for the job.
We're not the only ones catching on. The global boat cleaner market was valued at USD 3.29 billion in 2024 and is expected to grow to USD 4.5 billion by 2032. This boom is fueled by boaters like you who are more conscious about waterway cleanliness and proper maintenance. You can learn more about how eco-friendly boat cleaning products are making a difference in our detailed guide.
Assembling Your Boat Washing Toolkit
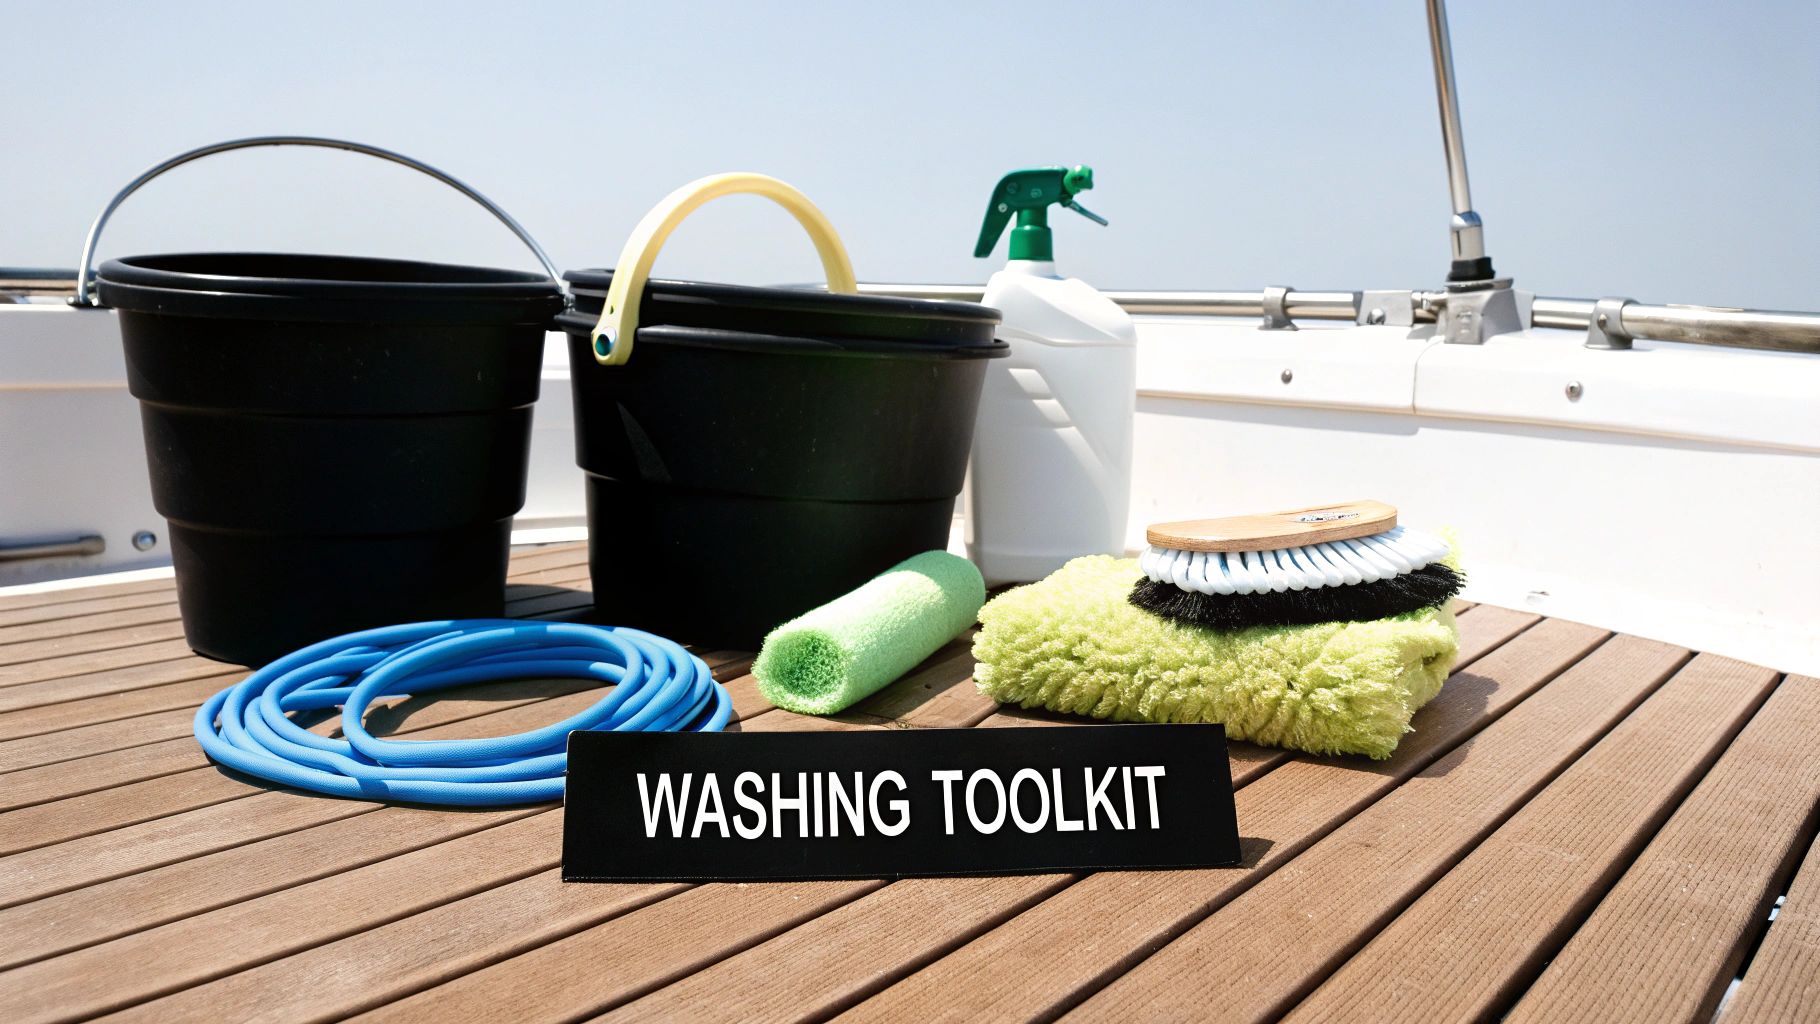
A great boat wash starts long before you turn on the hose. Getting your gear lined up isn't just about being efficient; it's about protecting your boat from accidental scratches and getting the job done right the first time. Think of this as your pre-flight checklist for a flawless clean.
The single most important technique you need to adopt is the two-bucket method. This is a non-negotiable for anyone who really cares about their gelcoat. It’s simple: one bucket holds your soapy water, and the other is filled with clean rinse water. After you wash a small section, you dunk your gritty wash mitt into the clean water first, shaking it out to release all the dirt before you ever dip back into your suds.
Why does this work? It stops you from dragging abrasive sand, salt, and grime all over your boat’s sensitive finish. This simple habit is what separates a pro-level wash from an amateur one.
Your Essential Boat Washing Toolkit
Having the right tool for each surface is just as critical as your technique. You wouldn't use sandpaper on your windows, right? The same logic applies here. Different parts of your boat demand different tools for a safe and effective clean.
Here’s a quick rundown of the gear you should have on hand before starting a wash.
| Tool | Primary Use | Pro Tip |
|---|---|---|
| Two 5-Gallon Buckets | One for soap, one for rinsing. The cornerstone of a scratch-free wash. | Use different colored buckets (e.g., one blue, one white) so you never mix them up in the heat of the moment. |
| Microfiber Wash Mitt | Washing smooth gelcoat, vinyl, and glass without scratching. | A plush, deep-pile mitt is best. It pulls dirt away from the surface instead of just pushing it around. |
| Soft-Bristle Deck Brush | Scrubbing non-skid surfaces and getting into textured flooring. | Look for one with a telescoping handle to save your back when reaching across wide swim platforms. |
| Quality Microfiber Towels | Drying the boat to prevent water spots and leave a streak-free shine. | Have a stack of them ready. Waffle-weave towels are exceptionally absorbent and great for this. |
| Boat Wash Soap | Safely lifting dirt, grime, and salt without stripping wax or sealants. | Choose a pH-neutral, marine-specific soap. A little bit of a concentrate like Boat Juice Wash & Shine goes a long way. |
With these items, you're armed and ready for just about any cleaning job your boat throws at you.
Pro Tip: Never use the same wash mitt or brush on the hull that you use below the waterline. That scum line holds some nasty, abrasive gunk that you don't want anywhere near your pristine gelcoat. Keep a separate, dedicated "dirty job" brush for that area.
Finally, before you get started, remember that a prepared boat is a safe one. Beyond just cleaning supplies, make sure your vessel is up-to-date with its comprehensive boat safety checklist to keep everyone protected on the water.
If you're looking for more ideas to round out your kit, check out our guide to the best boat cleaning products.
The Step-by-Step Guide to a Professional Boat Wash

Ready to get that professional, just-detailed look all on your own? The secret isn't some expensive tool or a magic soap. It's all in the technique. Once you master a few key steps, washing your boat goes from being a chore to a simple process that gets you a flawless shine every single time.
Step 1: The Pre-Rinse
Before a single bubble hits the hull, do a thorough pre-rinse. Use a gentle spray from your hose, starting from the top and working down, to get rid of all the loose stuff—dust, pollen, salt, and light dirt.
Why is this so important? Think of those loose particles as fine-grit sandpaper. If you skip the pre-rinse and just dive in with a wash mitt, you’re basically grinding that grit right into your gelcoat. That’s how you get those tiny swirl marks and scratches that make your finish look dull over time.
Step 2: Wash Top-Down in Sections
The golden rule for washing anything is to work from the top down. Gravity is your best friend here. When you start with the T-top or tower and move down to the hull, all the dirty water and soap run away from the areas you've just cleaned. This simple logic saves you from re-washing sections.
Another pro tip is to work in small, manageable sections. Boat soap can dry faster than you'd think, especially in the sun. If that soap dries on your gelcoat, it leaves behind a stubborn film that’s often tougher to get off than the original dirt. Focus on a 4x4 foot area at a time—wash it, rinse it, then move on.
Washing your boat in the hot, direct sun is asking for a tough time. Try to wash early in the morning or late in the evening. If you have to wash in the sun, keep the whole boat wet and work in even smaller sections to keep the soap from drying out.
If you’re using a pressure washer for that initial rinse, knowing how to handle it is key. We've put together some detailed tips on how to pressure wash a boat safely in our dedicated guide.
Step 3: Use the Right Tool for Each Surface
Your boat isn't one big, uniform surface, so don't clean it like it is. Using the right tool for each material is crucial to avoid damage and get the best results.
- Gelcoat Hull: For the big, smooth parts of your hull, a plush microfiber wash mitt is your best friend. It's gentle on your wax and traps dirt deep in its fibers. Use long, straight-line motions instead of scrubbing in circles to help prevent swirl marks.
- Non-Skid Decks: This is where you’ll want to grab your soft-bristle deck brush. The bristles are firm enough to get into all those little crevices and lift the grime out without being harsh enough to damage the textured finish.
- Vinyl & Upholstery: You can use your soapy wash mitt here, but be gentle. Scrubbing too hard can wear down the protective topcoat on marine-grade vinyl. For stubborn spots, it's safer to use a dedicated interior cleaner instead of more elbow grease.
- Hardware & Glass: Your wash mitt works perfectly for stainless steel hardware, cleats, and windows. Just make sure you rinse these areas really well, because dried soap will leave noticeable water spots on glass and chrome.
By following these steps, you’ll not only get a much better result but also help extend the life of your boat's finish.
The Secret to a Spotless Rinse and Dry
You've done all the heavy lifting—the scrubbing and the deep cleaning. But don't put the hose down just yet. This last phase, the rinse and dry, is what separates a decent-looking boat from a truly stunning, spot-free vessel. A great wash can be ruined in these last few minutes if you don't stick the landing.
Step 4: Rinse Thoroughly
A proper rinse isn't just about blasting the boat with water. It's a systematic process of getting every last bit of your boat wash soap off the surface before it can dry. Just like with washing, work from the top down. Let gravity be your friend and chase all that soapy residue right off the hull.
Pay close attention to all the little nooks and crannies where soap loves to hide—think around window frames, cleats, and under rub rails. Any soap film left behind will dry into a dull haze that acts like a magnet for dust and dirt.
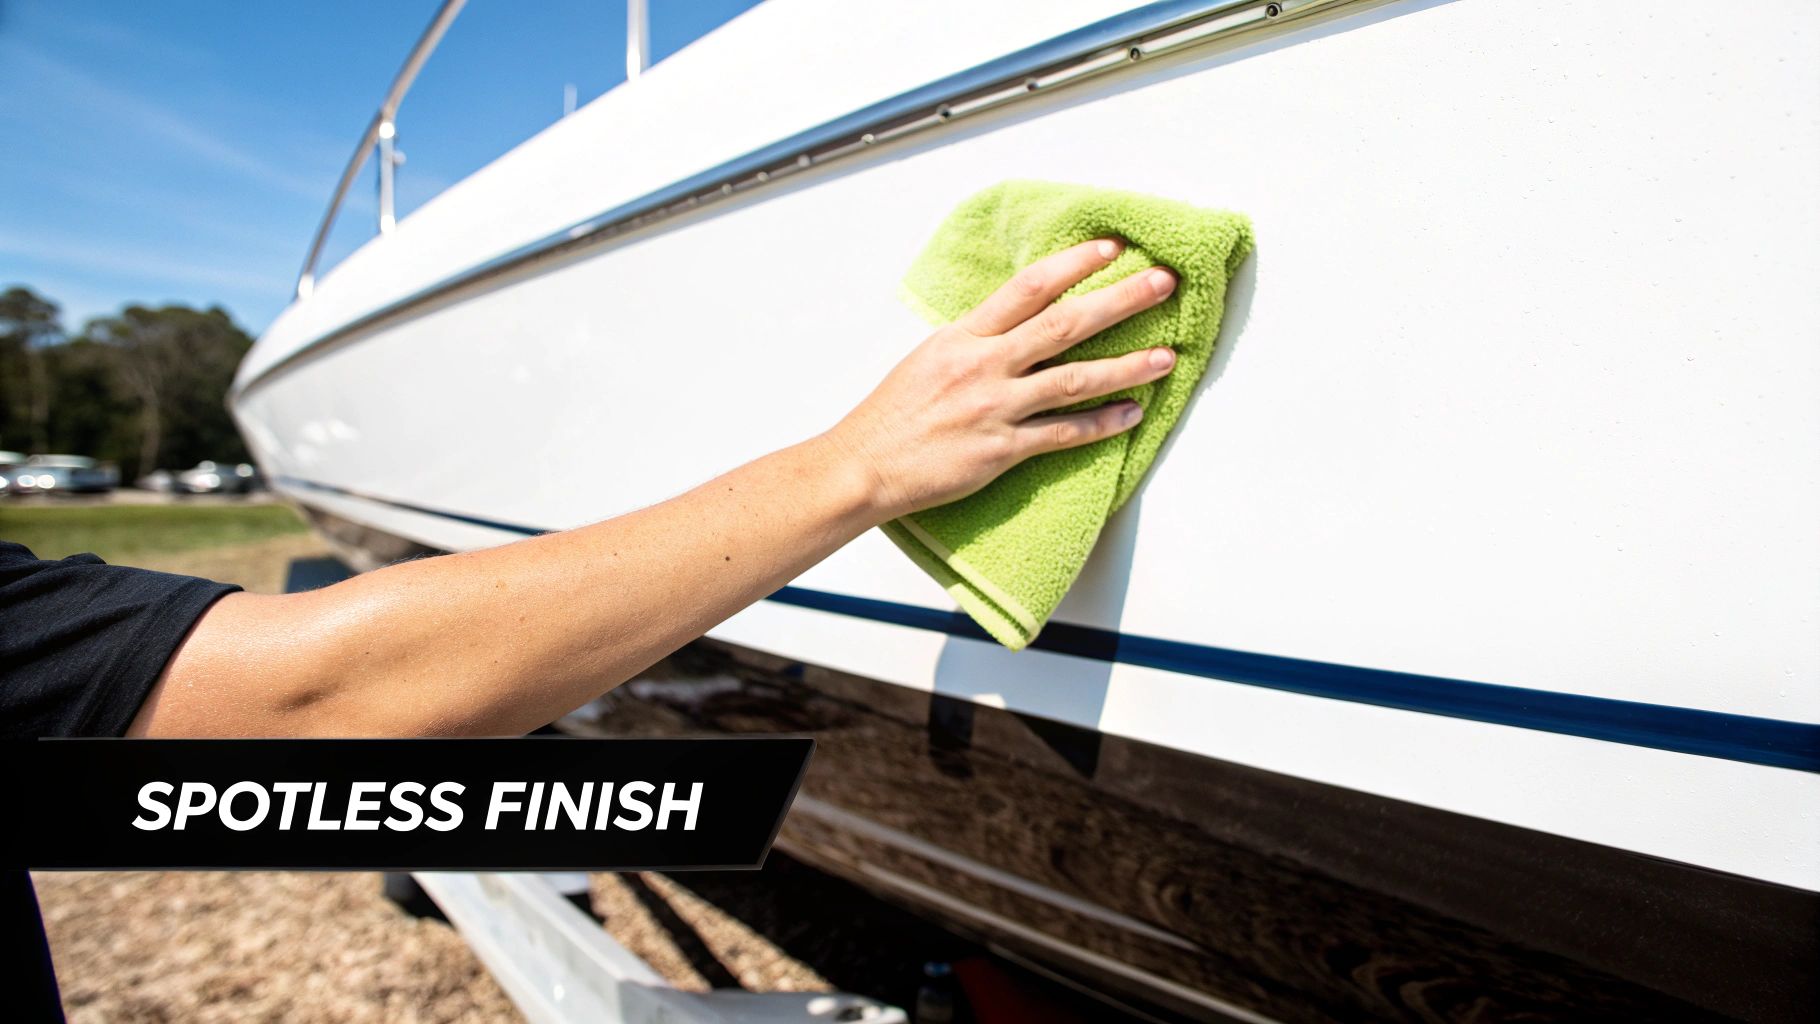
Step 5: Dry Immediately
It can be tempting to let the warm sun do the drying for you, but that's a one-way ticket to a polka-dotted boat. As each water droplet evaporates, it leaves behind minerals—calcium, salt, you name it. These deposits create stubborn water spots that can actually etch into your gelcoat over time.
You have to be proactive and get the water off the surface before the sun can bake those minerals on. Here are the best tools for the job:
- Microfiber Towels: These are the undisputed champions of boat drying. A high-quality, waffle-weave microfiber towel is incredibly absorbent and won't scratch your finish. They’re my go-to for all smooth surfaces.
- Synthetic Chamois (Shammies): A classic choice for a reason. A good "shammy" glides over the hull and can be wrung out almost completely dry. They work wonders on large, flat sections of the hull.
- Squeegees/Water Blades: These are fantastic for getting the bulk of the water off large glass panels and flat hull sections in a hurry. Just be sure to follow up with a microfiber towel to catch any remaining drips.
Whatever you do, never grab an old bath towel from the house. They are more abrasive than you'd think and can create tiny swirl marks in your gelcoat. They also tend to smear water around instead of actually absorbing it.
Step 6: Tackle Stubborn Water Spots
Even with a perfect drying technique, you might still find a few pesky water spots, especially if you're dealing with hard water. Instead of scrubbing and risking damage, you need a product specifically designed to dissolve those mineral bonds safely.
For these situations, a targeted solution like Boat Juice Extreme Water Spot Remover is the perfect answer. You just spray it directly onto the spots, give it a moment to work its magic, and then gently wipe it away with a clean microfiber towel. It breaks down the minerals without stripping your wax, bringing back that perfect shine.
Crafting Your Year-Round Boat Wash Schedule
So, how often should you really be washing your boat? There’s no magic number. Your perfect schedule depends on where you boat, how often you use it, and what season it is. The goal is to build a simple, sustainable routine that protects your investment and keeps your boat looking its best.
Your boating environment is the biggest factor. Saltwater is incredibly corrosive, and if you let it sit, it will damage your gelcoat, metal hardware, and vinyl. This is one area where you can't afford to slack off.
A quick rinse with fresh water after every single saltwater trip is non-negotiable. This simple five-minute task washes away corrosive salt deposits before they can cause real damage and will dramatically extend the life of your boat's finishes.
The demand for purpose-built cleaning products isn't just a marine industry trend; it's part of a huge global movement. The broader soap market was valued at an incredible USD 48.05 billion in 2024 and is expected to climb to USD 76.45 billion by 2032. This explosion reflects a worldwide focus on hygiene that naturally spills over into specialized areas like boat care, highlighting the need for a quality boat wash soap. It's interesting to explore more about this growing market and see how consumer habits are pushing companies to create better products.
Your Seasonal Washing Game Plan
Your boat's needs change right along with the seasons. A lazy summer day on a calm lake calls for a much different cleanup than a choppy afternoon on the ocean. Let’s break down how you can adapt your routine all year long.
-
Peak Season (Summer): If you're a freshwater boater, giving your boat a proper wash every 2-3 weeks is a solid goal. For the saltwater crowd, you’ll want to do a full, soapy wash after every 2-3 outings—on top of the mandatory freshwater rinse after every trip.
-
Spring Launch Prep: Your first wash of the season is your opportunity for a clean slate. This is the time to go deep, clearing away all the dust and grime that’s settled during storage. This gets your surfaces perfectly prepped for a fresh coat of wax or a sealant like Boat Juice Protection.
-
Fall Winterization Wash: Your last wash before tucking the boat away for winter might be the most important one of the year. Any dirt or waterline scum left on the hull can bake in and stain the gelcoat over the long off-season. A thorough cleaning now makes your spring prep a thousand times easier.
Freshwater vs. Saltwater Schedules
Let's get specific and map out a realistic schedule based on where you do most of your boating. Think of this as your baseline—the minimum commitment to keeping your vessel in prime condition.
| Boating Environment | Frequency of Full Wash (with soap) | Post-Outing Task |
|---|---|---|
| Freshwater | Every 2-4 weeks or after 3-5 outings | Quick rinse if you see pollen, dust, or bird droppings |
| Saltwater | Every 1-2 weeks or after 2-3 outings | Mandatory freshwater rinse of the entire boat |
Sticking to a consistent schedule like this prevents the buildup of that nasty, baked-on grime that requires heavy scrubbing. When you stay ahead of the dirt, each wash becomes a quick and easy maintenance task instead of a back-breaking chore.
Your Top Boat Wash Questions, Answered
Alright, let's dive into some of the questions I hear all the time from fellow boat owners. Getting these sorted out will make your next wash day smoother and give you that pro-level confidence.
Can I Just Use Car Soap on My Boat?
This one comes up a lot. While grabbing your car wash soap is definitely better than reaching for dish soap (please, don't do that!), it's not the ideal tool for the job. Why? A car's clear coat is designed to handle road grime and bug splatters, which is a world away from the salt, algae, and scum your boat's gelcoat battles.
A dedicated boat wash soap is your best friend here. It's pH-balanced specifically to break down marine gunk without stripping the protective wax layer that's crucial for shielding your gelcoat from the sun and sea.
How Do I Deal with Tough Stains and Scratches?
What about those stubborn black streaks or mildew spots that a normal wash doesn't touch? For these, you need to bring in a specialist after the main wash is done. Your general boat soap isn't formulated to knock out that kind of ground-in grime.
For instance, a targeted product like Boat Juice Mildew Stain Remover is perfect for this. You just spray it on, let it sit for a minute, give it a little nudge with a soft brush, and rinse it clean. Always test a new cleaner on a small, hidden spot first, just to be safe.
Another big concern is avoiding those hairline scratches and swirl marks. This is where the two-bucket wash method is your secret weapon. Seriously, it’s a simple trick that makes a huge difference.
The two-bucket method is the secret handshake of professional detailers. You have one bucket for your soapy water and a second one filled with plain, clean water. After you wash a section, dunk your dirty mitt in the clean water bucket first before reloading it with soap. This step keeps grit out of your soap bucket and, more importantly, off your boat’s finish.
Is It Okay to Use a Pressure Washer?
Yes, you can use a pressure washer, but you have to be smart about it. It’s a fantastic time-saver for blasting off heavy mud or rinsing away loose debris before you start scrubbing.
The key is to use a low-pressure setting—stay well under 1,500 PSI—and always use a wide-angle nozzle, like a 40-degree tip. Never blast the high-pressure stream at your vinyl decals, upholstery stitching, or any sensitive electronics. You can easily cause serious damage or force water into places it shouldn't be.
Your next step is to grab the right supplies. The Boat Juice Wash & Shine Kit bundles everything you need for that perfect, streak-free shine. You can find it and other essential boat care products over at shopboatjuice.com.