


· By Boat Juice Team
A Simple Guide to Spray On Boat Wax for a Lasting Shine
Let's be real, traditional paste waxing is a serious chore. It can eat up an entire Saturday you'd rather spend on the water. That's where a quality spray on boat wax comes in—it's your secret weapon for getting essential UV protection and a killer shine without all the back-breaking labor.
Think of it as a modern-day force field for your boat's gelcoat. It creates a slick, hydrophobic barrier that makes water bead up and roll right off. This takes grime with it and makes your end-of-day cleanup a breeze.
Why Spray Wax Is Your Boat's Best Friend

A good spray wax isn't just about making your boat look pretty at the dock (though it definitely does that). It’s about smart, functional protection that genuinely simplifies your life as a boat owner. Your boat's gelcoat is under constant assault from the elements, and this is your first and easiest line of defense.
Honestly, this quick maintenance step is one of the best investments you can make for your boat’s long-term health and resale value. The benefits run way deeper than just a glossy finish.
Powerful Protection Against the Elements
Out on the water, your boat’s biggest enemies are the sun’s harsh UV rays and relentless moisture. Day after day, that UV radiation breaks down your gelcoat, causing it to look chalky and faded. This process is called oxidation, and it's a sure sign of damage.
At the same time, water—especially hard water—leaves behind mineral deposits that etch the surface and create stubborn water spots. A high-quality spray wax lays down a tough, invisible shield that blocks those damaging UV rays and creates a super slick surface.
Why it works: A freshly waxed hull is hydrophobic, which means it repels water. This causes water to bead up and roll away, carrying dirt and salt with it. This drastically cuts down on water spotting and makes your end-of-day wipe-down so much faster.
Save Time and Effort
Who actually enjoys spending hours applying and buffing a traditional paste wax? It’s a tedious, time-consuming job. This is where a spray on boat wax really proves its worth. The whole process is incredibly straightforward: just mist a little onto a small section, spread it evenly, then flip your towel to a clean side and buff away the excess.
A job that used to take up your whole afternoon can now be knocked out in less than 30 minutes. Because it's so quick, you'll actually do it more often, which means your boat stays protected all season long. You get all the benefits without giving up a perfect day on the water.
In huge markets like North America, where boat sales hit over $57.7 billion in 2023, it’s no surprise that demand for these easy-to-use protective sprays is through the roof. You can learn more about the growing market for protective waxes and why so many boaters are making the switch.
Setting Up Your Workspace for Success

A fantastic shine doesn't just happen by accident. A great wax job is 90% prep and 10% application. Just like cooking a great meal, having all your tools ready before you start makes the entire process smoother, faster, and way more enjoyable.
Getting organized means you can work in a steady rhythm without stopping to hunt for a clean towel. It’s the difference between a frustrating chore and a satisfying job that leaves you with a professional-looking finish. Let’s get your toolkit ready for an easy, interruption-free detailing session.
Your Essential Spray Wax Toolkit
You don't need a professional detailer's entire arsenal, but a few key items are non-negotiable for applying a spray on boat wax correctly. Grabbing these essentials ensures you protect your boat’s gelcoat while achieving that streak-free gloss you’re after. Here's your simple checklist.
| Tool/Supply | Why It's Essential | Actionable Tip |
|---|---|---|
| High-Quality Microfiber Towels | Your most important tool. Cheap towels can leave tiny scratches (swirl marks) in your gelcoat. You need at least four plush towels. | Dedicate specific towels for specific jobs. Use two for application and initial wiping, and keep two completely clean and dry just for the final buff. This prevents spreading excess wax. |
| A Dedicated Boat Cleaner | Never use dish soap! It strips wax and can dry out your gelcoat. A pH-balanced boat soap is designed to remove grime without harming existing protection. | Look for a cleaner like Boat Juice Exterior Cleaner that’s tough on grime but gentle on surfaces. |
| Two Buckets | One bucket for your soapy water and one for rinsing your wash mitt. This simple setup prevents you from dragging dirt and grit back onto your boat's surface. | A grit guard at the bottom of your rinse bucket is a cheap and incredibly effective upgrade to trap dirt. |
Having these items on hand before you even start washing will turn your waxing session from a headache into a breeze.
Why the Right Cleaner Matters So Much
Think about it this way: you wouldn’t paint a dirty wall, and you definitely shouldn't wax a dirty boat. Applying even the best spray wax over a grimy surface just seals in that dirt and leads to a cloudy, uneven finish. The wax simply can't bond to the gelcoat properly if there’s a layer of grime in the way.
Why it works: A clean surface allows the polymers in the spray wax to form a strong, direct bond with your boat's gelcoat. This bond is what creates a durable, long-lasting protective layer and a deep, reflective shine.
A product like Boat Juice Exterior Cleaner is a great solution here. It’s formulated specifically to cut through lake scum, salt spray, and general dock dirt, prepping the gelcoat perfectly for wax. To learn more about what makes a great soap, check out this guide to the best boat cleaning products.
Getting Your Boat's Surface Ready for a Flawless Shine
Ask any professional detailer, and they'll tell you the same thing: a great wax job is 90% prep work. You just can't get that deep, dripping-wet shine by spraying wax over a dirty surface. It's like painting a dusty wall—it won't stick, and it won't look good.
For a spray wax to do its job, it needs to bond directly to a clean gelcoat. That means getting rid of all the salt, grime, and water spots first. This initial cleaning is what sets the stage for a strong, protective layer that actually lasts.
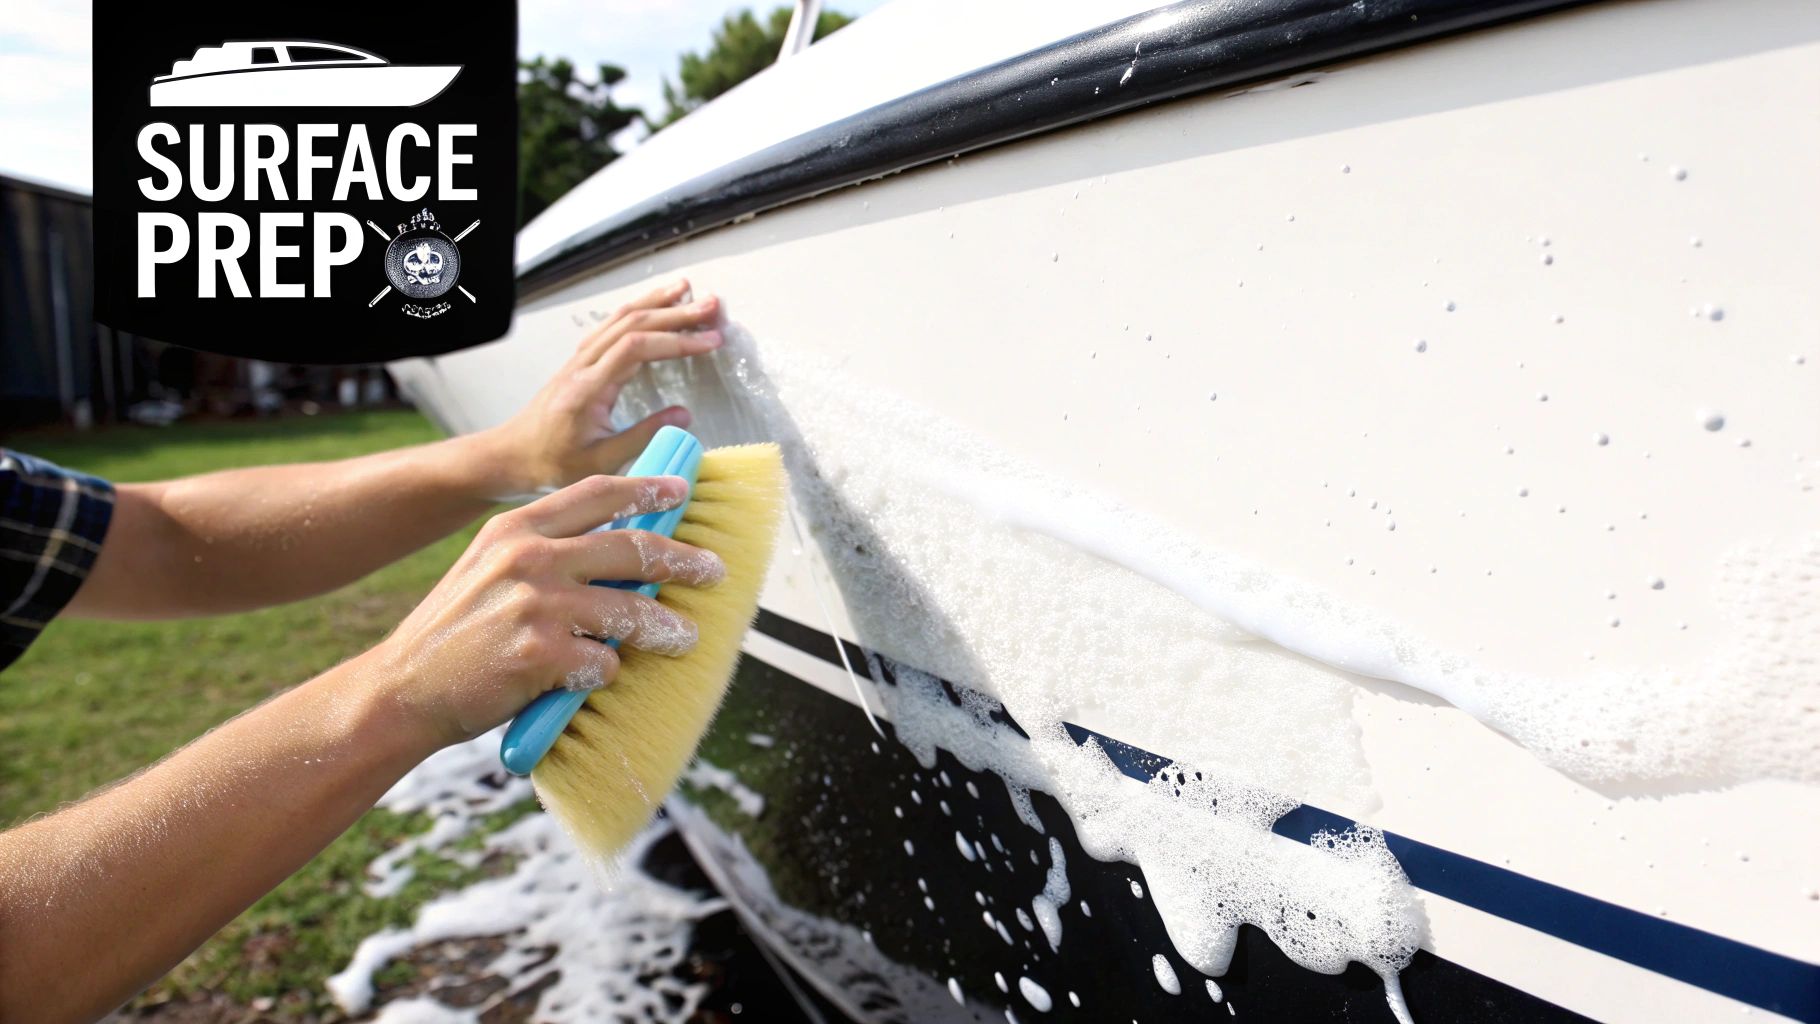
Step 1: Start With a Proper Wash
First things first, you need to give your boat a thorough wash. Start by rinsing the entire boat to knock off loose dirt. Then, grab your two buckets and a dedicated boat soap. Remember, dish soap strips wax and dries out your gelcoat, so avoid it at all costs.
Use the two-bucket wash method: one bucket for soapy water, the other for clean rinse water. Dip your wash mitt in the soap, clean a small section, then rinse the dirty mitt in the clean water bucket before grabbing more soap. This simple trick keeps you from grinding dirt back into your finish.
Step 2: Battle Those Stubborn Water Spots
Ever washed your boat and noticed those chalky, white spots that just won't budge? Those are mineral deposits left behind when water evaporates. If you leave them, they can actually etch into your gelcoat and dull the finish for good. Applying wax over them just seals them in.
The goal is to get the surface perfectly smooth and clean before you even think about waxing. You can see how the pros avoid trapping imperfections under wax by reviewing professional detailing techniques for a spot-free finish.
For really baked-on spots that a regular wash won't touch, you'll need a dedicated water spot remover. A product like Boat Juice Extreme Water Spot Remover uses mild acids to safely dissolve those mineral deposits without harming your gelcoat, restoring the smooth surface needed for a perfect wax application.
Step 3: Dry The Surface Completely
Your final prep step is to dry the boat thoroughly with a clean microfiber towel. This prevents new water spots from forming and ensures the wax can be applied evenly without smearing. Don't let the boat air dry, especially in direct sunlight, as this is a primary cause of water spots.
Taking the time to prep the surface isn't just about looks; it's about performance. When the gelcoat is perfectly clean, dry, and smooth, the polymers in your spray wax can create a much stronger, more even bond for maximum protection.
The Simple Spray, Wipe, and Buff Method
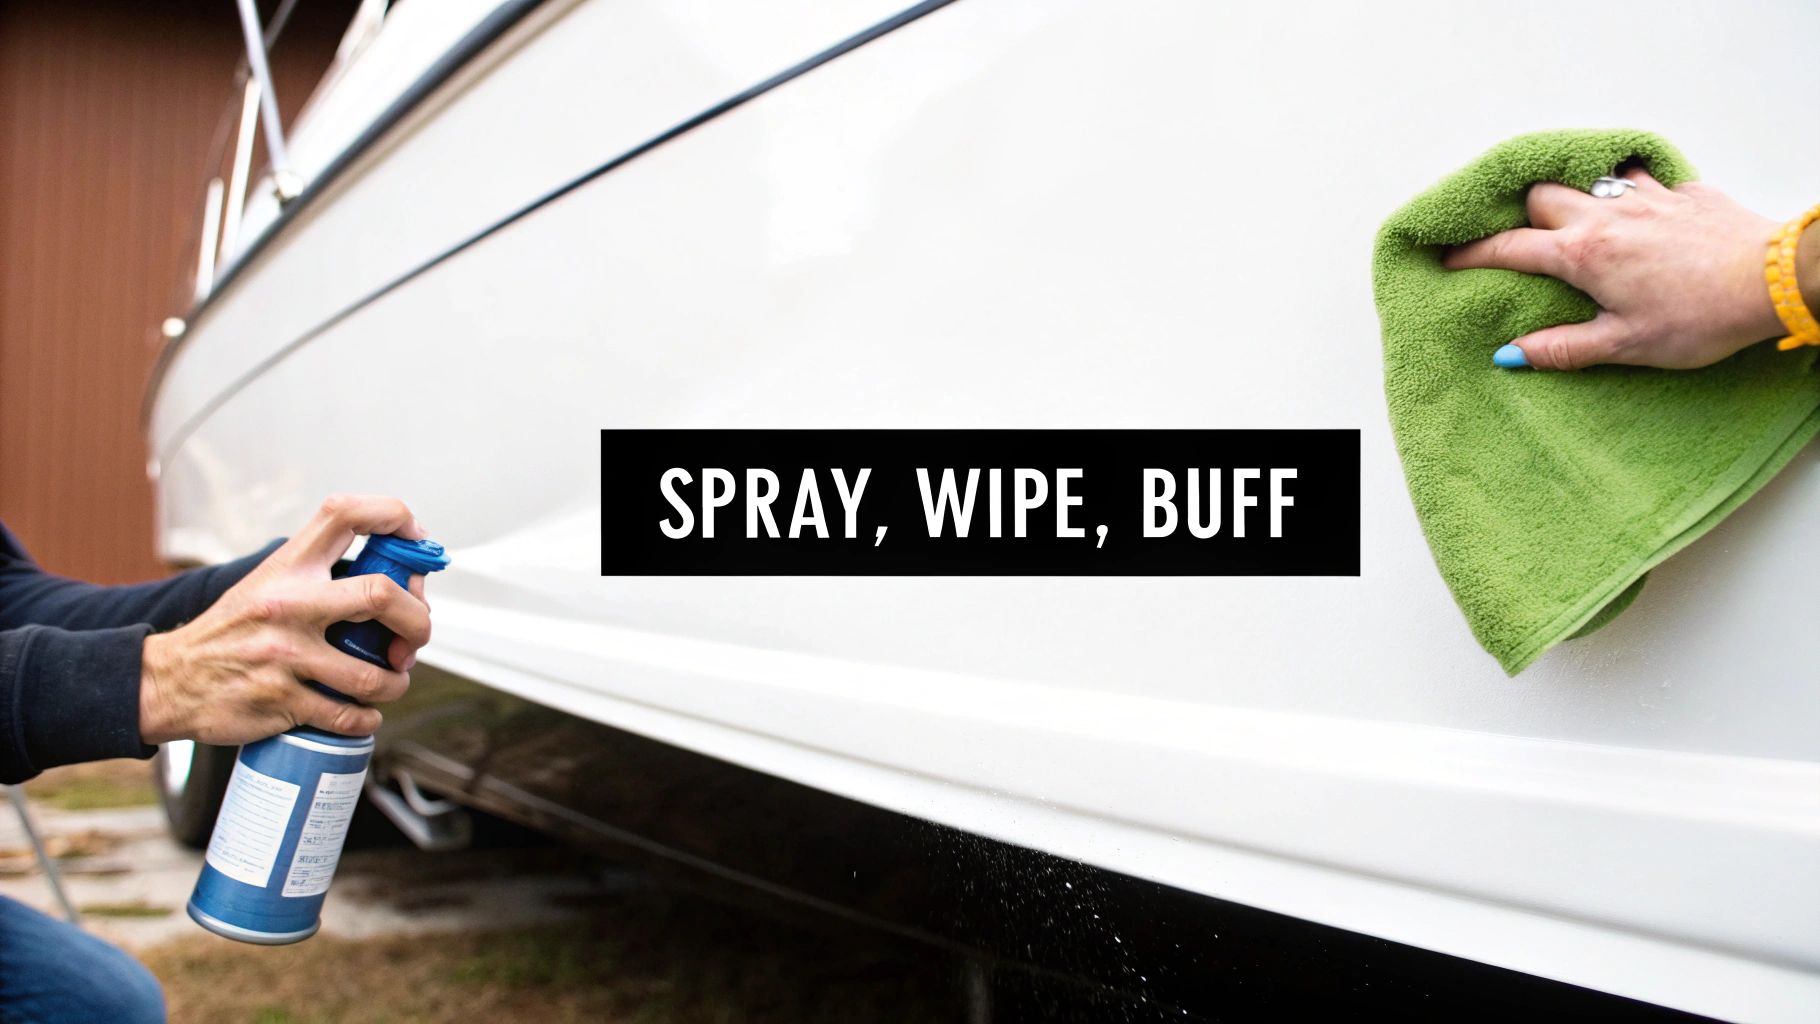
With a perfectly clean and prepped surface, you're ready for the fun part—bringing out that incredible shine. Applying a spray-on boat wax isn't complicated, but getting the technique right is what separates a decent job from a flawless, professional finish.
It all comes down to a simple rhythm: spray, wipe, and buff. The key is to work methodically in small, manageable sections, about 3x3 feet at a time. This keeps the wax from drying before you have a chance to properly spread and buff it out.
Actionable Step 1: The "Mist and Spread"
Honestly, the biggest mistake people make is using way too much product. A light, even mist is all it takes. Hold the spray bottle about a foot from the hull and give your 3x3 foot section a couple of quick mists.
Immediately grab your first clean microfiber towel—your "application towel"—and gently spread the product across the entire section. Use overlapping passes, just like you’re painting. You’re not scrubbing, just evenly distributing the wax.
Actionable Step 2: The Two-Towel Buff
Now for the part that makes all the difference: the buff. Right after spreading the wax, grab your second clean, dry microfiber towel. This is your dedicated "buffing towel." Using this separate, dry towel is the real secret to getting that perfect, streak-free shine.
Why does this work so well? Your first towel gets damp with wax as you spread it. If you try to buff with that same towel, you're just smearing the product around, causing hazing and streaks. Your dry buffing towel easily whisks away the excess, leaving behind only the thin, protective layer you want.
Pro Tip: Fold your microfiber towels into fourths. This little trick gives you eight clean, usable surfaces per towel. As one side gets saturated, just flip to a fresh, dry side and keep on buffing without missing a beat.
How to Tackle Different Parts of Your Boat
Your boat isn't one flat surface, so adapt your technique as you move around.
- Large Hull Sides: Work from top to bottom in your 3x3 foot sections. This way, any drips won't run over areas you’ve already perfected.
- Curved Bow Areas: The curves can be tricky. Just slow down and follow the natural contours of the boat, ensuring even coverage.
- Transom and Swim Platform: These areas get hammered with exhaust soot and water spray. A good coat of wax here will make cleaning them up later much easier.
If you’re looking for a great all-around product, Boat Juice Protection Spray is a fantastic choice. Its formula spreads easily and buffs off clean, providing excellent UV protection and a deep gloss on gelcoat, paint, and even your stainless steel hardware.
Pro Tips for a Flawless and Lasting Shine
Even with the best technique, you might occasionally run into a streak or a hazy spot. Don't worry—these issues are almost always easy fixes. Once you understand what causes them, you can avoid them altogether and keep your boat looking incredible.
Most of the time, streaks are caused by one of two simple things: using too much product or applying it to a surface that’s too hot. When the wax dries too fast, before you can properly buff it away, it leaves behind that faint, streaky residue.
Troubleshooting Common Waxing Issues
If you do spot a streak, the fix is unbelievably simple. Grab a clean, dry microfiber towel, spritz it lightly with a bit more spray on boat wax, and gently wipe the affected area. This re-wets the product, letting you easily buff it off clean this time around. Problem solved.
What about overspray? If you accidentally get some wax on your vinyl seats or non-skid flooring, just wipe it up quickly with a clean towel. For vinyl, it's always a good idea to follow up with a dedicated cleaner like Boat Juice Interior Cleaner, since wax can make those seats feel a bit slick.
Actionable Tip: The best way to avoid most issues is to work in small, manageable sections, especially on warm, sunny days. This gives you plenty of time to buff the product off completely before it has a chance to flash-dry on the surface.
Elevating Your Gloss and Protection
Once you've got the basic application down, one pro trick can take your shine from great to absolutely stunning: apply a second coat.
After you’ve finished the entire boat, circle back and apply another light coat about an hour later. This second layer seriously deepens the gloss and boosts the durability of the protection. It’s a small extra step that delivers a huge visual impact for a richer, wetter-looking shine that lasts even longer.
How Often Should You Reapply?
The right schedule for reapplying your spray on boat wax really comes down to your boating habits and local conditions. Here are some solid guidelines to start with:
- For a boat used in freshwater and stored covered, a new coat every 4-6 weeks during the season is a great maintenance schedule.
- For a boat used in saltwater, which is much harsher on finishes, plan on a fresh coat every 2-3 weeks to maintain that crucial protective barrier.
The best indicator is the water itself. When you notice that water is no longer beading up into tight little drops on the hull, it’s telling you it's time for a fresh coat. For more tips, check out our guide on how to detail a boat from top to bottom. Also, be sure to explore these essential chemical storage guidelines for best practices.
Got Questions About Spray-On Wax? We've Got Answers.
It's totally normal to have a few questions when you're switching up your boat care routine. Getting these little details right is what separates a decent-looking boat from a head-turner at the dock. We've pulled together the most common questions we hear from boaters just like you.
How Often Should I Be Using This Stuff?
This depends on your boat's lifestyle. For a boat used frequently and stored outdoors, applying a fresh coat of spray wax every 3-4 weeks is a great rhythm. This keeps that protective layer topped off and fighting against the elements, especially during peak summer months.
If your boat is stored indoors and only sees the water a couple of times a month, you can push that out to every 6-8 weeks. The best rule of thumb? Just watch the water. When it starts to "sheet" off the hull instead of beading up, that's your boat telling you it's time for more wax.
Can I Use Spray Wax On More Than Just The Hull?
Yes! A quality formula like Boat Juice Protection Spray is incredibly versatile. It's perfectly safe and effective on your boat's paint, glass, and even your stainless steel and chrome hardware. It will give them all a nice pop of shine and make them easier to clean later.
The only real no-go zone is any non-skid or walking surface. Wax makes things slick, and you definitely don't want your deck to become slippery. For your vinyl seats, stick with a dedicated cleaner like Boat Juice Interior Cleaner to keep them fresh without making them unsafe.
Pro Tip: When waxing near different surfaces, spray the wax directly onto your microfiber towel, not the boat. This prevents overspray and gives you pinpoint control, so you don't accidentally get wax on your seats or non-skid.
So, What's The Real Difference: Spray vs. Paste Wax?
This really boils down to convenience versus sheer longevity. A traditional paste wax can offer slightly longer protection—think 3-6 months—but it requires a serious commitment of time and elbow grease. It’s a major project you might only tackle once a season.
Modern spray waxes are all about working smarter, not harder. You can protect your entire boat in a fraction of the time. While you'll apply it a bit more often (say, every 4-6 weeks), the massive amount of time you save makes it a no-brainer for keeping your boat protected and looking great all season long.
Your next step is simple: grab the right tools and give your boat the shine it deserves. With a quality spray wax, you can achieve that professional-grade gloss with a simple spray-and-wipe process, getting you back on the water faster.