


· By Boat Juice Team
Your Guide to Using a Boat Vinyl Cleaner for a Pristine Interior
Using the right boat vinyl cleaner is the difference between seats that look great for years and ones that start cracking after just one season. You need a marine-grade cleaner designed to tackle tough stuff like sunscreen and mildew without destroying the vinyl's protective topcoat. This is the key to keeping your seats flexible and looking new.
Why Your Boat Vinyl Needs More Than a Quick Wipe
Let’s be honest, your boat's vinyl seats are where everyone wants to be, but they take a serious beating from the elements. Giving them a quick wipe with a standard household cleaner is a mistake you don't want to make—and it can be a costly one. Marine vinyl is built tough, but it's not invincible, and using the wrong products can cause permanent damage faster than you'd expect.

The Invisible Damage from Sun and Spills
The biggest enemy of your vinyl is something you can't even see: ultraviolet (UV) radiation from the sun. Day after day, those UV rays break down the special compounds called plasticizers that keep your vinyl soft and supple. Once those are gone, the material gets brittle, and you start seeing the dreaded cracks and splits that plague neglected boats.
This is where household cleaners do the most harm. Many all-purpose sprays are loaded with harsh chemicals, degreasers, or alcohol that strip away the vinyl's original UV coating. It's like sending your seats out into the sun with no protection at all, which massively speeds up the aging process.
Think of your vinyl's topcoat like sunscreen for your skin. Using a harsh household cleaner is like scrubbing off that sunscreen and then spending the entire day at the beach—you’re just asking for damage.
Stains That Set in Deep
On top of sun damage, your seats are a prime target for stains that can permanently bond with the material if you don't handle them correctly. From my experience, these are the usual suspects you'll face:
- Mildew: Those nasty black spots aren't just sitting on the surface. Mildew grows roots down into the pores of the vinyl, making it a real pain to remove without a cleaner made for the job.
- Sunscreen: Watch out for this one. Certain chemicals in sunscreen, especially avobenzone, can have a chemical reaction with vinyl that leaves behind permanent yellowish stains.
- Spills and Grime: We’ve all been there. Spilled drinks, food, and general grime from a day on the water can work their way into the texture and stitching, becoming nearly impossible to get out once they've baked in the sun.
This is exactly why grabbing a dedicated boat vinyl cleaner is a no-brainer. These products are formulated to gently lift these specific kinds of stains out of the vinyl's pores without damaging the material itself. Ultimately, investing in the right cleaner isn't just about making things look good today—it’s about protecting your investment and saving yourself from an expensive reupholstery job.
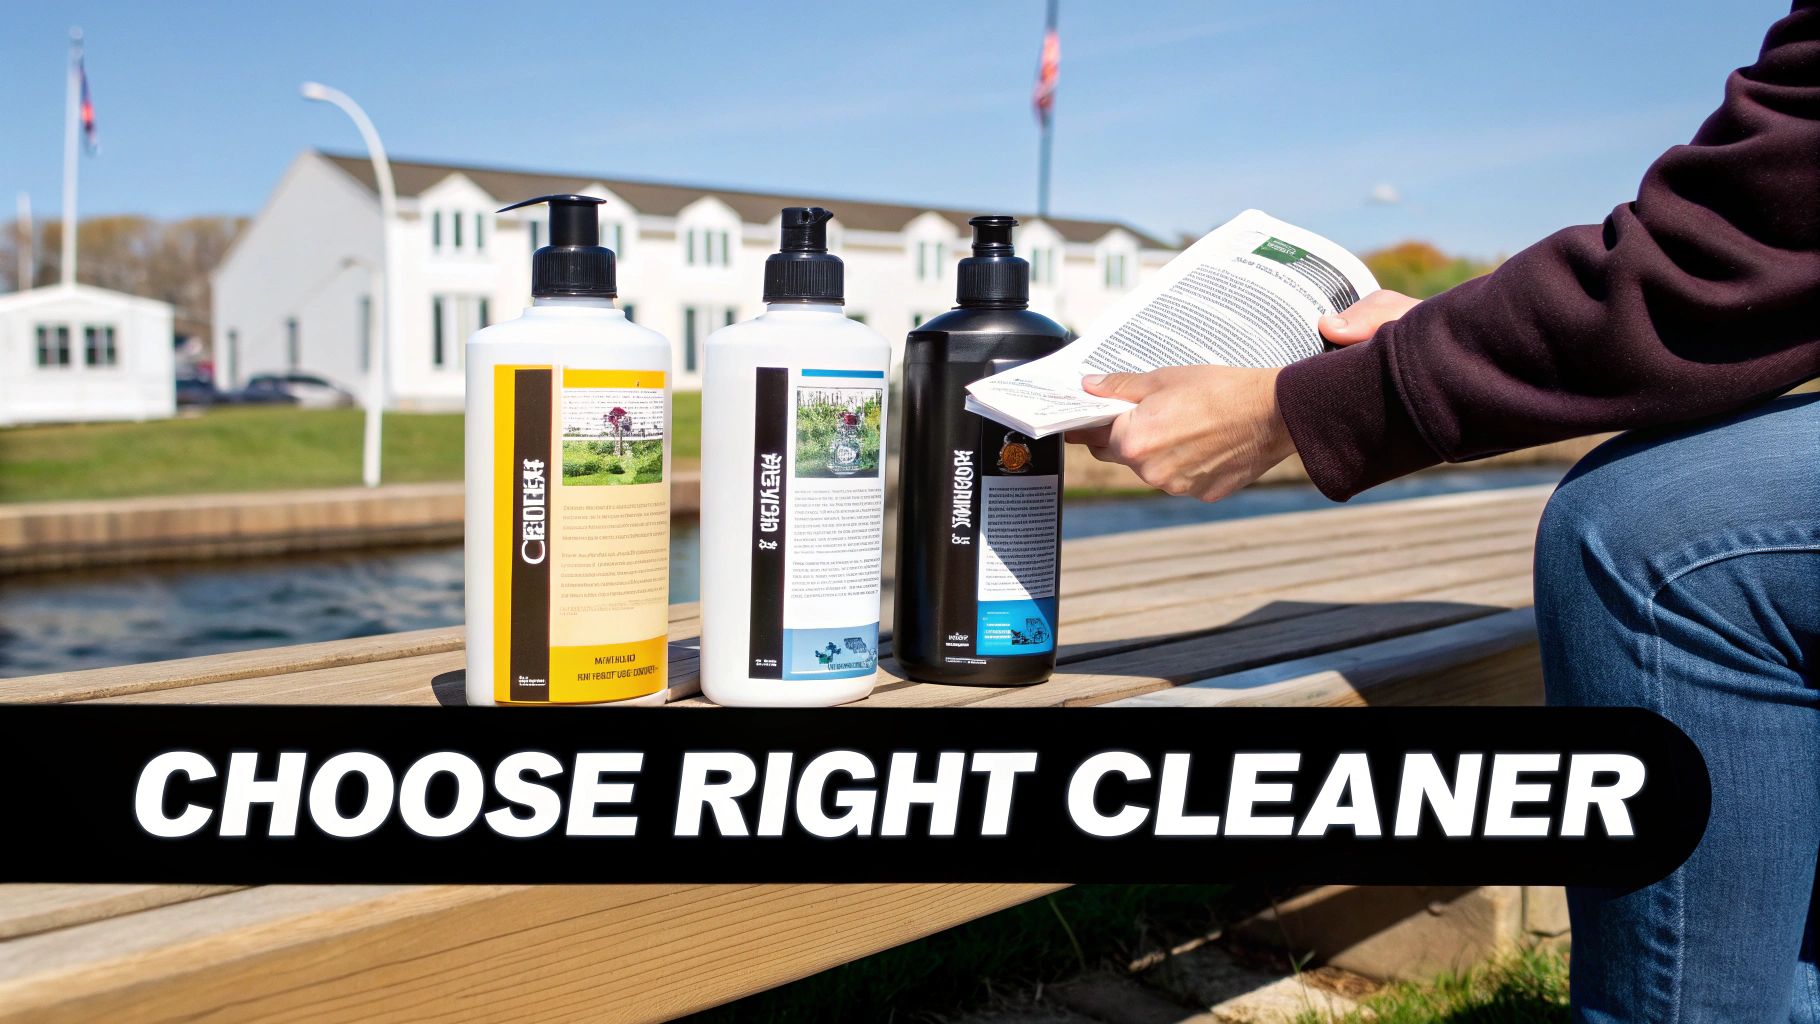
Choosing the Right Boat Vinyl Cleaner for Your Needs
I’ve seen it a hundred times: someone grabs a household cleaner from under the sink and goes to town on their boat seats. It’s an easy mistake to make, but it can wreck your boat's interior. Choosing the right boat vinyl cleaner is your first real step in keeping that vinyl from getting cracked, faded, and old before its time.
The problem with most all-purpose sprays is their chemistry. They’re often harsh—highly alkaline or acidic—and while they might get a stain out, they also strip away the vital plasticizers that keep your vinyl soft. A proper marine-grade cleaner, on the other hand, is pH-neutral. It’s designed to clean without causing that kind of long-term damage.
Matching the Cleaner to the Problem
Think about what you're trying to solve. Is it just everyday grime from a fun day on the water, or are you in a constant war with mildew because you boat in a humid area? Pinpointing your main headache helps you grab the right bottle off the shelf. For a closer look at all the options, you can check out our guide on the best boat cleaning products.
Your boat's vinyl is a serious investment. With the North American marine vinyl market on track to hit USD 230.2 million by 2030, you're not alone in wanting to protect it. Simply using the right pH-balanced cleaners can add 2-3 years to your vinyl's lifespan, saving you a fortune in reupholstery costs later.
Cleaner Type vs. Boating Problem
To help you cut through the confusion, here is a quick chart that breaks down the main types of cleaners and what they're built to handle. This should make it much easier to read a label and know you're getting what you need.
| Cleaner Type | Best For | Key Feature | Boat Juice Example |
|---|---|---|---|
| All-in-One Interior Cleaner | Regular wipe-downs and light grime from food, drinks, and dirt. | A gentle, pH-balanced formula that is safe for daily use on vinyl and other interior surfaces without stripping protectants. | Boat Juice Interior |
| Dedicated Mildew Remover | Removing stubborn black spots and mold that have set into the vinyl's pores. | A targeted formula designed to kill mildew spores and lift deep-set stains that general cleaners can't touch. | Boat Juice Mildew |
| UV Protectant Sealant | Preventing sun damage, fading, and future stains on new or clean vinyl. | Creates a protective barrier that repels water, blocks harmful UV rays, and makes future cleanups easier. | Boat Juice Protection |
Think of it as a strategy. If you have existing mildew, you need to hit it with a dedicated remover first. Once it's gone and the surface is truly clean, you can switch to a gentle all-in-one for regular upkeep and then lock in that clean look with a solid UV protectant.
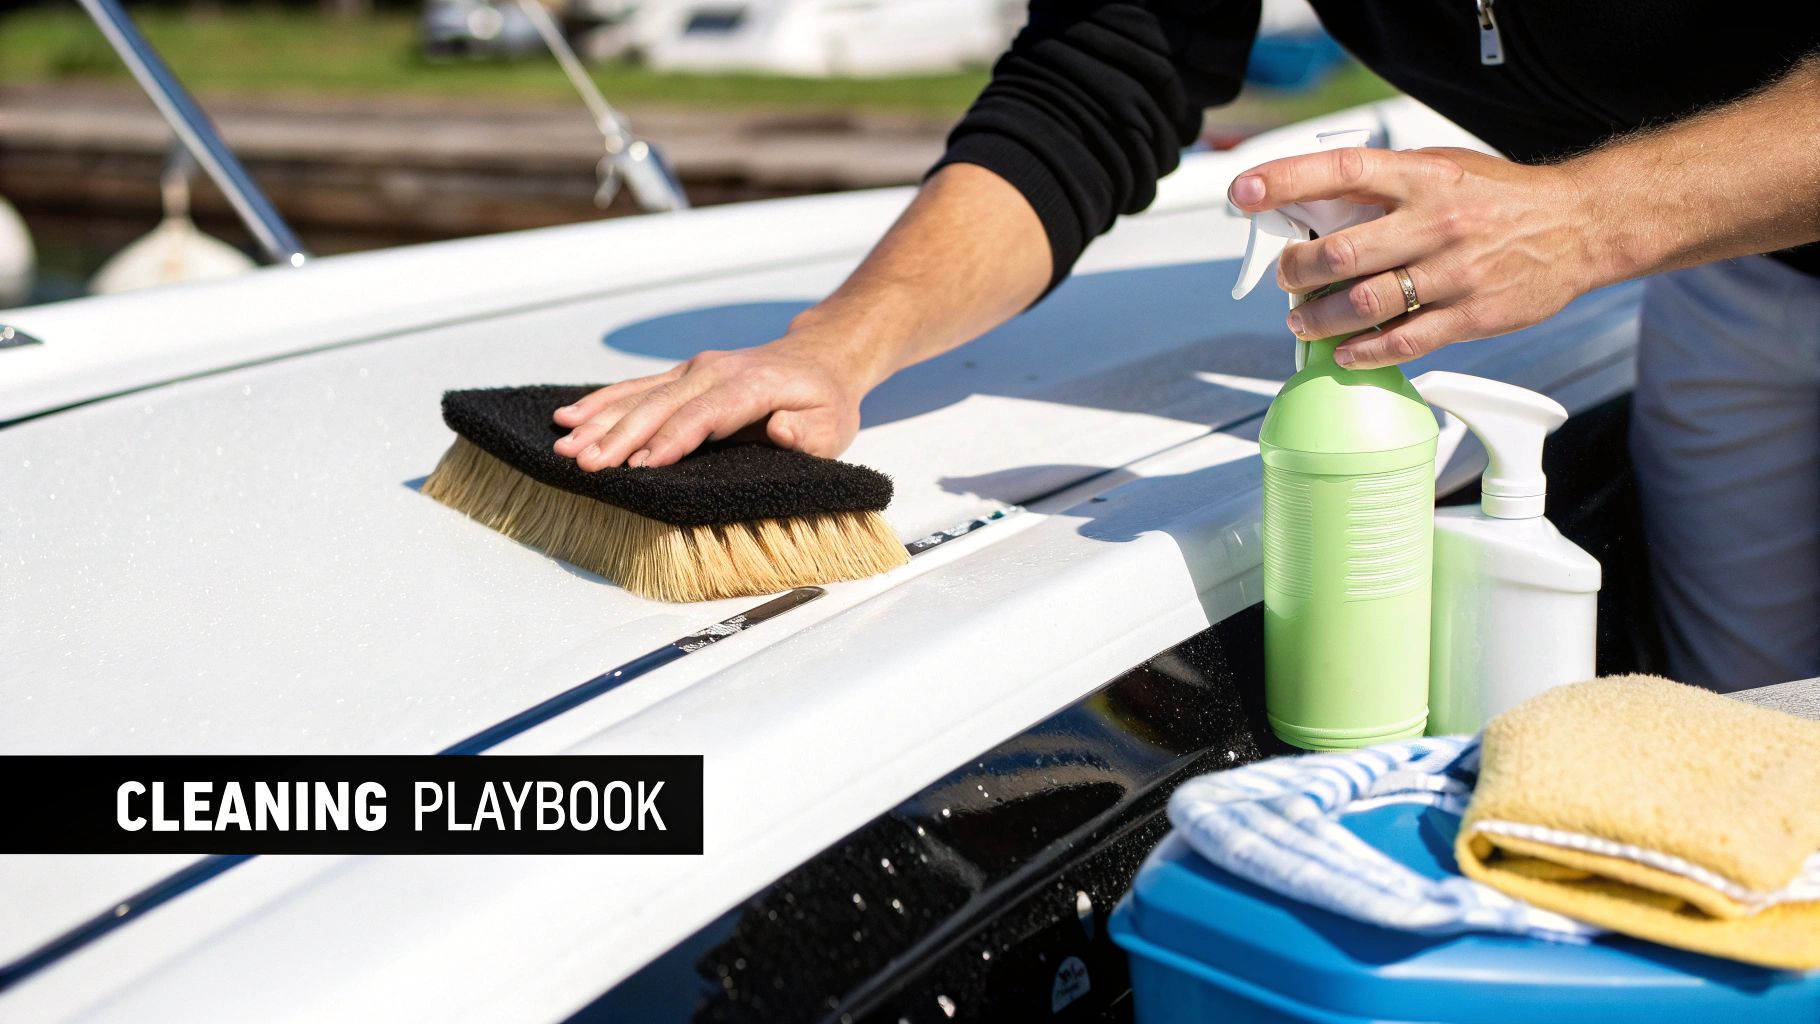
Your Vinyl Cleaning and Protection Playbook
So, you’ve picked out the right cleaner. Awesome. Now it's time to put it to work and get that vinyl looking brand new again. Forget just a quick spray-and-wipe; follow this professional process to get a perfect finish every time. This works whether you're doing a quick weekend cleanup or a full-blown seasonal deep clean.
Step 1: Set Up for Success with the Two-Bucket Method
Before you even spray a drop of cleaner, use a simple trick that professional detailers live by: the Two-Bucket Method. It sounds basic, but it’s the best way to stop yourself from just spreading dirt around.
Grab two buckets. Fill one with clean, fresh water for rinsing. The other gets your cleaning solution. Dip your brush or cloth into the cleaning solution, scrub a small section of vinyl, and here’s the key part: rinse it out in the clean water bucket before it ever touches the cleaning solution again. This keeps your cleaner from turning into a bucket of mud, ensuring you're actually lifting dirt off the vinyl.
Step 2: Work in Small, Manageable Sections
The secret to a flawless job is consistency. Don't try to tackle a whole bench seat in one go. Instead, break it up into smaller, more manageable 2x2 foot sections.
This little habit does two big things for you. First, it prevents the cleaner from drying on the vinyl, which can leave behind a tacky residue or streaks. Second, it guarantees an even clean, so you won't miss spots and every inch of vinyl gets the attention it deserves. A good rule of thumb is to start at the highest point of the upholstery and work your way down.
Step 3: Use the Gentle Scrub and Wipe Technique
Alright, time to clean. You'll want a soft-bristled brush that won’t snag the stitching on your seats. An old toothbrush is perfect for getting into tight seams.
Spray your cleaner, like Boat Juice Interior, directly onto your 2x2 foot section. Let it dwell for a moment to start dissolving the grime. Now, gently agitate the surface with your soft brush using small, circular motions—let the cleaner do the heavy lifting. You’ll see the dirt lift right out of the vinyl’s texture.
Immediately follow up with a clean, damp microfiber towel to pick up both the cleaner and all the dirt your brush just loosened. If you want to dive deeper into this, we've got a comprehensive guide to choosing the right boat upholstery cleaner for any job.
Pro Tip: Got that textured vinyl with a diamond pattern? Make sure you brush in multiple directions. Go with the grain, against it, and in circles. This ensures you’re pulling dirt out of every last crevice.
Step 4: Apply the Final Protective Barrier
Cleaning is only half the job. Once your vinyl is sparkling clean and completely dry, you have to protect it. A quality UV protectant is what’s going to stop your seats from fading, cracking, and getting stained down the road. It’s the one step that truly preserves your investment.
This is where a product like Boat Juice Protection comes in. Spray a light, even mist over the clean vinyl. Then, using a fresh, dry microfiber applicator, gently wipe the protectant into the vinyl using overlapping, straight-line motions for smooth coverage. Let it cure for a few minutes, then give the surface a final light buff with a clean towel to knock down any excess product. The result is a non-greasy finish that shields your vinyl all season long.
Tackling Tough Vinyl Stains Like Mildew and Sunscreen
It’s the moment every boat owner dreads: spotting the creeping black dots of mildew in a seat seam or a strange yellow haze from sunscreen. Take a breath. You can absolutely win these common battles without reaching for harsh chemicals that cause more harm than good.
The trick is to know your enemy. Mildew isn’t just gunk sitting on the surface; those black spots are the visible part of a fungus that has sent roots deep into the pores of your vinyl. This is why a quick wipe-down never works for long—the mildew just grows right back.
Defeating Mildew Without Damaging Your Vinyl
Your first instinct might be to grab a bottle of bleach. Please don't. Bleach is a death sentence for marine vinyl. It aggressively dries out the material, making it brittle and prone to cracking, and can even dissolve the thread holding your seat seams together.
What you really need is a more surgical approach. A specialized product like Boat Juice Mildew Stain Remover is engineered to get to the root of the mildew without destroying the vinyl. Here’s the right way to use it:
- Test First: Find a small, out-of-the-way spot to test the cleaner. This simple step can save you a huge headache.
- Apply and Let It Work: Spray the mildew remover directly onto the spots and let it sit for a few minutes. You have to give the formula time to seep into the pores and neutralize the mildew spores.
- Gently Agitate: After it's had a chance to dwell, use a soft-bristle brush to gently work the area. You’ll start to see the stains lift away.
- Rinse Completely: Grab a clean, damp microfiber towel and wipe the area down, making sure to get all the residue off.
For a more detailed walkthrough, our guide on how to remove mildew from boat seats breaks this down even further.
Lifting Sunscreen and Dye Transfer Stains
Sunscreen stains are a different beast. They're often caused by a chemical called avobenzone that reacts with the vinyl, leaving behind a stubborn yellow tint. You’ll see a similar issue when a colorful, wet towel bleeds its dye onto a seat.
The market for boat cleaning products is incredibly competitive, which is great for us because it forces companies to create safer, more effective formulas. Here's a sobering fact: up to 70% of all vinyl damage comes from embedded stains and UV breakdown that was entirely preventable. Boat owners who are serious about maintenance see the payoff, and that's why there's such a high demand for complete care solutions.
For these chemical or dye-based stains, a quality all-around boat vinyl cleaner and a good dose of patience are your best friends. Interestingly, some of the best techniques for this kind of problem can be found in related fields; for instance, this comprehensive guide on cleaning RV awnings, including specific advice for vinyl care and stain removal has some great crossover tips.
Start by spraying your cleaner and letting it sit. Then, use a microfiber towel to blot the stain. The goal is to lift it out, not smear it deeper into the material. You might have to repeat this process a few times. Patience truly is the key here.
Building a Simple Vinyl Maintenance Routine That Actually Works
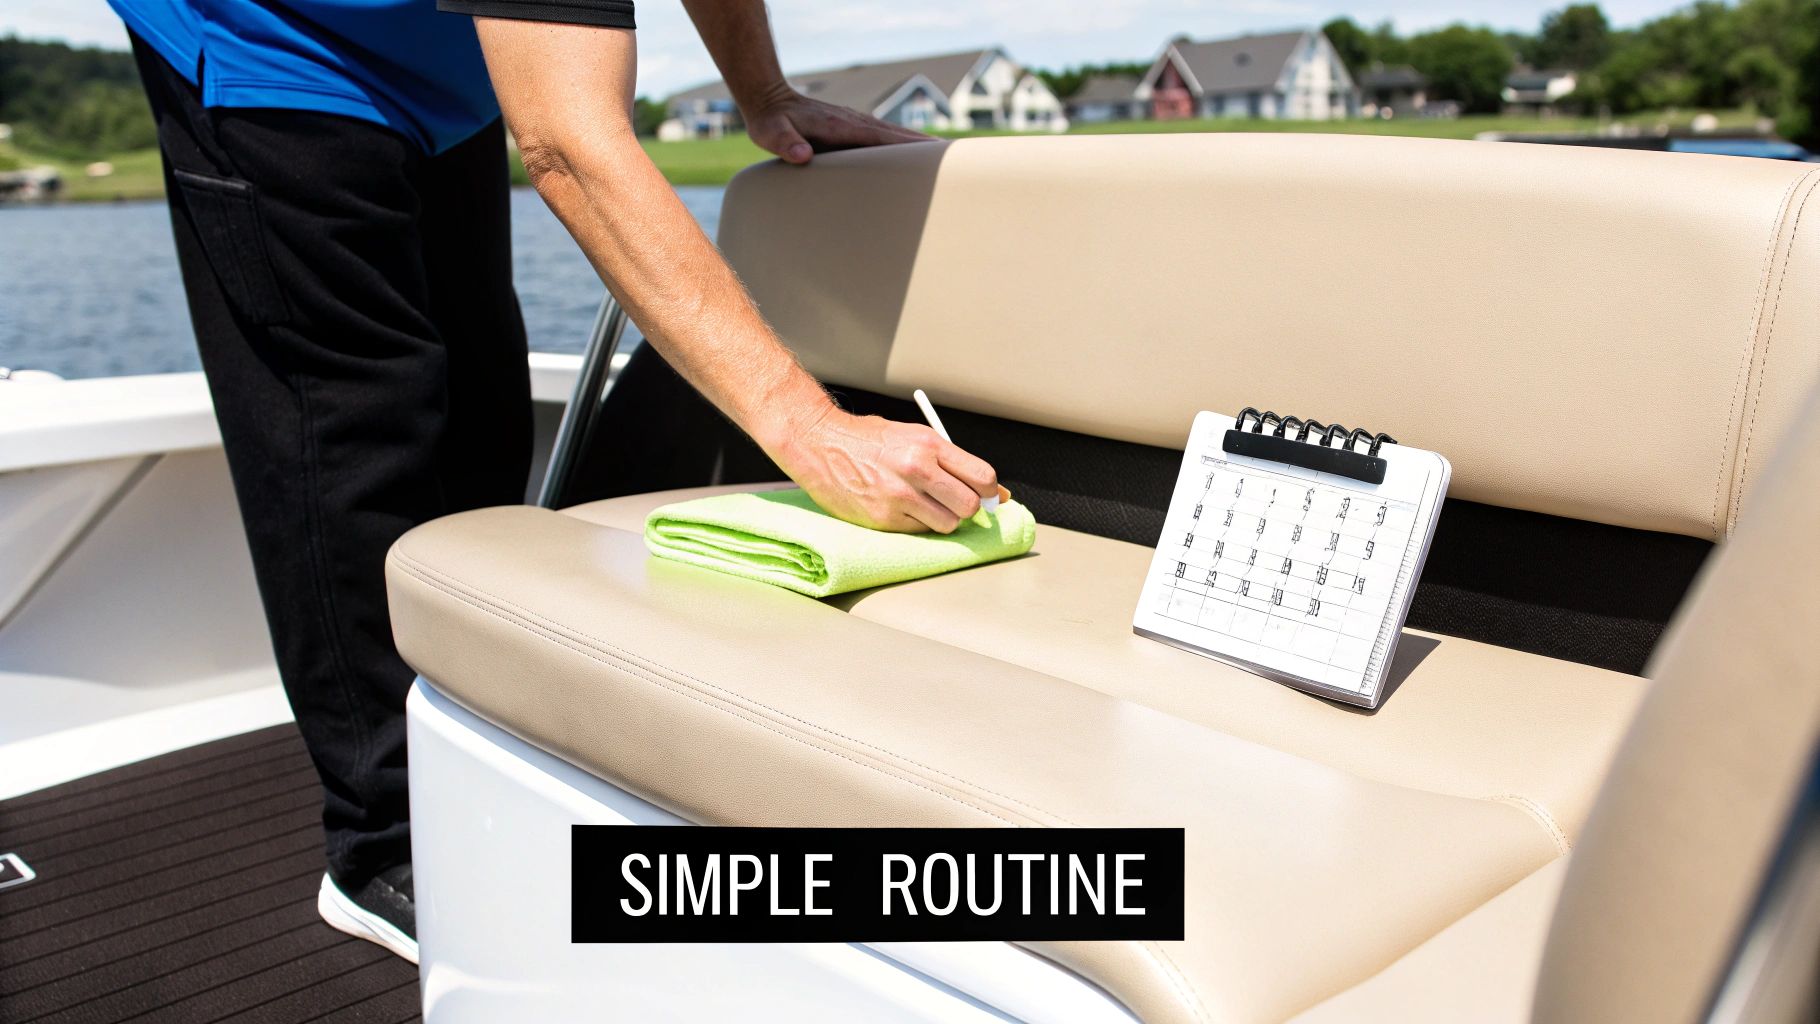
Keeping your boat's vinyl looking brand new isn't about dedicating a whole Saturday to scrubbing. It’s the small, consistent habits that make the biggest difference. A quick five-minute wipe-down after each trip can prevent salt, sunscreen, and grime from baking into the material.
Let's break it down into a simple rhythm you can follow:
- Post-Trip Wipe-Down: A quick spritz with an interior cleaner like Boat Juice Interior and a microfiber towel on the high-traffic spots. Simple.
- Monthly Refresh: A proper wash and rinse, followed by a layer of a UV protectant spray.
- Seasonal Prep: A full inspection, stain treatment, deep clean, and final protective coating before storing it away for winter or getting it ready for spring.
Why Bother? It’s easy to forget, but neglected marine vinyl can start showing cracks in as little as a single season. A little effort now saves you from expensive reupholstering later.
The 5-Minute Post-Trip Wipe-Down
As soon as you’re docked, grab a damp microfiber towel and a bottle of Boat Juice Interior. Give the seats, coaming pads, and any other high-traffic areas a quick wipe. This little five-minute ritual is your first line of defense against corrosive salt spray and greasy sunscreen residue.
The 20-Minute Monthly Refresh
About every four weeks, it's time for a slightly deeper clean. Use your favorite boat vinyl cleaner with the two-bucket method to keep your rinse water clean. Work in manageable 2x2 foot sections, using a soft brush to gently lift any embedded dirt, then give it a good rinse.
Once the seats are completely air-dried, finish the job by misting on a quality protectant like Boat Juice Protection. This is what keeps the vinyl supple and shielded from the sun.
The Deep Dive: Seasonal Prep
At the beginning of spring and the end of fall, give every inch of your vinyl a thorough once-over. Inspect every seam for wear or stubborn stains. This is your chance to hit any problem spots with specialized cleaners. After treating any stains, rinse all the residue away and let the vinyl dry completely. Trapped moisture is the enemy, especially before storage. Finally, apply a robust UV protectant.
| Maintenance Tier | Your Mission | Time Commitment |
|---|---|---|
| Post-Trip Wipe-Down | Quick surface clean with Boat Juice Interior | ~5 minutes |
| Monthly Refresh | Full wash, rinse, and apply a UV protectant | ~20 minutes |
| Seasonal Prep | Inspect, treat stains, and seal with a protectant | 45+ minutes |
Just like learning how to care for fishing gear used in a saltwater environment, consistency is what protects your investment. A few minutes here and there make all the difference.
Common Questions About Cleaning Boat Vinyl
Even with a solid game plan, questions are going to pop up. Let's run through a few of the most common ones I hear from fellow boaters. Getting these right can save you a ton of headache—and money—down the road.
Can I Use a Magic Eraser or Bleach on My Boat Seats?
I get this one all the time, and the answer is a hard no. Seriously, don't do it.
Think of a Magic Eraser as super-fine sandpaper. It might take a stain off, but it does so by literally sanding away the protective top layer of your vinyl. Once that's gone, your seats are wide open to UV damage.
Bleach is even worse. It’s a harsh chemical that attacks the vinyl, stripping out the plasticizers that keep it soft. The result? Dry, brittle vinyl that’s just waiting to crack. Always stick with a pH-balanced boat vinyl cleaner made for marine environments.
How Often Should I Apply a UV Protectant?
This really boils down to how much sun your boat gets. If your boat lives outside and uncovered for the season, you'll want to re-apply a quality protectant like Boat Juice Protection every 3-4 weeks. This consistent schedule is key to keeping the protective barrier strong. If you keep your boat under a cover, you can probably stretch that out to every 1-2 months.
Here's a quick pro-tip: Splash a little water on the seat. If it beads up and rolls right off, your protectant is still doing its job. If the water just spreads out and darkens the vinyl, it's time to re-apply immediately.
What Is the Best Way to Clean Seat Stitching?
The stitching on your seats is a magnet for dirt and mildew. Since the threads are porous, they grab onto everything. The best tool for this job is a small, soft-bristled brush—an old toothbrush works perfectly.
Here's the trick: Instead of dousing the seats, spray your cleaner directly onto the brush. Gently work it along the stitch lines to lift out all that trapped gunk. Then, just wipe it all clean with a damp microfiber towel to pull up the loosened dirt.
You’re now set up with the know-how to keep your boat's vinyl looking brand new for years to come. The real secret is just consistent care with the right stuff. Ready to get your vinyl care kit in order?
Your next step is to grab the right tools for the job. Check out the full lineup of marine-grade cleaners and protectants from Boat Juice and give your boat the TLC it deserves. Shop now at https://shopboatjuice.com.