


· By Boat Juice Team
Your Guide to Using a Boat Cleaner for a Showroom Shine
Keeping your boat in pristine condition is about more than just looks—it’s about protecting your investment and ensuring every moment on the water is perfect. The real secret isn't spending hours scrubbing; it's using the right boat cleaner for the right job and sticking to a simple routine. This is your best defense against the relentless assault of sun, salt, and stubborn water spots.
Your Boat Cleaning Playbook From Bow to Stern
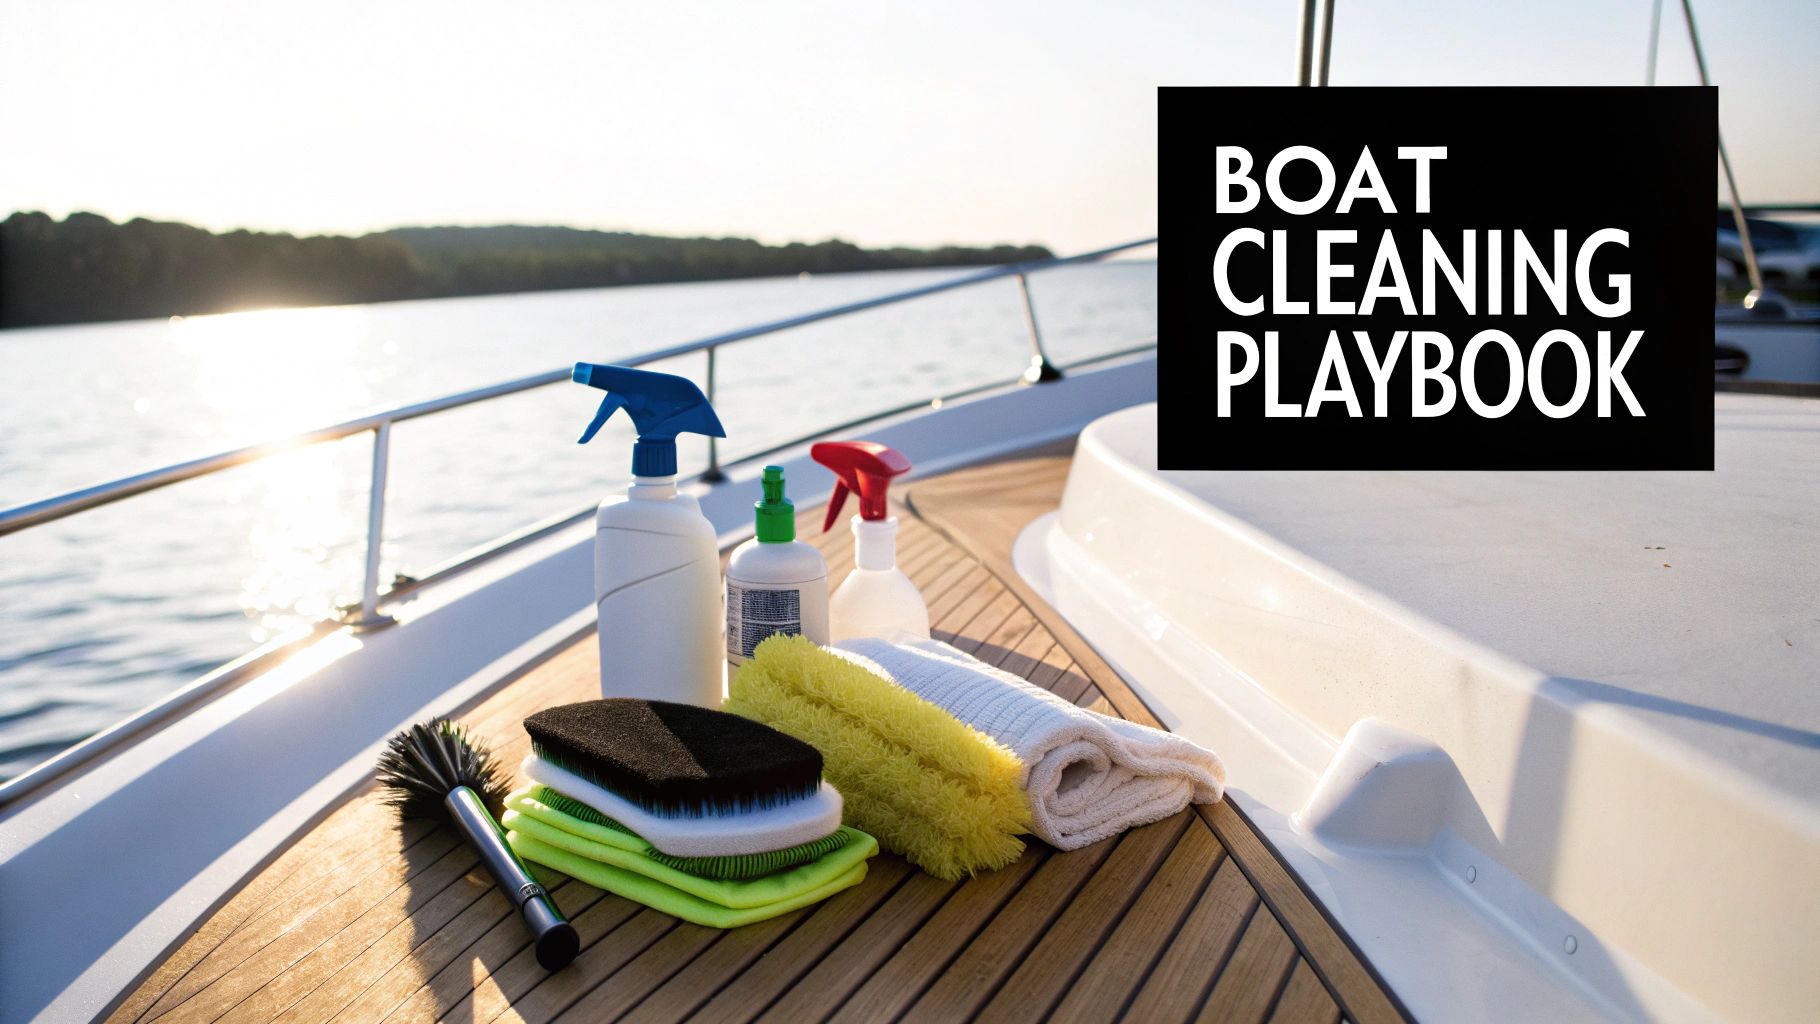
If you've ever stared at a mess of cleaning supplies and felt overwhelmed by boat maintenance, you've come to the right place. This guide is your no-nonsense playbook for getting that showroom shine without confusing jargon or complicated steps. Think of it as your roadmap to making your boat sparkle from bow to stern.
The goal here isn't just to make your boat look good for a day. It’s about building an easy, repeatable routine that protects it season after season. Once you understand why different surfaces like gelcoat, vinyl, and glass need special care, you can start working smarter, not harder. This approach stops minor issues like water spots or mildew from snowballing into major restoration projects.
Why a Smart Cleaning Strategy Matters
A proactive cleaning strategy is about so much more than looking good at the dock. It directly impacts your boat's longevity and, ultimately, its resale value. Every time you wipe down the hull or seats, you're physically removing corrosive salt, acid rain, and other gunk that degrades surfaces over time.
You're part of a huge, growing community of boat owners who are getting serious about maintenance. In fact, the global boat cleaner market was valued at USD 4.8 billion and is projected to hit USD 8.2 billion by 2033. This boom shows just how many enthusiasts like you are investing in proper care. You can dive into the details about the rising popularity of boat care products if you're curious.
What You Will Learn in This Guide
Forget generic product lists. We’re all about actionable steps. We'll walk you through specific techniques for each part of your boat, so you can feel confident tackling any cleaning challenge that comes your way.
- Tackling the Tough Stuff: We'll show you how to safely banish stubborn water spots, oxidation, and mildew without a trace—and without damaging your boat's finish.
- Surface-Specific Solutions: You'll understand why you can't use the same cleaner on your vinyl seats as your hull and which products are perfect for each job.
- Building an Easy Routine: Get a simple maintenance schedule for pre-season, in-season, and post-season care that actually saves you time.
- Pro Tips and Tricks: We're sharing insider advice, like why cleaning in direct sunlight is a recipe for disaster and how a final protective spray makes your next cleanup a breeze.
Your boat is a serious investment. A consistent cleaning routine isn't a chore—it's the single best thing you can do to protect its value, performance, and appearance for years to come.
At the end of the day, our mission is to help you spend less time scrubbing and more time enjoying the water. Let’s dive in and get your boat looking better than the day you bought it.
Mastering Your Gelcoat and Hull Cleaning
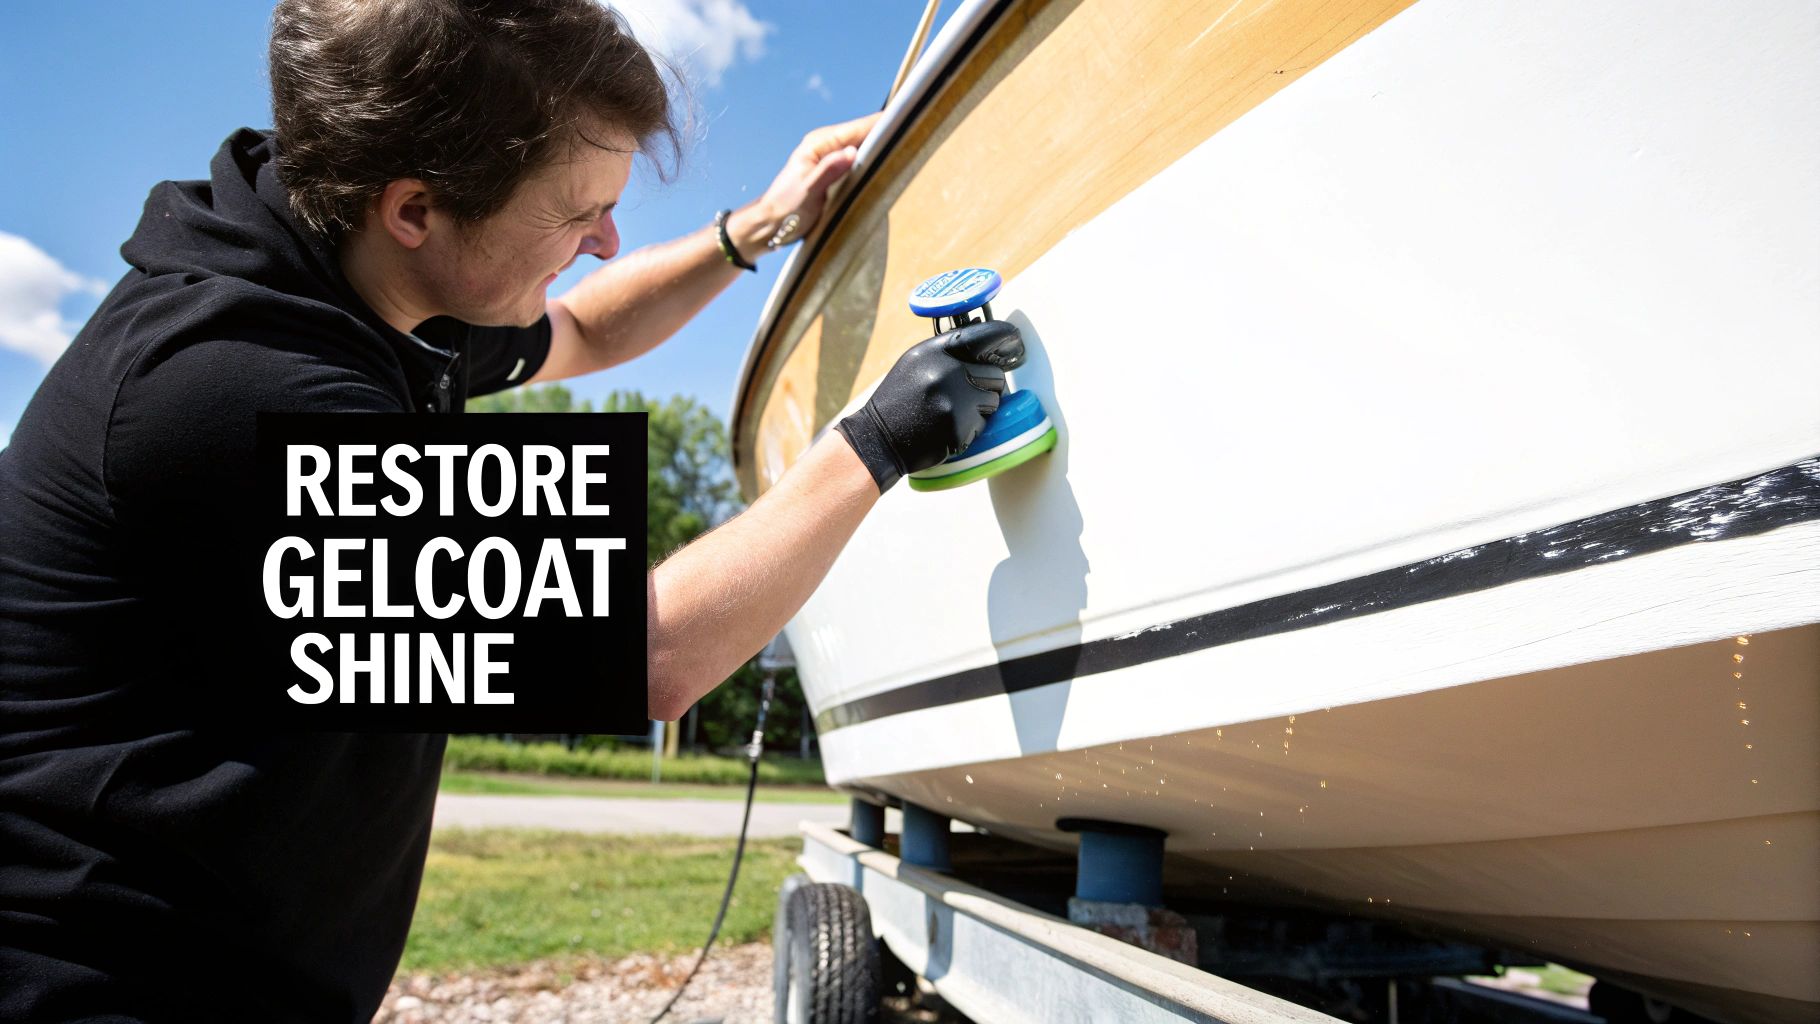
Your boat’s gelcoat is more than just a pretty face. Think of it as armor protecting your hull from sun and water. Over time, that constant barrage of UV rays, salt, and scum can leave your gelcoat looking dull, chalky, and frankly, a little sad. Bringing back that deep, glossy shine is one of the most satisfying jobs you can do as a boat owner.
The biggest mistake you can make is jumping straight to waxing or polishing a dirty hull. Doing so grinds dirt and salt crystals into the finish, which creates swirl marks that are a real headache to fix later. Your non-negotiable first step is a thorough wash.
Start with a Deep and Thorough Wash
Before you even think about tackling oxidation or water spots, you need a clean slate. This first wash gets rid of all the loose grime, bird droppings, and salt residue. It’s also a diagnostic step, because it shows you what you’re really up against.
Always work in smaller, manageable sections, especially on a warm day. This keeps soap from drying on the hull before you can rinse it off, which just creates more streaks. And remember to work from the top down to prevent dirty runoff from messing up areas you just cleaned.
Eliminating Stubborn Water Spots
Once the hull is clean and dry, you'll probably notice them: those frustrating water spots. These aren't just dried water; they are mineral deposits left behind that have etched themselves into your gelcoat. Your regular boat soap often won't be enough to cut through them.
This is where a dedicated solution becomes your best friend. A product like Boat Juice Extreme Water Spot Remover is made specifically for this. It uses mild acids to dissolve those mineral deposits without harming your gelcoat.
- Work on a cool surface: Never try to remove spots from a hot hull. The heat will cause the product to evaporate before it can work.
- Spray and let it dwell: Mist the area lightly and give the product 30-60 seconds to sit. This is the crucial step where it breaks down the minerals.
- Gently wipe away: Use a clean microfiber towel to wipe the area, then grab a second, dry towel to buff it clean.
Pro Tip: For really tough, baked-on spots, you might need to repeat the process. Don’t get frustrated and start scrubbing aggressively. Let the product do the heavy lifting—patience is key here.
Taking care of your hull isn’t just about looks. A clean hull prevents biofouling—that nasty buildup of marine organisms. If left unchecked, that gunk can tank your fuel efficiency by as much as 20%.
Restoring Gloss and Adding Protection
With a clean, spot-free surface, you’re ready for the grand finale: bringing back that showroom gloss and adding a tough layer of protection. A quality spray sealant does more than just make your boat shine; it creates a slick, hydrophobic surface that makes your next cleanup much easier.
Applying a product like Boat Juice Protection Spray is the perfect finishing touch. It leaves behind a sacrificial barrier that repels water, dirt, and UV rays. You’ll see water bead up and roll right off, taking dirt with it and making it harder for new water spots to form.
For anyone wanting to dive even deeper, our guide on how to clean fiberglass boats is packed with more detailed tips and tricks. Applying a thin, even coat and buffing it out with a fresh microfiber towel locks in all your hard work. Now, you can step back and admire that brilliant, like-new shine you achieved yourself.
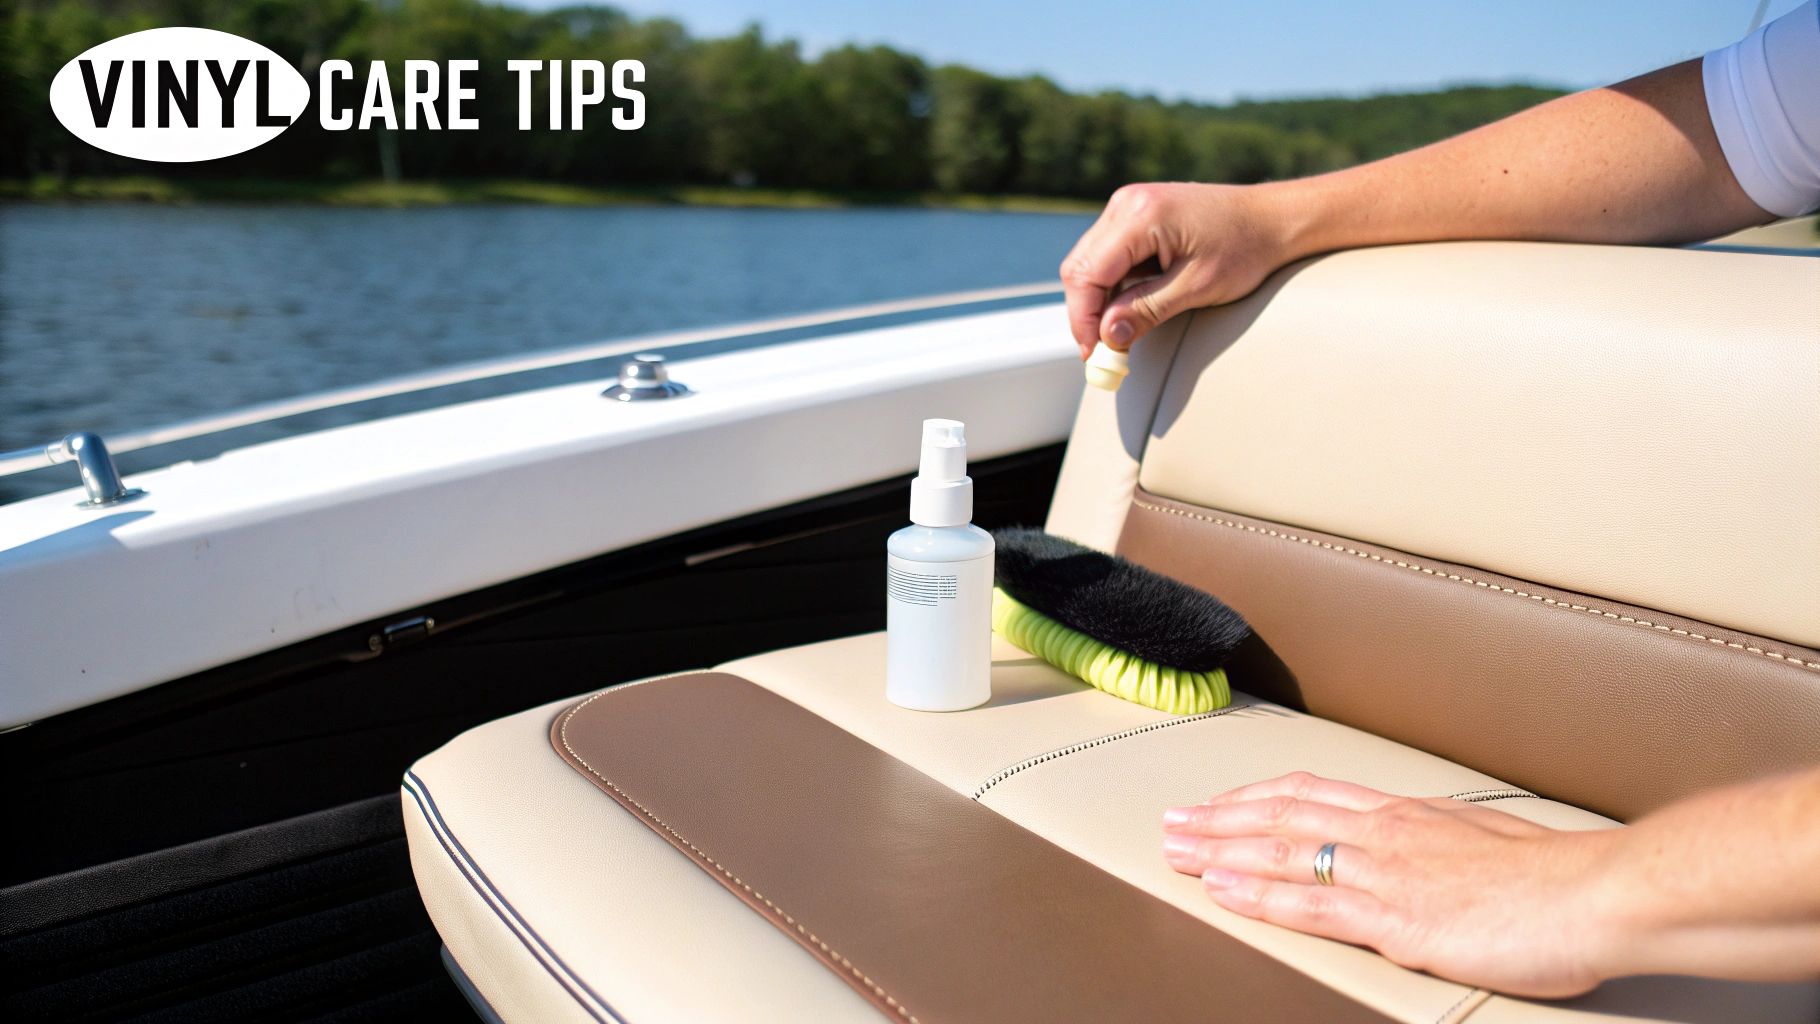
Making Your Boat's Vinyl and Upholstery Look New Again
Let's be honest—your boat’s vinyl seats are where friends and family hang out, but they're also ground zero for sunscreen smears, spills, and the dreaded mildew. Keeping that upholstery looking sharp is one of the biggest factors in making your boat feel fresh and protecting its value. A little regular attention is what separates a boat that looks its age from one that always feels brand new.
First, figure out what you're up against. Are you dealing with a fresh coffee spill, a greasy sunscreen stain, or tell-tale black spots creeping into the corners? Grabbing the wrong cleaner can actually set the stain or strip the vinyl's protective coating, making things worse.
The Everyday Cleanup Routine
For day-to-day grime—dirt, spilled drinks, sticky fingerprints—you need a go-to interior boat cleaner that's tough on the mess but gentle on your vinyl. This is the bottle you'll reach for most often during the season.
A dedicated, pH-balanced formula like Boat Juice Interior is perfect because it's made to break down common messes without leaving a greasy residue. Nothing is worse than seats that look shiny but feel slick, attracting even more dust. A good interior cleaner restores that clean, matte, factory finish.
Here's the simple workflow that gets the job done right:
- Spray Lightly: Mist the cleaner onto a small section of vinyl. You don't need to soak it; a little goes a long way.
- Get in the Grooves: Use a soft-bristle brush on textured vinyl. It gently digs into the grain to lift out dirt that a towel just skims over.
- Wipe it Down: Grab a clean microfiber towel to wipe away the cleaner and all the grime it pulled up. Flip the towel to a fresh side for a final buff.
Kicking Mildew to the Curb
Nothing ruins a beautiful boat interior faster than mildew. Those ugly black spots aren't just an eyesore; they're a fungus that loves the damp environment under your boat cover. If you ignore it, it will spread and become a nightmare to remove.
Many people reach for bleach, but that’s a huge mistake. Bleach can eat away at the stitching in your vinyl, cause long-term discoloration, and destroy the material's integrity. It often just whitens the surface, leaving the mildew spores underneath to come back with a vengeance.
A safer and more effective strategy is to use a dedicated mildew stain remover. A product like Boat Juice Mildew Stain Remover is engineered to kill mildew at its source, lifting the stain without causing damage. You just spray it on, let it work its magic, and gently wipe it away. For a deeper dive, check out our guide to choosing the right boat upholstery cleaner.
Key Takeaway: The secret to beating mildew isn't just cleaning the stain—it's stopping it from coming back. After cleaning, make sure your seats are 100% dry before you put the cover on. Propping cushions up to let air circulate is a game-changer.
Common Interior Stains and How to Beat Them
Spills and stains are just part of boat life. Knowing how to react can save you a ton of stress. Here’s a quick cheat sheet for the most common culprits you'll face.
| Stain Type | Recommended Boat Cleaner | Pro Tip |
|---|---|---|
| General Grime & Dirt | Boat Juice Interior | Use a soft-bristle brush to gently agitate textured vinyl, lifting dirt from the grain before wiping. |
| Sunscreen & Body Oils | Boat Juice Interior | Apply and let sit for 30 seconds to help break down the oils before wiping with a clean microfiber towel. |
| Food & Drink Spills | Boat Juice Interior | Blot the spill immediately to absorb as much as possible, then clean the area to prevent staining. |
| Mildew Spots | Boat Juice Mildew Stain Remover | Spray directly on the spot, let it dwell as directed without scrubbing, then wipe clean. Never use bleach! |
With the right products and a little know-how, you can handle pretty much anything your boat’s interior throws at you. After all, a clean, fresh-smelling boat makes every day on the water that much better.
Getting Your Glass and Hardware to Sparkle
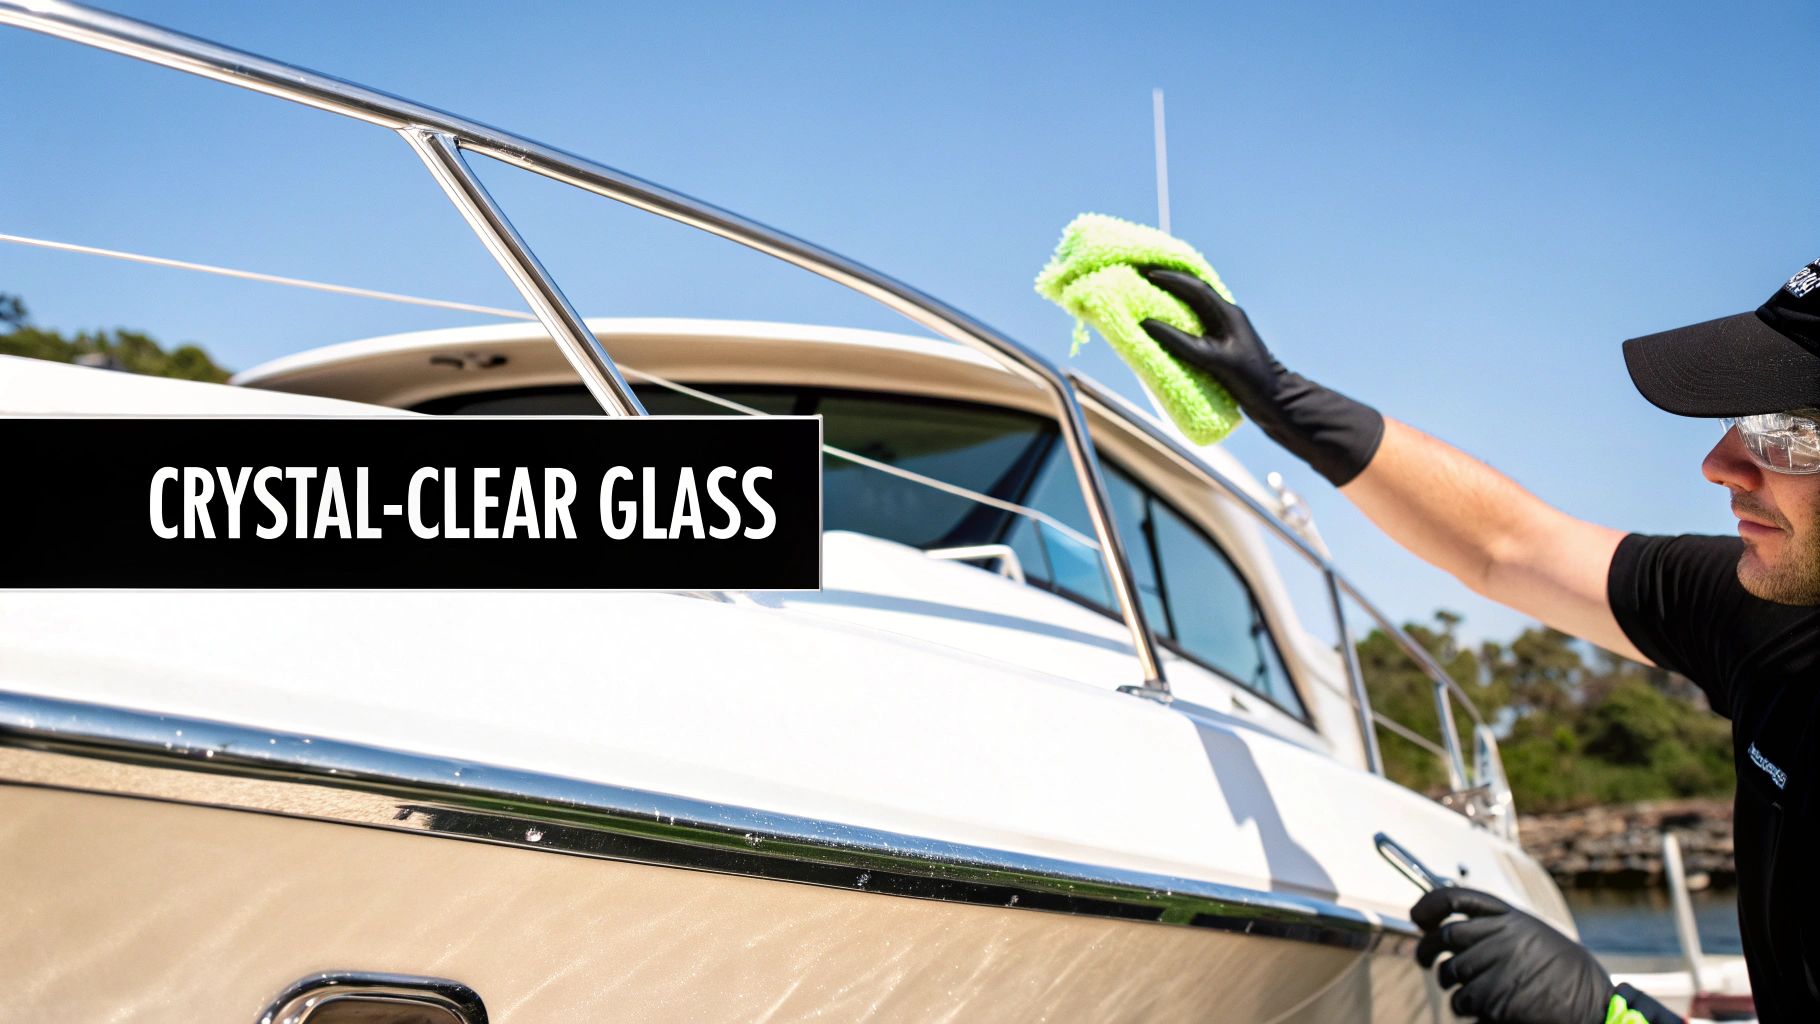
You’ve put in the elbow grease on the gelcoat and vinyl, but if you stop there, you're missing the details that take your boat from just "clean" to "immaculate." Hazy, water-spotted windows and dull, corroded cleats can completely undermine all your hard work. This isn't just about aesthetics; a crystal-clear windshield is non-negotiable for safety.
Getting a Streak-Free Shine on Your Glass
The biggest mistake boat owners make is grabbing a household glass cleaner. Most of those contain ammonia, which is a major no-go for boats. Ammonia will wreck the window tint on your boat over time, causing it to bubble and peel. You absolutely need a dedicated, ammonia-free marine boat cleaner to do this job right.
Of course, the right product is only half the battle. Your technique is what really gets you that flawless finish.
- The Two-Towel Trick: This is the secret pro detailers use. Have one microfiber towel for cleaning and a second, completely dry one for buffing.
- Spray the Towel, Not the Glass: Lightly mist your cleaning towel instead of soaking the windshield. This prevents messy drips and overspray.
- Wipe, Then Buff: Clean a section with the damp towel, then immediately follow up with your dry buffing towel to wipe away moisture before it can dry and leave a streak.
Restoring Your Stainless Steel and Chrome
Your boat's hardware—all those cleats, railings, and fixtures—are constantly under assault from sun and saltwater. It's no wonder that brilliant chrome or stainless steel starts to look tired and develops a bit of surface rust or oxidation.
A word of caution: Step away from aggressive metal polishes and abrasive pads. You can easily inflict fine scratches that are impossible to buff out, leaving the finish permanently dull. Gentle is the name of the game here.
For routine wipe-downs or getting rid of fresh water spots, a quality quick detailer is usually perfect for lifting grime without being harsh. This quick and easy approach keeps the shine up and prevents serious buildup.
Polishing Metal for a Mirror Finish
When your hardware needs a bit more help to regain its original luster, it's time for a gentle metal polish. The key is finding a product specifically designed to lift light oxidation and tarnish without scratching the surface.
Dab a small amount of polish onto a clean microfiber applicator. Work it into the metal using small, circular motions and light pressure. Don't be alarmed when the cloth turns black—that's just the tarnish and oxidation coming right off. Grab a separate, clean microfiber towel and buff the hardware to a brilliant, mirror-like shine.
Building Your Year-Round Boat Maintenance Schedule
A clean boat is a happy boat, but consistency is the real secret. It’s what separates a boat that's always ready to go from one that needs hours of back-breaking work every spring. A simple maintenance schedule is about building easy habits that prevent bigger headaches down the road.
Think of it like changing the oil in your car—you do it regularly to avoid a seized engine. The same idea applies to your boat's finish. Let's walk through a simple routine you can easily adapt to how you use your boat.
Your End-of-Day Wipe-Down
This is your first and best line of defense. A quick wipe-down after every trip is the most effective thing you can do to avoid heavy scrubbing later. This 5-10 minute ritual is all it takes to stop salt, lake scum, and bird droppings from baking into your gelcoat and vinyl.
- Quick Exterior Spray: Mist the hull and high-traffic spots with an exterior cleaner to lift fresh grime before it dries and prevent new water spots from forming.
- Interior Once-Over: Grab an interior cleaner and a microfiber towel to wipe down the seats, helm, and gunnels. This gets rid of sunscreen, spills, and fingerprints.
- Glass and Hardware: A quick pass over the windshield keeps everything looking sharp and safe.
Monthly Deep-Cleaning Tasks
About once a month during the season, it's a good idea to dig a little deeper. This is your chance to tackle any areas that need more love and lay down a fresh layer of protection. This doesn't have to be an all-day job—just a more focused version of your regular routine.
Pick a day when you have an hour or two. Start with a thorough wash, then look for any stubborn water spots on the gelcoat. Check your vinyl for any mildew starting in the corners and treat it right away. This is also the perfect time to reapply a protective spray to your hull and interior surfaces.
Seasonal Prep and Storage
Your two most critical deep-cleaning sessions happen at the very beginning and very end of your boating season. These are the big ones that set you up for success.
- Spring Launch Prep: Before that first trip, give your boat a complete top-to-bottom deep clean. Wash, polish, and apply a fresh coat of sealant to the hull. Deep clean the interior vinyl and treat any mildew that popped up over the winter.
- Winter Storage: Cleaning your boat thoroughly before you put it away is non-negotiable. Any dirt, salt, or moisture left on surfaces can cause permanent damage during the off-season. Make sure every inch is spotless and completely dry before you pull that cover on.
By following a schedule like this, you'll find that choosing the best boat cleaning products for your needs is just a small part of a much more enjoyable ownership experience.
Got Questions? We've Got Answers.
Even with the best plan, you're going to have questions pop up while you're cleaning. It happens to all of us. Let's tackle some of the most common head-scratchers we hear from fellow boaters so you can get back to work with confidence.
Can I Just Use Household Cleaners on My Boat?
This comes up all the time, and the answer is a hard no. It's tempting to grab that bottle of all-purpose cleaner from under the sink, but you'll be doing more harm than good. Dish soap, for example, is made to cut grease, which means it will strip the protective wax right off your gelcoat, leaving it exposed to damaging UV rays.
Many other household sprays contain ammonia or bleach. Ammonia is terrible for vinyl and can make your seats and window tints brittle and prone to cracking. Bleach might look like it's killing mildew, but it often just whitens the surface, leaving the spores behind to grow back. Stick with a dedicated, pH-balanced boat cleaner—it's designed for these surfaces for a reason.
So, How Often Do I Really Need to Clean My Boat?
This really boils down to how you use your boat. Are you a weekend warrior or out on the water every day? Are you in saltwater or freshwater? A deep clean at the beginning and end of the season is a solid foundation for everyone.
The real game-changer is the quick wipe-down after every trip. Spending just a few minutes with a good spray cleaner prevents grime from baking on, which saves you hours of scrubbing later. If you're in saltwater or a lake that leaves a stubborn scum line, plan for a more thorough wash at least once a month.
What’s the Secret to Getting Rid of Those Annoying Water Spots?
Ah, the dreaded water spots. They're the bane of every boat owner's existence. Those spots are mineral deposits—calcium and magnesium—that have literally etched themselves into your gelcoat. That’s why regular soap just won't touch them.
You need a product that can chemically dissolve those minerals without hurting your finish. This is where a targeted product like Boat Juice Extreme Water Spot Remover comes into play. It’s an acid-based formula made specifically for this job.
Here’s the right way to use it:
- Make sure the surface is cool and out of direct sun.
- Spray it on and just let it sit for 30-60 seconds. Let the chemicals do the heavy lifting.
- Gently wipe it away with a clean microfiber. No aggressive scrubbing needed.
How Can I Stop Mildew from Coming Back on My Vinyl Seats?
Mildew is a frustratingly persistent problem because it loves dark, damp places with zero airflow—the exact conditions under a boat cover. Once you’ve cleaned the existing spots with a proper mildew remover, your focus has to shift entirely to prevention.
The secret to winning the war against mildew is moisture control and airflow. Simply cleaning the spots isn't enough; you have to change the environment that allows it to grow in the first place.
Never put your cover on if the seats aren't 100% dry. Trapping even a little moisture is like rolling out the welcome mat for mildew. Try propping up the seat cushions to get air circulating underneath. If your boat cover has vents, make sure they’re open. A quick wipe-down with an interior detailer also removes the dirt and sunscreen that mildew feeds on.
Your next step is to get your boat cleaning kit in order so you're ready for your next day on the water.
Shop the complete Boat Juice collection and get your boat looking its absolute best!