


· By Boat Juice Team
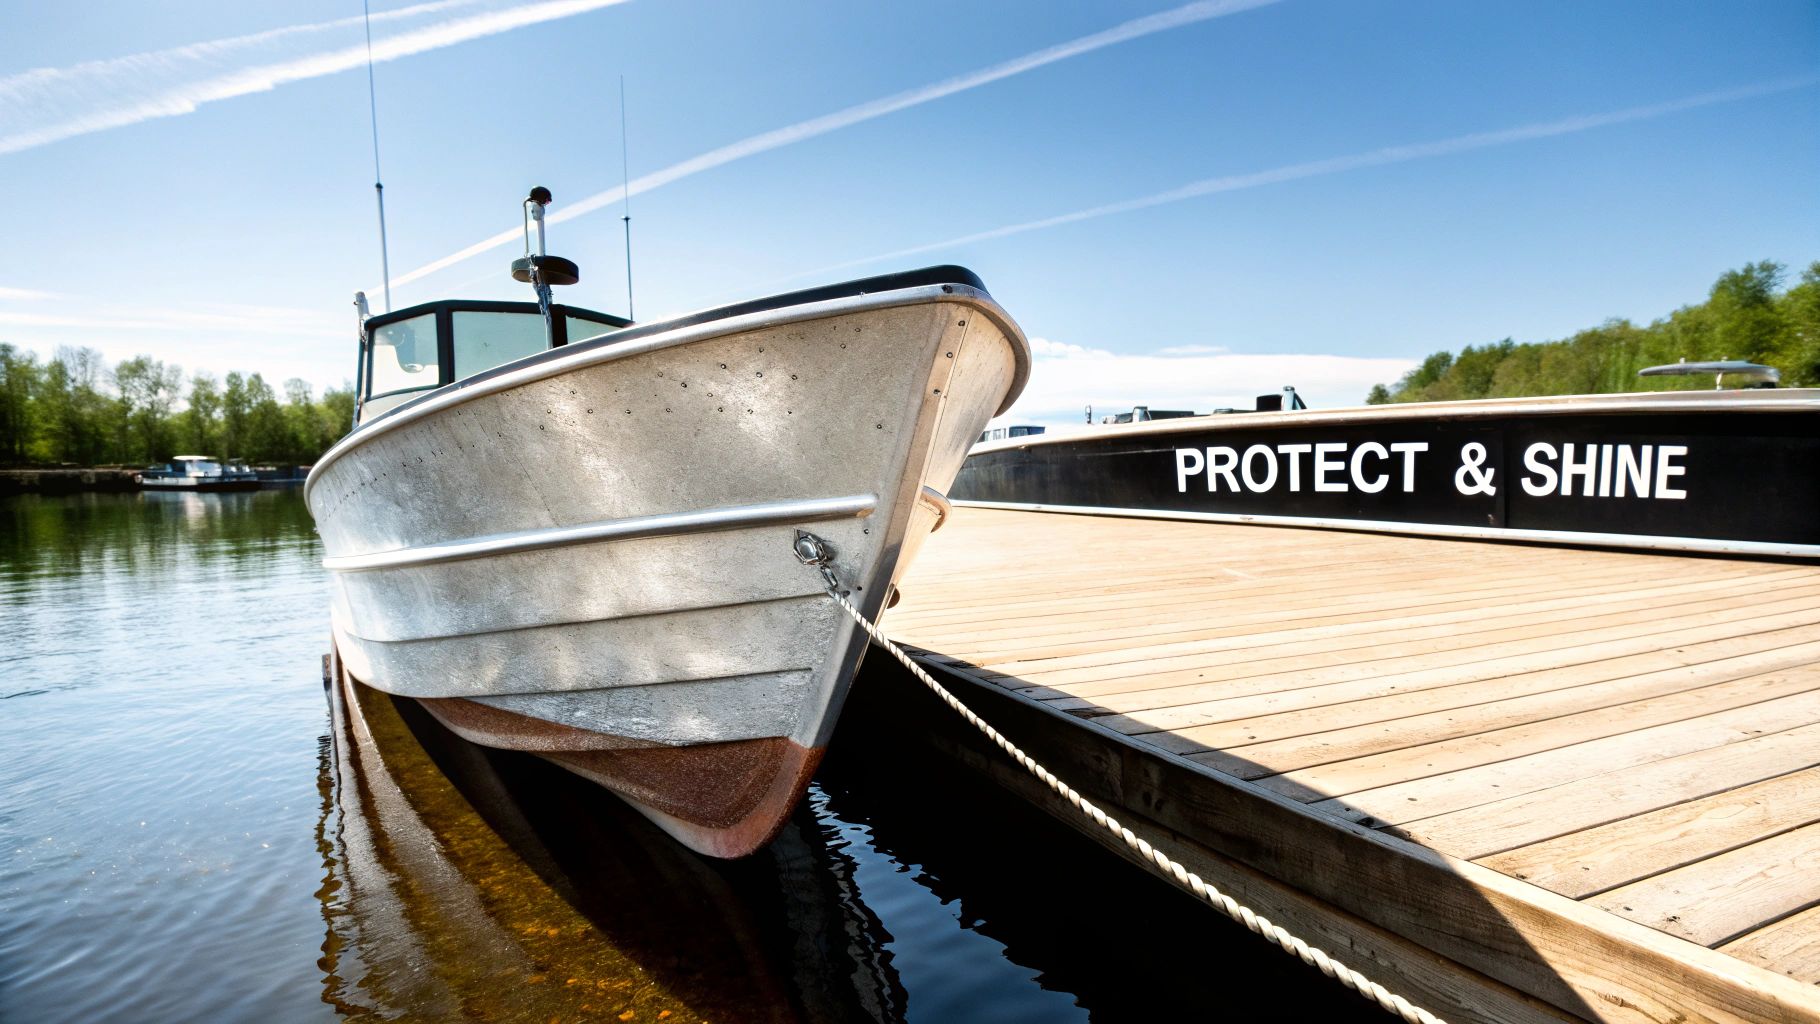
A DIY Guide to Aluminum Boat Polishing for a Mirror Finish
Polishing your aluminum boat is more than just a vanity project. It’s one of the most important things you can do to protect your investment and keep it on the water for years to come. A proper polish isn't just about the shine; it's about creating a tough barrier against the elements, stopping corrosion, and making your boat look incredible.
This guide will walk you through every step, from prep to protection, so you can achieve a professional-level, mirror finish right in your own driveway.
Why Bother Polishing Your Aluminum Boat?
Before you fire up the buffer, let's talk about why this is one of the most rewarding jobs you can do for your boat. Think of polishing as essential seasonal maintenance, just like an oil change. A gleaming hull isn't just for looks; it's your boat's first line of defense against the elements.
When you polish aluminum, you're not just making it shiny. You're smoothing the surface to create a slick barrier that sheds water and fights back against salt and grime. This simple process is key to preserving the integrity of your vessel for the long haul.
The Real Payoff of a Polished Hull
The benefits here are tangible, affecting both your wallet and your time on the water. A little elbow grease now will absolutely save you from bigger, more expensive headaches later on.
Here’s why you should make polishing a priority this season:
- Stop Corrosion and Oxidation Cold: Raw aluminum naturally forms an oxide layer. When you add water, salt, and sun, that protective layer breaks down, leaving a dull, chalky mess. This is the start of pitting and corrosion that can weaken the hull. Polishing strips away that ugly oxidation and prepares the surface for a sealant that locks out the elements.
- Boost Your Resale Value: A boat that shines like a mirror will always fetch a better price than one that looks dull and tired. That brilliant finish screams "well-cared-for" to any potential buyer, letting you ask for a premium.
- A Smoother, More Efficient Ride: A super-smooth, polished hull slices through the water with less friction. This isn't a gimmick; less drag means better fuel economy and a little more top-end speed. You'll spend less at the pump and more time enjoying the ride.
The numbers don't lie. Regular polishing can slash corrosion risks by up to 70% and boost a boat's resale value by 15-25%. If you let it go, that dull gray oxidation can set in within just a few months, inviting pitting that could set you back hundreds or even thousands in repairs. You can read the full insights on the aluminum boat market and see just how much maintenance matters.
Gathering Your Aluminum Polishing Arsenal
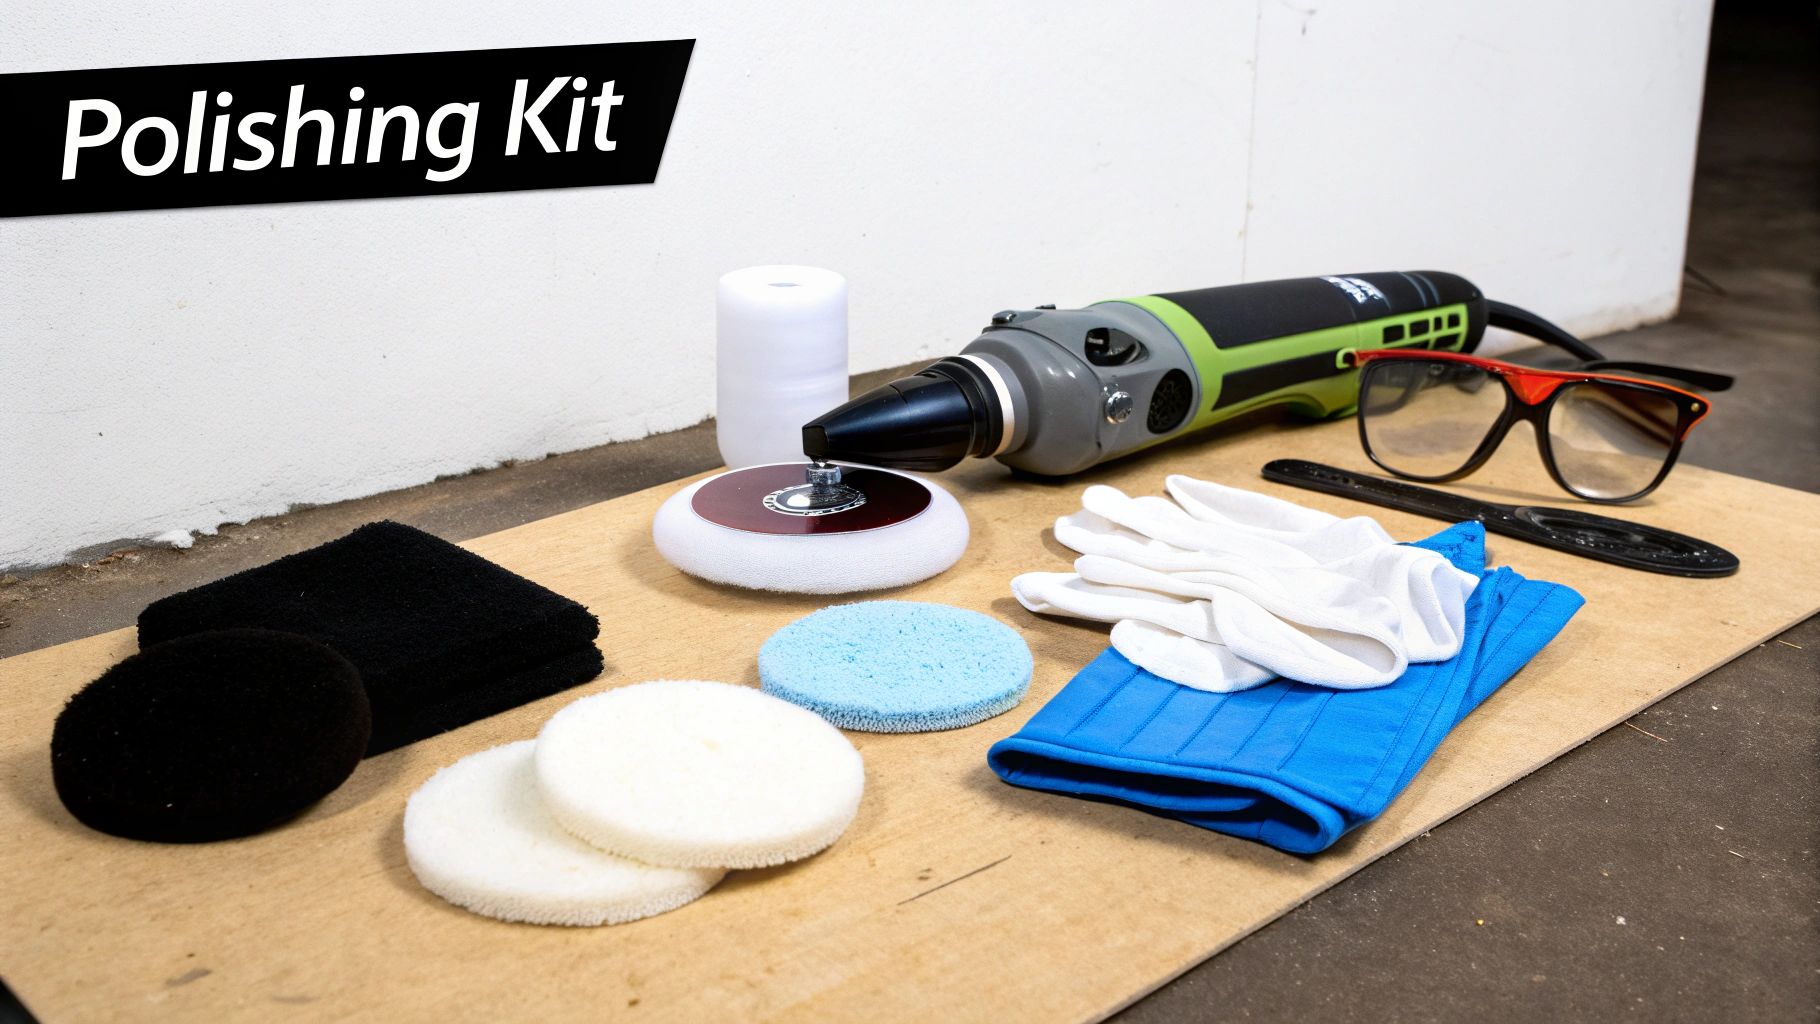
Getting the right gear from the get-go is the key to a professional-level finish. Having the correct tools makes the job easier and helps you avoid common mistakes, like leaving ugly swirl marks or even damaging the metal. Think of this as your no-nonsense shopping list to get you set up for success.
Your biggest decision is what kind of polisher to get. You have two main options, and understanding the difference is critical to avoid damaging your boat before you even start.
Choosing Your Polisher
Rotary polishers are the heavy hitters. They spin on a single axis, generating a lot of heat and friction, which makes them beasts for cutting through heavy, chalky oxidation. If you're restoring a severely neglected boat, this is your tool. But be warned: they are aggressive and can easily damage the aluminum if you don't know what you're doing.
For most DIY boat owners, a random orbital polisher is the smarter choice. These tools oscillate in a random pattern, which spreads the heat out and drastically reduces the risk of burning the finish. They are much more forgiving and perfect for beginners. My advice? Get one with a variable speed setting for total control.
Pads and Compounds: The One-Two Punch
Your polisher is just a motor—the real magic happens with the pad and compound you choose. This combination does the actual work of stripping away oxidation and bringing out that mirror shine. It’s like sanding wood: you start coarse and move to fine.
- Wool Pads: These are your go-to for heavy cutting. The aggressive natural fibers work perfectly with a cutting compound to chew through that dull, gray layer of oxidation. If your boat’s finish is in rough shape, you'll want to start here.
- Foam Pads: These come in various levels of aggressiveness. A medium-cutting foam pad is great for the intermediate step, while a soft finishing foam pad is what you’ll use with a finishing polish to get that deep, liquid-metal look.
Think of it as a two-stage process. The first stage removes the damage, and the second stage refines the shine. You'll need the right pad and compound for each.
Pro Tip: Don't be cheap with microfiber towels. The black gunk that comes off during polishing is a mix of old polish and aluminum oxide. It will permanently stain and ruin good towels. Buy a big, cheap pack, because reusing a dirty one will just grind abrasive gunk back into your freshly polished surface.
Your Essential Supply Checklist
Beyond the big-ticket items, a few other things are non-negotiable for a clean, safe job. Don't start until you have everything on this list ready to go.
Must-Have Items:
- Painter's Tape: Use this to mask off vinyl decals, plastic trim, or rubber rub rails. A polisher can chew them up in a split second.
- Safety Glasses and Gloves: Polishing compound can splash, and that black residue gets everywhere. Protect your eyes and hands.
- A Big Stack of Microfiber Towels: Seriously, you can't have too many for this job.
- Pad Cleaning Brush: A stiff-bristled brush helps you clean your pads on the fly, preventing dried compound from caking on and becoming useless.
Prepping Your Boat for a Perfect Polish
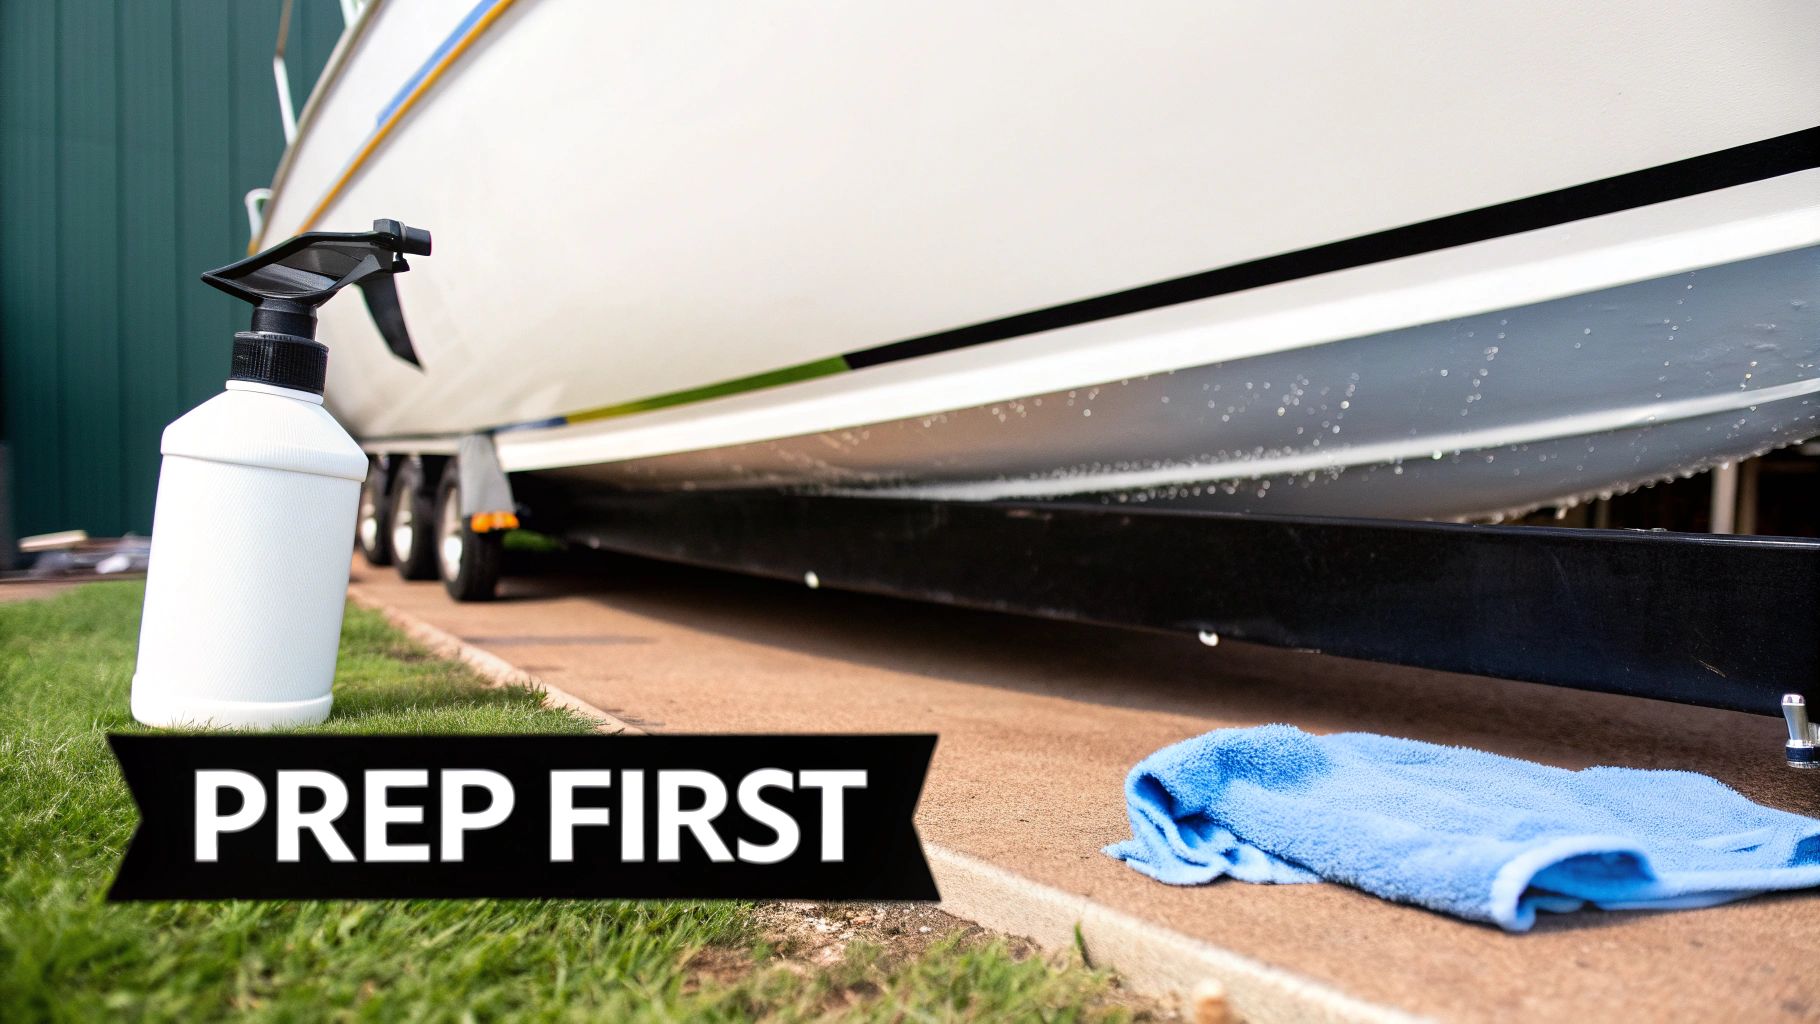
You wouldn't wax a dirty car, right? The same logic applies here, only more so. Trying to achieve a mirror shine on a dirty surface is impossible. If you have dirt, lake scum, or mineral deposits on the hull, you're just grinding that grit into the aluminum, creating more scratches.
A truly deep clean isn’t just a recommendation—it’s the most critical step in the entire process. Rushing this will only lead to a frustrating, subpar result.
Starting With a Powerful Wash
First things first, you need to get your boat completely clean. We’re talking about removing every last trace of surface contamination. If you have a pressure washer, use a wide-angle tip (like a 40-degree) to blast away loose grime and algae without damaging the metal.
Next, get out the buckets for a proper hand wash. Using a quality boat soap and a soft-bristle brush, give the entire hull a thorough scrub. Pay extra attention to the waterline, which is always a magnet for buildup. This wash gets rid of the obvious dirt, but the real troublemakers are often what's left behind.
The most stubborn contaminants are the ones you can't always see, like mineral deposits from hard water and pollution. These can actually etch into the aluminum, making the hull feel gritty even right after you've washed it.
Tackling Stubborn Water Spots and Mineral Stains
After rinsing and drying, run your hand along the hull. If you feel rough patches or see chalky outlines, those are stubborn water spots that have chemically bonded to the surface. Trying to buff these out with a polisher is a huge waste of time and energy; you need to dissolve them, not grind them away.
This is where a specialized remover is your best friend. A product like Boat Juice Extreme Water Spot Remover is made specifically to break down these mineral deposits chemically. You just spray it on, let it work for a minute, and wipe it away. This one step will make your actual polishing work significantly faster and more effective.
For a deeper dive into this common headache, check out our guide on finding the right aluminum corrosion cleaner to get your boat’s finish back on track.
Masking Off Sensitive Areas
With the hull finally spotless, your last prep step is to protect everything you don't want to polish. A high-speed polisher doesn’t know the difference between your aluminum hull and that brand-new vinyl decal you just applied. Taking your time with high-quality painter's tape is what separates an amateur job from a professional one.
Key Areas to Mask Off:
- Vinyl Graphics and Decals: A polisher will burn, tear, or discolor these in a heartbeat.
- Plastic Fittings: Cleats, light housings, and other plastic bits can be easily scuffed by the pad's friction.
- Rubber Rub Rails: Aluminum polish residue will stain rubber permanently. Trust me, it's a nightmare to remove.
- Registration Numbers: Tape these off to keep the edges crisp and perfectly legible.
This meticulous prep work is the secret sauce. Now that your surface is clean and protected, you’ve set the stage for a flawless polishing job.
Bringing That Shine to Life: The Polishing Process
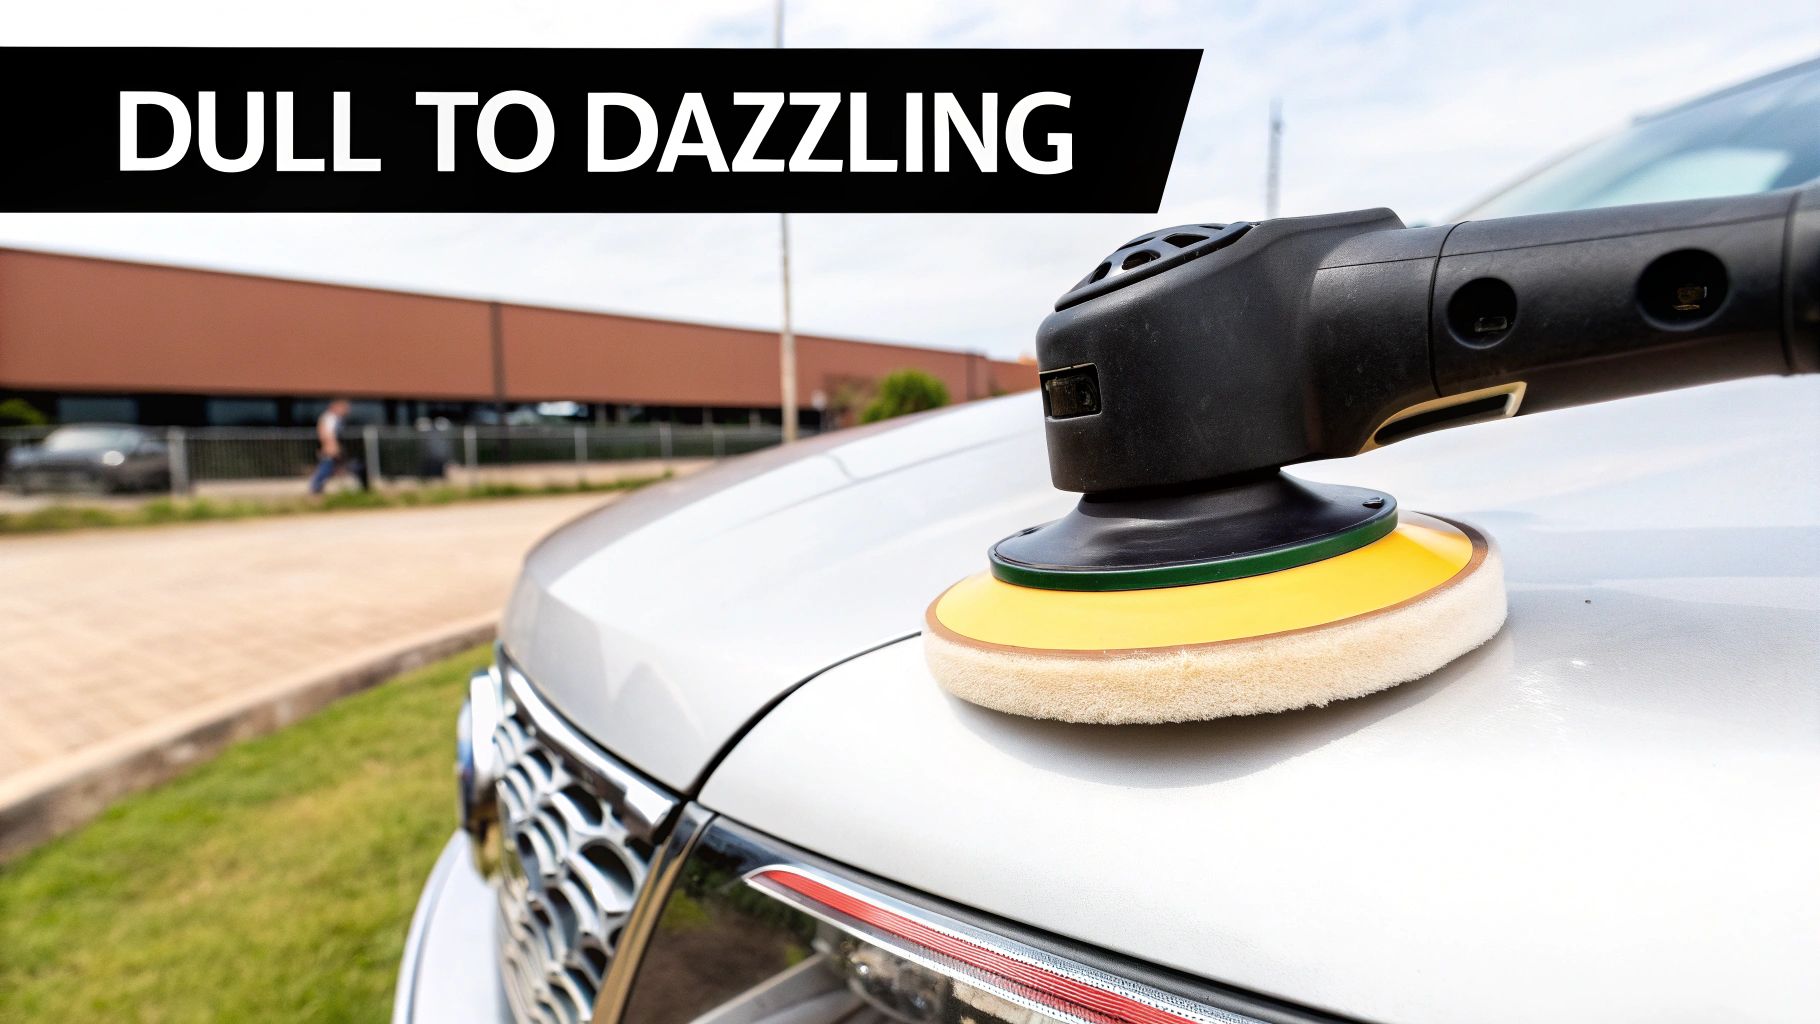
Alright, your hull is prepped, which means the fun part can begin. This is where you'll finally see that incredible shine emerge. Polishing isn't about brute force; it’s about good technique and letting the tools do the heavy lifting.
The secret to a flawless job is to work in small, manageable sections. I can't stress this enough. Focus your efforts on a two-foot by two-foot square at a time. This keeps the polish from drying out while you work it and allows you to apply consistent pressure for an even finish across the whole hull.
Finding the Right Polish and Pad Combo
Before you jump in, you need to find the perfect combination of polish and pad for your boat's specific condition. The only way to know for sure is to run a small test spot in an inconspicuous area, like low on the transom.
Start with your least aggressive setup—a foam finishing pad and a light polish. If that barely makes a dent, step it up to a medium foam cutting pad. Still not getting results? Break out the heavy-duty wool pad and a more aggressive cutting compound. Once you find the combo that cuts through the oxidation with minimal effort, you’ve found your winning formula.
Pro Tip: Keep those pads clean! After every section, use a stiff brush or a blast of compressed air to clear out the caked-on polish and aluminum oxide. A clogged pad doesn’t cut well and can even create new scratches.
Stage 1: The Heavy Cutting Pass
This first step is all about removing that dull, chalky layer of oxidation. This is where you'll see the most dramatic transformation. Grab the cutting compound and wool or cutting foam pad you identified in your test.
Squeeze a few pea-sized drops of compound onto your pad. Place the polisher flat against the hull before turning it on to avoid slinging product everywhere. Start the machine on its lowest speed to spread the compound, then crank it up to a medium setting (around 1500-2000 RPM for a rotary or speed 4-5 for an orbital).
Work in slow, overlapping passes, first side-to-side, then up-and-down, using light, steady pressure. You’ll know you’re done when the compound starts to look clear and a shine begins to break through. Wipe the area clean with a fresh microfiber towel. You'll see a thick black residue—that’s the dead aluminum oxide you’re removing! For more on how these products work, see our guide on boat buffing compounds.
Stage 2: The Finishing Polish for That Mirror Shine
After you’ve completed the cutting stage across the entire boat, it's time to refine that finish. The cutting compound removed the oxidation but likely left behind some fine swirl marks or a slight haze. This finishing stage erases those tiny imperfections and brings out a true, deep mirror shine.
Switch to a clean, soft foam finishing pad and your finishing polish. The technique is exactly the same: work in small sections with slow, overlapping passes. When you wipe away the residue, you should see an incredible "liquid" look that makes a polished aluminum boat a real head-turner.
As you finish that last section, take a step back and admire your work. The surface should be highly reflective, free of haze, and ready for the final, most crucial step: protection.
Protecting Your Shine for the Long Haul
You’ve put in the hours, and your boat now has a shine you can be proud of. Don't let all that hard work go to waste! This final stage is all about locking in that gleam with a tough, invisible shield. Without a protective layer, the sun and water will start the oxidation process all over again almost immediately.
A quality sealant is your best friend here. It not only preserves the shine but also makes future cleanups a thousand times easier by creating a slick, non-stick surface.
Choosing Your Shield: Waxes, Sealants, or Coatings
The product you choose will determine how long your shine lasts. Each option strikes a different balance between durability and ease of application.
- Traditional Marine Waxes: These are easy to apply and give a warm, deep gloss, but they have the shortest lifespan, usually lasting just a few months.
- Synthetic Polymer Sealants: This is the sweet spot for most boat owners. These formulas create a durable chemical bond with the metal, offering fantastic UV protection and water beading that can last a solid 6-12 months.
- Ceramic Coatings: These are the king of durability, creating a hard, glass-like layer that can last for years. However, the application process is much more intense and less forgiving for beginners.
For most DIY projects, a high-quality synthetic sealant delivers the best bang for your buck. To learn more, explore our guide on selecting the best aluminum sealer for boats.
Applying Your Protective Layer
Applying a sealant is much easier than the polishing you just did. Grab a soft foam applicator pad and work in small, manageable sections. You're aiming for a thin, even layer—a little product goes a long way.
Let the sealant cure for the time recommended on the bottle (usually 15-30 minutes), or until it hazes over. Then, with a fresh, clean microfiber towel, gently buff off the residue. Keep flipping your towel to a clean side to reveal a brilliant, slick, and protected shine.
Unprotected aluminum can lose 10-15% of its structural integrity in just five years in harsh marine environments. A hull protected with a quality sealant, however, can see its life extended by up to 50%.
Making the Shine Last All Season
Your big polishing job is done, but the secret to keeping that mirror finish is simple, consistent maintenance. The goal is to stop grime and water spots from ever getting a foothold.
Get into the habit of giving your boat a quick wipe-down after each trip. A product like Boat Juice Protection Spray is perfect for this job. It’s designed to quickly lift fresh water spots while applying a quick boost of hydrophobic protection, reinforcing the sealant you already applied.
This simple 5-minute wipe-down is the easiest thing you can do to keep your boat looking incredible all season. Maintaining that shine requires a commitment to comprehensive care and maintenance, just like any valuable asset.
A Few Common Questions We Get About Polishing Aluminum
Even with a good plan, a few questions always seem to pop up. Let's tackle some of the most common ones we hear from boat owners.
How Often Do I Really Need to Do This?
The honest answer is: it depends on how you use and store your boat. If your boat lives on a trailer under a cover, one serious polishing session a year during your spring prep is likely enough to keep it looking sharp.
However, if your boat lives in a saltwater slip, you might need to do a full polish twice a year to keep it from getting hazy. The best advice? Let the boat tell you. When you notice water isn't beading up anymore or the shine starts to look dull, it's time for a touch-up.
Pro Tip: A quick wipe-down with a maintenance spray after each trip can easily double the life of your protective sealant. This means a lot less time spent with a polisher in your hands.
Can I Polish My Painted or Anodized Aluminum Boat?
This is a critical one: absolutely not. The abrasive compounds and pads we've discussed are strictly for raw, uncoated aluminum. Using them on a painted or anodized surface will cause permanent damage.
On a painted boat, this process will strip the clear coat and wreck the paint. You should treat it like a car, using polishes made for automotive finishes. Anodized aluminum has a special protective coating that will be permanently scarred by abrasive polishing. For these surfaces, stick to gentle, non-abrasive cleaners.
What's with All the Black Gunk Everywhere?
Don't panic! Seeing that messy black slurry is actually a great sign. It's a mix of the polish and the oxidized aluminum you're removing. It's visual proof that the process is working perfectly.
The trick is to be ready for the mess with a big stack of clean microfiber towels. Use one side to wipe off the thickest residue, flip to a clean side for a second pass, then grab a completely fresh towel for the final buff. Using a dirty towel will just grind abrasive particles back into your hull.
Will This Process Work on My Stained Pontoon Logs?
Absolutely! In fact, pontoon logs are one of the most satisfying things to polish using this exact method. Pontoons are notorious for getting caked with mineral stains and developing a nasty waterline mark. The before-and-after transformation is often the most dramatic you'll see.
You will almost certainly need to start with a heavy-duty cutting compound and a wool pad to power through the initial buildup. It’s a workout, but the results are worth it. Once polished and sealed, scum lines and algae will wipe right off, making your regular cleanups much faster.
With these answers, you should feel ready to tackle your aluminum polishing project with confidence. The secret is to take your time, use the right gear, and protect that brilliant shine you worked so hard for. Boat Juice is here to help you get that head-turning finish and keep it that way.
Your next step is to gather your supplies. Check out our complete lineup of exterior cleaning and protection products to get everything you need for the job at https://shopboatjuice.com.