


· By Boat Juice Team
A DIY Guide to Aluminium Boat Sealant for a Leak-Free Boat
An aluminium boat sealant is more than just a tube of goop; it's your first line of defense against leaks and corrosion. Think of it as a specialized, flexible adhesive designed to create a totally waterproof barrier on your boat's seams, rivets, and fittings. To get a repair that actually lasts, you have to use a sealant specifically made for marine use on aluminum, as it’s the only way to get a bond that can handle the flexing, vibration, and harsh conditions of being on the water.
Why Fixing Leaks With the Right Sealant Matters
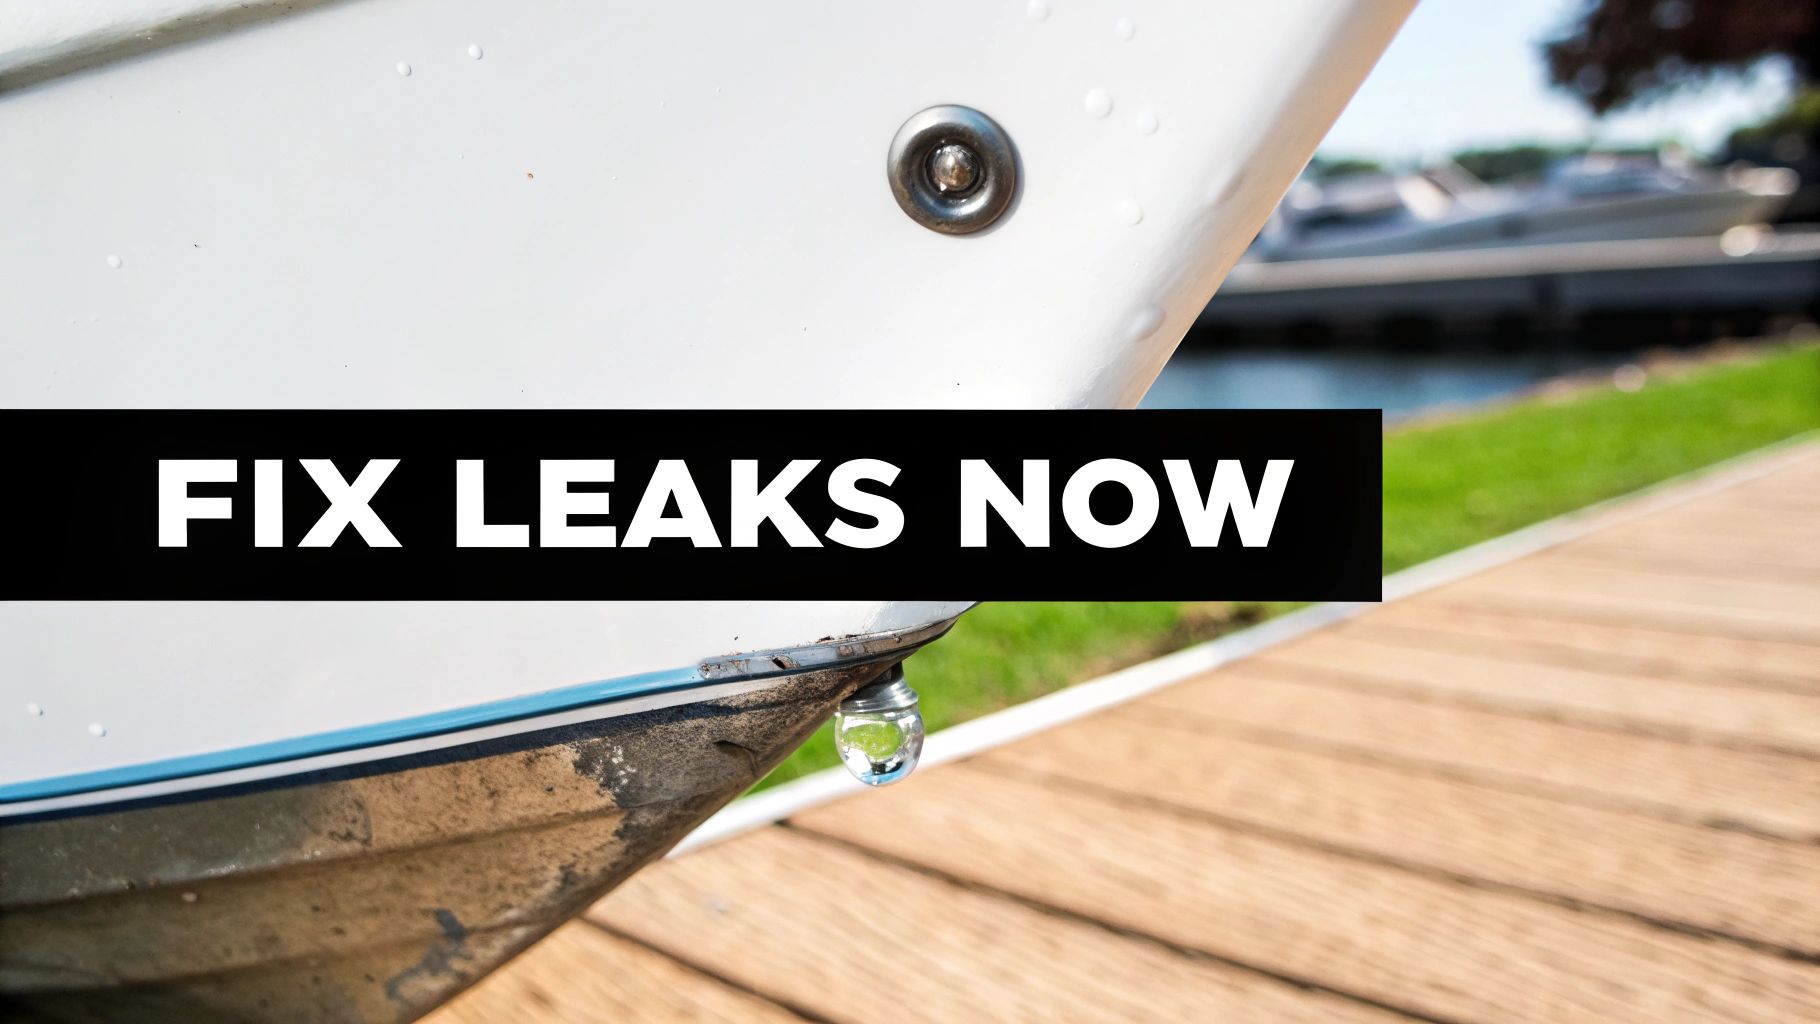
We've all been there. You spot a tiny, nagging drip from a seam or rivet. It’s tempting to ignore it, especially if your bilge pump is keeping up. But that little drip is your boat's way of waving a red flag, hinting at a much bigger problem brewing just out of sight.
When you let those drips go, water pools in hidden nooks and crannies of your boat's structure. This constant dampness creates the perfect breeding ground for corrosion, which slowly eats away at your hull's integrity. What starts as a simple leaky rivet can snowball, eventually compromising the entire structure of your boat.
Understanding Galvanic Corrosion
If you own an aluminum boat, there's a specific gremlin you need to know about: galvanic corrosion. This is a nasty electrochemical process that happens when two different metals touch while in an electrolyte (like water). In simple terms, this contact creates a tiny battery where one metal sacrifices itself to protect the other.
Unfortunately for you, your aluminum hull is almost always the metal that gets sacrificed. Using the wrong sealant, especially one containing incompatible metals like copper, can actually speed this process up. This is precisely why you can’t just grab any old caulk from the hardware store; you need a dedicated aluminium boat sealant designed to be chemically neutral and stop this destructive reaction cold.
Key Takeaway: A proper marine sealant does more than just plug a hole. It acts as a crucial insulator between different metal parts, blocking the electrical current that causes galvanic corrosion and ultimately preserving the life of your hull.
There's a reason the demand for these products is on the rise. The marine sealants market is expected to grow from US$331.5 million in 2024 to US$457.2 million by 2031. With over 11 million aluminum boats in North America, countless owners are relying on these sealants to fight back against issues like galvanic corrosion. If you're interested in the numbers, you can explore more about these market trends and see what's driving the industry.
The good news is that tackling a leak with the right sealant is a completely doable DIY project. Putting in a little effort now buys you incredible peace of mind on the water and saves you from a world of expensive headaches later. This guide will walk you through exactly how to get it done right.
How to Choose the Perfect Sealant for Your Boat
Walking into a marine supply store and staring at that wall of sealant tubes can be overwhelming. They all make big promises, but which one is actually right for your boat? The secret is understanding that different sealants are designed for very different jobs.
Think of it this way: the sealant you’d use on a leaky rivet below the waterline is a totally different beast than what you’d need for a window frame baking in the sun all day. Picking the right aluminium boat sealant isn’t about finding one "best" product; it's about matching its specific strengths to your repair.
The Big Three Sealant Types
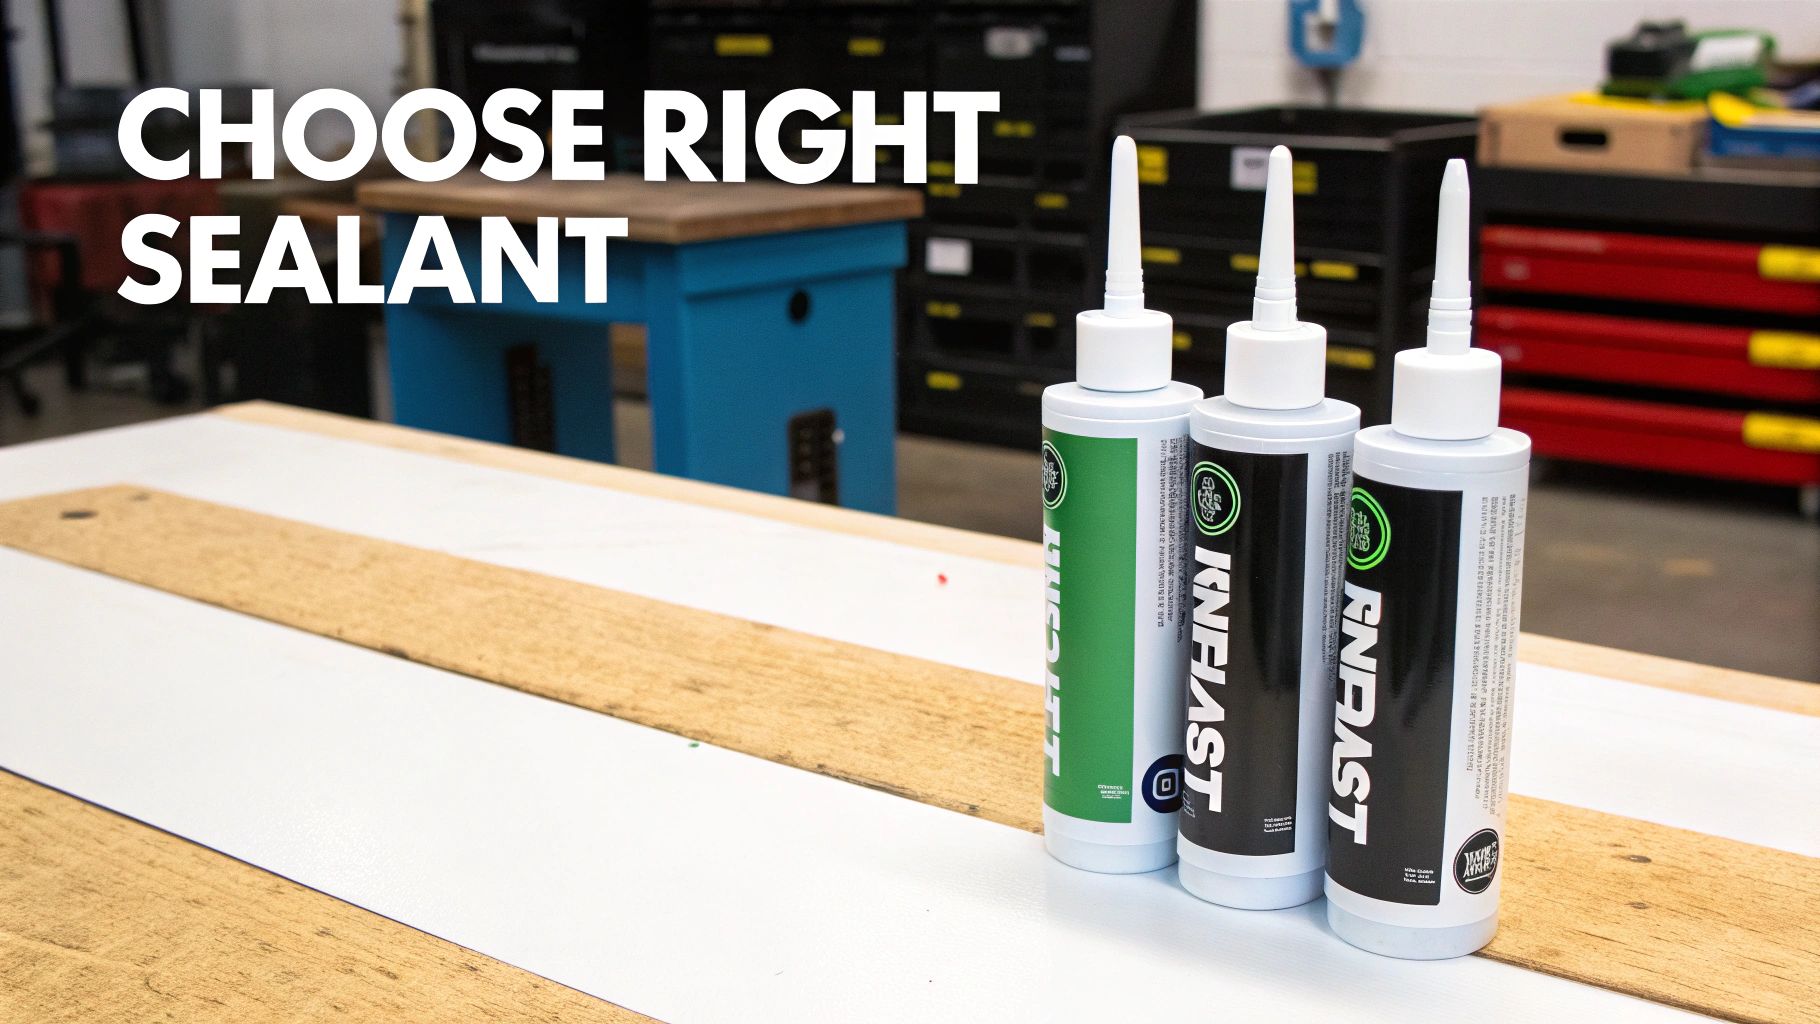
When it comes to your aluminum boat, your choices almost always boil down to three main chemical families. Each has its own set of superpowers, so let's break them down so you can choose confidently.
-
Polyurethane: These are the heavy hitters of the sealant world. Known for incredible adhesive strength, polyurethanes create a bond so tough it’s often considered permanent. They are fantastic for structural joints below the waterline—think hull seams or transom repairs—where you need absolute strength and zero give. Their one weakness? They don't handle UV rays well and can degrade over time with constant sun exposure.
-
Polysulfide: If you're working on fittings you might need to remove someday, polysulfide is your friend. It provides a strong, waterproof seal but is more resistant to chemicals like gasoline and oil than other types. This makes it a great choice for fuel tank fittings or deck hardware where you need a reliable seal that you can remove later without a grinder.
-
Silicone and Hybrids: Modern marine silicones and hybrids (like Silane Modified Polymers, or SMPs) are the masters of flexibility and UV resistance. They are perfect for anything topside that sees a lot of sun and movement—sealing around windshields, hatches, and electrical boxes. They won’t yellow or crack from sun exposure and can handle the vibrations of a running boat without losing their seal.
The global marine sealants industry was valued at USD 274.1 million in 2023 and is projected to hit USD 417.6 million by 2033. Silicone-based sealants alone grab a 30.1% market share for a good reason: their incredible flexibility can extend a boat's life by up to 15 years by enduring constant stress without failing.
Comparing Marine Sealant Types for Aluminium Boats
Use this quick comparison to find the best sealant type for different jobs on your aluminium boat.
| Sealant Type | Best For | Flexibility | UV Resistance | Paintable? |
|---|---|---|---|---|
| Polyurethane | Permanent, structural bonds below the waterline (hull seams, transom). | Low | Poor | Yes |
| Polysulfide | Bedding deck hardware, fuel fittings (strong but removable). | Medium | Good | Yes |
| Silicone/Hybrid | Topside jobs needing flex and sun protection (windows, hatches). | High | Excellent | No |
Ultimately, the right choice comes down to where you're working and what you need the sealant to do.
Key Questions to Ask Before You Buy
Beyond the chemistry, a few practical questions will point you to the perfect tube. Answering these before you shop will save you a ton of time and frustration.
Above or Below the Waterline?
This is the most important question. For any repair that will live underwater, you must use a sealant specifically rated for continuous submersion, like a polyurethane. For anything above the waterline, you have more options, but UV resistance becomes your top priority to prevent cracking and yellowing.
Do You Need Flexibility?
Take a look at the joint you're sealing. Is it a rigid, structural seam, or something that moves, flexes, and vibrates like a window frame? High-adhesion polyurethanes are very rigid, while silicone hybrids offer amazing flexibility to absorb shock and movement without breaking their bond.
Will You Need to Paint It?
If you're sealing a seam on your painted hull, this is a huge deal. Most pure silicone sealants will repel paint, leaving you with a frustrating mess. Polyurethane and some polysulfide sealants, on the other hand, are designed to be paintable once fully cured, allowing you to get a seamless, color-matched finish. Always check the label to be sure.
For a deeper dive, check out our complete guide on finding the right sealant for boat projects for more tips and tricks.
Prepping Your Boat for a Flawless Sealant Job
Here’s a secret every seasoned boat owner knows: the success of your repair has less to do with the expensive tube of aluminium boat sealant in your hand and everything to do with the prep work you do beforehand. A perfect, lasting seal starts with a perfectly clean surface. Skipping these steps is like building a house on a shaky foundation—it’s just not going to hold up.
Think of it this way: new sealant needs a clean, stable surface to grab onto. If the area is covered in flaky old sealant, grime, or chalky oxidation, the new bead will just stick to that junk instead of the bare aluminum. When that old layer inevitably fails, it'll take your brand-new sealant right along with it, and you'll be right back where you started.
Step 1: Remove Old, Failing Sealant
Before you even think about cleaning, you have to get rid of the old stuff. Honestly, this is often the most tedious part of the job, but your patience here will pay off big time. Your goal is to remove every last speck of the failed sealant without gouging or scratching the soft aluminum underneath.
- Soften It Up: Gently apply heat with a heat gun on a low setting, waving it back and forth over a section of the old sealant. You're not trying to melt it, just warm it up to break its bond with the hull, making it much easier to peel away.
- Scrape Carefully: Once softened, use a plastic putty knife or a specialized sealant removal tool to carefully scrape away the old material. Avoid metal scrapers, as they can easily damage the aluminum.
- Tackle the Residue: After the bulk is gone, you'll probably be left with a thin, stubborn film. Use a solvent like acetone or a dedicated marine-grade adhesive remover on a rag and work in small circles to dissolve what's left.
A quick pro-tip: Always work in a well-ventilated area and wear chemical-resistant gloves and safety glasses when using solvents. Acetone is highly flammable, so make sure there are no open flames or sparks nearby.
Step 2: Deep Clean the Surface
With the old sealant gone, it's time for a deep clean. You need to remove years of accumulated grime, oxidation, and any solvent residue left over from the previous step. This ensures the new sealant bonds directly to clean, bare metal for the strongest possible hold.
Start with a powerful degreaser to cut through any oil or fuel residue, then wash the area with soap and water and rinse thoroughly. If you’re dealing with a dull, chalky layer of oxidation, you might need a more targeted approach. You can learn how to choose the right aluminum corrosion cleaner to restore the metal’s finish.
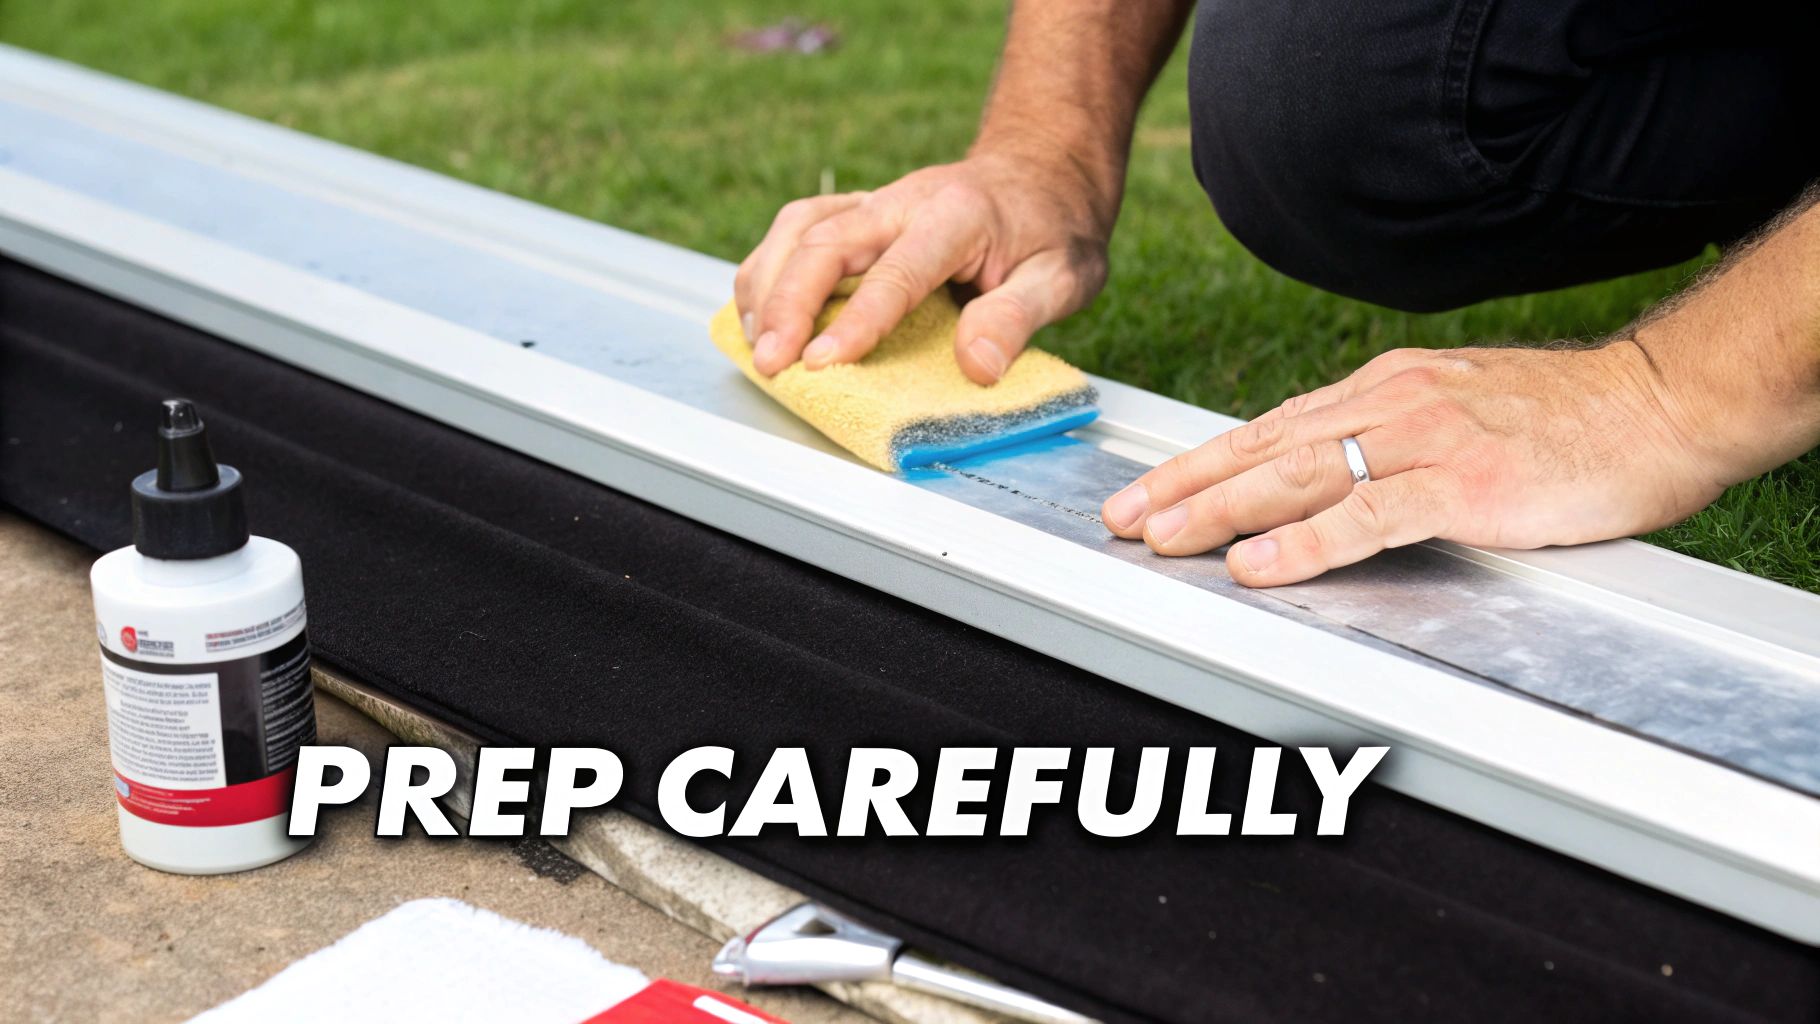
Step 3: Scuff for Superior Adhesion
This next step is a total game-changer, and it's one that many DIYers miss. You need to give the sealant a better surface to "bite" into. A perfectly smooth, polished piece of aluminum is surprisingly difficult for adhesives to grip. By lightly scuffing the surface, you create thousands of microscopic peaks and valleys, dramatically increasing the surface area for the sealant to lock onto.
Grab a piece of 80 to 120-grit sandpaper or a maroon Scotch-Brite pad and lightly abrade the area where the new sealant will go. You aren't trying to remove metal, just dull the finish until it has a hazy, matte look. This simple action can increase the bond strength of your sealant by more than 50%.
Step 4: The Final, Critical Wipe-Down
You're almost there. The final step before you pick up the caulking gun is to remove every trace of dust, oil from your fingers, and any other contaminants. This last wipe-down is non-negotiable for a professional-grade seal.
For this, a high-quality, residue-free cleaner is your best friend. A quick spray and wipe with Boat Juice Exterior Cleaner is perfect for this final prep, as it lifts away any remaining sanding dust and oils without leaving behind a film that could interfere with the sealant's adhesion. Once you’ve wiped the area clean with a fresh microfiber towel, let it air dry completely. Now, you are truly ready to apply your new sealant.
Applying Aluminium Boat Sealant Like a Pro
Now that your prep work is done, it's time for the main event. Applying a flawless bead of aluminium boat sealant will fill every nook and cranny, covering rivet heads and seams without any gaps. Remember, if you miss a tiny spot, moisture will find a way in, and you'll be doing this repair all over again.
Actionable Step 1: Master The Caulking Gun
The right tool makes all the difference. A heavy-duty, dripless caulking gun will help you avoid the sudden spurts and uneven flow that can ruin a clean bead.
- Prep the Nozzle: Cut the nozzle tip at a 45-degree angle, aiming for an opening slightly narrower than the gap you're filling. Pierce the inner foil seal with a long nail or the gun's built-in tool.
- Load the Tube: Retract the plunger, insert the sealant tube, and squeeze the trigger gently until sealant just appears at the nozzle. This prevents air bubbles in your starting bead.
- Warm it Up: If you're working in cooler weather (a common scenario during spring prep!), a cold sealant will be thick and hard to work with. Let the tube sit in a bucket of warm water for a few minutes to improve its flow.
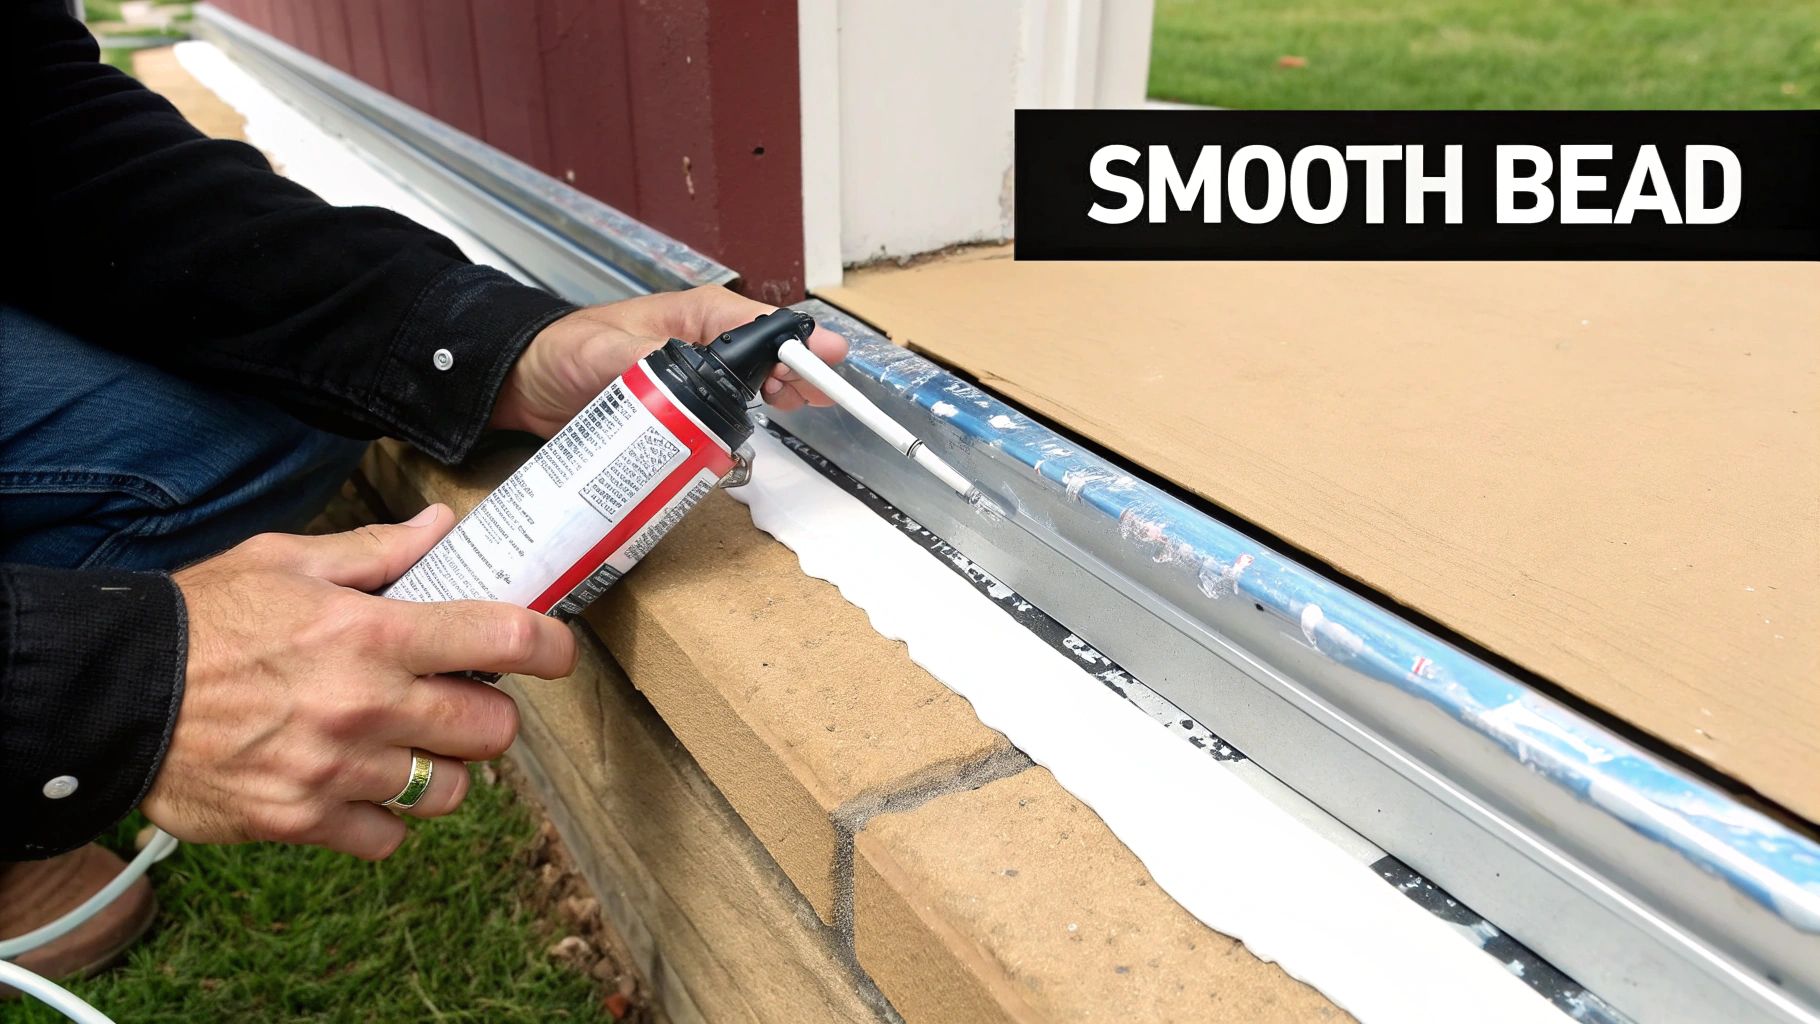
Actionable Step 2: Lay A Consistent Bead
A steady hand and consistent motion are key. You want to push the sealant into the seam rather than just dragging it along the top.
- Maintain Your Angle: Keep the gun angled consistently at 45 degrees to the surface. This helps force the sealant deep into the joint.
- Pace Yourself: Squeeze the trigger with steady pressure and move the gun along the seam at an even speed. Moving too fast will create a thin, weak bead, while moving too slow will cause messy buildup.
- Work in Sections: For long seams, work in manageable sections you can complete without stopping. Pausing mid-bead can create a weak spot in the seal.
| Metric | Value |
|---|---|
| Marine Sealants Market (2024) | USD 490.1 Million |
| Projected Market (2030) | USD 687.4 Million |
| Application Speed Boost | 15% |
| Detailers Reporting Seam Leaks | 55% |
Actionable Step 3: The Art Of Tooling For A Perfect Finish
"Tooling" is the process of smoothing the bead after you've applied it. This isn't just for looks—it compacts the sealant, removes trapped air, and ensures a watertight bond.
- Choose Your Tool: Dip a flexible spatula, a plastic spoon, or your gloved finger in soapy water (check the sealant's instructions, some may require mineral spirits).
- Smooth the Bead: With light, even pressure, drag your tool along the bead. This will create a smooth, slightly concave profile that helps shed water.
- Clean Up: For impossibly crisp edges, use painter's tape. Run tape along both sides of your seam, apply the sealant, tool it, and then immediately peel the tape off at a 45-degree angle before the sealant starts to set.
By following these steps, you'll achieve a professional-quality seal that not only looks great but is ready to take on salt spray, sun, and everything else the water throws at it.
Protecting Your New Seals for the Long Haul
You’ve laid a perfect bead and tooled it to a smooth finish. It feels like the job is done, right? Not quite. What you do next—and how you care for the boat long-term—is just as important as the application itself. Think of your new aluminium boat sealant like fresh paint; you wouldn't drive it through a gritty car wash a day later.
Your patience now will ensure that perfect seal lasts for years, not just a few trips out on the lake.
Step 1: Respect The Crucial Curing Phase
Every tube of marine sealant has a cure time listed on the back—it's not a suggestion, it's a requirement. During this time, a chemical reaction is turning the soft paste into a tough, flexible, and waterproof barrier. Rushing this process is the number one reason DIY sealant jobs fail.
If you get impatient and launch the boat too early, the sealant's bond will be weak, and water pressure can push it right out of the seam. Submerging a fresh seal can also trap moisture inside, preventing it from ever reaching its full strength. Cure times can vary from 24 hours to a full week depending on the sealant type, temperature, and humidity, so always read the label and give it the full time it needs.
Step 2: Perform Long-Term Care and Inspection
Once your sealant has fully cured, a little preventative maintenance goes a long way. Make a quick visual inspection of all your sealed seams part of your regular routine, especially during spring prep and before winterization.
You're looking for subtle clues that the sealant is aging. Look for any signs of shrinking, tiny cracks from sun exposure, or any spots that feel unusually soft or gummy. Catching these small issues early means you can touch them up before they turn into another full-blown leak.
Step 3: Adjust Your Cleaning Routine to Protect Your Seals
This is something many boat owners overlook. The soap you use to wash your boat has a direct impact on the lifespan of your sealant. Harsh, chemical-based cleaners or aggressive detergents can dry out the sealant over time, making it brittle and prone to cracking, which completely undoes all your hard work.
Using a gentle, pH-neutral boat soap like Boat Juice Wash & Shine ensures you're cleaning away grime without stripping the essential polymers that keep your sealant flexible and waterproof. It's a simple swap in your cleaning kit that can add years to your repair. For an extra layer of defense against the sun, a quick mist of Boat Juice Protection Spray on and around topside seals will add a powerful UV shield, helping to prevent oxidation and cracking.
For the ultimate in resilience, a Marine Ceramic Coating can offer a flexible, super-slick shield that protects your entire boat. This advanced protection complements your sealant's efforts, making the boat easier to clean and better protected from the elements. To learn more about keeping the metal itself looking pristine, our guide on polishing aluminum boats is a great next step.
Got Questions About Sealing Your Boat?
You're not alone. Even with the best instructions, a few questions always seem to pop up right when you’re ready to get started. Let’s tackle some of the most common things boat owners ask so you can move forward with confidence and get the job done right.
How Often Should I Reseal My Aluminum Boat?
There's no magic number, as it really depends on how you use and store your boat. The best practice is to make a thorough inspection of all your seals an essential part of your spring prep ritual. Don't just glance at them—look closely for any signs of cracking, shrinking, or pulling away from the aluminum.
A top-shelf marine-grade aluminum boat sealant can easily last 5-10 years. However, you should keep a closer eye on high-stress areas like transom seams or joints near the motor, as they tend to wear out faster. If you spot a leak, no matter how small, jump on it immediately to prevent a bigger headache later.
Can I Just Slap New Sealant Over the Old Stuff?
This is a tempting shortcut, but it's a hard "no." Applying new sealant over old, failing material is like painting over rust—it might hide the problem for a little while, but it doesn't fix a thing. The new bead won't stick properly, and the original leak is still there, just waiting to reappear.
For a repair that will actually last, your prep work is non-negotiable. You have to scrape, clean, and get the surface back down to bare, shiny aluminum. It’s more work up front, but it’s a whole lot better than redoing the entire job next season.
What's the Best Temperature to Apply Sealant?
Weather is a huge factor here. Temperature and humidity are critical for a proper cure. Most marine sealants are happiest in mild, dry weather.
Always double-check the instructions on the tube, but a good rule of thumb is to work when the temperature is between 50°F and 80°F (10°C to 27°C). If it's too cold, too hot, or rain is in the forecast, just wait. Applying sealant in bad weather can mess with the curing process, leaving you with a weak or permanently tacky mess.
What's the Trick to Getting That Smooth, Pro Finish?
The secret to a clean, professional-looking bead is a simple technique called "tooling." This is the one step that separates a messy patch job from a pro-level repair. After you’ve laid down a bead of sealant, you just need to smooth it out using a wetted, gloved finger, the back of a plastic spoon, or a purpose-built tooling spatula.
- Gently run your tool of choice over the bead with light, steady pressure.
- This presses the sealant firmly into the seam for a rock-solid bond.
- It also shapes the bead into a neat, concave surface that not only looks great but also helps shed water.
Want impossibly crisp edges? Use painter's tape to mask off both sides of the seam, apply and tool the sealant, and then immediately pull the tape off at a 45-degree angle. You'll get a perfectly straight, clean line every time.
Your next step is to choose your sealant and block off some time for the project. By following these steps, you can confidently tackle any sealing job and keep your boat watertight for years to come, which means less time worrying and more time enjoying the water.