


· By Boat Juice Team
On and Off Hull Cleaner: Your DIY Guide to a Spotless, Fast Boat
Ever look at a boat that just seems to sparkle, season after season, and wonder what the owner's secret is? It's not magic—it's just smart hull maintenance. The great news is, you don't need to hire a pro to get those results. Having a quality on and off hull cleaner in your corner is the key to doing it yourself.
Why A Clean Hull Is Your Secret Weapon
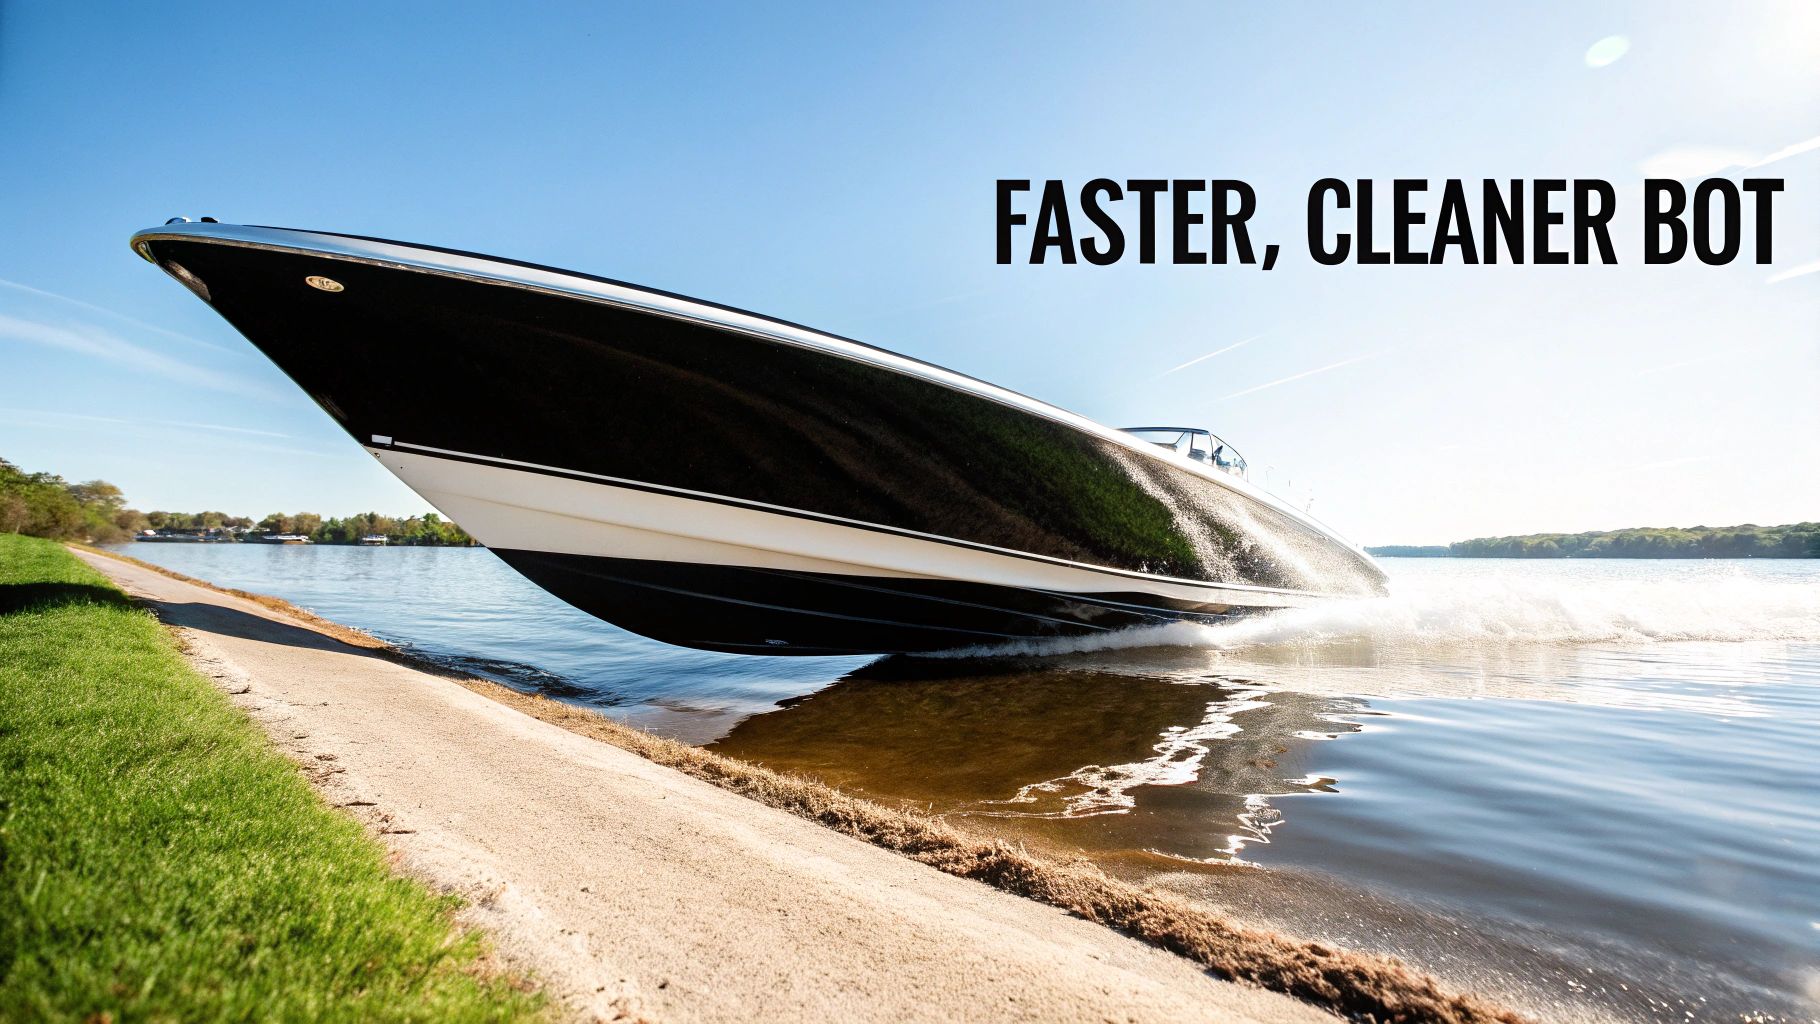
Let's be real: cleaning your boat's hull probably isn't how you dream of spending your Saturday. But what if I told you that a little effort here translates directly to a faster, more fuel-efficient boat? It's true. When your hull is caked in algae, scum, and marine gunk, it creates a ton of drag in the water, forcing your engine to fight against the resistance.
This isn't just a small thing; it’s a difference you’ll feel in your wallet and on the water. All that nasty buildup, especially barnacles and algae, can gut your boat's speed by up to 20% and make it guzzle 30% more fuel. Suddenly, a fun day out becomes a slow, expensive slog. You can even read up on the market trends and see how much this impacts boaters everywhere.
On the flip side, a slick, clean hull just glides. That simple act of cleaning pays you back immediately.
- Better Fuel Economy: You'll make fewer trips to the fuel dock because your engine isn't working overtime just to move the boat.
- More Speed, More Fun: Your boat will pop up on plane quicker and hit its top speed without struggling. It'll handle like it's supposed to.
- Easier Cleanups Later: When you stay on top of it, you prevent those deep, stubborn stains from setting in, which makes every future cleaning session a breeze.
Pro Tip: Stop thinking of hull cleaning as a chore. Think of it as a performance upgrade. It's one of the most direct ways you can boost your boat's efficiency and handling all season long.
Getting to Know Your Hull's Enemies
The biggest headaches for you are likely that nasty brown "scum line" that forms at the waterline (some call it a "hull mustache"), plus the usual suspects like algae and water spots. These aren't just ugly; if you let them sit, they can permanently discolor your boat's gelcoat. Think of gelcoat as the protective outer skin of your fiberglass hull—you definitely don't want it compromised.
This is where a dedicated on and off hull cleaner really shines. It's formulated to go after those specific stains without being so harsh that it damages the gelcoat. It’s all about working smarter, not harder, to keep your ride looking sharp and performing at its best.
Picking the Right Cleaner for Your Hull
Ever feel a little lost in the boat care aisle? You’re not alone. With so many bottles promising a perfect shine, it's tough to know which one is right for your boat. Choosing the best on and off hull cleaner really boils down to two things: what your boat is made of and what kind of gunk you're trying to get rid of.
The biggest split you'll see is between acid-based cleaners and their non-acid counterparts. Both have a job to do, but you need to know when to call in the big guns and when to stick with the gentle stuff.
What's Actually in the Bottle?
Acid-based cleaners are the heavy hitters. They’re formulated with mild acids, like oxalic or phosphoric acid, that are wizards at dissolving stubborn mineral stains, rust streaks, and that ugly brown "smile" at the waterline. The acid triggers a chemical reaction that breaks the stain apart so you don't have to scrub it off.
But with great power comes great responsibility. That chemical strength can be rough on your gelcoat if you're not careful. Leave it on too long or use it incorrectly, and you risk stripping your wax right off. Safety is also key here—always gear up with gloves and eye protection when you use these.
Then you have the non-acid, pH-neutral cleaners. These are your everyday heroes for routine cleaning and lighter messes. They are way kinder to your gelcoat, wax, and the environment, which means you can use them often without stressing about damaging your boat's finish.
Key Takeaway: My rule of thumb is to save acid-based cleaners for the tough, once-a-season deep clean or for tackling seriously baked-on stains. For the weekly wipe-down after a fun weekend, a non-acid formula is the way to go. It's safer and smarter for the long haul.
When a Gentle Cleaner Is Your Best Bet
Look, if you're like most boaters who trailer their boat after each use, a heavy-duty acid wash is usually overkill. You’re typically fighting off fresh scum, some light algae, and water spots—not months of caked-on marine growth.
This is the perfect scenario for a product like Boat Juice Exterior. It’s made to knock out that fresh grime without being harsh on your boat's surfaces.
- Scum Lines: It makes quick work of the daily scum line you get after a day on the lake.
- Water Spots: It's great for wiping away the mineral deposits left behind when water dries.
- Safe for Protection: Most importantly, it won't strip off your wax or ceramic coating. This means the protection you worked so hard to apply actually lasts.
Sticking with a gentle but effective cleaner for your regular wipe-downs is the single best way to prevent the major buildup that forces you to use harsh chemicals later. For a deeper dive, you can check out our guide on choosing the right boat cleaner for any job. It’s a simple strategy that protects your investment and keeps your boat looking sharp with a lot less elbow grease.
Your Step-by-Step Guide to a Flawless Hull Cleaning
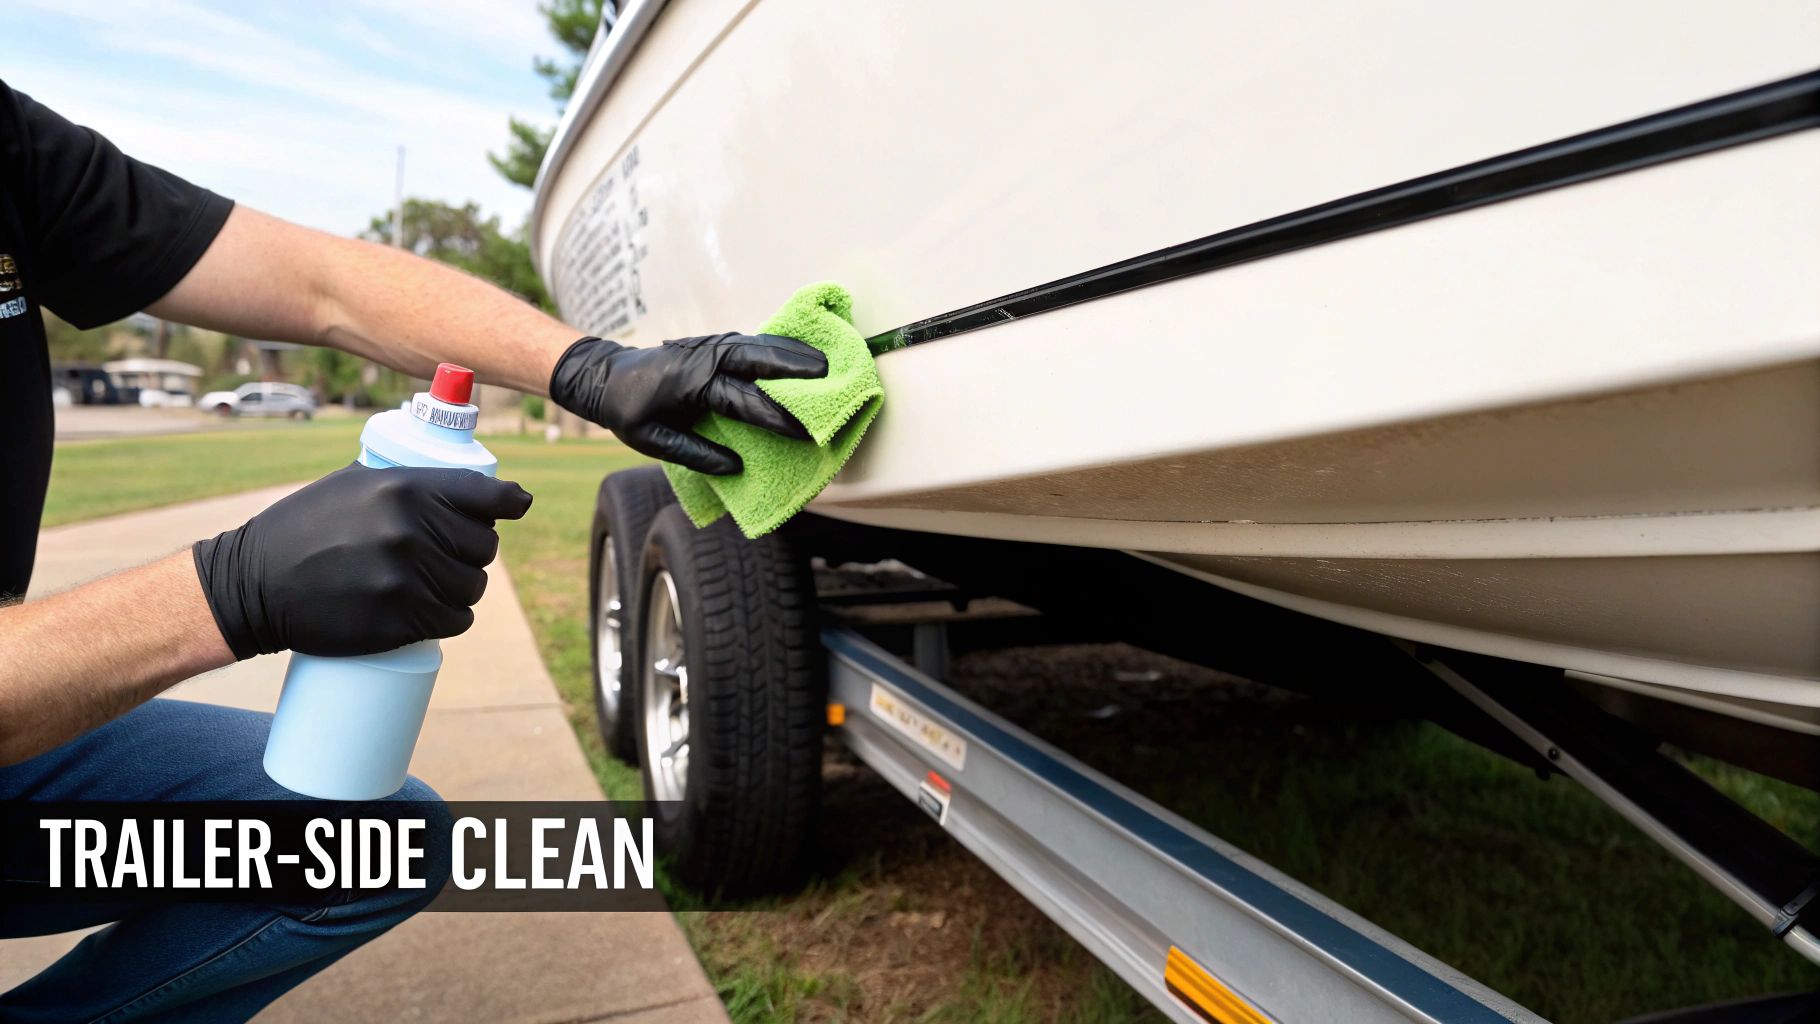
Alright, let's get down to business. Cleaning your boat's hull while it’s on the trailer is how most of us recreational boaters get the job done. With a quality on and off hull cleaner, you can absolutely get that professional, just-detailed look right in your own driveway.
The secret? It’s all in the prep work. Before you pop the top on a bottle of cleaner, take a few minutes to set the stage. This isn't just about getting a better shine—it’s about working smarter, not harder.
Step 1: Get Your Workspace and Yourself Ready
First, pick your spot. An ideal workspace is well-ventilated and out of direct, blazing sun. Trying to clean a hot hull is a losing battle; cleaners can evaporate too fast, leaving behind streaks. Try to work in the shade or tackle the job in the cooler parts of the day.
Next up is your safety gear. And no, this isn't the part you skip. Even friendlier hull cleaners can irritate your skin and eyes. You’ll want, at a minimum:
- Waterproof Gloves: Keep the chemicals off your hands. It’s a simple but crucial step.
- Safety Glasses or Goggles: Protect your eyes from any unexpected splashes or spray.
Once you’re geared up, give the hull a good pre-rinse with a hose. This quick spray knocks off loose dirt, sand, and surface grime. You definitely don’t want to be grinding those gritty particles into your gelcoat as you wipe, which can create tiny scratches and dull your boat's finish.
Step 2: Master the Application Technique
Now for the fun part. The best modern on and off hull cleaners are designed to be incredibly straightforward: spray it on, let it sit, and wipe it off. Gone are the days of scrubbing until your arms fall off. The formula does the heavy lifting for you.
I always recommend working in small, manageable sections—think 3-4 feet at a time. This keeps the cleaner from drying out before you can work it in. Give the area a liberal spray, making sure you get even coverage, especially on problem spots like the waterline, exhaust ports, and that notorious brown "hull mustache" on the bow.
Here's the most important tip I can give you: let the cleaner dwell. Seriously, give it a few minutes to work. The cleaner needs that time to penetrate the grime and chemically break down the stains. If you resist the urge to start wiping immediately, you'll get far better results with way less effort.
After letting it sit, grab a clean microfiber towel or a soft-bristle brush. For light scum and everyday stains, a simple wipe-down is usually all it takes. For stubborn algae or mineral buildup, a little gentle agitation with a soft brush will help break that bond without hurting your gelcoat.
Step 3: Rinse and Inspect Your Work
After you’ve wiped a section, it's time to rinse it thoroughly with clean water. This step is critical for neutralizing the cleaner and washing away every last bit of loosened gunk. If you don't rinse well, you can be left with a residue that dulls the finish and actually attracts more dirt later.
A good power wash after the initial rinse can make the job even easier. If you go that route, check out our guide on how to power wash your boat safely for some pro tips.
Once the final rinse is done, step back and give it a good look. Check the hull from a few different angles to catch any spots you might have missed. If you find a stubborn area, no big deal—just repeat the process on that specific spot. This methodical approach is the key to getting that flawless finish across the whole hull.
How To Tackle The Toughest Hull Stains
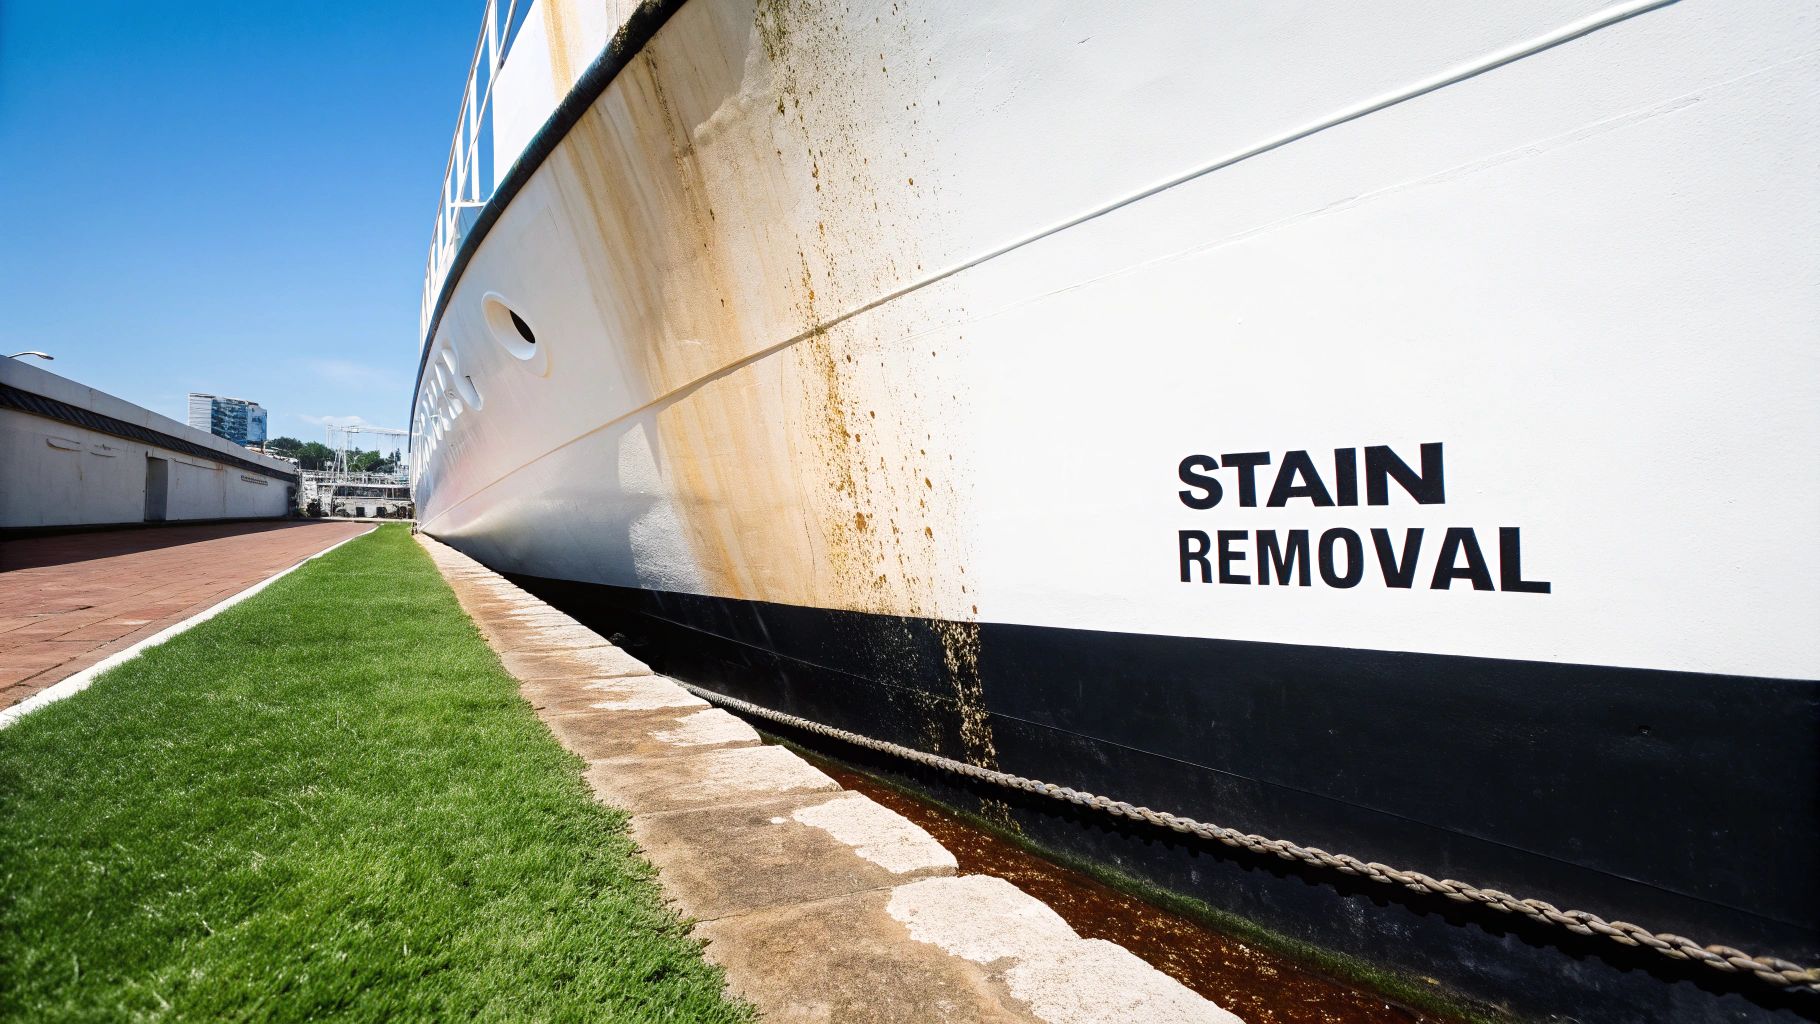
Sometimes, your standard wash just won't cut it. You've scrubbed and sprayed, but some stubborn marks just refuse to leave. This is when you need to switch up your strategy and bring out specialized tools for the most annoying stains that show up on a boat hull.
We're talking about everything from that ugly yellowing at the waterline to those crusty mineral spots that kill your boat’s shine. Let's walk through how to attack each one. Knowing how to match the right product and technique to the right stain is what makes a hull look brand new again.
Battling Water Spots and Mineral Buildup
Water spots are the ghosts of every trip you've taken. Each drop of water that evaporates on your hull leaves behind a tiny ring of minerals. Over a season, these can build into a hazy, dull layer that seems impossible to wipe away, especially after being baked on by the sun.
This is a classic case where elbow grease isn't the answer. Your everyday soap isn't going to break down these mineral deposits. You need a cleaner designed to do just that without damaging your gelcoat.
For those spots that won’t budge, a dedicated product like Boat Juice Extreme Water Spot Remover is your best friend. It’s formulated specifically to dissolve the calcium and magnesium that create those ugly spots. The process is simple: spray it directly on the problem area, give it a moment to work, and then wipe it off with a fresh microfiber towel.
Real-World Tip: For really baked-on mineral deposits, it helps to understand the chemistry. Learning how to remove hard water stains on other surfaces, like glass, can give you a better sense of how these specialized cleaners work to break down mineral bonds.
Erasing Yellowing and Scum Lines
Ah, the "hull mustache"—that yellowish-brown stain right at the waterline. It's caused by a mix of minerals and organic gunk from the water. An effective on and off hull cleaner is the perfect weapon for this fight, especially one with a mild acid base like oxalic acid.
When you apply an acid-based cleaner to the stain, just let it sit. You’ll literally see the yellowing start to dissolve and drip away. The cleaner does the heavy lifting by lifting the stain right out of the gelcoat's pores.
- For Mildew: Those little black or gray specks in damp spots are mildew. A targeted mildew stain remover is what you need. It not only removes the stain but also kills the spores to keep it from coming right back.
- For Light Oxidation: Does your hull look a bit chalky or dull? That's light oxidation. The fix is a good cleaner-wax or a light polishing compound. These products gently buff away that dead top layer of gelcoat and bring back the deep gloss underneath.
Figuring out what kind of stain you're up against is half the battle. You can dive deeper into getting rid of specific marks by checking out our complete guide on the best water spot remover for boats.
Protect Your Hull for a Lasting Shine
You’ve put in the work to get every last bit of grime off your hull. It's gleaming, spotless, and looks incredible. But stopping now would be a huge mistake—it’s only half the job.
A deep cleaning opens up the pores of your boat's gelcoat. If you leave it like that, those pores are an open invitation for new stains, scum, and algae to move right back in.
Applying a good protectant is the crucial final step that makes all your hard work last. It’s like waxing your car after a wash. It’s the difference between having a clean boat for a day and a protected boat that stays looking sharp for weeks.
Choosing Your Shield Against Grime
When it comes to protecting your hull, you have a couple of solid options. The goal is always the same: create a super-slick barrier that seals the gelcoat so water, scum, and dirt just slide right off.
Your main choices usually boil down to these two:
- Traditional Waxes: Think of classic paste waxes. They give you a deep, rich gloss and fantastic protection. The trade-off? They take more elbow grease to apply and buff off, but the results can be really durable.
- Modern Ceramic Sprays: These are the new kids on the block, and they're incredibly easy to use. These polymer-based formulas offer amazing hydrophobic (water-repelling) properties and strong UV protection with a simple spray-on, wipe-off application.
For most of us who'd rather be on the water than detailing the boat, a modern spray protectant is a game-changer. You get almost all the benefits of a traditional wax in a fraction of the time.
A freshly cleaned and unprotected hull is like a magnet for new stains. Applying a quality protectant seals the gelcoat, creating a hydrophobic barrier that repels water and grime, making your next cleanup dramatically faster and easier.
Making Protection Effortless
Here’s the best part about using a modern spray sealant: it’s ridiculously simple.
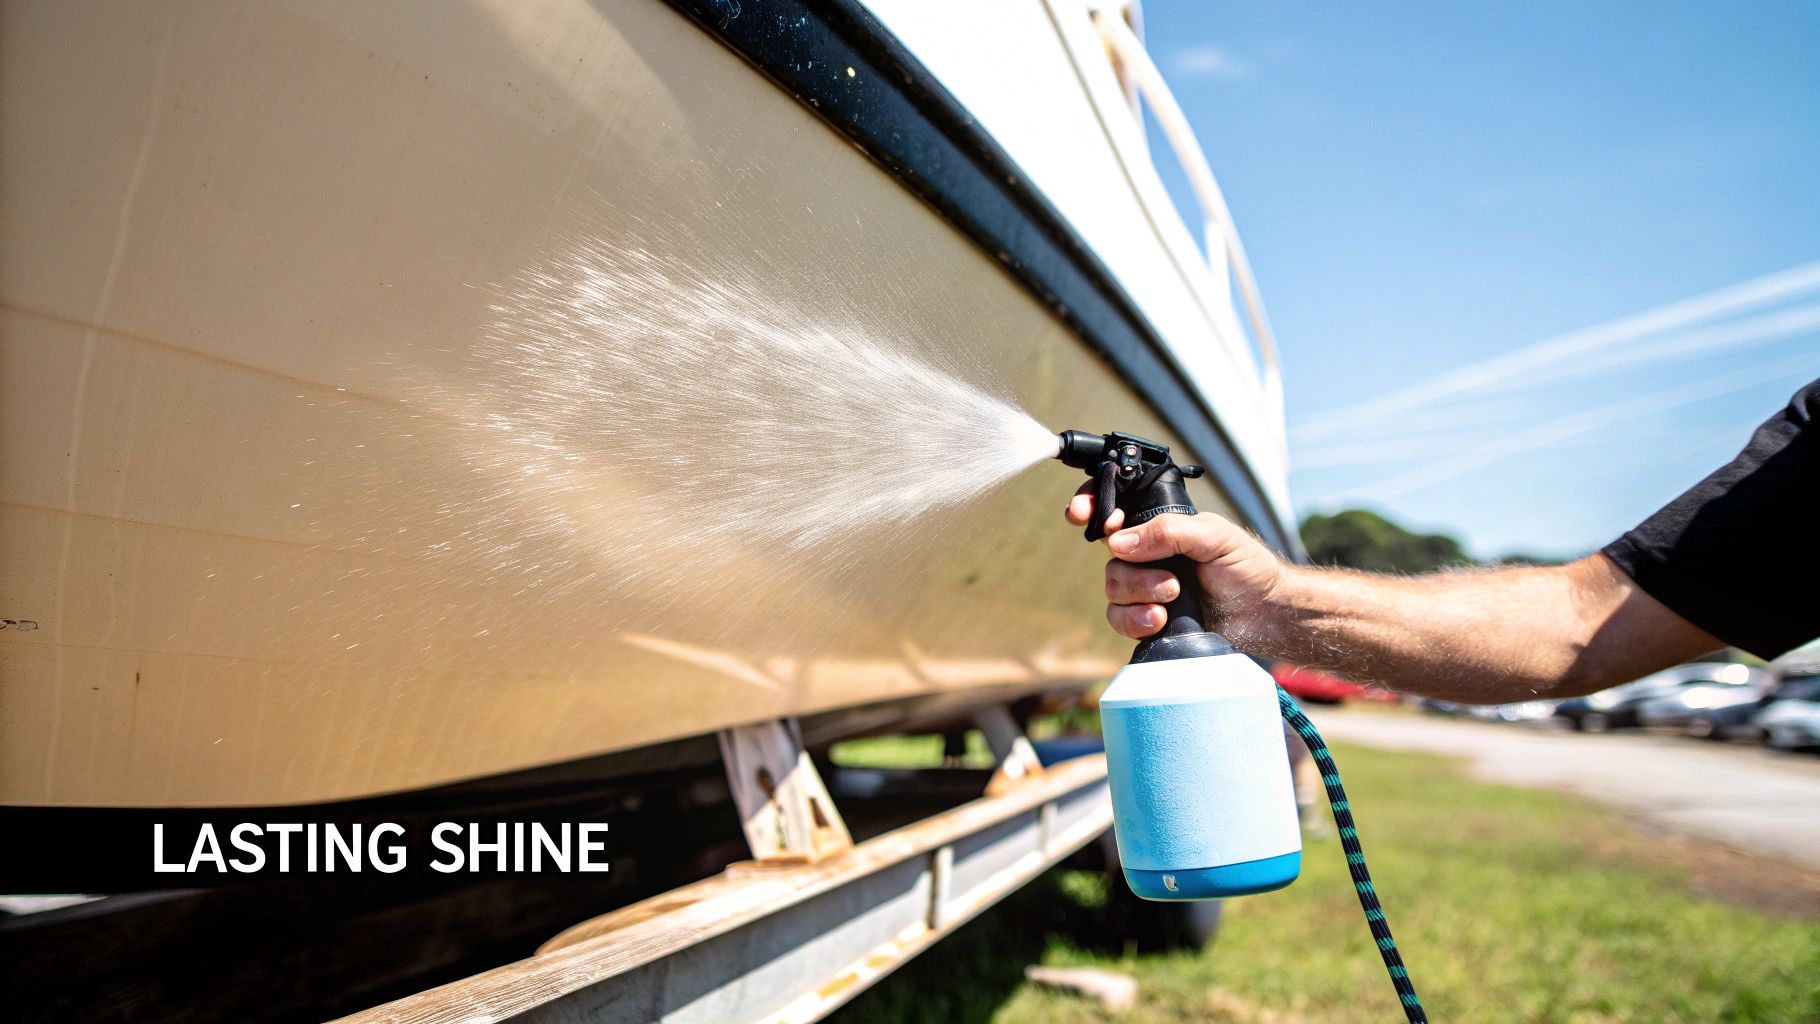
After you’ve done your final rinse and the hull is either dry or just slightly damp, you’re ready to go. Grab a product like Boat Juice Protection and lightly mist it onto a small section of the hull.
Work in manageable 3-4 foot sections. Spray it on, then take a clean microfiber towel and wipe it evenly across the surface. Immediately flip the towel over to a dry side and give it a quick buff until you see a brilliant, streak-free shine. That’s it. The formula bonds instantly, creating that slick, protective layer you’re after.
This barrier does way more than just look good. It gives you critical UV protection to fight the fading and chalking the sun hammers your gelcoat all season. But the real win is the water-beading effect—scum and water spots can’t get a grip, which means your next wipe-down will be a breeze.
Got Questions About Cleaning Your Boat Hull? Let's Dive In.
You've got the cleaner, you've got the boat... now what? It's normal to have a few questions before you get started. Getting the right answers can be the difference between a frustrating afternoon and a job well done, so let's clear up some of the most common things people ask.
How Often Should I Actually Be Cleaning My Hull?
This really comes down to where you keep your boat and how often you use it. Staying on top of the grime is way easier than battling a season's worth of buildup.
- If your boat lives on a trailer: Give it a quick wipe-down after every trip. A simple spray and wipe with a gentle cleaner stops that nasty scum line and water spots from baking on in the sun.
- If your boat stays in a slip: You’ll want to tackle the hull with a light cleaning every 2-4 weeks. This is crucial for stopping marine growth before it really takes hold, saving you from a monster scrubbing session later.
- For every boat owner: Make a deep clean part of your routine twice a year. Give it a thorough cleaning with a dedicated on and off hull cleaner once at spring prep and again before you winterize it.
Can I Just Use Bleach or a Household Cleaner?
I get the temptation, but please don't do it. Grabbing a bottle of all-purpose cleaner from under the sink can do serious, irreversible damage.
Most of those products are packed with harsh chemicals like ammonia or bleach that are brutal on your boat's gelcoat. They’ll strip off any wax or sealant you’ve applied, leaving the finish vulnerable to UV damage and oxidation. Even worse, the runoff is incredibly toxic to fish and aquatic plants. Always stick with products made specifically for boats.
What If I’ve Scrubbed and It’s Still Not Clean?
Hey, it happens. Sometimes, especially with an older boat or one that's sat in the water for a long time, you hit a point where elbow grease isn't cutting it anymore. Don't be afraid to call in the pros.
There's a reason the market for professional underwater hull cleaning is projected to hit $2,089 million by 2031. It’s not just for mega-yachts. A professional cleaning can increase a boat's speed by 5-8 knots and reduce emissions by up to 25%! You can read more about the impact of professional hull maintenance if you're curious. Think of it as hitting the reset button, giving you a perfect canvas to maintain.
Ready to make your hull maintenance routine faster and way more effective? The Boat Juice Triple Threat Exterior Bundle gives you everything you need to clean, decontaminate, and protect your hull for a shine that lasts all season.