


· By Boat Juice Team
How to Clean Your Vinyl Boat Seats and Keep Them Looking New
Let's cut to the chase: the secret to cleaning vinyl boat seats isn't some complicated marine industry trick. It’s all about using a gentle, pH-balanced marine cleaner with a soft brush for routine messes and having a dedicated mildew remover ready for the tough stuff. But the real key is consistency. A quick wipe-down after each trip is what stops grime from baking in, adding years to your upholstery and keeping it looking sharp all season long.
Why Cleaning Your Vinyl Boat Seats Is a Must-Do
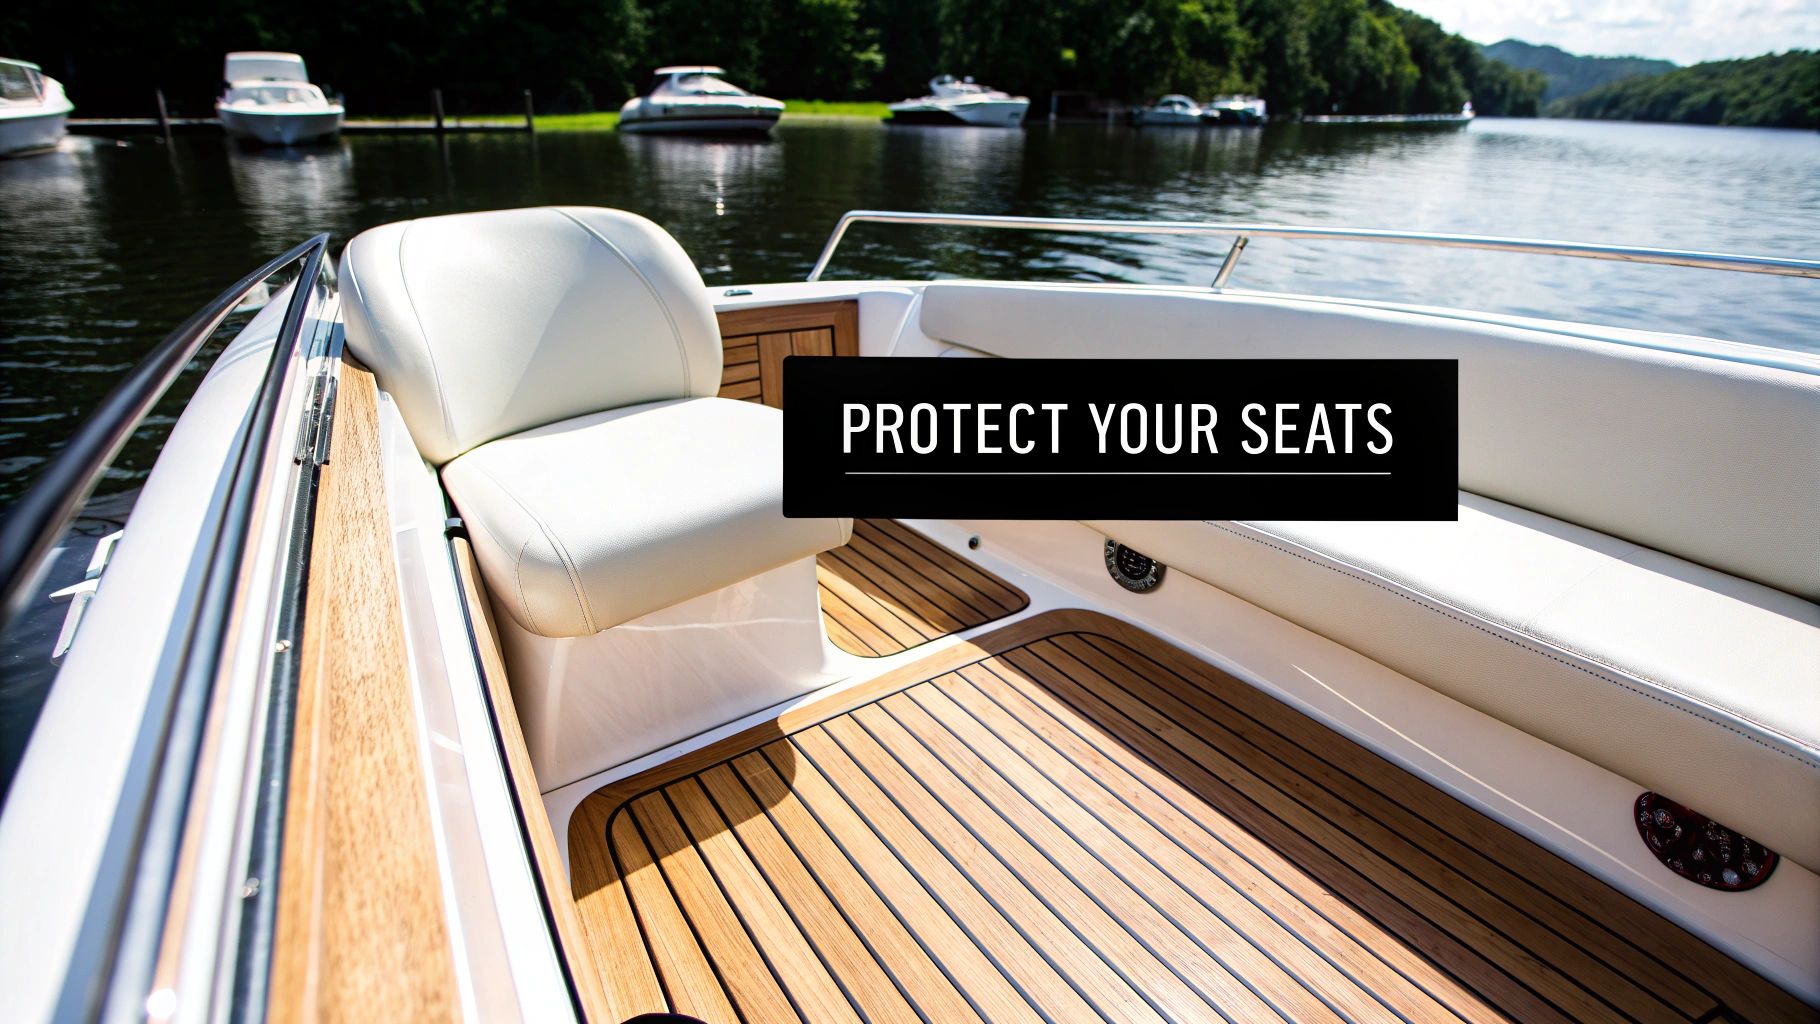
Think of your boat's vinyl seats as your front-row ticket to a perfect day on the water. Just like your engine, they need regular attention to perform their best. This isn't just about looking good at the dock; it’s about actively protecting your investment from the elements that are constantly trying to break it down.
Every time you head out, your seats are under attack. The combination of intense sun, salt spray, and everyday grime is a triple threat, working together to degrade your upholstery. If you let it go, you'll end up with costly cracks, stubborn discoloration, and a boat that looks much older than it really is.
The Hidden Enemies of Your Boat's Interior
It’s easy to miss the slow-motion damage that happens over a single boating season. To understand why cleaning matters, you need to know what you're really up against:
- UV Radiation: The sun is absolutely relentless. Its rays break down the plasticizers that keep vinyl soft and flexible. Over time, this exposure makes the material brittle and prone to cracking while bleaching out its original, vibrant color.
- Moisture and Mildew: Your boat is a damp environment—it’s just a fact. Damp towels, wet swimsuits, and evening dew create the perfect breeding ground for mold and mildew. These unwelcome guests leave behind ugly black or pink stains that are a nightmare to remove if they get a foothold.
- Grime and Spills: Sunscreen, food crumbs, spilled drinks, and natural body oils create a sticky film on your seats. Once the sun bakes that gunk in, it not only looks terrible but can permanently stain and even eat away at the vinyl’s protective topcoat.
Ever seen a sunscreen handprint left on a seat all summer? That oily residue bakes deep into the vinyl, attracting dirt and leaving a permanent yellow smudge that no amount of scrubbing will ever fix. This happens because the oils in the lotion degrade the vinyl's surface, making it porous and susceptible to staining.
Pro Tip: Don't underestimate the power of a simple routine. A five-minute wipe-down after each trip can prevent up to 90% of tough stains from ever setting in. That’ll save you hours of deep scrubbing later on.
Protecting Your Investment Saves You Time and Money
Taking care of your vinyl is one of the smartest, most cost-effective things you can do as a boat owner. Neglecting it often leads to an expensive reupholstery job that can easily run into thousands of dollars. A simple cleaning habit, on the other hand, costs next to nothing but pays you back in spades.
Here’s a startling fact: without regular cleaning, constant exposure to sun and saltwater can slash the lifespan of your marine vinyl by a staggering 30–60%. Why? UV rays destroy the protective topcoat, while tiny salt crystals get into the pores, drawing out moisture and accelerating cracking and decay. You can learn more about how to protect your boat upholstery and get the most out of your investment.
When you learn how to clean your boat’s vinyl the right way, you’re doing more than just tidying up—you’re actively preserving your boat's value and ensuring it’s always ready for your next adventure.
Gathering Your Boat Seat Cleaning Toolkit
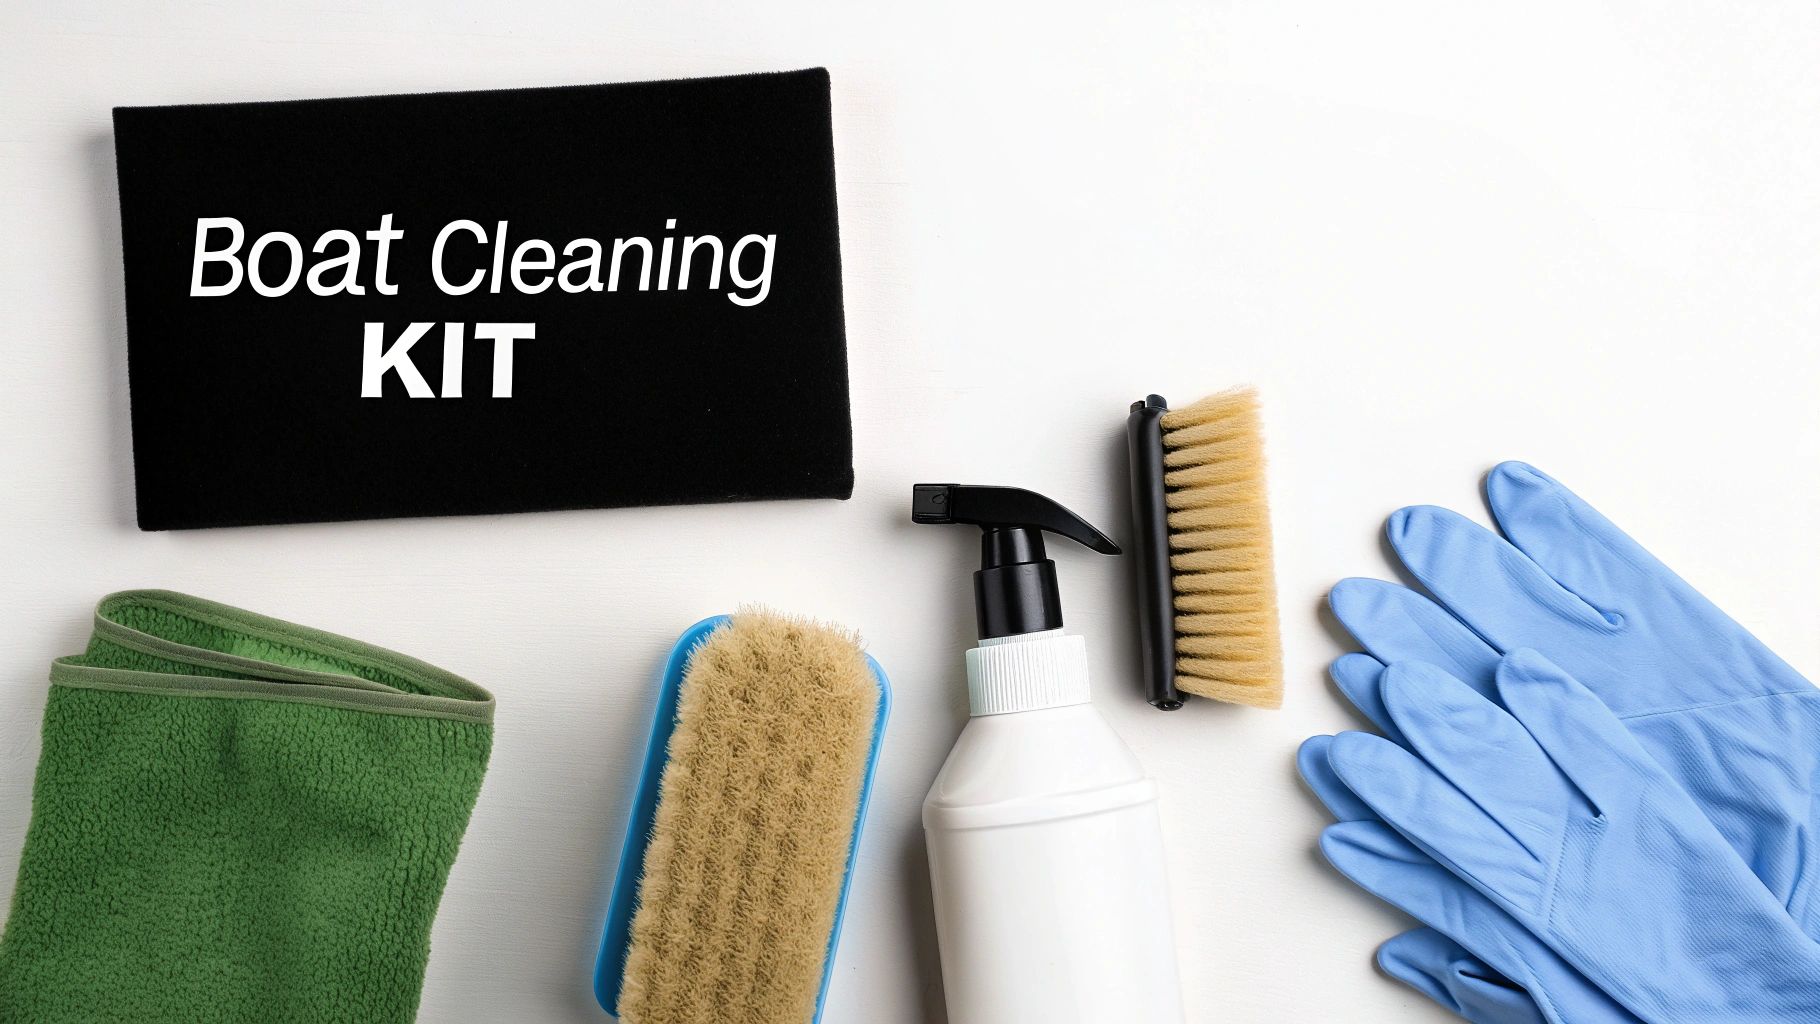
Before you can even think about scrubbing, you need to arm yourself with the right gear. Showing up to the fight with the wrong tools is a recipe for frustration and, even worse, potential damage to your vinyl.
Trying to save a few bucks by using abrasive kitchen sponges or harsh household cleaners is a classic mistake. It might seem like it's working at first, but those shortcuts create tiny scratches and strip away the vinyl's protective oils, leading to faded, cracked seats down the road. Let's build a proper toolkit so you can get a perfect, safe clean every single time.
Why the Right Cleaner Makes All the Difference
This is the single most important choice you'll make. Grabbing a generic all-purpose cleaner from under the kitchen sink can be catastrophic for your boat's interior. Many of these products contain aggressive chemicals like ammonia or bleach that are absolute vinyl-killers, drying out the material and making it brittle and prone to cracking.
You need a cleaner that's actually made for marine vinyl. A pH-balanced, non-caustic formula is what you're looking for—something tough on sunscreen, salt spray, and mildew but gentle on your seats and stitching. It works by breaking down oils and dirt chemically, rather than just relying on harsh scrubbing.
For a cleaner that just flat-out works, we always recommend Boat Juice Interior Cleaner. It's engineered to break down all that typical boat grime without harming the vinyl's finish. Plus, it leaves behind a great scent instead of a chemical smell, making the job more pleasant.
Your Essential Vinyl Cleaning Toolkit
Getting your supplies in order is half the battle. This simple kit will cover everything from quick wipe-downs to serious deep cleans, so you're ready for anything.
| Tool | Why You Need It | Pro Tip |
|---|---|---|
| Soft-Bristle Brush | It's your secret weapon for getting into the vinyl's texture to lift dirt and sunscreen residue without causing scratches. | An old, soft-bristled toothbrush is perfect for getting into tight seams and around hardware. |
| Microfiber Towels | Ditch the old t-shirts. Microfiber's tiny fibers trap dirt and soak up water like nothing else, preventing streaks. | Designate specific towels for cleaning and others for drying/protecting to avoid cross-contamination. |
| Two Buckets | This is a simple trick the pros use. One bucket holds your cleaning solution, the other holds clean rinse water for your brush. | Using a two-bucket method prevents you from just smearing dirty water back onto the seats you're trying to clean. |
With these items in hand, you're not just cleaning your seats—you're preserving your investment.
If you want to dive deeper into building the ultimate boat care arsenal, take a look at our complete guide on the best boat cleaning products. Getting your kit right is the first real step to keeping your vinyl looking brand new for years to come.
The Five Minute Post-Trip Wipe-Down: Your Most Powerful Habit
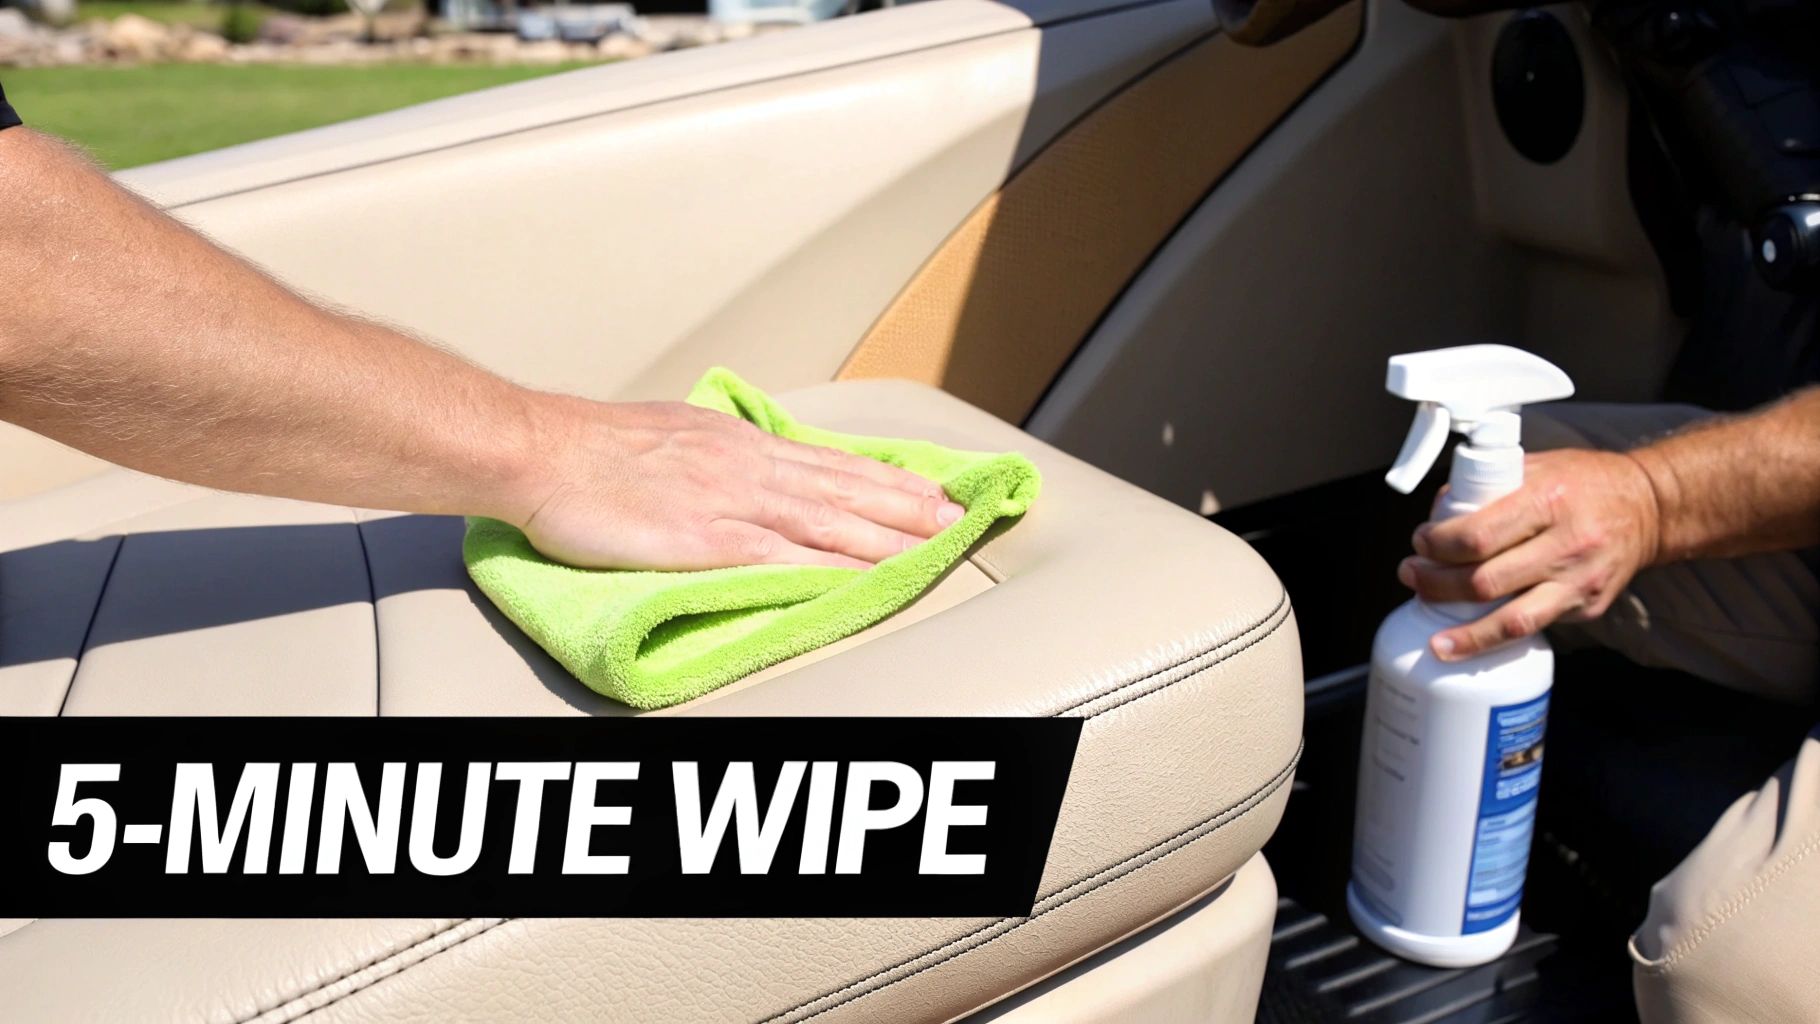
If you want to know the biggest secret to keeping your vinyl boat seats looking brand new, it isn’t spending a whole Saturday scrubbing them. It’s a simple, powerful habit you can build right into your end-of-day routine. This quick, five-minute wipe-down is the single most effective thing you can do to stop stubborn, baked-in stains in their tracks.
Think about it. Every time you're out on the water, your seats collect a whole cocktail of grime. Sunscreen, sweat, spilled drinks, and lake water all settle onto the vinyl. As soon as you dock the boat and walk away, the sun gets to work, baking all that gunk deep into the vinyl's pores.
This is where the magic happens. By quickly getting rid of this fresh grime before it has a chance to set, you’re not just cleaning—you’re doing preventative maintenance that will save you a ton of time and elbow grease down the road.
Why This Habit is a Game-Changer
Look, marine-grade vinyl is tough, but it's not invincible. The plasticizers that keep it soft and flexible can be broken down by the oils in sunscreen and other chemicals. When you leave that stuff to sit under the hot sun, it’s like putting a magnifying glass on your seats, accelerating UV damage and causing permanent yellowing or discoloration.
You’re essentially stopping stains before they’re even born. A quick wipe removes the fuel—sunscreen, salt, and spills—that feeds bigger problems like mildew growth and vinyl degradation. This simple action can prevent up to 90% of tough stains from ever forming.
This isn’t about a deep, detailed clean. It’s a rapid-response mission. Your only goal is to neutralize the day's mess and get the main contaminants off the surface before they can cause lasting harm.
Your Simple Wipe-Down Process
Making this a habit is easy because it takes almost no gear or effort. Just keep a spray bottle of a good interior cleaner and a couple of clean microfiber towels in a boat compartment so they’re always ready to go.
Here's an actionable routine you can get done in less time than it takes to haul your gear to the car:
-
Grab Your Gear: All you need is your spray cleaner and a dry microfiber towel. An all-in-one cleaner like Boat Juice Interior is perfect for this. It’s pH-balanced and safe for daily use, so it cuts through fresh grime without stripping any protective coatings.
-
Mist and Wipe High-Traffic Areas: Lightly mist one section of a seat at a time. No need to soak the vinyl. Just focus your efforts on the "hot zones" where people sit and touch the most.
-
Use a Clean Microfiber Towel: With a clean, dry microfiber, wipe the sprayed area using gentle, overlapping strokes. The microfiber will lift and trap the dirt and sunscreen instead of just smearing it around.
Targeting the Hot Zones
You don’t have to scrub every square inch of your boat’s interior after every single trip. To make this five-minute routine incredibly efficient, just hit the areas that see the most action. These are the spots where grime builds up the fastest.
- The Captain's Chair: This seat gets constant use, especially the armrests and headrest where oils and sunscreen love to accumulate.
- The Rear Lounge or Sun Pad: This is ground zero for sunscreen smudges, wet towels, and the inevitable spilled drink.
- Swim Platform Cushions: They get drenched with lake water, salt, and foot traffic—a perfect breeding ground for mildew.
- Seat-Back Grab Handles: Everyone touches these, transferring lotions, oils, and dirt directly onto the vinyl.
By consistently doing this quick wipe-down, you’ll turn a dreaded chore into a simple, satisfying part of your boating ritual. You'll be amazed at how this small investment of time keeps your seats looking pristine all season long, making those monthly deep cleans far less intimidating.
How to Tackle Tough Stains, Mildew, and Grime

Even if you’re a stickler for the post-trip wipe-down, some stains just happen. It’s part of owning a boat. A dropped wrench leaves a grease mark, a damp life jacket gets forgotten under a cushion, or you find a mystery smudge that definitely wasn't there last weekend. When that happens, it's time to go beyond the quick wipe and bring out the big guns.
Don't sweat it—this doesn't mean you've failed at boat maintenance. It just means it's time for a proper deep clean. The trick is knowing how to knock out these tough spots without causing any collateral damage to your beautiful vinyl.
Getting Rid of Ground-In Dirt and Grime
Let’s start with the most common culprit: that deep-set dirt that works its way into the very texture of the vinyl. You’ll see it as a dingy, shadowy look on your seats, especially in the high-traffic spots. A simple spray-and-wipe just won't cut it here.
This is where your soft-bristle brush becomes your best friend.
- Grab a quality interior cleaner, like Boat Juice Interior, and spray it directly onto the grimy area. Let it sit for 30-60 seconds to penetrate and start breaking down the dirt. This dwell time is key.
- Now, use your soft brush to gently agitate the area. Small, circular motions are perfect for lifting the grime out of the vinyl's grain without scratching the surface.
- Wipe everything clean with a fresh microfiber towel. You'll lift away the cleaner and all that loosened gunk, and you should see a pretty dramatic difference right away.
Banishing Nasty Mildew Stains
Ah, mildew. The nemesis of every boat owner. Those ugly black or gray spots are a dead giveaway that moisture has settled in and made itself at home. Trying to scrub these away with a regular cleaner is usually a losing battle because you're only cleaning the surface, not getting to the root of the stain.
This is a crucial point: using the right product is non-negotiable. Household bleach might seem like a quick fix, but it's one of the most destructive things you can put on your vinyl. Bleach will eat away at the stitching, dry out the material, and cause it to become brittle and crack way before its time.
For mildew, you need a targeted solution. A dedicated product like Boat Juice Mildew Stain Remover is engineered to break down organic stains like mold and mildew without the harsh, damaging effects of bleach. Its formula works by penetrating the vinyl to lift the stain from within, rather than just bleaching the surface.
The process couldn't be simpler:
- Apply and Wait: Spray the Mildew Stain Remover right on the affected spots. Don't be shy with it. The most important part is to let it sit and work its magic—give it at least a few minutes to really penetrate the stain.
- Gentle Agitation: If the stains are being particularly stubborn, you can lightly agitate the area with your soft-bristle brush. This just helps the cleaner work its way even deeper.
- Wipe and Rinse: Once you see the stain vanishing, wipe the area clean with a damp microfiber towel. It's really important to rinse the area well with fresh water afterward to neutralize the cleaner and get rid of any residue.
For a deeper dive into this all-too-common problem, check out our complete guide on how to remove mildew from boat seats.
Defeating the Dreaded Pink Stain
If you have white or light-colored seats, you might one day face one of the most frustrating problems in the marine world: pink staining. This isn't a dye transfer or a simple spill—it's actually caused by bacteria that create a pigmented byproduct.
These notorious 'pinking' spots are caused by bacteria thriving in the moist pores of your vinyl. It’s a huge headache, affecting up to 40% of white or light-colored seats in humid areas, and each untreated patch can spread across 6-7 square inches.
Because the stain is living inside the vinyl, it's incredibly tough to remove. But the good news is that the same targeted approach you use for mildew can be surprisingly effective here. The active ingredients in a quality mildew remover can often break down the bacteria causing the pinking, lifting the color right out of the vinyl. Following the same apply, wait, and rinse process can often dramatically reduce or even completely eliminate these frustrating blemishes.
Rinsing, Drying, and Protecting Your Vinyl
Alright, you’ve put in the elbow grease and your seats are looking spotless. But don't crack open a cold one just yet. This next part is arguably the most important, as it locks in all that hard work and saves you from doing it all over again next weekend.
Skipping these final steps is a classic rookie mistake. It's like waxing your car but not buffing it off—you've done most of the work, but you're not getting the real benefit and might even be making things worse.
Why You Can't Skip the Rinse
After a good scrub, your seats are covered in loosened grime and cleaning solution. If you let that stuff dry, you'll end up with a sticky, dull film that’s practically a magnet for new dirt. It’s the reason seats can look grimy again just a few days after you’ve cleaned them.
Grab a hose with a gentle spray nozzle or a bucket of fresh water and give everything a thorough rinse. Really focus on the nooks and crannies—the seams, piping, and stitching are where soap loves to hide. As you rinse, wipe everything down with a clean, damp microfiber to ensure all residue is gone.
Dry It Like You Mean It
Letting your seats air-dry is tempting, but it can cause more harm than good. Water droplets leave behind mineral spots that dull the vinyl's finish, and any moisture left pooling in the seams is just asking for mildew to move back in.
Take a fresh, completely dry microfiber towel and wipe down every inch of the vinyl. Microfiber is your best friend here because it’s super absorbent and won't leave lint behind. This doesn't just prevent water spots; it gets the surface perfectly prepped for a protective coating.
Pro Tip: Never, ever throw the cover back on your boat right after cleaning. Let the seats breathe for at least an hour in the shade to make sure everything is bone-dry. Trapping even a tiny bit of moisture under a boat cover is like building a greenhouse for mildew.
Lock It In With a Protective Barrier
Now that your vinyl is perfectly clean and dry, it's time to give it some armor. Applying a quality UV protectant is like putting sunscreen on your seats. It shields the vinyl from the sun’s harsh rays, which are the number one cause of cracking, fading, and that chalky, worn-out look.
A marine-specific product like Boat Juice Protection Spray is perfect for this. It not only blocks UV rays but also leaves behind a water-repellent, anti-static barrier. That means water will bead right off, and dust and dirt will have a harder time sticking, making your next cleanup a breeze.
Here’s the best way to apply it:
- Lightly mist the protectant onto a small section of the vinyl.
- Work it in immediately with a clean, dry microfiber towel using even, overlapping passes.
- Flip the towel to a fresh side and give the area a quick buff to pick up any excess.
This leaves you with a clean, non-greasy satin finish that isn't slippery. When it comes to long-term care, understanding effective vinyl protection strategies is a game-changer. And if you're still weighing your options, check out our guide on finding the best marine vinyl cleaner and protectant combo.
This kind of routine maintenance really pays off. A monthly application of a good pH-balanced cleaner and a protectant can extend the life of your vinyl by up to 50%. By making protection part of your routine, you’re not just cleaning your boat—you’re investing in its future.
Your Top Boat Seat Cleaning Questions, Answered
Alright, so you’ve done the cleaning, but a few questions are probably still bouncing around in your head. Don't worry, that's completely normal. We get asked all the time about the little details of vinyl care—from what not to use to how to handle those really specific, tricky situations.
This is your go-to spot for those "what if" moments. Every answer here comes from years of hands-on experience, so you can make the right call and keep your seats looking brand new.
What Household Products Are a Definite "No" for My Vinyl Seats?
This is probably the most critical question, because grabbing the wrong bottle from under the sink can cause some serious, irreversible damage. It’s tempting, but many household cleaners are the sworn enemy of marine vinyl.
Here are the top offenders you need to keep far, far away from your boat's interior:
- Bleach: Sure, it nukes mildew, but straight bleach is way too harsh. It will literally eat away at the threads in your stitching, causing your seams to fall apart. It also strips the essential oils right out of the vinyl, leaving it brittle and ready to crack.
- Magic Erasers: I know they seem like magic, but they’re basically a super-fine sandpaper. They work by scratching off the top layer of a surface, which means you're scrubbing away the protective coating on your vinyl. That leads straight to fading, staining, and premature aging.
- Ammonia-Based Cleaners (like Windex): Ammonia is another chemical that just sucks the life out of vinyl, making it hard and inflexible. It’s also notorious for causing weird discoloration, especially on darker seats.
- Abrasive Powders or Scouring Pads: If it feels rough to the touch, don't let it near your seats. Kitchen scouring pads and powdered cleaners will carve thousands of tiny micro-scratches into the vinyl, dulling the finish and creating a perfect trap for future dirt.
The bottom line is simple: stick to products made for marine vinyl. They’re pH-balanced to clean effectively without destroying the very thing that keeps your seats soft and durable.
Can I Just Hit My Seats with a Pressure Washer?
Man, it sounds like a great shortcut, doesn't it? Blasting away a season's worth of grime in seconds. But using a pressure washer on vinyl seats is a massive gamble. The force is often strong enough to peel up decals, shred the stitching right out of the seams, and inject water deep into the foam cushions.
If you are dead-set on trying it, you absolutely must use the lowest possible pressure setting with a wide-angle fan tip. And keep that nozzle at least two to three feet away from the vinyl. Honestly, though, the risk just isn’t worth the reward. A soft brush and a good cleaner will get you there safely.
How Do I Get the Stitching Clean Without Destroying It?
The stitching is usually the first place to show dirt and, unfortunately, the first place to show damage from aggressive cleaning. Those threads are far more delicate than the vinyl itself and will fray or snap if you’re not careful.
Your secret weapon here is a simple, soft-bristled toothbrush. It’s the perfect size for getting into the seams without wrecking the threads.
- Spray your marine interior cleaner right onto the seams.
- Gently brush along the stitch line. Don't go back and forth across the threads; follow their direction.
- Wipe up the gunk you just loosened with a clean, damp microfiber towel.
This gentle touch keeps your seams looking sharp and prevents the kind of damage that leads to split cushions down the road.
How Often Should I Be Applying a UV Protectant?
When it comes to UV protection, consistency is everything. Think of it like sunscreen—you wouldn't put it on once and expect it to last all summer. For most boaters, reapplying a quality UV protectant every 3-4 weeks is a great schedule during the busy season.
Now, if your boat lives outside without a cover in a sun-drenched spot like Florida or Arizona, you'll want to be more vigilant. Bumping that up to every 2-3 weeks is a smart move. It only takes a few minutes but adds years to the life of your vinyl.
Remember, protecting your seats is just one piece of the puzzle, especially when getting ready for the off-season. Part of that prep should always include reviewing a comprehensive boat winterization guide to make sure your entire investment is shielded from the elements.
By now, you should feel ready to tackle any vinyl cleaning challenge that comes your way. The real key is turning these steps into a simple, regular habit. At Boat Juice, we design our products to fit right into that routine, giving you pro-level results without the hassle.
Your next step is to make that 5-minute wipe-down a non-negotiable part of ending your boat day. To make it even easier and more effective, check out our Boat Juice Interior Cleaner and see why it’s the go-to choice for boaters who want to spend more time enjoying the water and less time scrubbing.