


· By Boat Juice Team
How to Clean Vinyl Boat Seats for a Pristine Finish
Welcome aboard! Keeping your boat's vinyl seats looking sharp is easier than you think. It all comes down to a simple, four-part process: inspecting for issues, cleaning with the right products, rinsing and drying thoroughly, and finally, applying a solid UV protectant. Once you get this routine down, you'll be amazed at how new your interior looks all season long.
Your Guide to Keeping Boat Seats Looking New
Let's be honest, dingy and mildew-stained seats are a real bummer. They don't just look bad; they can drag down your boat's value and put a damper on your time out on the water. This guide is for boat owners like you who take pride in their ride. I'm going to skip the technical jargon and give you the straightforward, real-world advice you need to handle everything from a quick wipe-down to those really stubborn stains.
You'll get the "how-to," but more importantly, you'll understand the "why" behind each step. It's all about protecting your investment for years to come by building a simple, effective routine that stops major problems before they even start.
The Value of a Consistent Cleaning Routine
So, why make such a big deal about a regular cleaning schedule? Marine-grade vinyl is built tough, but it's in a constant battle with sun, salt, sunscreen, and moisture. Over time, those elements break down the material, which leads to the cracking, fading, and nasty mildew growth we all want to avoid.
Here's why it matters: regular cleaning can extend the life of your vinyl boat seats by up to 50%. Marine industry experts will tell you that the vinyl on wake boats and pontoons takes the biggest hit from UV exposure and salt buildup. In fact, a 2023 study from the National Marine Manufacturers Association (NMMA) found that a staggering 68% of boat owners saw their seats start cracking after just two or three seasons of neglect. You can read more about these findings on BetterBoat.com.
The best defense is a good offense. A quick wipe-down after each trip prevents sunscreen, salt, and grime from baking into the vinyl, making your deep cleans much, much easier.
A Quick Look at the Process
Before you dive into the details, here's a quick look at the game plan. Think of this table as your cheat sheet for getting—and keeping—your seats in pristine condition.
Quick Guide to Cleaning Your Vinyl Boat Seats
| Phase | Action | Key Tip |
|---|---|---|
| Preparation | Inspect seats for damage and gather your supplies. | Always test a new cleaner on a small, hidden spot first. |
| Cleaning | Apply a dedicated marine vinyl cleaner and gently scrub. | Use a soft-bristle brush to lift dirt from the vinyl's texture. |
| Rinsing & Drying | Thoroughly rinse away all residue with clean water. | Dry completely with a microfiber towel to prevent mildew. |
| Protection | Apply a marine-grade UV protectant spray. | A non-greasy finish is key for comfort and lasting defense. |
This simple roadmap breaks the process down into manageable steps, ensuring you don't miss a beat from start to finish. Now, let's get into the specifics.
Getting Your Boat Cleaning Kit Together
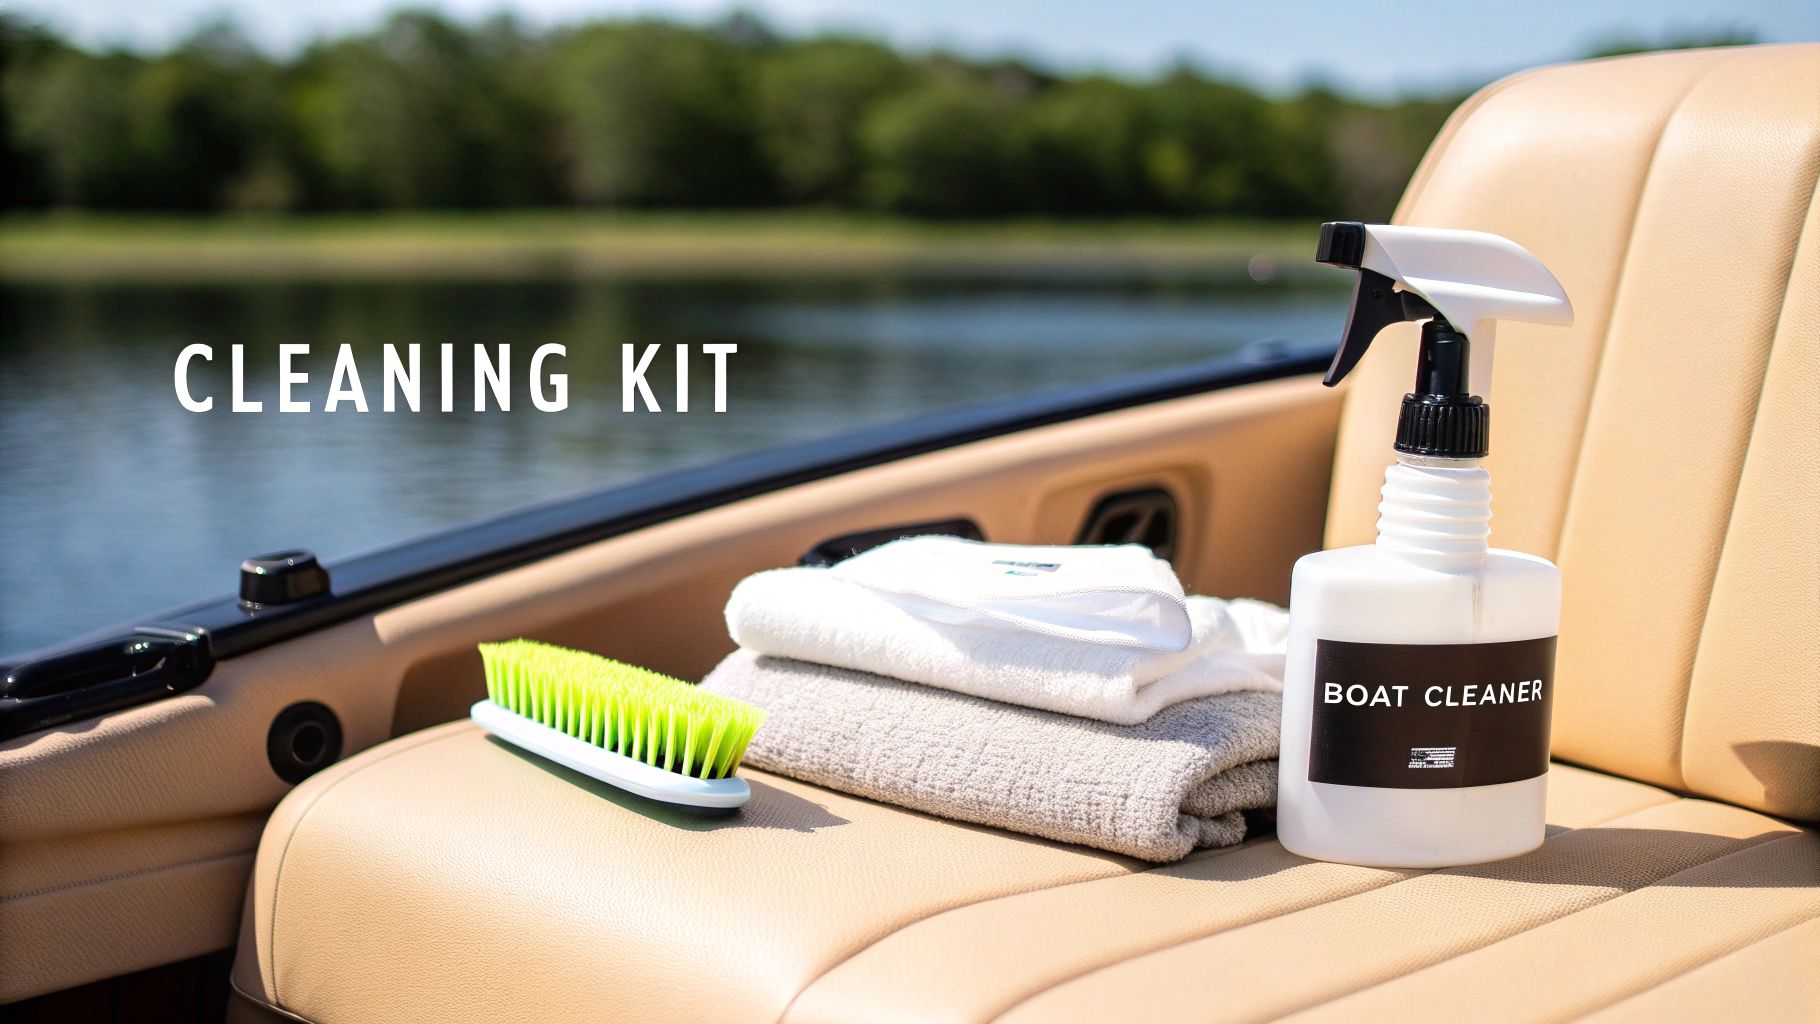
Before you dive in, let’s get your tools lined up. Having everything ready to go makes the job so much easier and ensures you get those seats looking brand new without causing any accidental damage. The goal here is to clean effectively, not create a bigger headache for yourself later.
Think of it like cooking a great meal—proper prep is half the battle. We'll go over the absolute must-haves for your cleaning kit, from the right brushes that lift dirt to the cleaners that won't harm your vinyl.
Your Essential Cleaning Tools
You don't need a professional detailer's entire van for this. A few simple, key items that are proven to work on marine-grade materials will do the trick. The right tools will pull grime out of the tiny pores in your vinyl without scratching or wearing down the surface.
Here's a quick rundown of what to grab:
- Soft-Bristle Brushes: Get a medium-sized one and a small detail brush. The soft bristles are perfect for agitating dirt, sunscreen, and grime without being so aggressive that they scratch the vinyl's topcoat.
- Microfiber Towels: Grab at least three of these. You'll want one for cleaning, one for rinsing, and a fresh one for drying. Microfiber is a game-changer because it’s super absorbent and actually traps dirt instead of just smearing it around.
- Two Buckets: One bucket is for your cleaning solution, and the second should be filled with clean water for rinsing your cloth or brush. This simple step keeps you from putting dirty water right back onto the seats you're trying to clean.
Choosing the Right Cleaner for Your Seats
This is probably the most critical step, and it's where a lot of boat owners go wrong. Reaching for a random household cleaner from under the sink can cause irreversible damage. Many all-purpose cleaners are packed with harsh chemicals, alcohol, or ammonia that strip the essential plasticizers from marine vinyl, leading to premature cracking and fading.
For a quick, routine wipe-down, a simple mixture of mild dish soap and warm water is a safe DIY option. It’s gentle and works well for fresh spills or post-outing dust.
But for a deeper clean to really tackle stubborn sunscreen stains, body oils, and built-up grime, you need something made for the job. A dedicated product like Boat Juice Interior Cleaner is pH-balanced and specifically formulated to break down common boating messes without drying out your vinyl. It’s the smart way to clean while preserving the material’s integrity. If you're weighing your options, you can dive deeper by checking out our guide to the best marine vinyl cleaner.
Crucial Tip: Whatever you do, never use a "magic eraser" on your boat seats. I see this mistake all the time. These pads are essentially fine-grit sandpaper. They will permanently scratch and dull the surface of your vinyl, stripping away the protective top layer and making it even more vulnerable to future stains and sun damage.
Once you have your gentle brushes, microfiber towels, and a vinyl-safe cleaner ready, you’re all set to get started the right way. This simple but effective kit is your ticket to success.
Your Go-To Method for a General Clean
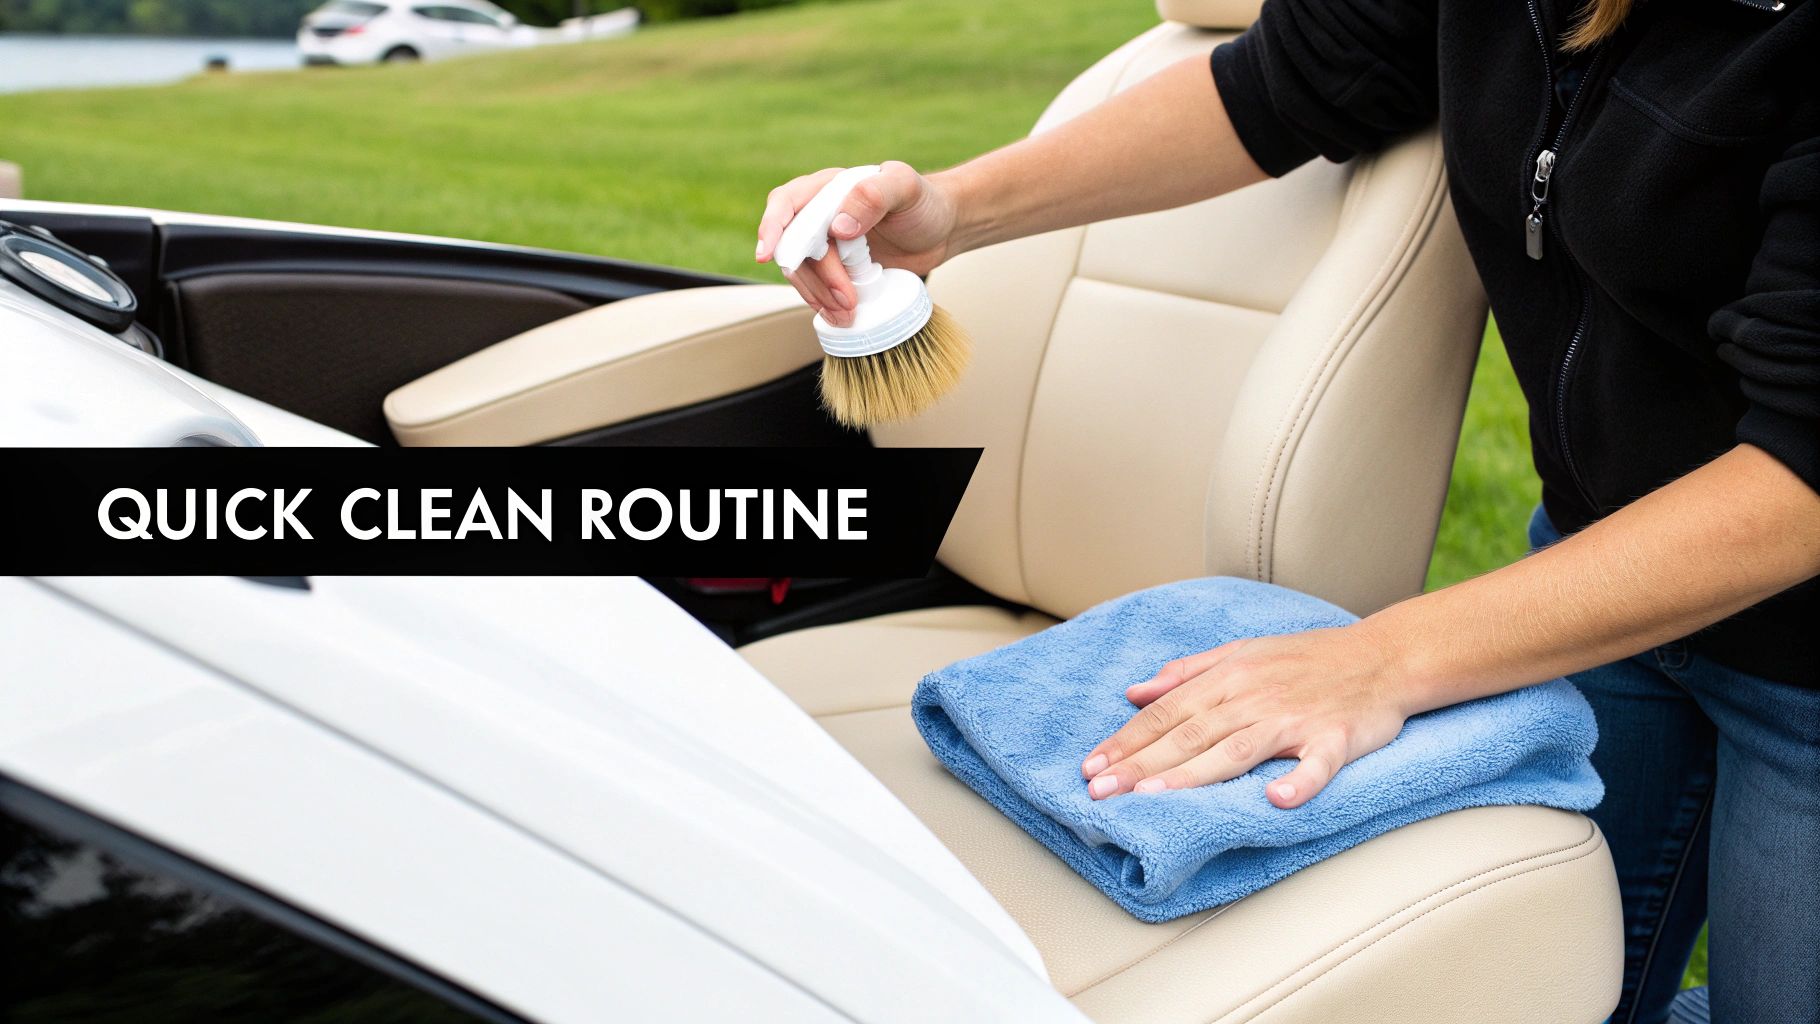
This is the routine that’s going to become your best friend for keeping those seats looking sharp all season long. Honestly, a quick general clean every few trips—or at least once a month when you're out on the water a lot—is the secret to stopping that light layer of grime from becoming a permanent resident.
It's a straightforward process, but it’s more than just a quick wipe-down. The goal here is to lift and remove all the stuff that slowly degrades your vinyl over time. Let’s walk through how to get it done right so you can clean everything thoroughly without causing any harm. This is your foundation for great-looking boat seats.
Start With a Gentle Pre-Rinse
Before you grab a brush, give your seats a quick rinse with fresh water. You can use a hose on a gentle mist setting or just a bucket of clean water and a microfiber cloth. This first step is way more important than most people think.
Why? Your seats are covered in tiny, abrasive bits of grit—salt crystals, sand, and dust. If you jump right into scrubbing, you’re basically grinding those particles into the vinyl like sandpaper. That creates micro-scratches that dull the finish and, ironically, attract even more dirt. A quick rinse whisks them away safely and sets you up for a scratch-free clean.
Apply Your Cleaner the Smart Way
Okay, with the loose debris gone, it’s time for the cleaner. Fight the urge to just soak one spot and start scrubbing like a maniac. You'll get much better results by working in manageable sections, like one seat cushion at a time. This keeps the cleaner from drying out before you've had a chance to work it in.
Spray an even, light coat of a solid marine vinyl cleaner, like Boat Juice Interior Cleaner, over the section. Now, here's the key: let it sit for about 30 to 60 seconds. This "dwell time" gives the cleaning agents a chance to get to work, breaking down sunscreen residue, body oils, and spilled drinks. It means you do less scrubbing and let the product do the heavy lifting.
The most common mistake I see is people not letting the cleaner do its job. Giving it that minute to work its magic loosens grime from deep within the vinyl's texture, making it so much easier to lift away with a brush.
Perfect Your Brushing Technique
Now it’s time to agitate all that loosened grime. Using a soft-bristled brush, gently scrub the surface in small, overlapping circular motions. This technique is super effective because it hits the dirt from every angle of the vinyl’s textured grain without being too aggressive. You don't need a ton of elbow grease; let the bristles and the cleaner do the work for you.
Pay extra attention to the seams and stitching. That’s where dirt and moisture love to hide, and it’s a prime spot for mildew to start later on. Grab a smaller detail brush to get right into those tight spots.
- Circular Motions: This ensures you’re hitting the entire surface, not just pushing dirt back and forth.
- Gentle Pressure: You're not trying to scour the vinyl, just lift what the cleaner has already broken down.
- Focus on Seams: Use a detail brush to carefully clean out all the gunk that collects in the stitching.
This careful agitation is what separates a quick surface wipe from a true, deep clean.
The Critical Rinse and Dry Finish
Once you've scrubbed a section, you have to get the cleaner—and all the dirt it pulled up—off the vinyl. This step is non-negotiable. If you leave cleaning residue behind, it creates a sticky film that actually attracts more dirt and can even damage the vinyl over time.
Wipe the area thoroughly with a clean, damp microfiber towel. Keep a separate bucket of fresh water nearby to rinse your towel often. This prevents you from just smearing dirty cleaner around.
After rinsing, immediately follow up with a fresh, completely dry microfiber towel. Drying your seats thoroughly is the single best way to prevent mildew from ever getting a foothold. Get right into those seams and make sure no moisture is left behind. A dry seat is a happy seat.
How to Tackle Tough Stains and Mildew
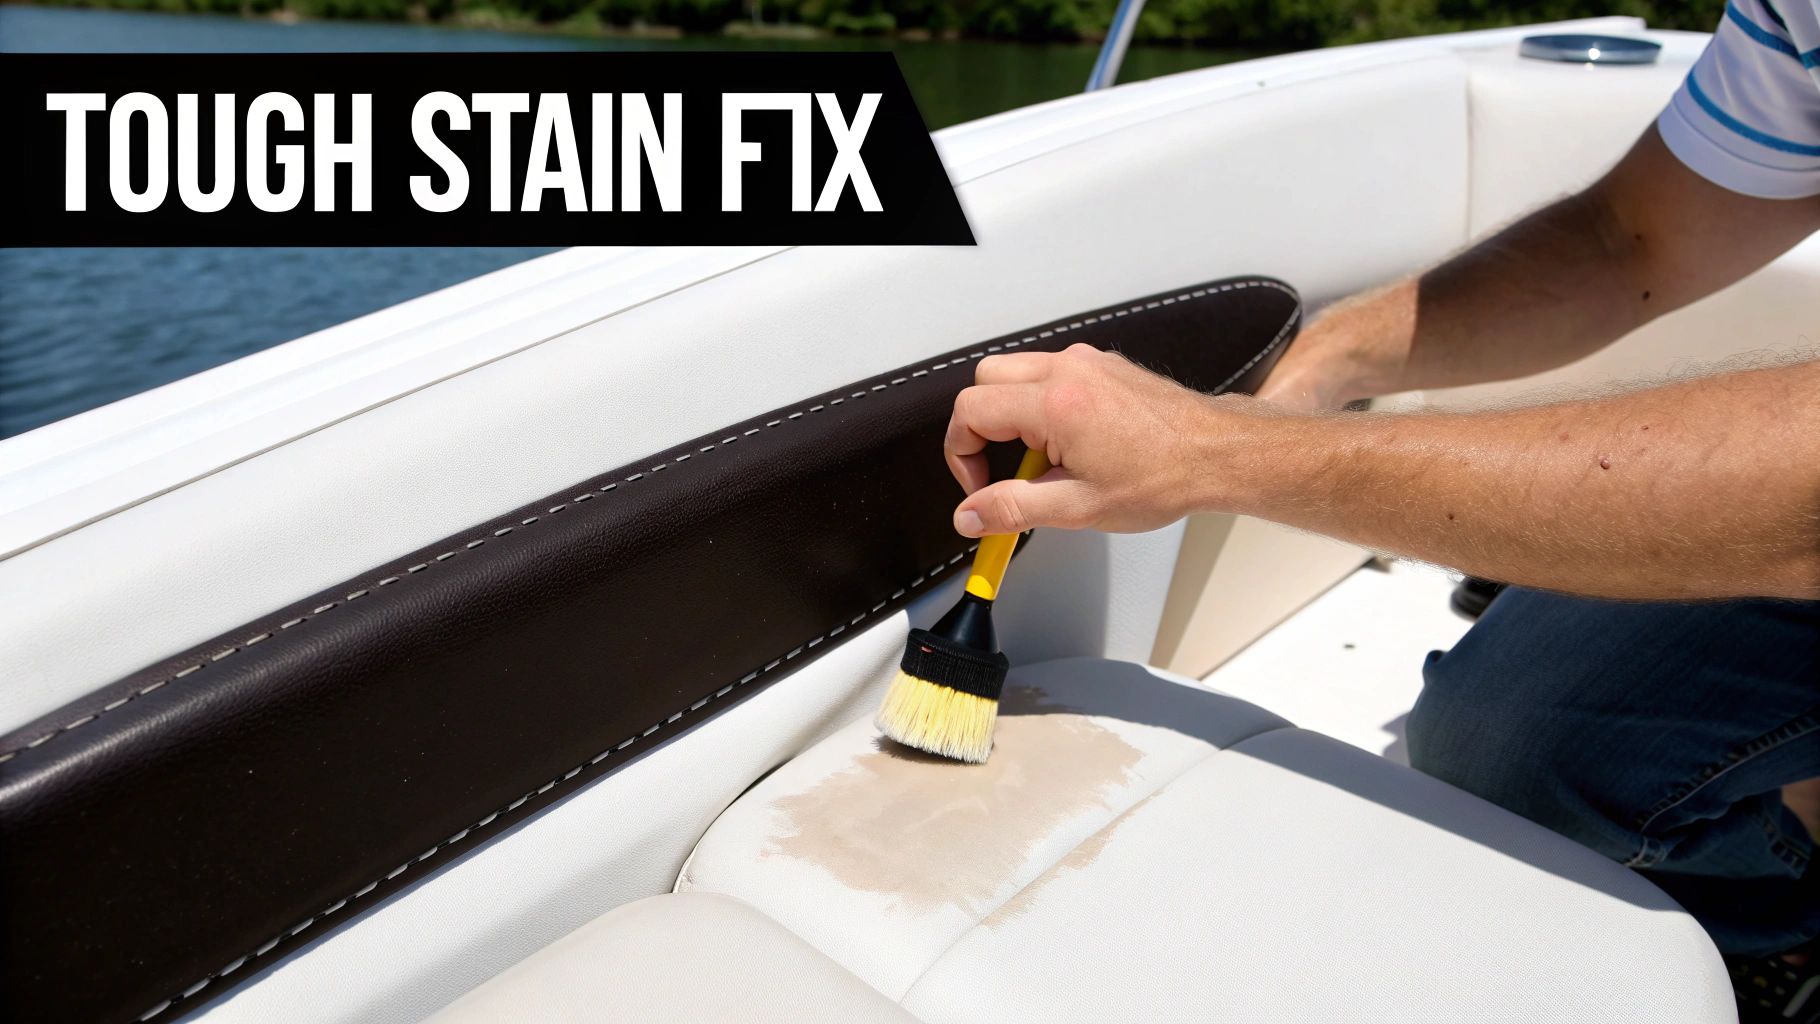
Sometimes, a general clean just won't cut it. You’ve done your routine wipe-down, but you’re still staring at stubborn sunscreen smudges, a mysterious ink mark, or those dreaded black mildew spots. Don't sweat it—this is just part of owning a boat.
Every seasoned boater has a story about a tough stain. The secret isn't avoiding them; it's having a game plan for when they show up. Using the right product and technique for a specific mess not only gets rid of the stain but saves your vinyl from the damage that comes from guessing.
Conquering Mildew the Right Way
Mildew is the arch-nemesis of marine vinyl. Those little black or gray specks aren't just ugly surface stains; they're a living fungus that has sent roots deep into the pores of your upholstery. This is why a simple cleaner often fails—it might lighten the stain, but the fungus is still there, ready to grow back.
You need something that attacks mildew at its source. A dedicated product like Boat Juice Mildew Stain Remover uses enzymes and active ingredients to break down the fungus itself, killing it and lifting the stain from deep within the vinyl. This is a much smarter—and safer—approach than grabbing household bleach, which is notorious for weakening stitching and drying out vinyl over time.
This isn't just a rare problem, either. Mildew stains pop up on an estimated 62% of vinyl boat seats in humid areas. The good news? Targeted cleaning can cut the chances of it coming back by a whopping 80%. In the U.S.'s $50 billion boating industry, where pontoons and runabouts make up 4.5 million registered units, those dark spots can knock thousands off your resale value. For more on this, check out what the folks at Michiana Outdoors News have to say about proper boat seat care.
The biggest mistake I see boaters make is trying to bleach mildew away. It’s a temporary fix at best. You have to kill the fungal growth at the root with a dedicated remover, or it will just come right back in a few weeks.
For a deep dive into permanently kicking these spots off your boat, check out our complete guide on how to remove mildew from boat seats.
Battling Sunscreen, Ink, and Oily Stains
Beyond mildew, you’ll run into a few other common offenders on your vinyl seats. Since each stain has a unique chemical makeup, you need a slightly different strategy for each one.
Sunscreen Stains
That chalky white residue or oily smudge comes from sunscreen chemicals (especially avobenzone) reacting with your vinyl.
- How to Handle It: Spray a quality interior cleaner right on the stain. Give it a minute to work its magic and break down the oils, then gently work it in with a soft brush and wipe it all away with a clean microfiber towel. If it’s an old stain that’s been baked in by the sun, you might need a second round.
Ink and Marker Marks
Whether it’s an accidental pen slip or a masterpiece from your kid’s crayon, ink stains are frustrating.
- How to Handle It: The key here is speed. Gently dab the spot—don’t rub!—with a microfiber cloth lightly dampened with isopropyl alcohol. Rubbing will just smear the ink and make it worse. Always test the alcohol on a hidden area of the vinyl first to make sure it doesn’t affect the color.
Grease and Oil
From a dropped French fry to a bit of mechanical grease, these stains can feel impossible to get out.
- How to Handle It: Oily messes require a cleaner that can cut right through the grease. Your pH-balanced marine cleaner is perfect for this. Spray it on, let it sit for a minute to dissolve the oil, give it a light scrub, and wipe it clean.
A Quick Guide to Stain Removal
| Stain Type | Recommended First Action | Key Tip |
|---|---|---|
| Mildew | Apply a dedicated mildew stain remover | Let the product sit for a few minutes to kill the fungus before scrubbing. |
| Sunscreen | Use a pH-balanced interior cleaner | Let the cleaner dwell to break down the oils before wiping. |
| Ink Pen | Dab carefully with isopropyl alcohol | Test on a hidden spot first and avoid rubbing to prevent spreading. |
| Fish Blood | Rinse immediately with cold water | Cold water prevents the proteins from setting into the vinyl. |
Knowing how to react to these specific stains makes all the difference. Instead of panicking over a mess, you'll have the confidence to grab the right tool and get your seats looking brand new again, fast. This targeted approach is what separates a good maintenance routine from a great one.
Applying Protection for Long-Lasting Results
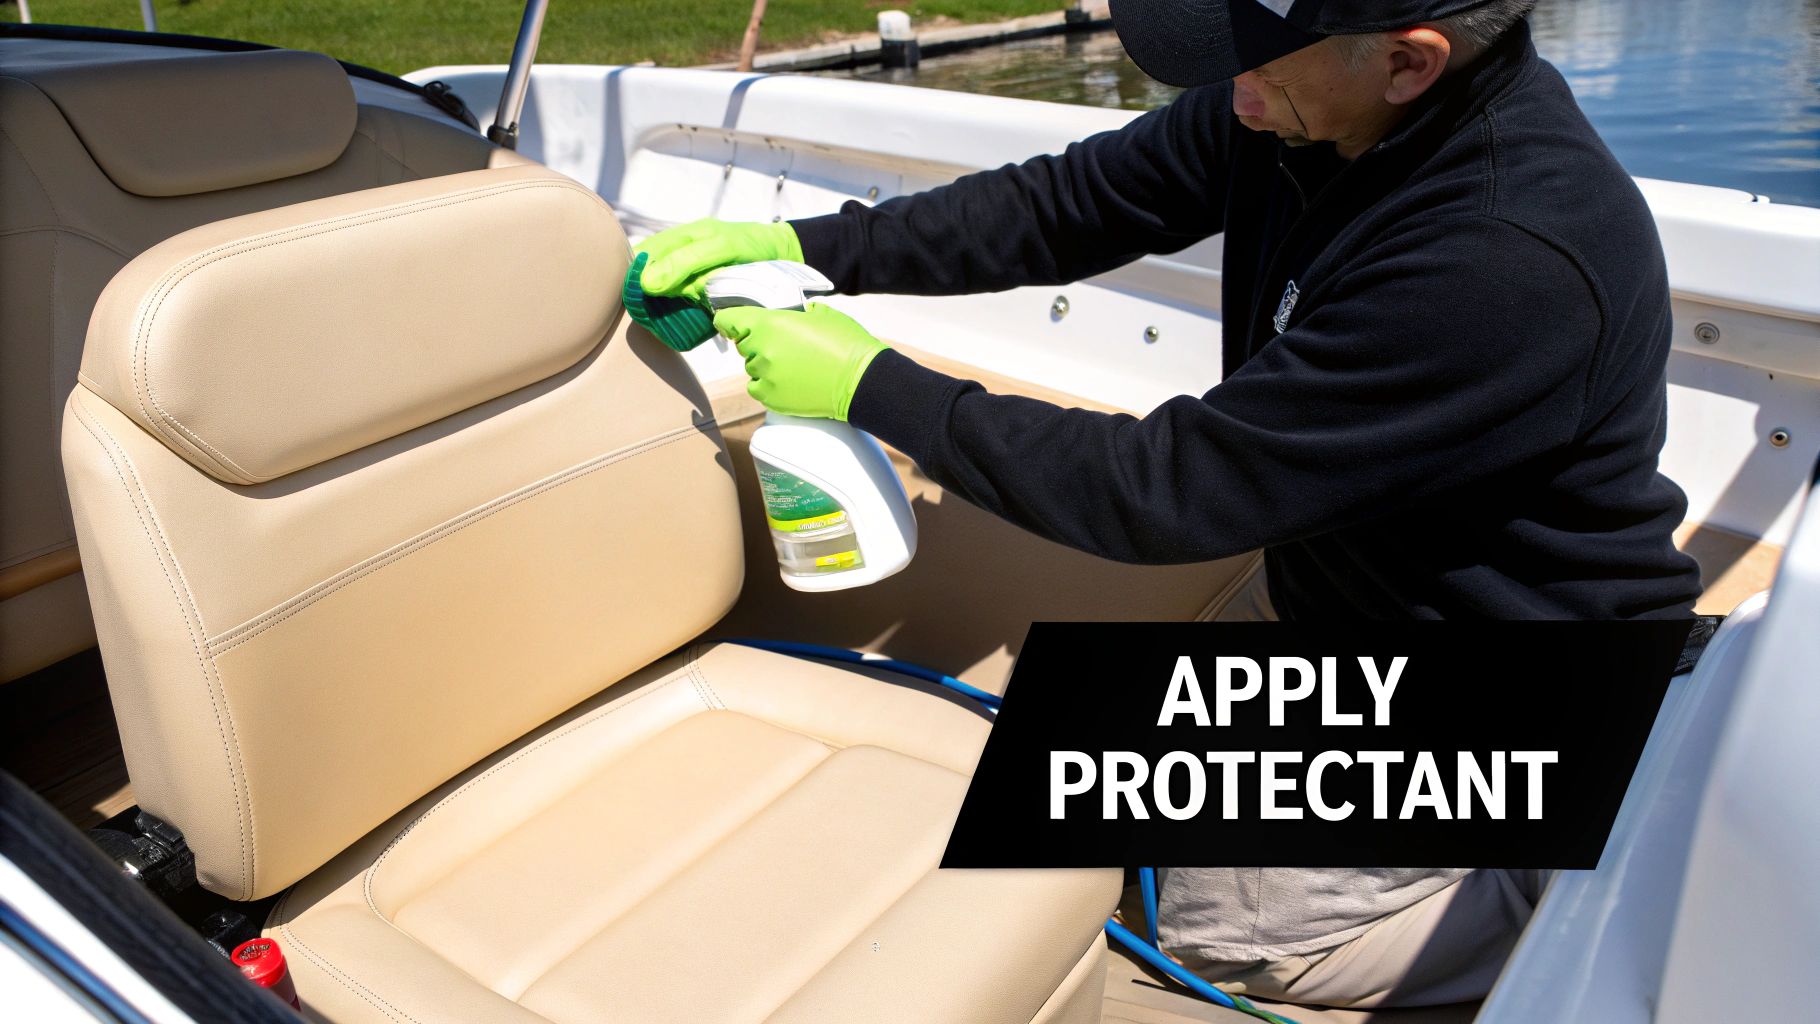
You did it. You put in the elbow grease, scrubbed away the grime, and now your seats are looking brand new and totally dry. Don't stop now! This final step is the one that locks in all your hard work and makes the next cleanup a whole lot easier.
Think of it like waxing your car after a wash. Cleaning gets the dirt off, but the protectant is what shields your vinyl from everything that made it dirty in the first place. This is your secret weapon for keeping those seats looking sharp for seasons to come.
Why UV Protection Is Non-Negotiable
Out on the water, the sun is your vinyl's worst enemy. Those UV rays are relentless, constantly attacking the material, breaking it down, and robbing it of its color and flexibility. The result? Faded, brittle vinyl that’s just begging to crack.
Without a solid protective barrier, every sunny day is slowly aging your upholstery. A quality marine-grade protectant is like sunscreen for your seats—it creates an invisible shield that blocks or reflects those damaging rays. Honestly, this one simple step can add years to the life of your boat's interior.
How to Apply a Vinyl Protectant Correctly
Applying a protectant is easy, but doing it the right way is key to getting even coverage without that awful greasy, slippery feeling. You're aiming for a clean, satin finish that makes water bead up and roll right off.
First things first: your seats must be 100% clean and bone-dry. If you apply protectant over any leftover dust or residue, you’re just sealing the dirt in.
Grab a high-quality marine vinyl protectant. We're big fans of Boat Juice Protection Spray because it's loaded with UV inhibitors and, more importantly, doesn't leave behind a sticky mess. If you want to dive deeper, we break down why it works so well in our guide to the best interior cleaner and UV protectant.
Ready? Here’s how to get that perfect finish:
- Work in Sections: Don't try to do the whole boat at once. Focus on one cushion or seat area at a time so the product doesn't dry before you can work it in properly.
- Spray the Towel, Not the Seat: Lightly mist the protectant onto a clean microfiber towel or applicator pad. Spraying directly on the vinyl often leads to overspray and an uneven, splotchy look.
- Wipe with Overlapping Passes: Gently wipe the product onto the vinyl. I like to use straight, even strokes that overlap slightly to make sure I don't miss a spot.
- Buff It Out: Once you've applied the product, grab a second, completely dry microfiber towel and give the area a quick buff. This removes any excess and leaves you with that perfect, non-greasy satin sheen.
Pro Tip: The final result should feel smooth and dry, not oily. A greasy finish is a magnet for dust and dirt, which completely defeats the purpose of all your hard work.
Adding this quick step to your cleaning routine isn’t just about looking good for the next trip out. You’re actively investing in the longevity of your boat and saving yourself from costly repairs down the road.
A Simple Year-Round Maintenance Plan That Actually Works
Let's be honest, nobody wants to spend an entire weekend scrubbing their boat's interior. The real secret to keeping your vinyl looking brand new isn't one massive cleaning blitz; it's consistency. A simple, year-round maintenance plan is your best friend here.
Think of it this way: a quick wipe-down after each trip is like brushing your teeth. A deeper clean once a month is like a dental check-up. You need both to prevent bigger problems. This approach stops grime and mildew from getting a foothold, meaning you spend less time scrubbing and more time enjoying the water.
The 5-Minute "After-Use" Wipe-Down
This is the game-changer, the one habit that makes the biggest difference. After every single outing, before you even think about putting the cover on, give your seats a quick once-over. We’re not talking about a deep scrub, just a quick pass to get rid of the day's mess.
- What you'll do: Grab a clean microfiber towel and lightly mist it with a pH-balanced cleaner like Boat Juice Interior Cleaner.
- Why it's so important: This simple action lifts off fresh sunscreen, salty spray, and spilled drinks before the sun has a chance to bake them in. It's preventative maintenance 101, stopping those chemical reactions that lead to yellowing and tough stains later on.
The Monthly Deep Clean
About once a month during peak boating season, set aside an hour or so for a more thorough job. This is when you'll follow the full cleaning process we walked through earlier. Really get into the nooks and crannies—the seams, stitching, and the spots where everyone always sits.
This deeper clean tackles the more stubborn body oils and dirt that a quick wipe can't always get. It’s also your chance to play detective and spot any small issues, like the first hint of a mildew spot, so you can handle it before it becomes a real headache. This monthly routine is truly the core of knowing how to clean vinyl boat seats for the long haul.
Seasonal Prep and Winterization
Your boat’s vinyl needs some love even when it’s tucked away for the off-season. Prepping your seats correctly for storage is the key to avoiding nasty surprises come springtime.
Before you put the boat away for the winter, give it one final, meticulous deep clean. Then, apply a fresh, even coat of a UV protectant. This creates a crucial barrier against the moisture and wild temperature swings that can make vinyl brittle and prone to cracking over the cold months.
When spring finally arrives, you’ll thank yourself. Your pre-season prep becomes incredibly simple. All you'll need is a light cleaning to wipe away any dust from storage, a quick inspection of the seams and surfaces, and you’re ready to hit the water. It's a simple plan that saves a ton of work down the road.
Your Top Vinyl Seat Questions, Answered
Even when you're on top of your cleaning game, some weird stuff is bound to happen. Over the years, I've heard just about every question you can imagine when it comes to keeping boat seats looking good. Let's run through a few of the most common ones I get asked.
Think of this as your personal troubleshooting guide for those head-scratching moments.
Can I Just Hit My Seats With a Pressure Washer?
I get it, it's tempting. A pressure washer seems like the ultimate quick fix for caked-on grime. But please, step away from the pressure washer. It’s one of the absolute worst things you can do to your upholstery.
That high-pressure jet of water is way too aggressive for marine vinyl. It can literally strip the protective topcoat right off, leaving the material vulnerable. Even worse, it will force water straight through the stitching and into the foam cushions. That creates a perfect breeding ground for mold and mildew to grow from the inside, which is a nightmare you don't want to deal with. Trust me on this one—stick to a soft brush and a gentle rinse.
How in the World Do I Get Spider Droppings Off?
Ah, the dreaded little black dots. Every boat owner knows this pain. Those tiny, tar-like specks are actually acidic spider droppings, and if you let them sit and bake in the sun, they can permanently etch the vinyl.
If you catch them fresh, a quick spray with your go-to interior cleaner and a wipe should lift them right off. For the more stubborn, baked-on spots:
- Hit the droppings with a good marine interior cleaner and let it dwell for about a minute to loosen things up.
- Use a soft-bristled detail brush to gently scrub the spot and break the dropping apart.
- Wipe it all away with a clean, damp microfiber towel. You might need a second pass for really stubborn ones.
The real secret here is speed. The sooner you clean off spider droppings, the better. Don't let them become a permanent part of your upholstery's pattern.
Why Are My White Vinyl Seats Turning Yellow?
This is easily one of the most frustrating problems, especially when you've invested in that crisp, white interior. That ugly yellowing isn't usually from dirt; it’s a chemical reaction. The main offenders are sunscreens (especially those with avobenzone), acid rain, and even the humidity that gets trapped under a boat cover.
Your first line of attack is a deep clean with a pH-balanced interior cleaner to rule out any surface-level gunk. If the yellowing is still there, it's likely a deeper issue. The absolute best defense is a good offense: regularly apply a quality UV protectant. This creates a barrier between the vinyl and those nasty chemicals. Consistent cleaning is the key for anyone wondering how to clean vinyl boat seats and keep them looking factory-fresh.
Ready to tackle any stain and keep your seats protected all season long? Boat Juice has you covered with everything from our killer interior cleaner to top-notch protectants. Explore our full lineup and build your perfect cleaning kit today!