


· By Boat Juice Team
Your Guide to a Perfect Gel Coat Polish and Shine
If you've ever looked at your boat and felt that deep, glossy shine was gone for good, I'm here to tell you it’s not. The secret weapon in any boater's DIY arsenal is a quality gel coat polish. This isn't just a fancy wax; it's a specialized liquid that gently removes years of sun and salt damage to bring back that showroom finish a simple wash just can't touch.
Why Your Boat Needs More Than Just a Wash
Have you ever scrubbed your boat clean only to have it dry to a dull, chalky finish? That’s not dirt you’re seeing. It’s the slow, steady breakdown of your boat's gelcoat—the tough, shiny skin protecting the fiberglass underneath.
Your boat’s gelcoat is constantly battling the elements. UV rays from the sun, salt spray, and even plain water are always on the attack. This constant exposure causes oxidation, a process that turns that slick, brilliant surface into a porous, faded mess. You can think of it like a bad sunburn on your skin; the top layer is damaged and needs to be gently exfoliated to let the healthy layer shine through. A good gel coat polish is exactly that—a much-needed exfoliator for your boat.
The Real Cost of Neglect
Let's look at the difference regular polishing makes over a single season. The table below paints a clear picture of what you're protecting with this simple maintenance step.
The Impact of Regular Polishing
| Attribute | With Regular Polishing | Without Polishing |
|---|---|---|
| Appearance | Deep, reflective gloss; vibrant color. | Dull, chalky, and faded finish. |
| Protection | Repels water, UV rays, and stains effectively. | Porous surface absorbs contaminants. |
| Resale Value | Maintained or increased. | Significantly decreased. |
| Long-Term Risk | Gelcoat remains sealed and protected. | Risk of cracking and moisture intrusion. |
It's clear that skipping this step has consequences that go way beyond looks. Your unpolished boat won't just look tired; its defenses will be down, leaving it vulnerable to more serious damage.
Polishing your gelcoat isn't just about looking good at the dock. It's crucial preventative maintenance that seals the pores of the gelcoat, stopping deeper, more expensive damage before it can start.
When you let oxidation get out of hand, it can eventually lead to fine cracks and moisture seeping into the fiberglass structure itself—a far bigger problem to fix. There's a reason the global market for gelcoat was valued at over USD 1.3 billion in 2023 and is expected to grow. This stuff is critical. You can read more about the growth of the gelcoat market on grandviewresearch.com if you're curious. A staggering 70-80% of fiberglass boats show visible oxidation after just a few seasons, so you're not alone in this fight.
Ultimately, a proper gel coat polish is an investment in your boat's health and longevity.
- It strips away harmful oxidation, getting rid of that damaged top layer that soap and water can't.
- It restores the gelcoat's protective barrier, creating a smooth, non-porous surface that sheds water and dirt.
- It seriously enhances resale value. A boat with a gleaming hull will always catch a buyer's eye and command a higher price.
Think of polishing less as a chore and more as the single best thing you can do to keep your boat looking like it just left the factory, year after year.
Building Your Gel Coat Polishing Toolkit
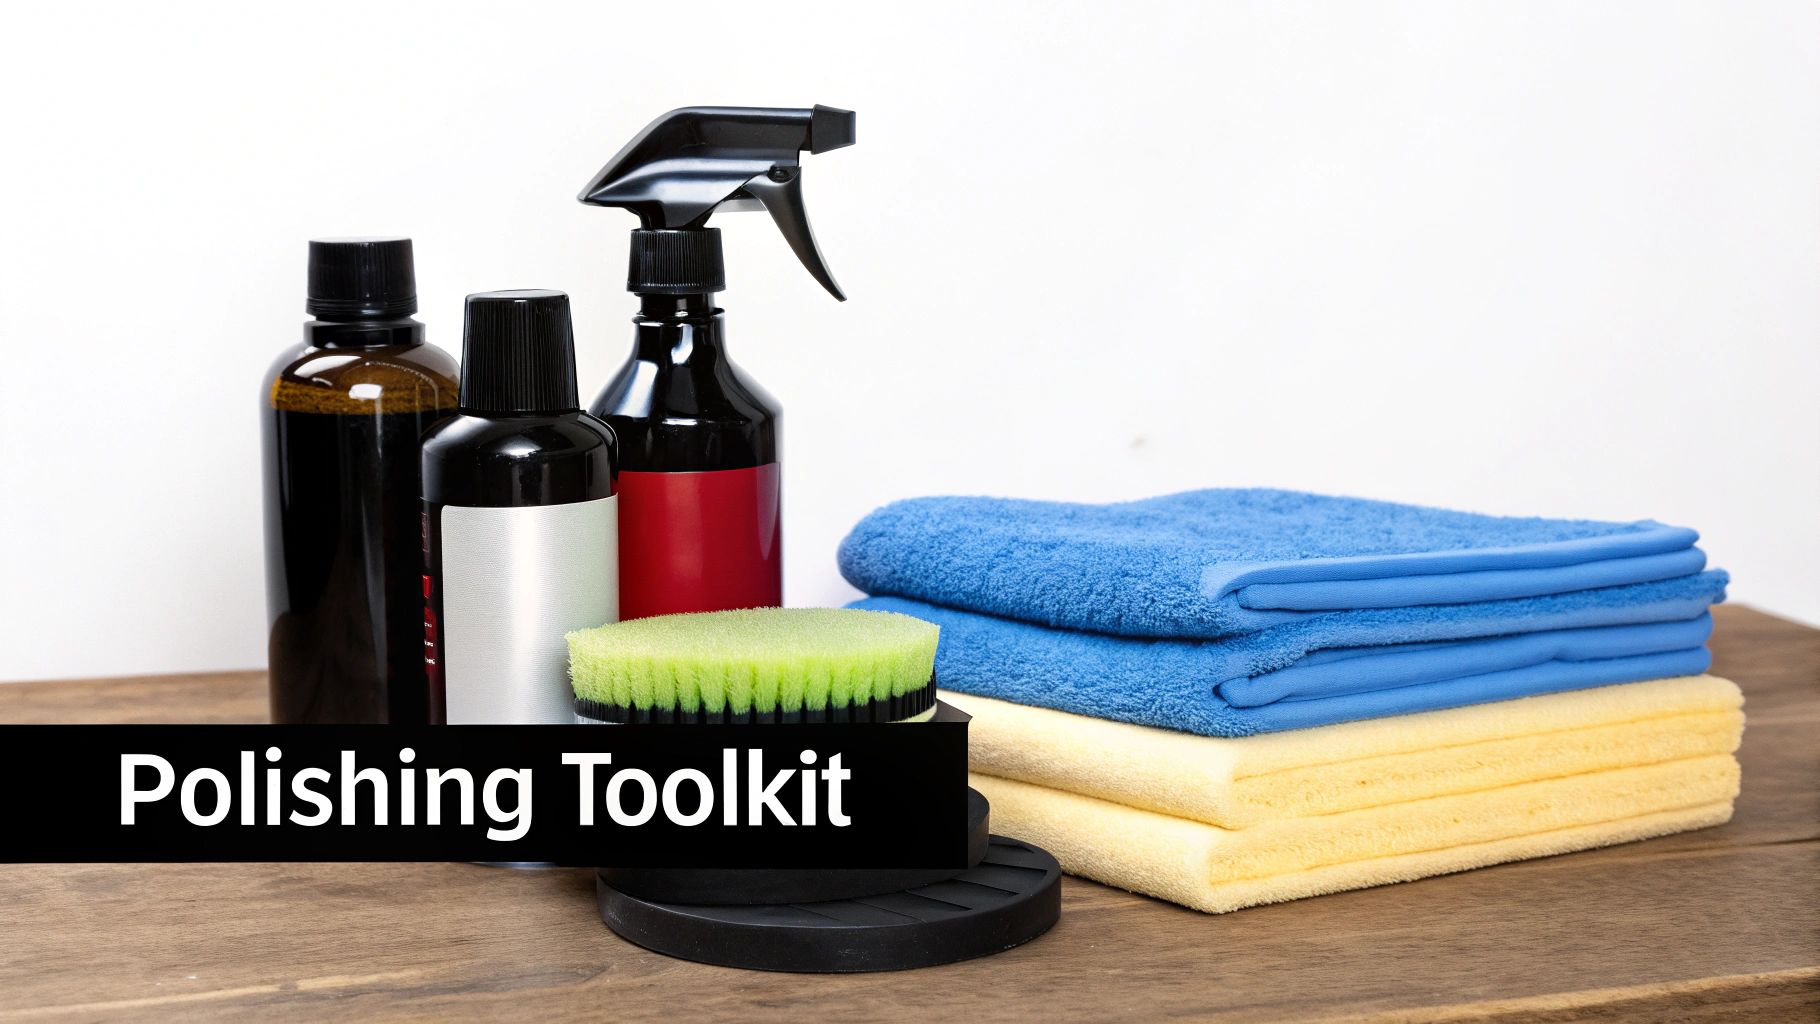
Before you can bring back that jaw-dropping shine, you need to gather the right gear. Having the proper tools on hand isn't just about making the job easier; it's the secret to getting a professional-looking finish without accidentally damaging your boat's gelcoat. This is your pre-flight checklist for a flawless shine.
Putting together the perfect kit is straightforward. You'll need a few absolute must-haves for any polishing job, and then there are the "power-ups" that really take your results to the next level. Let's start with the basics every boat owner needs in their dock box.
The Essentials for Every Boater
These are the non-negotiables you'll need to clean, polish, and protect your gelcoat the right way, even if you're just working by hand. Don't be tempted to cut corners here—using the wrong stuff can create a bigger headache for you down the line.
- A Quality Marine Soap: The whole process starts with a good wash, and the soap you use matters. Household dish soaps are a huge no-no; they contain harsh degreasers that will strip away any wax or sealant you have, leaving your gelcoat totally exposed. You need a dedicated marine wash that's pH-balanced to clean thoroughly without wrecking your finish.
- Gel Coat Polish: This is the star of the show. Grab a high-quality gel coat polish specifically made for marine use. These formulas have just the right amount of abrasive to slice through oxidation without being too aggressive on the gelcoat itself.
- Microfiber Towels (And Lots of Them): You can never have too many clean microfibers. They’re your workhorse for washing, drying, applying product, and buffing off residue. Crucially, you have to keep them separate. Never, ever use the same towel for applying polish that you use for the final buff. If you do, you're just grinding dried-up polish residue right back into your freshly polished surface, causing tiny scratches.
Pro Tip: Here’s a simple trick you can use. Buy your microfiber towels in at least two different colors. Use one color exclusively for applying the polish and the other for the final buffing. This makes it impossible to mix them up and risk scratching that beautiful finish you just worked so hard for.
The Power-Ups for Pro-Level Results
Are you ready to work smarter, not harder, and get an even more impressive shine? These tools are your ticket to achieving that deep, wet look with a lot less elbow grease. Investing in a machine polisher is the single biggest upgrade you can make to your whole detailing game.
A dual-action (DA) orbital polisher, for example, is a total game-changer. It's nothing like a high-speed rotary buffer that can burn right through your gelcoat if you're not careful. A DA polisher is incredibly user-friendly because its random orbital motion mimics the movement of your hand, which prevents swirl marks and makes it safe even for beginners.
Of course, a polisher is only as good as its accessories.
- Dual-Action (DA) Orbital Polisher: This is the most important power-up, period. It speeds things up dramatically and gives you a much more uniform finish than you could ever achieve by hand.
- Foam Polishing Pads: You’ll need a couple of different pads. A medium-cut foam pad is perfect for applying the polish itself, while a soft finishing pad is what you'll want for the final buff or for applying a layer of wax or sealant afterward.
With these tools in your arsenal, you’re fully equipped to tackle any level of oxidation and restore that head-turning shine. Your shopping list is set, so let's get that boat prepped for its transformation.
How to Prep Your Boat for a Flawless Finish
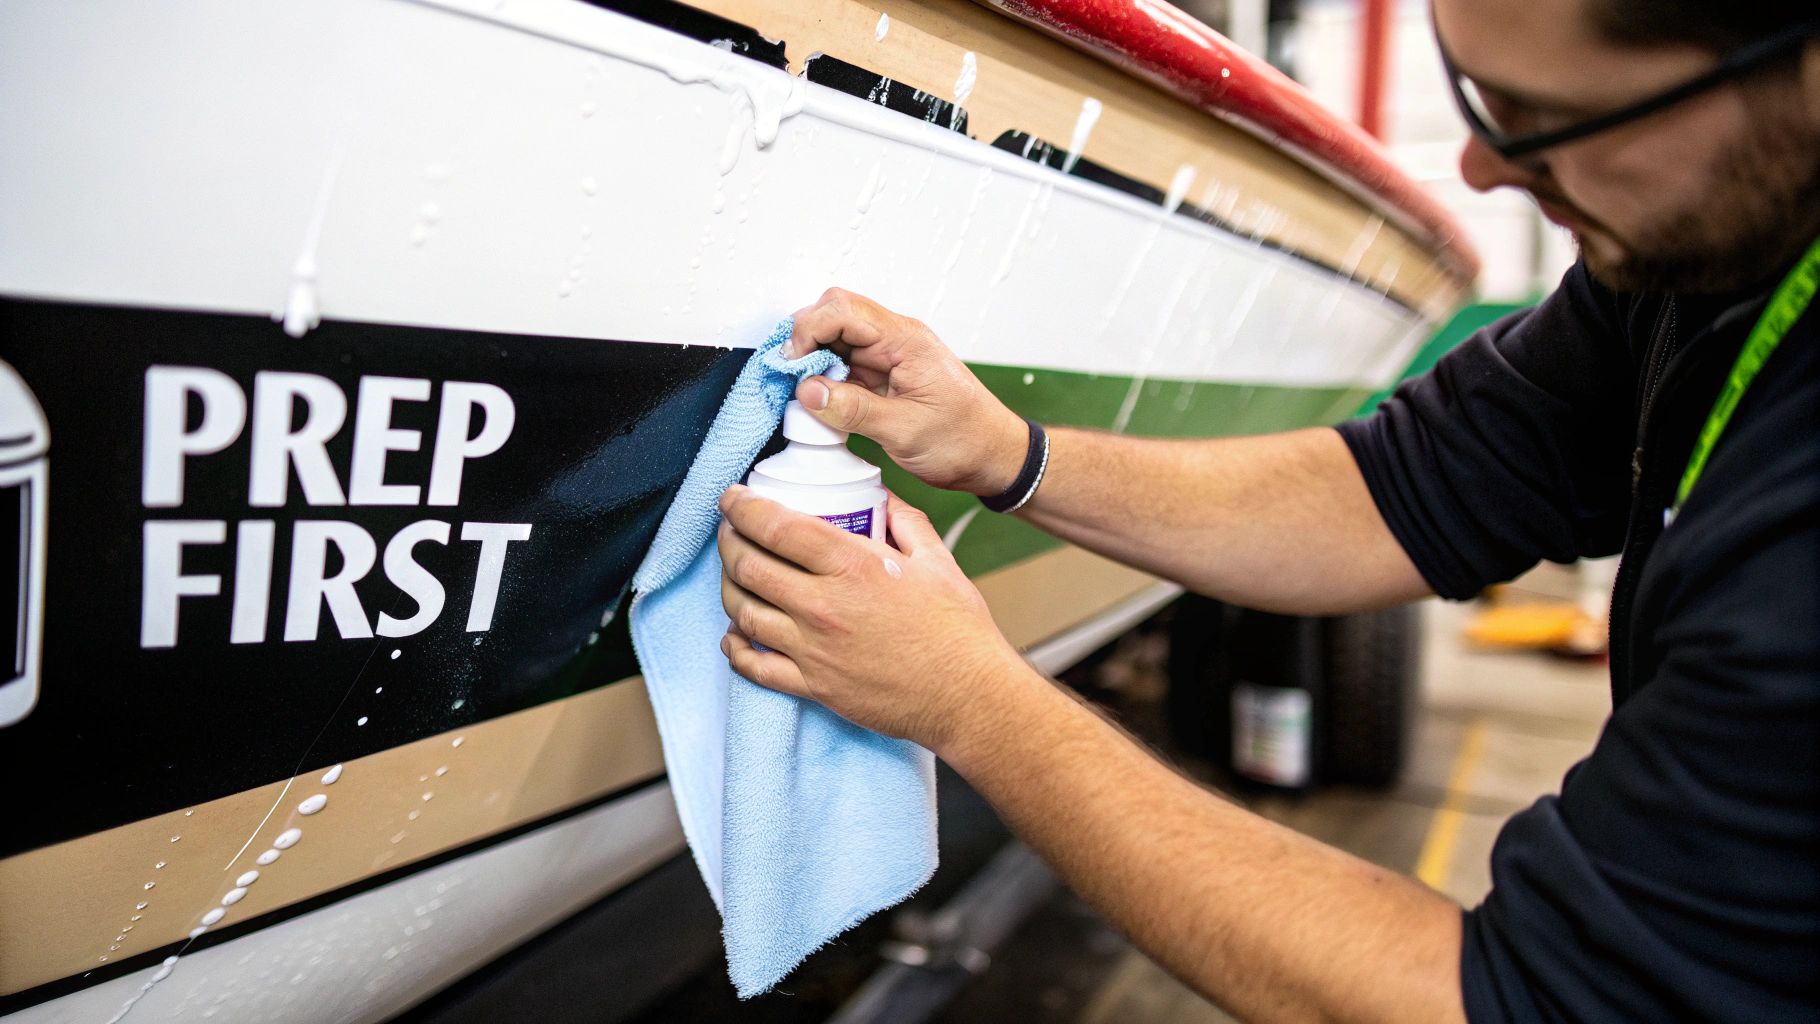
You’ve got your tools ready and you’re itching to see that mirror-like shine. But hang on. The single most important part of getting a stunning finish happens before you start polishing. In fact, the quality of your final result is 80% preparation.
Think about it like painting a wall. You wouldn't just slap a fresh coat over dust and grime and expect a professional result, right? Polishing is the exact same principle. Applying polish over dirt, salt residue, or hard water spots doesn't magically make them disappear—it just grinds them into the gelcoat and seals them under that beautiful new layer you're trying to create.
Proper prep gives your polish a clean slate to work with, allowing it to get straight to business removing oxidation and restoring that deep gloss. It's the only way to get the uniform, head-turning shine you’re after.
Start with a Deep Clean
First things first, your boat needs a bath. You have to get rid of all the loose surface contaminants—dirt, salt spray, bird droppings, and all the general muck that builds up. Grab a quality, marine-specific soap and a soft wash mitt, and gently scrub down every inch of the hull you plan to polish.
Once it's washed, it's time to tackle the stubborn stuff. Mineral deposits from evaporated water can leave behind chalky, crusty spots that a simple wash won't budge. These water spots act like tiny magnifying glasses, focusing the sun's rays and slowly etching into your gelcoat.
For these tough blemishes, a dedicated cleaner is your best friend. A product like Boat Juice Extreme Water Spot Remover is made to chemically dissolve these mineral deposits without hurting the gelcoat. Just spray it on, give it a moment to work its magic, and wipe it away. This step is non-negotiable, because if you polish over these spots, they become almost impossible to remove later. For a full rundown on the cleaning process, check out our guide on how to clean fiberglass boats.
Protect the Details Before Polishing
With your hull now spotless, it's time to play defense. You need to protect all the areas you don’t want to polish. Gelcoat polish has fine abrasives in it, and those can easily stain or scuff sensitive materials. Spending a few minutes taping things off now will save you a massive headache during cleanup.
Taping isn't just for neatness; it's for protection. A slip of the polisher can permanently mark vinyl or scuff chrome, turning a simple polishing job into an expensive repair.
Grab some high-quality blue painter’s tape and carefully mask off these key areas:
- Vinyl Upholstery: This means seats, cushions, and coaming pads.
- Non-Skid Deck Surfaces: Polish can get caked into the texture and becomes a real pain to remove.
- Chrome and Stainless Steel: Hardware like cleats, railings, and logos can get scratched.
- Plastic or Rubber Trim: Don't forget the rub rails and window seals.
This small investment of time is what separates an amateur job from a professional one. In the marine sector, where the market for appearance products is valued at around USD 1.7 billion, proper prep is everything. With U.S. powerboat sales hitting over 258,000 units in 2023, taking these steps is crucial to protecting your boat's value and avoiding costly mistakes. Now your boat is clean, protected, and ready to shine.
The Art of Applying Gel Coat Polish
With all the prep work done, it's time for the fun part—applying the polish. This is the moment where that dull, chalky gelcoat gets a new lease on life and starts to gleam. Whether you're working by hand or using a machine, the goal is the same: methodically work the polish into the surface to remove oxidation and restore shine.
The magic is in the fine abrasives within the polish, which need consistent motion to break down, slice through that pesky oxidation, and reveal a glossy finish. Let's walk through the steps for both methods.
Polishing by Hand
Polishing by hand is a great way to go, especially for smaller boats or quick touch-ups. It really connects you to the process. The absolute key here is consistency in your technique to get an even finish.
First, grab a clean microfiber applicator pad. Please don't use an old t-shirt or shop towel; their fibers can be surprisingly coarse and might leave tiny scratches on the very surface you're trying to perfect.
- Think Small: Don't try to polish the whole side of the boat in one go. Break it down into manageable 2x2 foot sections. This ensures you apply even pressure and work the polish in properly before it dries out.
- Work It In: Squeeze a few pea-sized drops of polish onto your applicator. Now, using firm but even pressure, work it into the gelcoat with overlapping circular motions. This consistent effort is what breaks down the polish and removes the oxidation.
- Wipe and Check: As you work, the polish will transform from a wet liquid into a light, hazy film. That's your cue to stop. Grab a separate, clean microfiber towel and gently buff off the residue, flipping the towel often to reveal a fresh surface.
Using a Machine Polisher
If you want a professional-grade shine for your entire hull without spending your whole weekend on it, a machine polisher is a game-changer. A dual-action (DA) orbital polisher should be your weapon of choice. Unlike a high-speed rotary buffer, which can easily burn through gelcoat, a DA is user-friendly and forgiving for DIY'ers.
Its random orbital motion prevents heat buildup and all but eliminates the risk of ugly swirl marks. It's the biggest time-saver you can own for this job. For this step, you'll want to start with a medium-cut foam pad made specifically for polishing. For those serious about mastering the craft, digging into a detail a car masterclass for pros can provide a ton of transferable skills for getting that perfect finish on gelcoat.
The secret to a great machine finish is simple: let the machine do the heavy lifting. Your job is just to guide it. If you push down hard or zip across the surface too fast, you'll end up with an uneven, blotchy result.
Here’s your step-by-step for a flawless machine polish:
- The '4-5 Dots' Method: Less is more. Apply just 4 to 5 small dots of gel coat polish to the outer part of your foam pad. That’s all you need for a standard 2x2 foot work area.
- Spread It First: Before you even turn the polisher on, gently dab the pad against the gelcoat a few times. This spreads the product out and prevents it from slinging all over you and the boat.
- Slow and Steady Wins the Race: Set your polisher to a medium speed (often a 3 or 4 on the dial). Guide the machine over the surface in slow, overlapping passes. Go side-to-side, then up-and-down, overlapping each pass by about 50%, like you're mowing a lawn for even coverage.
- Buff and Admire: Once you see that haze form, you're done. Stop the machine, lift it off the surface, and use a fresh microfiber towel to buff away the residue. Now, step back and admire that shine before moving on to the next section.
If you find that the polish isn't quite cutting through tougher oxidized spots, you might need to bring in a more aggressive product first. Our DIY guide to boat buffing compound is the perfect resource for learning when a compound is needed and how to use it before you start polishing.
Protecting Your Shine for the Long Haul
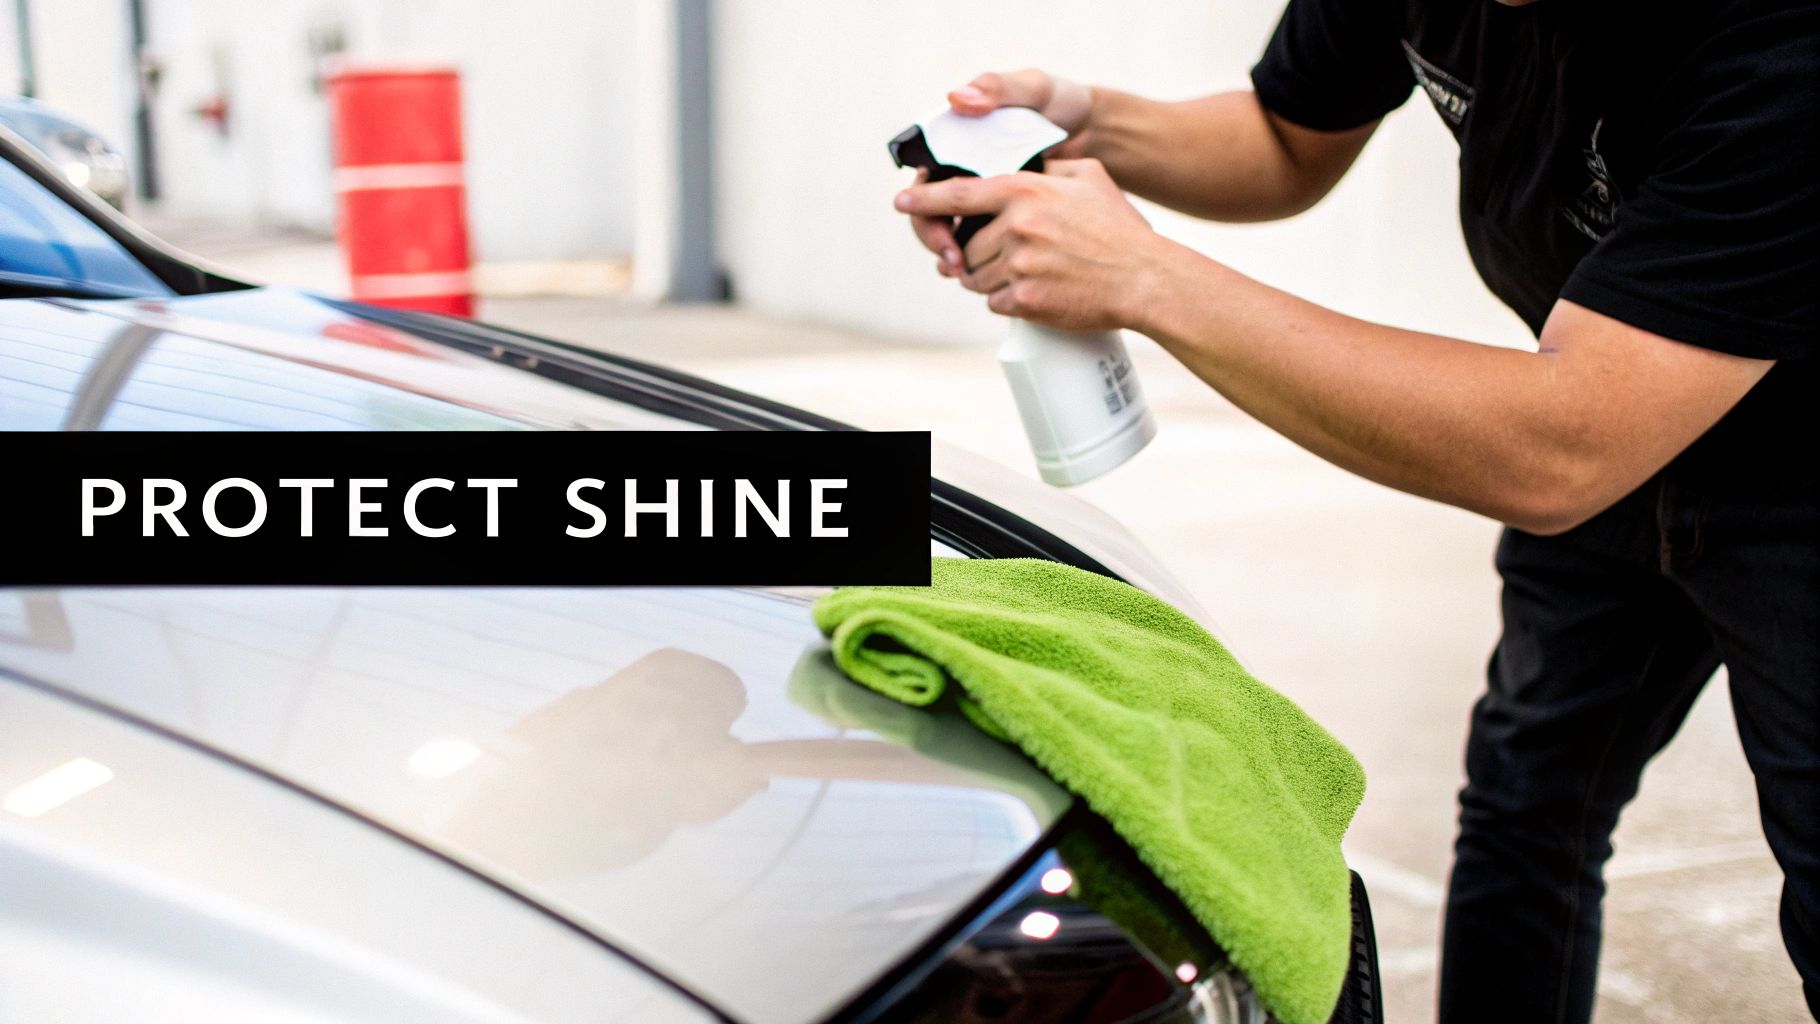
You’ve put in the elbow grease, and your boat’s gelcoat is finally gleaming. Don't make the all-too-common mistake of calling it a day. The real key to keeping that shine is what you do next. A good polish brings back the gloss, but a solid protectant is what locks it in and shields it from future damage.
Think of it like this: polishing is like exfoliating your skin. You've scrubbed away the dull, damaged top layer. Now, you need to put on sunscreen to protect that fresh, new layer from the elements. For your boat's gelcoat, a wax or sealant plays that exact same role.
Choosing Your Shield: Wax vs. Sealant
For a long time, carnauba wax was the only game in town. It gives a beautiful, deep glow, but it often struggles to stand up to the brutal marine environment. Carnauba is a natural product, and it breaks down quickly under constant UV bombardment and water exposure.
This is why modern synthetic sealants have become the go-to for most boat owners. These are engineered polymers that create a much stronger chemical bond with the gelcoat. That bond gives you far better longevity and UV defense, which is crucial for stopping that oxidation you just worked so hard to remove.
For instance, a quality spray-on sealant like Boat Juice Protection Spray is built on this modern chemistry, making application incredibly fast. You can easily protect a whole 20-foot boat in just a few minutes, leaving behind a tough barrier that will outlast traditional waxes by a long shot.
Turning Protection into a Simple Habit
Applying your sealant couldn't be easier. Once you've finished your final buff with the gel coat polish, just make sure the surface is cool and clean. If you're using a spray sealant, lightly mist one small section at a time, wipe it in with a clean microfiber towel, and immediately flip the towel to a dry side to buff off any excess.
Your goal is to create a slick, hydrophobic surface. When you're done, water should bead up and roll right off, taking dirt and grime along with it. That beading is the visual proof that your gelcoat is properly sealed and protected.
Don't underestimate how important this protection is. The gel coat polish market is valued at over USD 1.5 billion for a reason—owners are constantly fighting this battle. Studies show that without proper protection, up to 40% of boats can develop noticeable oxidation after just one summer. You can discover more insights about marine care on marketreportanalytics.com to dive into the data.
To keep that protective layer going all season long, get into a simple routine. After each trip, a quick wipe-down with a quality cleaner will get rid of fresh water spots and dirt before they have a chance to bake in. This simple habit transforms a massive annual project into easy, ongoing maintenance. For a deeper dive, check out our article on waxing gel coat for more great tips.
Troubleshooting Common Polishing Problems
Even when you follow all the steps, sometimes the results just aren't what you hoped for. Don't sweat it—it happens to everyone. Most polishing hiccups are actually pretty simple to fix once you know what you’re looking at. From swirl marks to stubborn haze, most problems boil down to one of three things: your technique, the product you're using, or a contaminated work surface.
Seeing Swirl Marks or Fine Scratches
This is easily the most common headache. You finish buffing, step back to admire your work, and your heart sinks. In direct sunlight, you see a web of fine, circular scratches that weren't there before. The fix is straightforward.
What's Happening: Swirl marks are almost always caused by a dirty buffing pad or the wrong machine technique. If your pad picks up a tiny piece of grit or dried polish, it turns into fine-grit sandpaper, scratching the gelcoat. Likewise, moving the polisher too fast or tilting it on its edge can dig into the surface and leave these marks.
How to Fix It:
- Keep That Pad Clean: After every 2x2 foot section, take a second to clean your foam pad. A stiff nylon brush or a blast of compressed air works wonders to knock out dried polish and any other gunk before it can cause damage.
- Dial in Your Technique: Keep the polisher moving slowly and make sure the pad is flat against the surface. You're just guiding the machine, not forcing it. Focus on slow, overlapping passes to get that perfect, uniform finish.
Dealing with a Stubborn Haze or Film
You've polished a section and wiped it clean, but a cloudy, almost greasy-looking film just won’t go away. This is a classic case of "too much of a good thing."
A hazy finish is the number one sign of using too much gel coat polish. The excess product can't break down properly, so it just smears across the surface instead of buffing off cleanly, trapping oils and residue.
How to Fix It: First, grab a fresh, dry microfiber towel and try to buff the excess away. If it’s still hazy, lightly mist a clean towel with a bit of water or a quick detailer spray, wipe the area, and then immediately follow up with another dry towel. Moving forward, just remember that 4-5 small dots of polish is all you need for a section—a little bit goes a very long way.
When Polish Just Isn't Cutting It
Ever have one of those moments where you work a section over and over, but that chalky, faded look just refuses to disappear? If your boat has some serious, sun-baked oxidation, a standard gel coat polish might not have enough muscle to cut through years of damage. It’s like trying to fell a tree with a pocket knife.
What's Happening: Polish is perfect for light to moderate oxidation. But for the really tough, chalky stuff, you need to bring in the heavy artillery first.
How to Fix It: This is where a rubbing compound saves the day. A compound is much more abrasive and is specifically designed to chew through that heavy top layer of dead gelcoat. Hit the area with a compound first to do the heavy lifting. Then, follow up with your polish to refine the surface, remove any compounding marks, and bring out that deep, rich gloss you were after.
Your Gel Coat Polish Questions Answered
Still have a few questions? You're not alone. Let's tackle some of the most common things boat owners ask when it comes to polishing their gelcoat.
How Often Should I Polish My Gelcoat?
For most boaters, giving your gelcoat a good polish once a year is the magic number. It fits perfectly into your spring prep routine, scrubbing away the past season's grime and oxidation and getting the hull ready for a fresh coat of sealant.
If your boat lives a tougher life—say, it’s moored in saltwater year-round or bakes in the relentless Florida sun—you might need to polish twice a year. The real secret is to pay attention to your boat. When water stops beading up and that deep gloss starts looking a little dull, your gelcoat is telling you it's time for some TLC.
Can I Use Car Polish on My Boat?
This is a common question, and the answer is a hard no. It’s tempting, but gelcoat and automotive paint are two completely different beasts. Gelcoat is much, much harder and more porous than the clear coat on your car.
Car polishes are made with very fine abrasives meant for those softer paint jobs. They just don't have the muscle to cut through the tough oxidation that builds up on a boat. You'll put in a ton of effort for very little reward. Always use a product specifically labeled as a gel coat polish.
Think of it like sandpaper. A rubbing compound is like 80-grit—it's for heavy lifting and stripping away serious problems. A polish is more like 220-grit, designed for that final, refined finish. One corrects, the other perfects.
What Is the Difference Between Compound and Polish?
This is a fantastic question that trips up a lot of people. The simplest way to think about it is in terms of aggressiveness.
A rubbing compound is your heavy hitter. It’s packed with aggressive abrasives to power through heavy oxidation, deeper scratches, and that chalky, faded layer you see on neglected boats.
A polish, on the other hand, is a finishing product. It's much finer, and its job is to remove the light swirl marks left by compounding and bring out that deep, wet-looking shine. You compound to fix big problems, and you polish to make it look perfect. If your boat is in good shape with just light oxidation, you can often skip the compound and go straight to the polish.
Now that you've put in the work, you're ready to enjoy that brilliant, factory-fresh shine. The next step is to lock it in and make it last. Keep your boat protected all season long with the complete lineup of marine care products from Boat Juice. Explore our detailing kits and find the perfect solution for your boat today.