


· By Boat Juice Team
Your Complete DIY Guide to Marine Upholstery Cleaner
Keeping your boat's interior looking sharp is about more than just good looks—it's about protecting your investment. Your first line of defense against the sun, salt, and grime is a high-quality marine upholstery cleaner. This guide will walk you through exactly how to clean your boat's upholstery like a pro.
Why Your Boat Needs a Specialized Cleaner
Think about what your boat seats endure on a single summer afternoon. They're baked by brutal UV rays, doused in saltwater, and smeared with sunscreen and spilled drinks. Your average kitchen spray simply wasn't designed to handle that kind of abuse.
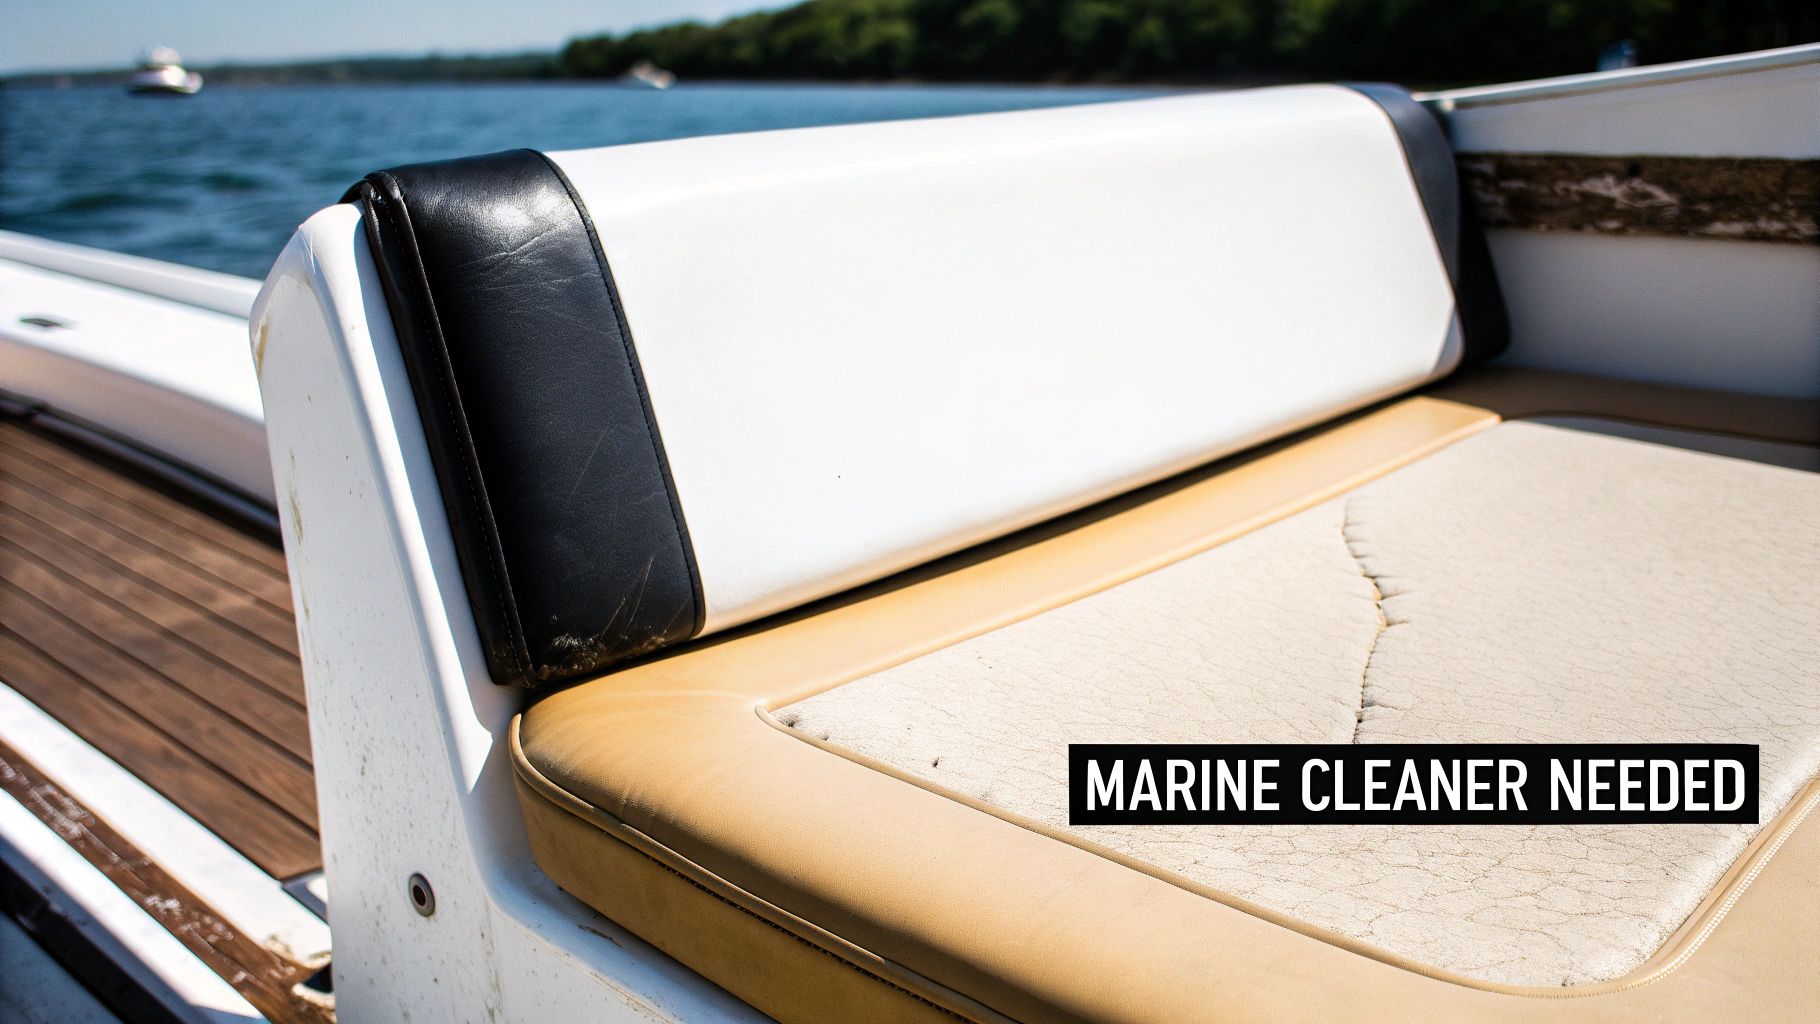
The problem with reaching for a household cleaner is that many contain harsh chemicals like ammonia or bleach. These ingredients are absolute vinyl-killers because they strip away the essential plasticizers that keep marine vinyl soft and pliable. Before you know it, you’re dealing with yellowing, cracking, and that awful brittle feeling.
A proper marine cleaner, on the other hand, is pH-balanced. This means it's formulated to be tough on gunk but gentle on your seats, preserving the material while it cleans.
The Unique Threats of a Marine Environment
Life on the water is different, and the threats to your boat’s interior just don't exist in your house. Once you understand what you're up against, you'll see why a specialized cleaner is the only way to go.
- UV Radiation: The sun is public enemy number one for vinyl. Without protection, your seats will fade, weaken, and start to fall apart. A good cleaner does more than just clean; it preps the surface so a UV protectant can bond properly, which is a critical next step.
- Saltwater and Moisture: Those little salt crystals left behind after a spray are surprisingly abrasive, slowly grinding away at your upholstery's finish. And all that moisture? It’s an open invitation for mold and mildew to set up camp, leaving you with stubborn stains and a funky smell.
- Tough Stains: We’re not talking about coffee spills here. Sunscreen, bug spray, and fish oils have a nasty, oily base that requires a specific formula to break down effectively without just smearing the mess around.
I see it all the time: a greasy sunscreen handprint on a white vinyl seat. It seems harmless, but after a few hours baking in the sun, those oils have worked their way deep into the vinyl. A household cleaner will likely just smear the stain, making it worse. A dedicated marine cleaner is designed to lift those specific oils right out.
Gentle Power Is Your Goal
Your goal is to remove the dirt, not the vinyl's own protective layer. It's like trying to scrub a stain with sandpaper versus a soft sponge—both might get the stain out, but one will cause a ton of damage. That's the difference between an all-purpose cleaner and a product truly engineered for your boat.
Using the right marine upholstery cleaner means you're lifting away contaminants while preserving the material itself. This isn't just about looking good for the weekend; it’s smart maintenance that saves you from the massive expense of reupholstering your seats down the line.
Assembling Your Cleaning Toolkit
Before you start scrubbing, let's get your gear in order. Running back and forth for a brush or a clean towel is frustrating and leads to a sloppy job. A little prep makes the whole process smoother and gets you better results, faster.
Think of it as your pre-flight checklist for a pristine interior.
This isn’t about having a ton of fancy equipment. It’s about having the right equipment. Grabbing an abrasive kitchen sponge might seem convenient, but it can permanently dull your upholstery's finish. Using a single, dirty towel just ends up smearing grime from one seat to the next.
Let's build your simple, effective toolkit.
The Essential Supplies
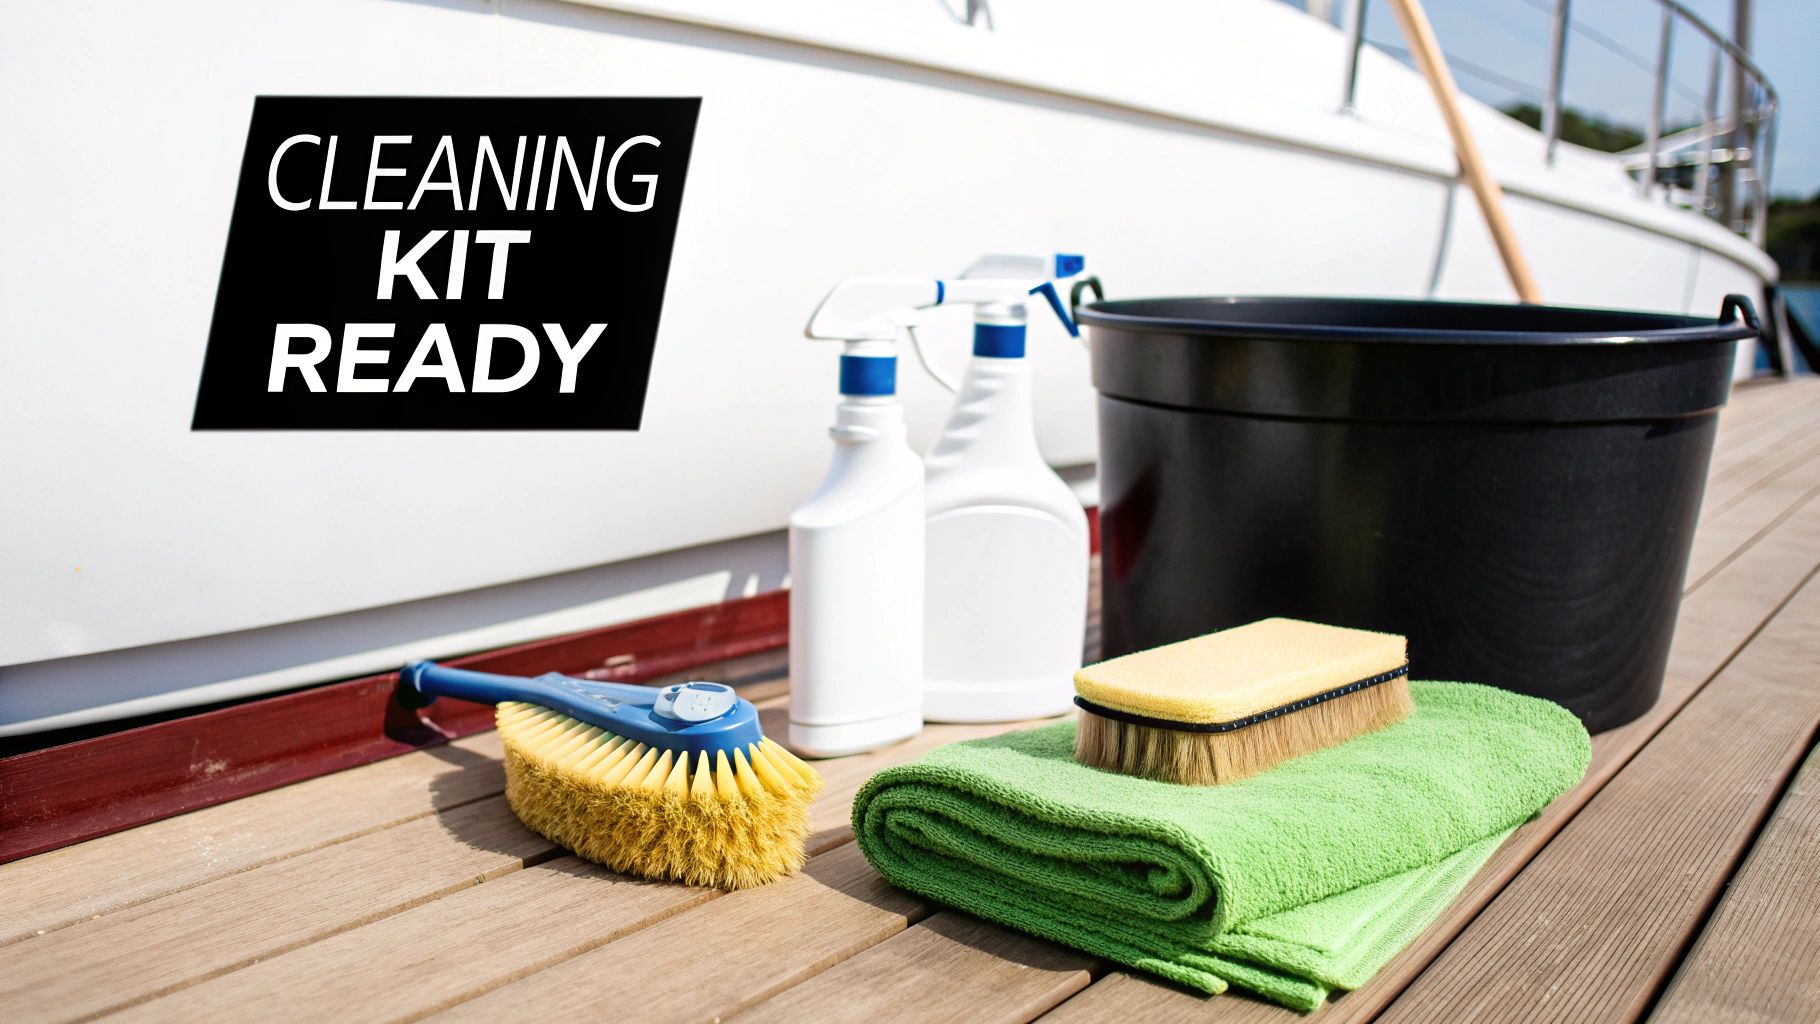
Every item in your kit has a specific job. Using the wrong tool can do more harm than good, creating micro-scratches or stripping the protective coatings right off your seats. Here's exactly what you'll need to pull off a pro-level clean without damaging your investment.
Your Marine Upholstery Cleaning Toolkit
| Tool | Why You Need It | Pro Tip |
|---|---|---|
| Quality Marine Vinyl Cleaner | Look for a pH-balanced formula made for marine vinyl. A product like Boat Juice Interior is a great choice because it cleans and leaves behind UV protection, saving you a step. | Harsh household cleaners can dry out your vinyl, making it brittle and prone to cracking. Stick to marine-grade products. |
| Soft-Bristle Brush | This is your secret weapon. The soft bristles dig into the grain of the vinyl to lift out stubborn dirt without scratching the surface. | An old, soft-bristle toothbrush is perfect for getting into tight seams and around stitching where grime loves to hide. |
| Microfiber Towels (3+) | Having a few clean towels is non-negotiable. It prevents you from spreading dirt from one area to another, ensuring a truly clean finish. | I use a three-towel system: one for cleaning, one for rinsing with fresh water, and a third, dry one for the final wipe-down. |
| Bucket of Clean Water | This is purely for rinsing. You’ll use it to dampen your "rinsing" towel to wipe away any leftover cleaner residue. | Soap residue is a dirt magnet and makes vinyl feel sticky. A thorough rinse is key to a truly clean, non-greasy finish. |
Having these four simple items on hand is all you need to get started.
A quick word of warning: Step away from the green kitchen scouring pads! It’s tempting, but they are vinyl’s worst enemy. They are abrasive and will carve tiny scratches into your upholstery’s topcoat, dulling the shine and giving dirt a perfect place to take hold. Always stick to soft brushes and microfiber.
This straightforward toolkit is built around a simple idea: gentle agitation followed by complete removal. The brush loosens the grime, the marine upholstery cleaner breaks it down, and your multi-towel system gets everything off the surface. If you want to learn more about picking the right formulas, check out our guide on the best marine vinyl cleaner.
Your Step-by-Step Guide to Cleaning Marine Upholstery
Alright, with your gear lined up, it's time to get to work. Your goal isn’t just to scrub away dirt, but to follow a process that delivers a consistent, streak-free finish every time. This is how you avoid the common mistakes that leave your seats looking blotchy or feeling grimy.
First, let's talk prep. Start by giving your upholstery a good vacuuming to get rid of all the loose stuff—sand, cracker crumbs, and pet hair. Trying to wipe away wet sand is like scrubbing your seats with sandpaper; it will just grind fine scratches into the vinyl.
Next, try to work in the shade. If a cleaner dries on hot vinyl before you can wipe it off, it will leave a sticky residue and ugly streaks. A cool, shaded surface is your best friend for a flawless finish.
The Spray, Agitate, and Wipe Method
Here is the technique that makes all the difference. The secret is to work in small, manageable sections, about two feet by two feet at a time. This approach gives you total control and ensures the cleaner doesn't dry before you're ready.
Step 1: Spray. Grab your cleaner and give the section a light misting. A quality marine upholstery cleaner is all you need—you don’t need to soak the seat. A light, even coat is perfect for breaking down the grime.
Step 2: Agitate. Pick up your soft-bristle brush and gently scrub the surface in small, circular motions. This is why the brush is essential; it gets into the pores of the vinyl to lift out dirt, sunscreen, and body oils that a towel alone can't reach. You’ll actually see the gunk lifting away.
Step 3: Wipe. Immediately after brushing, grab a clean microfiber towel and wipe the area clean. Use firm, overlapping wipes to lift both the cleaner and the loosened dirt completely off the surface. Don't just smear it around.
How to Tackle Common Boat Stains
Life on the water throws some unique and stubborn messes your way. Here’s how to handle a few common culprits you're likely to encounter.
- Sunscreen and Lotions: These oily residues are public enemy number one. The key is to agitate the area thoroughly with your brush to break down those oils before you wipe them away.
- Food and Drink Spills: For sticky culprits like soda, you might have some sugary residue left over. After your initial cleaning pass, wipe the area with a second microfiber towel dampened with plain water to clear up any stickiness.
- Fish Blood and Grime: Get to these as soon as you possibly can. A fresh stain is a thousand times easier to remove than one that’s been baked on. The spray-agitate-wipe method works great here.
Here's a pro tip: The faster you get to a spill, the better. A fresh stain on a hot vinyl seat can set in under an hour. Keep a bottle of cleaner and a towel stashed on the boat for quick cleanups—it's one of the smartest habits you can have.
This methodical approach is more than just a cleaning routine; it's a preservation strategy. With the boat cleaner market valued at USD 3.29 billion in 2024 and still growing, it's clear that effective DIY products are essential for boat owners like you. You can discover more insights about the marine cleaning products market if you're curious. By cleaning your seats the right way, you're extending their life and protecting your boat's value.
How to Permanently Remove Mildew Stains
Is there anything more frustrating than those ugly black spots popping up on your white boat seats? Mildew isn't just surface dirt; it's a living fungus that digs its roots into the vinyl. If you only clean the surface, it will come back.
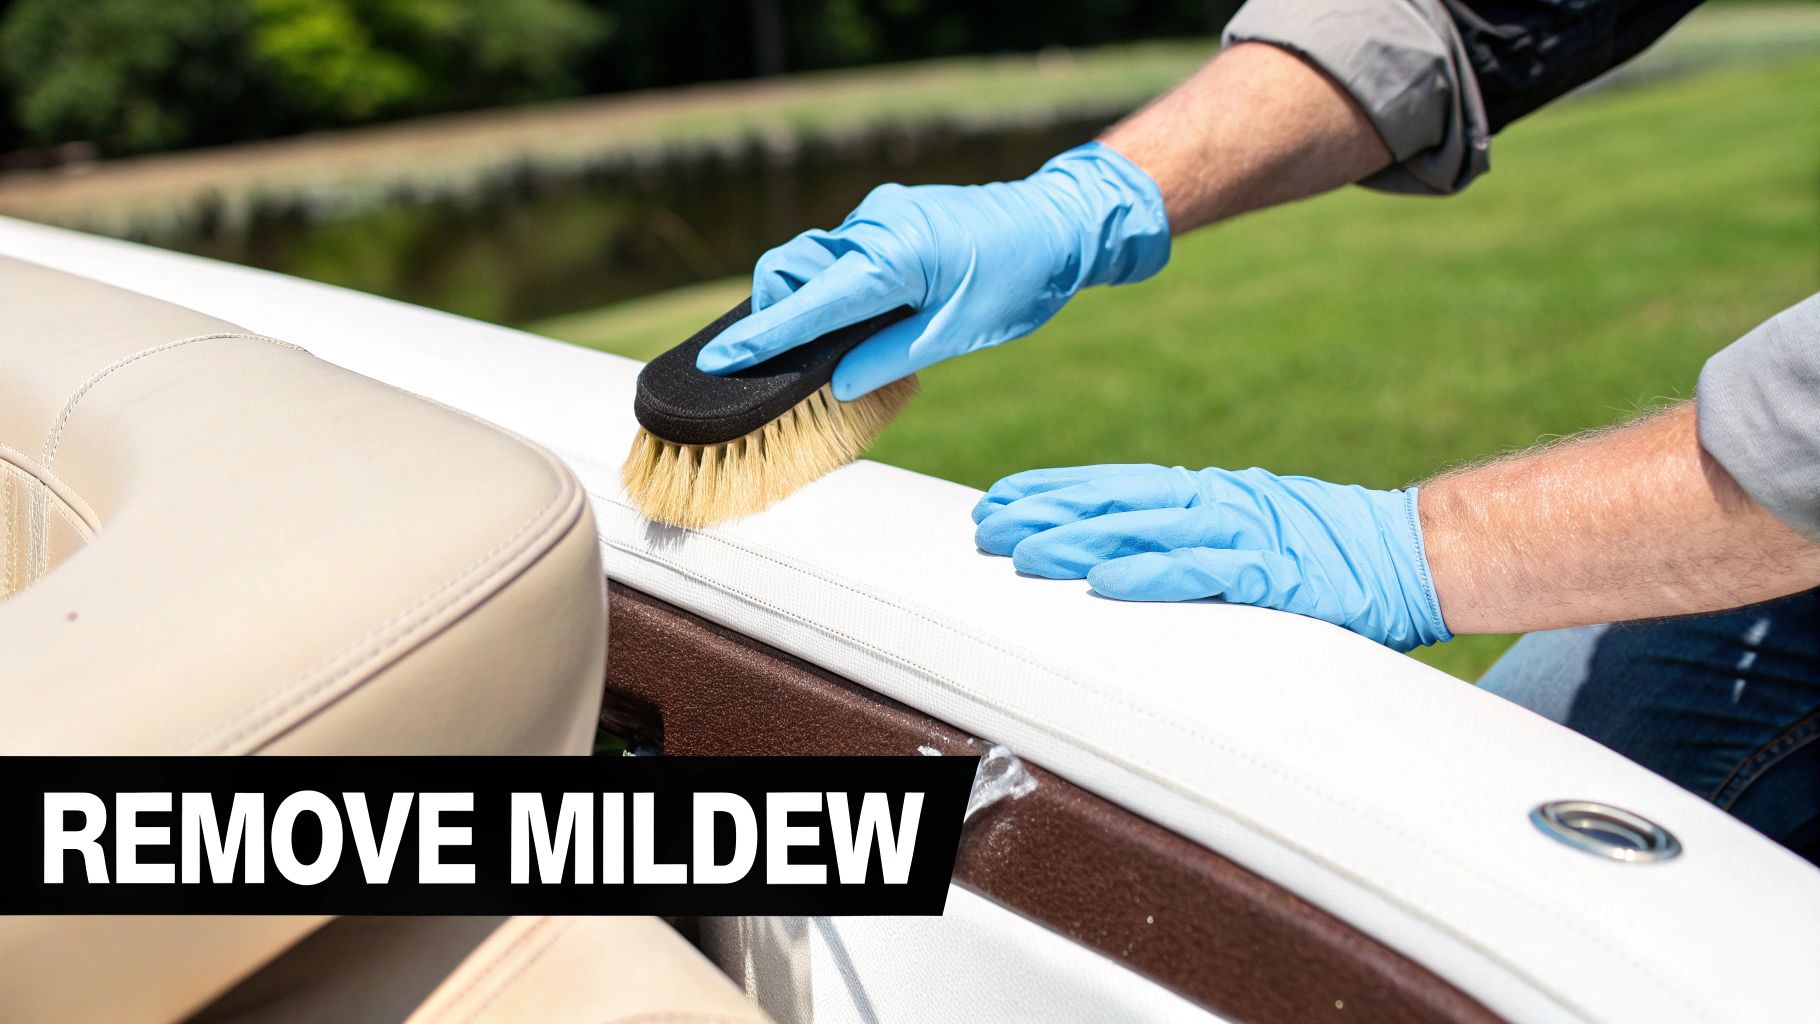
To win the war against mildew, you have to kill it at the source without destroying your upholstery. Blasting it with harsh chemicals like bleach can rot the stitching that holds your expensive seats together. You need a smarter approach.
Your Action Plan for Eradicating Mildew
The secret is using a product specifically formulated to obliterate mildew spores safely. Here’s your step-by-step action plan:
- Step 1: Apply Directly. Spray a dedicated mildew stain remover generously onto all the affected areas. Don't be stingy—you want the product to completely saturate the stains.
- Step 2: Let It Dwell. This is the most crucial part. Let the cleaner sit for at least 5-10 minutes. This "dwell time" allows the active ingredients to penetrate the vinyl and kill the mildew deep down at its roots.
- Step 3: Gently Agitate. Once it's had time to work, grab your soft-bristle brush and lightly scrub the area. You're just helping lift the now-dead spores and any lingering discoloration out of the vinyl's texture.
- Step 4: Rinse and Dry. Finish by thoroughly rinsing the area with fresh water and wiping it completely dry with a clean microfiber towel.
It's tempting to start scrubbing the second you spray the cleaner on, but patience pays off. Letting the product do the heavy lifting chemically is far more effective and much safer for your seats than trying to muscle the stains out.
Prevention Is Your Best Defense
Once the mildew is gone, the last thing you want is for it to return. Mildew loves dark, damp environments with poor airflow—exactly what you create when you throw a boat cover over damp seats.
Get into these simple preventative habits:
- Dry Everything: Before you cover the boat, make sure your seats are 100% dry. A quick but thorough wipe-down after a day on the water makes all the difference.
- Promote Airflow: Use boat cover support poles or vents to create an air gap under your cover. This simple trick prevents condensation from getting trapped, stopping that humid breeding ground from ever forming.
For many boat owners, tackling mildew is a frustrating annual chore. For a deeper dive into techniques, check out our guide on how to remove mildew from boat seats for even more pro tips.
Lock in the Clean: Your Guide to Long-Term Protection
You’ve put in the hard work to get your boat seats looking new. Don't let it all go to waste! This final step is all about playing defense to keep them looking great for the long haul.
Think of it this way: you wouldn't spend a day in the sun without sunscreen. Applying a quality UV protectant spray is the exact same idea for your boat’s vinyl. It’s an essential shield against the elements.
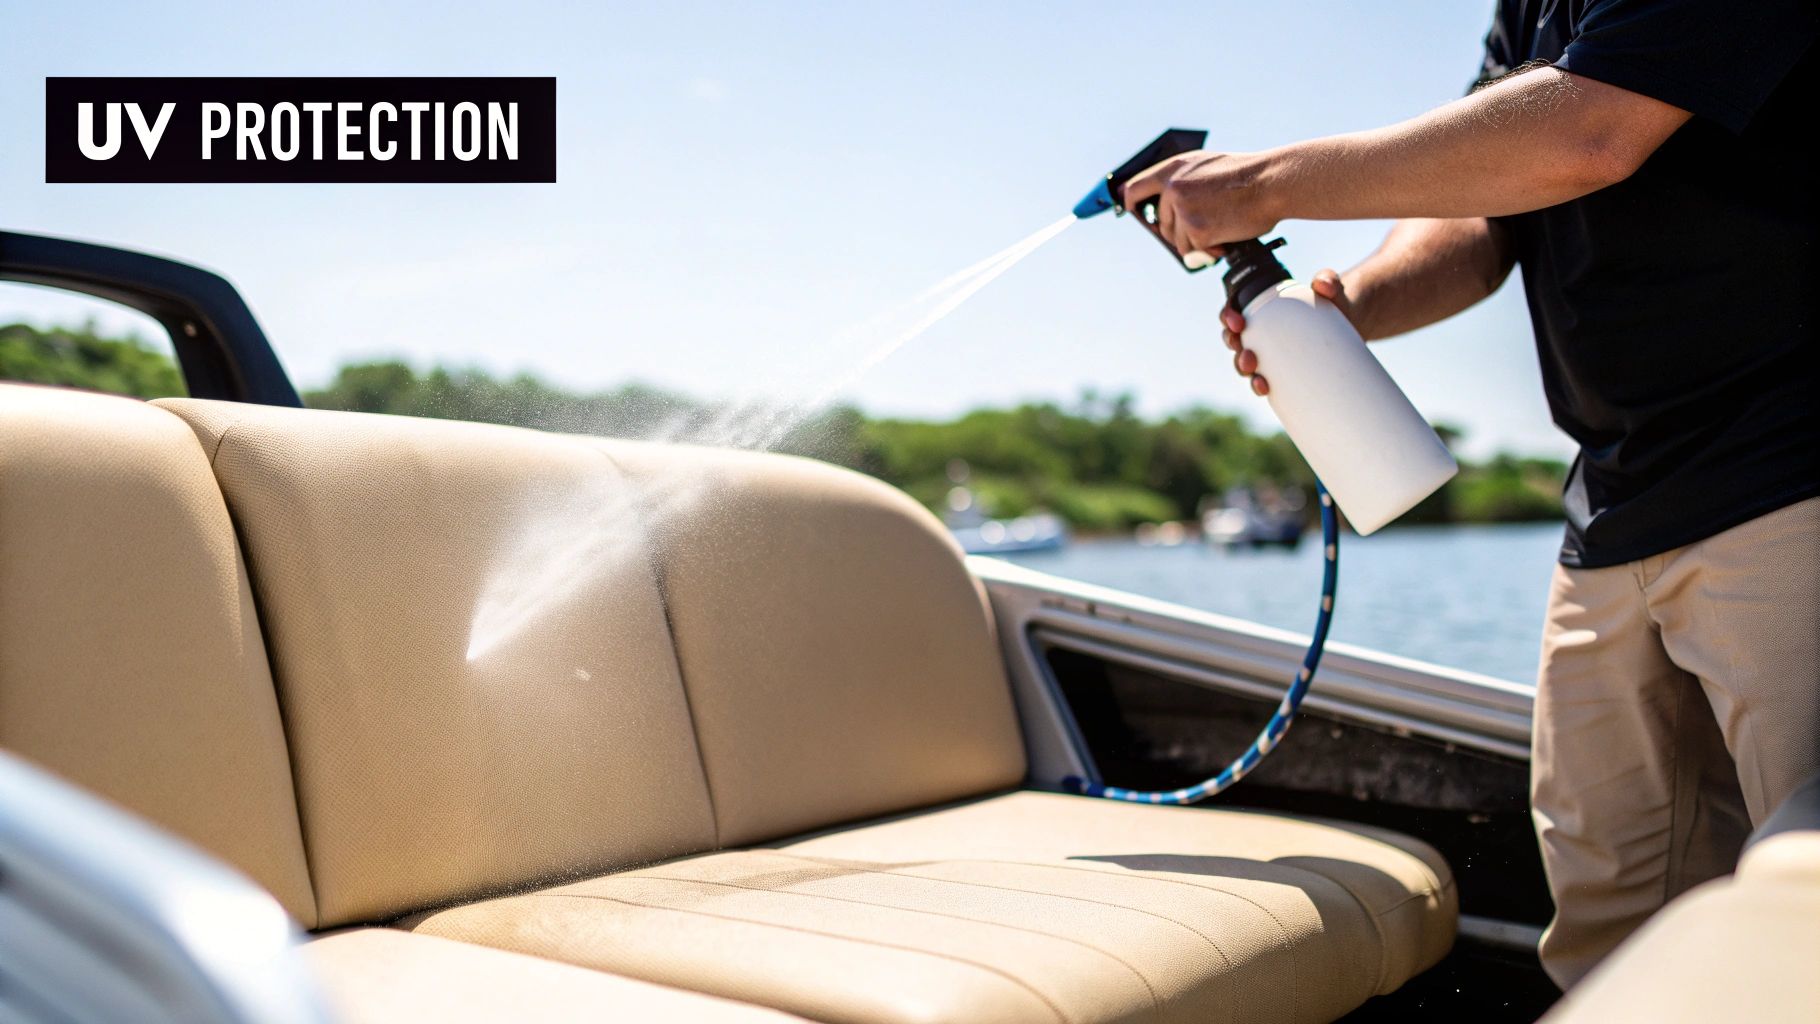
A top-notch product does double duty. It forms an invisible barrier that blocks the harsh UV rays that cause fading and cracking. At the same time, it adds a hydrophobic layer (a fancy way of saying it repels water), so spills and morning dew will just bead up on the surface instead of soaking in.
This one simple step makes future cleanups a breeze. That spilled soda or fishy water will wipe right off, no scrubbing required.
How to Get a Perfect, Non-Greasy Finish
Applying a protectant is easy, but there's a trick to getting it right. The goal is a clean, even coat—not a greasy, slippery mess. Here’s how you do it:
- Step 1: Spray the Towel, Not the Seat. Lightly mist the protectant onto a clean microfiber towel. If you spray directly on the vinyl, you'll get overspray everywhere and an uneven coat.
- Step 2: Wipe It On. Work in small, manageable sections. Gently wipe the product onto the upholstery using overlapping strokes to ensure full coverage.
- Step 3: Buff It Off. This is the most important part. Immediately grab a second, dry microfiber towel and buff the area. This step removes any excess product and leaves you with a perfect satin finish, not an oily shine.
The biggest mistake people make is over-applying the product. A little truly goes a long way. Remember, you’re leaving a protective barrier behind, not an oil slick. The final buff is what makes the seats feel clean and smooth to the touch.
Staying Protected All Season
So, how often should you do this? A good rule of thumb is to reapply your UV protectant every few big trips, or at least once a month during peak boating season. Sticking to this schedule keeps that protective shield strong.
The marine industry is always innovating, with water- and UV-resistant fabrics expected to make up 35% of new boat upholstery by 2025. Even these high-tech materials need proper care to perform their best. Using a protectant after cleaning with a quality marine upholstery cleaner is the key. For a deeper dive, read the full research about marine upholstery fabrics and see where the industry is heading.
Answering Your Top Questions About Cleaning Boat Seats
Even with a solid plan, you're bound to have a few specific questions. Let's cover some of the most common ones I hear from fellow boaters. Nailing these details will help you clean your boat effectively and safely.
Can I Use a Magic Eraser on My Boat Seats?
I know it's tempting, but please, do not use a Magic Eraser on your marine vinyl. Here’s why: a Magic Eraser is a super-fine abrasive, like microscopic sandpaper. When you scrub your seats with it, you're literally stripping away the vinyl's protective topcoat.
Sure, it might look clean for a moment, but you’ve just exposed the raw material to the elements. This leads directly to UV damage, which means your seats will start cracking and fading way sooner than they should. Always stick to a soft-bristle brush—it's the right tool for the job.
How Often Should I Clean and Protect My Upholstery?
The secret to seats that look new for years is consistency. You don't need to spend hours every weekend, but a regular schedule makes all the difference. Here’s a simple rhythm that works all season long:
- After Every Trip: Give your seats a quick wipe with a clean, damp microfiber towel. This takes care of fresh sunscreen smudges or saltwater spray before it can bake in.
- Once a Month: Set aside time for a more thorough cleaning using your marine upholstery cleaner. This is your chance to scrub out the grime that builds up over time.
- Apply UV Protection: Right after that monthly deep clean is the perfect time to reapply a quality UV protectant spray. This keeps that crucial barrier against the sun strong.
Think of it like this: the quick wipe-down is like brushing your teeth every day, and the monthly deep clean is your regular check-up. You need both to keep things healthy in the long run.
What’s the Best Way to Clean the Stitching?
The stitching is a magnet for dirt, but it's also one of the most fragile parts of your upholstery. Scrubbing too hard can weaken the threads and lead to busted seams.
The trick is to be gentle and precise. Lightly spray your cleaner onto a small, soft-bristle brush (an old toothbrush is perfect for this). Carefully work the brush along the stitch lines, letting the bristles lift out the dirt. Follow up by blotting the area with a clean, damp microfiber towel. This targeted approach gets your seams clean without putting stress on the threads.
Your next step is to put together the perfect interior cleaning arsenal for your boat. The Boat Juice Interior Kit bundles everything you need to follow this guide. You get the hard-hitting Interior Cleaner for deep cleaning and the long-lasting Protection spray to guard against the sun. It's the one-two punch for keeping your boat's interior looking, feeling, and smelling amazing all season.