


· By Boat Juice Team
How to Winterize Your Outboard Motor: A DIY Guide for a Perfect Spring Start
When it comes to putting your boat away for the winter, a few key tasks make all the difference. You'll need to stabilize the fuel, flush the engine, change the lower unit oil, fog the cylinders, and disconnect the battery. Getting these five things right is your secret to protecting your engine from freezing temperatures, corrosion, and bad fuel, ensuring it roars back to life on that first perfect spring day.
Why Winterizing Your Outboard Is a Must-Do
You live for that first warm day of the season. But imagine pulling the cover off, ready to hit the water, only to find a cracked engine block or a fuel system completely gummed up. It’s a nightmare scenario that can end your season before it even starts. This is exactly why knowing how to properly winterize your outboard isn't just a suggestion—it’s the single best thing you can do for your investment.

Think of it as putting your motor into a protected hibernation. If you skip this process, you’re leaving it exposed to two major threats: freezing water and degrading fuel. These aren't minor issues; they can cause catastrophic, wallet-draining failures that are completely avoidable.
The Dangers of Ice and Old Fuel
The most immediate and destructive threat is trapped water. Any water left behind in the cooling passages will freeze, expand, and exert incredible force on the surrounding metal. This isn't a small risk. In fact, an estimated 10% of boats in storage suffer damage from poor winter prep.
When water freezes into ice, it expands by about 9%. That might not sound like much, but it’s more than enough to crack an aluminum housing or warp a manifold. The average repair bill for this kind of damage runs from $1,500 to $5,000. You can learn more about proper storage and see what the data says about boat storage industry statistics at WiFitalents.
The science is simple: water expands when it freezes. Inside the tight confines of an engine block, that expansion has nowhere to go but out, leading to cracks in the very heart of your motor.
Just as damaging, though in a different way, is old, untreated fuel. Over a long winter layup, gasoline containing ethanol starts to "phase separate." The ethanol acts like a sponge, pulling moisture from the air. This heavier water-ethanol mixture sinks to the bottom of your tank and feeds a corrosive sludge directly into your engine, clogging up fuel lines, injectors, and carburetors.
If you roll the dice and skip winterization, you’re risking some serious headaches:
- Cracked Engine Block: The most expensive failure, caused by frozen water in the cooling system.
- Gummed-Up Fuel System: Old fuel leaves behind varnish and deposits that can make starting impossible.
- Internal Corrosion: Trapped moisture inside the cylinders causes rust to form on piston rings and cylinder walls.
- Failed Seals and Gaskets: Water in the lower unit can freeze and pop the seals, letting water into your gearcase and destroying the gears.
In the next sections, we'll walk you through exactly how to tackle each step. This isn't just a dry checklist—we'll explain the "why" behind each action so you know you're doing it right for a perfect start next spring.
Setting Up for Success: Your Winterization Toolkit

There’s nothing worse than getting halfway through a job, hands covered in grease, only to realize you’re missing that one crucial item. We’ve all been there—that frantic, last-minute dash to the store can turn a simple afternoon project into a weekend-long headache.
Before you even think about touching the motor, do yourself a huge favor and lay everything out. A little prep work now will make the entire process a hundred times smoother. Think of it as your own personal workshop, ready for action.
The Essential Winterization Toolkit
Here’s a handy checklist of the necessary tools and supplies for winterizing your outboard motor. Getting these items gathered up front is the secret to a stress-free winterization day.
| Category | Item | Pro Tip and Purpose |
|---|---|---|
| Fuel System | Marine Fuel Stabilizer | This is an absolute must-have. It keeps your fuel from turning into gummy varnish over the winter, which can wreak havoc on carburetors and injectors. |
| Internal Protection | Fogging Oil | A quick spray of this stuff coats the inside of your engine—cylinders, pistons, the works—with a protective oil film to stop rust from forming. |
| Lower Unit | Gear Lube & Pump | Grab the correct marine-grade lube for your specific outboard. The pump is essential for filling the gearcase from the bottom up, which pushes out any trapped air. |
| Flushing | Engine Flusher ("Muffs") | This simple device lets you safely run freshwater through the cooling system using a standard garden hose. It's the only way to do it on the trailer. |
| Antifreeze | Non-Toxic Marine Antifreeze | Look for the pink stuff! Never use automotive (ethylene glycol) antifreeze. It’s extremely toxic to aquatic life. Propylene glycol-based antifreeze is safe and made for this job. |
Once you've got the specialty items, round out your kit with a few basics: a good socket and wrench set, a large flathead screwdriver (for the stubborn gear lube plugs), a drain pan, and a healthy supply of shop rags.
A Tip from Experience: When you buy your gear lube, grab a couple of new drain plug gaskets. They’re cheap, and reusing the old, compressed ones is asking for a slow leak. A bit of water in your lower unit over winter can lead to a cracked gearcase, and that’s a repair bill nobody wants.
For an exhaustive, printable shopping list, be sure to check out our complete boat winterization checklist. It covers everything you might need for the entire boat, not just the motor.
Stabilizing Fuel and Flushing the Engine

With your supplies in hand, you're ready to tackle the two most critical jobs for putting your outboard away for the winter. You're going to protect your fuel system from turning into a gummy mess and then flush all the corrosive junk out of its cooling passages.
Think of this as protecting your engine from the inside out. Get these two steps right, and you've won half the battle against springtime headaches.
Treating Your Fuel for Long-Term Storage
Leaving untreated gasoline in your boat over the winter is asking for trouble. Modern ethanol-blended fuels are notorious for breaking down quickly—a process called "phase separation." The ethanol sucks moisture right out of the air, creating a nasty, water-logged sludge at the bottom of your tank.
Trust me, you don’t want that stuff anywhere near your engine. It’s what clogs fuel lines, gunks up filters, and ruins injectors and carburetors. In fact, some studies show that untreated fuel can start to degrade in as little as 30 days, causing varnish that accounts for a whopping 95% of engine start-up failures when a stabilizer isn't used. You can see the full report on boat storage statistics from WiFitalents if you want to dive deeper into how fuel storage impacts boats.
To avoid all this, a quality marine fuel stabilizer is your best friend. Here’s the right way to use it:
- Dose the tank first. Pour the correct amount of stabilizer into your nearly empty tank before you fill up. Check the bottle for the right ratio. This helps it mix in perfectly as the new gas goes in.
- Fill it up. Top off the tank with fresh, low-ethanol fuel to about 90-95% full. A full tank means less air, which means less moisture can condense and get into your fuel.
- Run the engine. This is the step everyone forgets. You have to get that treated fuel circulated through the entire system—the lines, the filters, the works. Just adding it to the tank doesn’t protect the engine itself.
Conveniently, running the engine is also the perfect time to knock out your next task.
Flushing the Cooling System
While that stabilized fuel is making its way through the engine, you can flush out the cooling system at the same time. Throughout the season, your motor’s internal water passages collect salt, sand, minerals, and all sorts of other gunk. For anyone boating in saltwater, this is absolutely non-negotiable. Salt is incredibly corrosive and will eat away at your engine from the inside if left unchecked.
For this, you’ll need a set of "earmuffs" (an engine flusher) and a garden hose. The idea is to force fresh water through the system, pushing out anything that could cause blockages or corrosion over the winter.
Pro Tip: Never, ever run your outboard out of the water without a connected water supply. It only takes a few seconds to fry the water pump impeller, and that's a guaranteed overheating issue come spring.
Here's how to get a good, thorough flush:
- Get the Muffs On: Slide the earmuffs over the water intake vents on both sides of the lower unit. You want a snug fit so water doesn't just spray everywhere.
- Turn on the Water: Connect your hose and turn the spigot on full blast. You should see water squirting out from around the cups.
- Fire It Up: With water flowing, start the engine and let it run at a calm idle. The first thing you should do is look for a solid stream of water coming from the "telltale" outlet. This is your visual proof that the water pump is working and water is circulating properly.
- Let It Run: Keep the engine running for 10 to 15 minutes. This is the sweet spot—long enough to circulate the stabilized fuel through the whole system and to completely flush the cooling passages.
During the flush, keep an eye on that telltale stream. If the water coming out is too hot to comfortably hold your hand under, shut the engine off right away. It means you don't have enough water flow. Try repositioning the earmuffs for a better seal and start again. For a deeper dive on this, check out our guide on the benefits of a salt-dissolving engine flush.
Once your 10-15 minutes are up, shut the engine off but let the hose run for another minute or so for one final rinse. Then, turn off the water, pull off the earmuffs, and trim the motor all the way down. This lets every last drop of water drain out, which is your final line of defense against freeze damage.
Protecting Your Engine's Guts: Fogging & Oil Changes

With the fuel treated and the cooling system flushed clean, it's time to focus on the heart of your outboard. You're going to tackle two of the most critical steps in the entire winterizing process: fogging the cylinders and changing the lower unit oil.
Don't skip these. They are your best defense against internal rust and a catastrophic gear failure come springtime. The good news is they're both quick, easy, and give you that priceless peace of mind knowing your engine is genuinely safe from the hidden damage that a cold, damp winter can cause.
First Up: Fogging the Cylinders to Prevent Rust
Fogging is all about coating the internal metal surfaces of your engine—think cylinder walls, pistons, and the crankshaft—with a fine mist of protective oil. You might wonder why this is necessary. Even a sealed engine "breathes" as temperatures fluctuate, pulling in moist air that’s just begging to form rust on bare metal. A little rust on a cylinder wall can easily score your piston rings, leading to low compression and an expensive repair bill.
Luckily, fogging is about as simple as it gets. You just spray a special fogging oil into the engine's air intake while it’s running. The engine sucks the oil in, coats everything, and then stalls out. Job done.
Here’s how you do it:
- Get it Running: With your engine flusher still hooked up and the water on, fire up the motor and let it settle into a steady idle.
- Pop the Hood: You’ll need to pull the engine cowling off to get to the air intake. This is usually a plastic cover over the carburetor or throttle body openings.
- Start Spraying: Grab your can of fogging oil. While the engine is idling, give a continuous blast of oil directly into each air intake port.
- Let it Stall: Keep spraying until the engine sputters, chokes on the rich oil mixture, and dies completely. Don’t be alarmed by the thick cloud of white smoke—that’s exactly what you want to see! It's a sign that the internals are thoroughly coated.
As a little extra insurance on my four-stroke motors, I’ll often pull the spark plugs and give a quick half-second shot of fogging oil directly into each cylinder. If you do this, just turn the flywheel by hand a couple of times to spread the oil around before putting the plugs back in. This is also the perfect time to pop in a new set of spark plugs for next season.
Next, Service the Lower Unit Gearcase
Think of your outboard’s lower unit, or gearcase, as its transmission. It’s full of precise gears spinning in a bath of specialized oil, often called gear lube. Changing this lube every fall is less about routine maintenance and more about a critical diagnostic check. You’re looking for one thing: water.
If you drain the gear lube and it looks milky or creamy, you've got a problem. That’s the classic sign of water getting past a failing seal. If you put the boat away like that, the trapped water can freeze, expand, and crack the entire gearcase. Trust me, that's one of the most eye-wateringly expensive repairs you can face.
Crucial Tip: Always check your lower unit oil in the fall. Finding a milky mess in October gives you all winter to get a seal replaced. Finding it in April means you're stuck waiting on a slammed mechanic while your buddies are already on the water.
Here’s the simple rundown for changing your gear lube:
- Get Situated: Trim your outboard all the way down so it's vertical. This ensures every last drop of the old oil drains out. Put a drain pan underneath.
- Pull the Plugs: Using a big flathead screwdriver, locate the two gearcase screws. Always remove the bottom drain/fill screw first. A little oil will start to drip out. Now, remove the upper vent screw, and the oil will start flowing freely.
- Inspect the Old Oil: Take a good, long look at what comes out. Is it dark but still translucent? Great. Is it milky white or looks like coffee with too much cream? That’s water. Also, check the magnetic tips on the drain plugs for any chunky metal shavings, which could be a sign of heavy gear wear.
- Pump in the New: Grab your gear lube pump and screw the fitting into the bottom drain hole. Pump the fresh lube in until you see a clean, bubble-free stream of new oil coming out of the top vent hole.
- Seal It Up: This part is a little tricky, but you’ll get the hang of it. While keeping pressure on the pump to prevent oil from running back out, reinstall the top vent screw first. Once it’s snug, you can quickly remove the pump from the bottom hole and reinstall the bottom drain screw. Always use new gaskets on both plugs to ensure a perfect seal.
With the fuel system stabilized, the engine flushed, the cylinders fogged, and the lower unit sporting fresh lube, your motor's internal components are officially buttoned up for the winter. You’ve just knocked out the most technical—and most important—parts of the job.
Final Touches for Battery and Exterior Protection
You’re on the home stretch. The heavy lifting is done—your engine’s internals are tucked in and ready for their long winter nap. These last few steps are all about safeguarding the rest of your investment: the battery that brings your motor to life and the exterior that takes a beating all season.
Spending a little time on these details now is the difference between a quick, easy launch in the spring and dealing with a dead battery or a dull, chalky finish. Trust me, it’s a small bit of effort for a huge payoff.
Smart Battery Care for a Guaranteed Spring Start
Just disconnecting your battery and leaving it in the boat is one of the most common—and costly—mistakes you can make. All batteries, even when they aren't hooked up, will slowly lose their charge. Cold weather just makes it happen faster, and can permanently damage the battery's ability to hold a full charge.
Leaving it connected is even worse. Believe it or not, your boat's electronics create a small but constant "parasitic draw" even when they're off. Come springtime, you’re almost guaranteed to find a battery that's not just dead, but one that might not even take a charge anymore.
Key Takeaway: A dead battery doesn't just delay your first trip of the year; it often leads to sulfation. That’s a chemical process where lead sulfate crystals build up on the battery plates, permanently crippling its ability to hold a charge.
To keep your battery in prime condition, here’s what you need to do:
- Pull it out. Always disconnect the negative (black) cable first, then the positive (red). Then you can safely lift the battery out of the boat.
- Give it a quick clean. Look for any fuzzy white or greenish corrosion on the terminals. A simple wire brush and a paste of baking soda and water will scrub that stuff right off.
- Store it properly. Find a cool, dry spot that's off the concrete floor—a shelf in the garage or basement is perfect. Concrete can leech a battery's charge, and the temperature swings near the floor aren't great for it.
- Use a trickle charger. This is the secret weapon. Hook your battery up to a smart battery tender. These gadgets are brilliant; they monitor the battery and give it a slow, steady charge only when it needs it, keeping it topped off without overcharging.
This simple routine practically guarantees your battery will be as ready to go as you are when the warm weather returns.
Protecting Your Boat's Exterior from Winter Grime
With the engine handled, it's time to give the outside of your boat a little love. Over the season, your motor's cowling and the boat's gelcoat get covered in a film of water spots, dirt, and general grime. If you let that sit all winter, it can actually etch into the finish, leaving you with a dull, faded look that’s a real pain to buff out later.
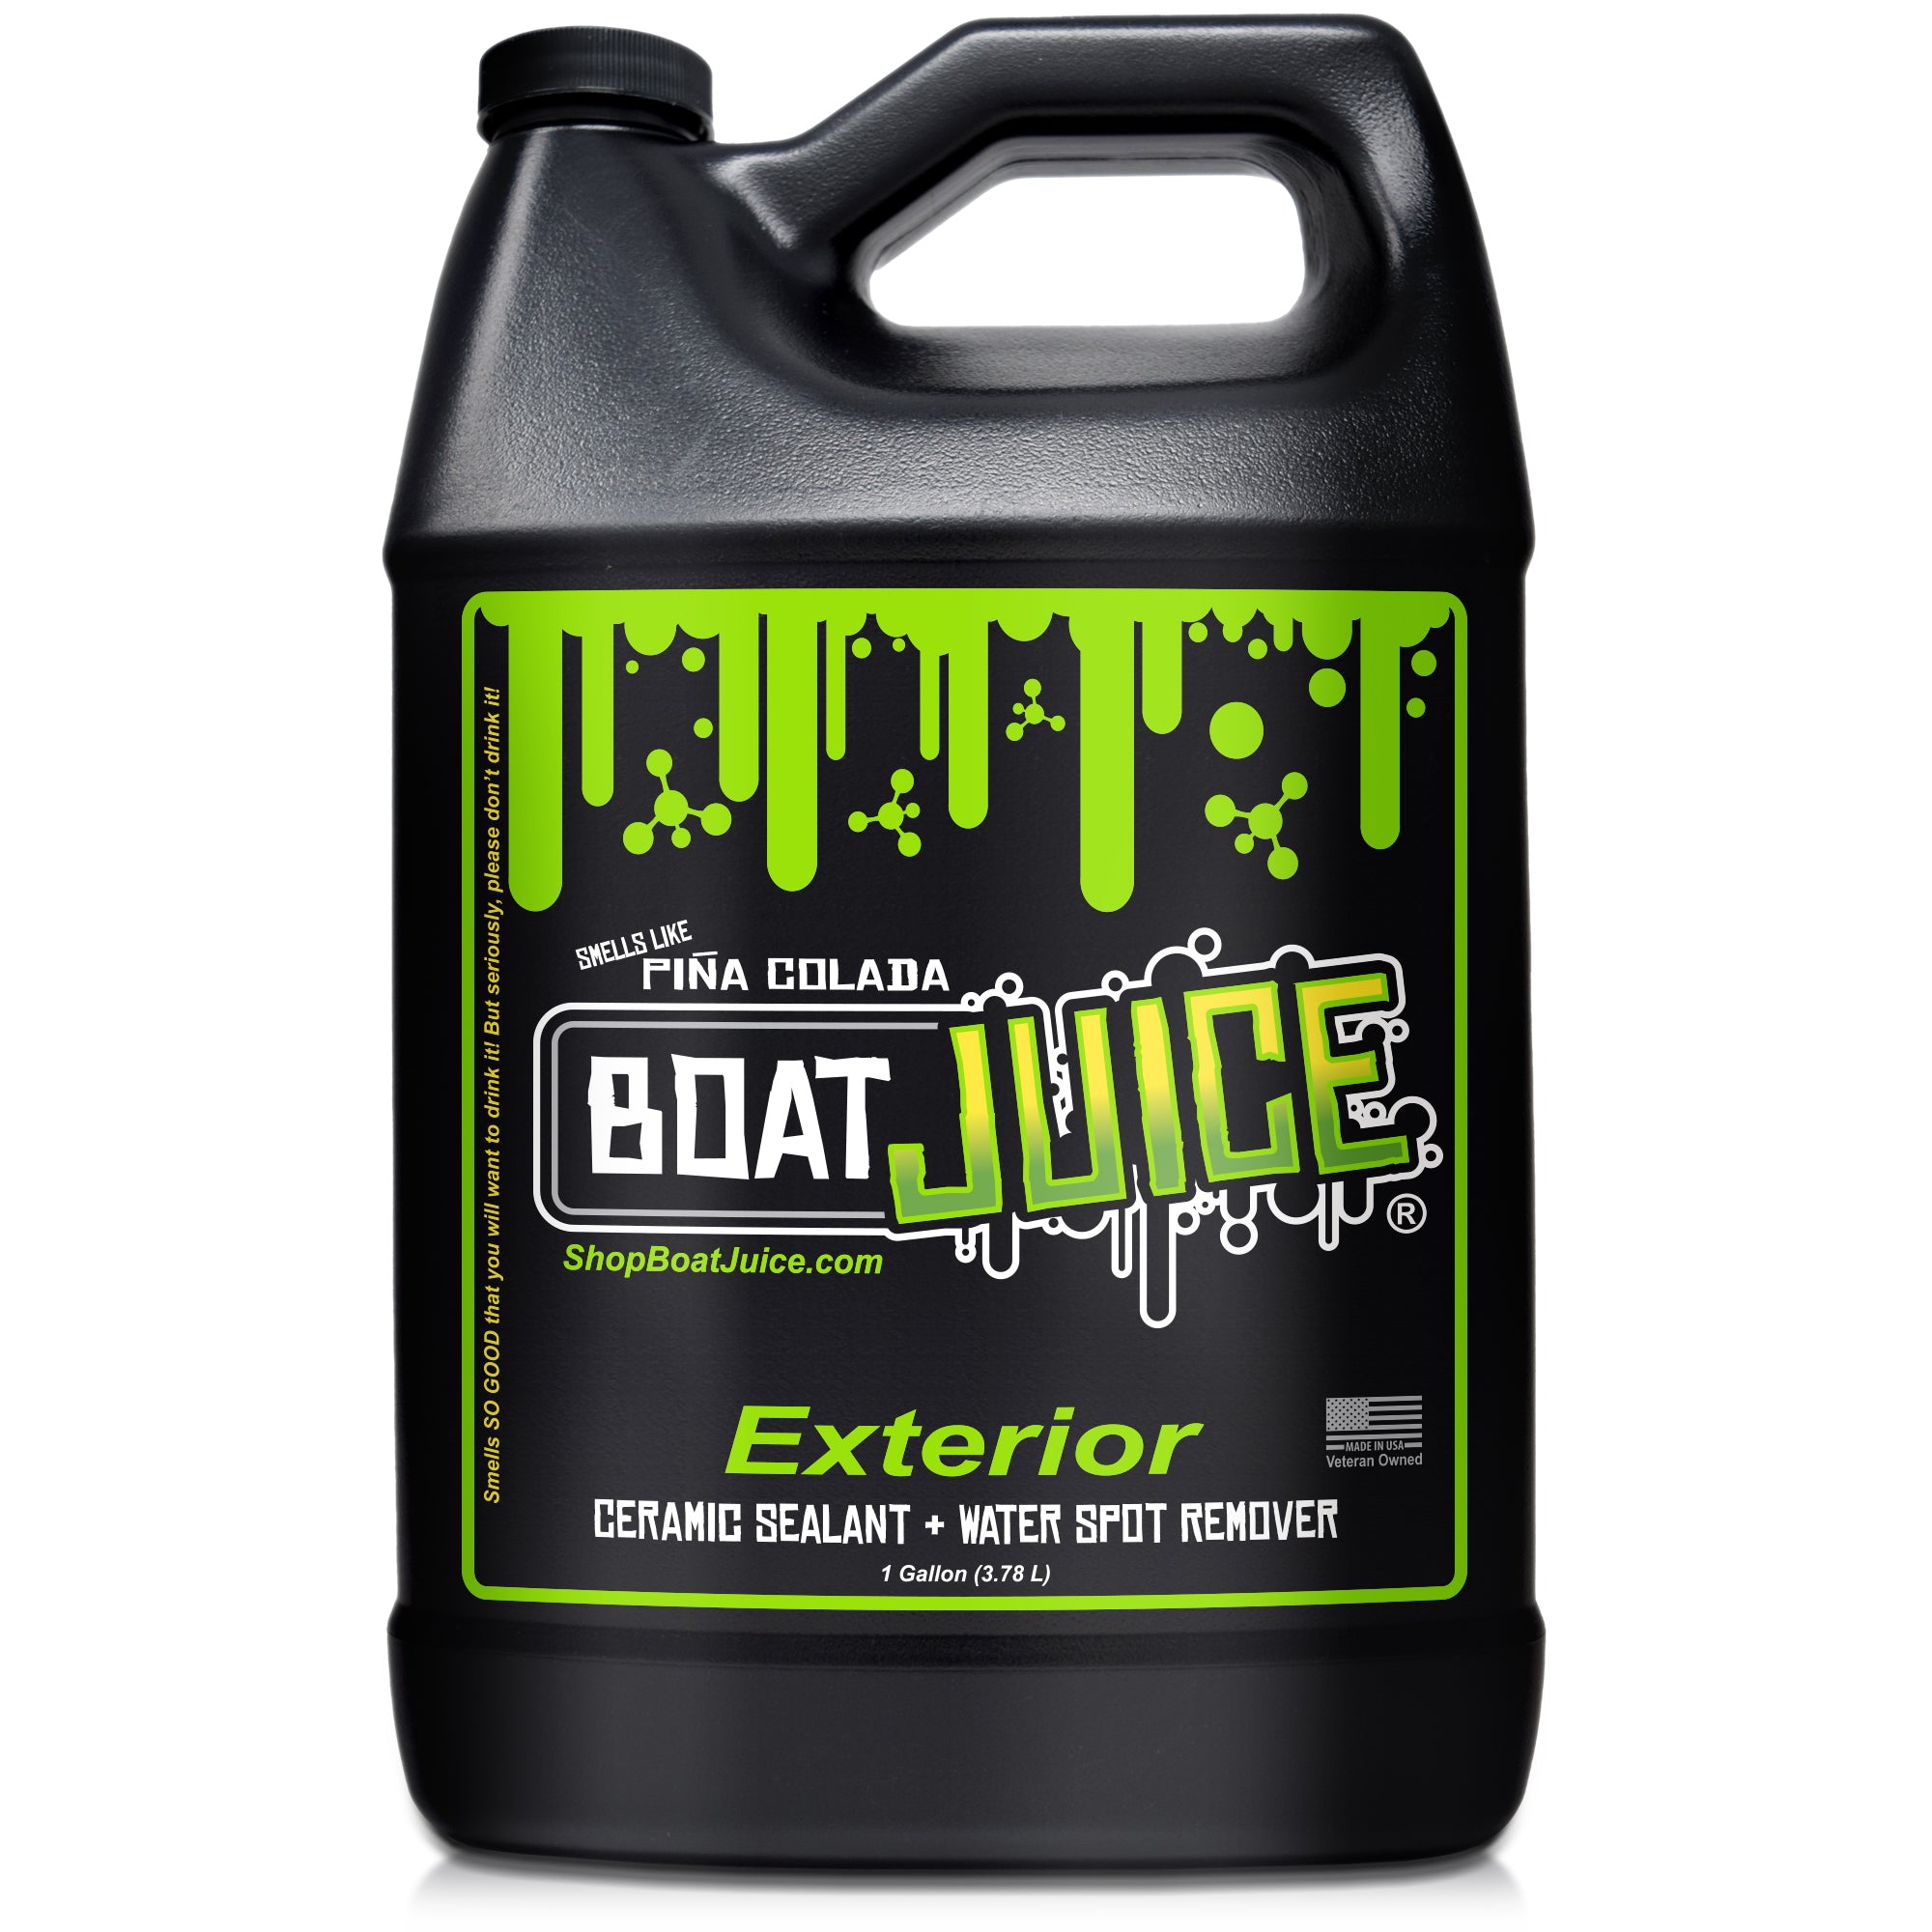
A final, thorough cleaning is non-negotiable. You’ll want a cleaner that's strong enough to cut through the season's buildup but gentle enough that it won't strip off any wax you already have on there. This is where a pH-neutral product like Boat Juice Exterior really shines because it's tough on grime but safe on your boat's delicate surfaces.
Wiping down your gelcoat and hardware removes the gunk that can lead to corrosion. In fact, an estimated 10% of uncovered, outdoor-stored boats suffer from some form of corrosion, sometimes causing nasty problems like seized steering cables. For a deeper dive into cleaning, check out our guide on how to safely pressure wash your boat before putting it away.
Once it's clean, applying a protective sealant is your final power move. A spray-on sealant like Boat Juice's Protection adds a slick, hydrophobic layer that literally repels water. This is huge for preventing mildew under the boat cover and stops new water spots from forming—a headache that plagues around 30% of all trailered crafts, according to some boat storage industry statistics on wifitalents.com.
Here’s a quick workflow for that final exterior detail:
- Wash it down: Give the entire boat, including the outboard cowling, a solid wash with Boat Juice Exterior. Its pH-neutral formula is safe on every surface and won’t strip your existing wax.
- Dry it off: Grab a clean microfiber towel and dry everything completely. Trapped moisture is the enemy when your boat is in storage.
- Seal it up: Mist on a layer of Boat Juice Protection. I like to work in sections, just spraying it on and wiping it off with a fresh microfiber. This leaves a slick, protective barrier.
Taking care of this now not only protects your boat's finish but also makes that first spring cleanup incredibly fast. You’ll be amazed at how good your boat looks when you pull that cover off.
Your Top Winterization Questions Answered
Even the most thorough guide can leave you with a few lingering questions. When it comes to winterizing your outboard, getting the small details right is what gives you true peace of mind. So, let's tackle some of the most common things boaters ask us.
We hear these questions all the time from owners who want to make sure they're doing the job right. From fuel tanks to antifreeze, let’s clear things up so you can wrap up your season with confidence.
Can I Just Use Car Antifreeze in My Outboard?
This is a big one, and the answer is a hard no. You absolutely cannot use automotive antifreeze (the green or orange stuff) in your engine. That kind of antifreeze contains ethylene glycol, which is incredibly toxic to fish and aquatic plants. Discharging it is illegal and for good reason. On top of that, it can slowly eat away at the rubber seals and gaskets inside your motor.
Always, always use a non-toxic, propylene glycol-based "marine" or "RV" antifreeze. You'll know it by its signature pink color. It’s made specifically for this job—it's biodegradable, safe for the environment, and won't harm your engine's components while still giving you the freeze protection you need. It’s a simple switch that makes all the difference.
Is It Better to Store the Fuel Tank Full or Empty?
For almost any modern boat with a sealed fuel system, the answer is to store it nearly full. We recommend filling the tank to about 90-95% and then treating that fresh fuel with a quality marine stabilizer. A full tank leaves very little room for air, which is the real troublemaker here. Less air means less moisture can creep into your tank.
Why this works: Condensation is the enemy. As the temperature outside swings up and down all winter, any moist air inside a half-empty tank will condense into water droplets. That water sinks to the bottom of your fuel, leading to corrosion and giving nasty microbial gunk a place to grow. A full tank pretty much stops this from happening.
After you've added the stabilizer, you have to run the engine for a good 10-15 minutes. Don't skip this! It's the only way to get that protected fuel circulated through the entire system, from the fuel lines and filters right up to the injectors. The only exception? For some older boats with vented tanks or if you're storing portable cans, many old-school mechanics will still argue it’s best to drain them completely.
What Happens If I Don’t Fog My Engine?
Skipping the fogging oil is like leaving your engine’s insides out in the cold, damp air all winter long. Your engine "breathes" as temperatures fluctuate, and that pulls moisture right onto the bare metal of your cylinder walls, piston rings, and bearings. Before long, rust starts to form.
When you go to start it in the spring, that corrosion can cause some serious headaches—think poor compression from rusted rings, scored cylinder walls, or in a worst-case scenario, a completely seized engine. Fogging oil coats everything with a thin, waxy film that moisture can't penetrate. It’s a five-minute job that costs next to nothing but can save you from thousands in repairs.
Do I Really Need to Change the Lower Unit Oil Now?
Yes, and changing your gear lube in the fall is way smarter than putting it off until spring. The real reason isn't just about getting fresh oil in there; it's your single best chance to check for water. If water has gotten past a seal, it will turn the oil a milky, creamy color—like a nasty coffee-colored milkshake.
If you find that milky oil and leave it all winter, the trapped water can freeze, expand, and crack your entire gearcase. That’s a catastrophic and brutally expensive failure.
- Fall Check: You find milky oil now and have all winter to get a simple seal replacement done at the shop.
- Spring Check: You find milky oil in April and join the long line of people waiting for repairs while your friends are already out on the water.
Changing the oil in the fall is a win-win. You either confirm your seals are healthy and get a chore out of the way, or you catch a major problem when it’s still a minor fix.
With your motor tucked away safely for the winter, all that's left to dream about is spring cleanup. When you finally pull that cover off, Boat Juice makes it dead simple to get that showroom shine back. Our pH-neutral Exterior cleaner and long-lasting Protection spray are the perfect one-two punch for getting your boat looking amazing for day one of the new season. Check out our full line of detailing products at shopboatjuice.com.