


· By Boat Juice Team
How to Apply Teak Oil to Your Boat for a Flawless Finish
There's nothing quite like the warm, golden glow of a freshly oiled teak deck. It’s one of the most satisfying DIY projects you can tackle on your boat, transforming weathered wood into something truly stunning. The secret? It all comes down to cleaning and prepping the surface properly, then applying thin, even coats with a simple rag. You let the wood drink up the oil it needs and wipe away the excess for a finish that’s durable, not sticky.
Why Bother Oiling Your Boat's Teak? It's Worth Every Minute
That gorgeous teak on your boat isn't just there for its classic good looks. It was chosen for its incredible durability and natural, oil-rich composition. But even the toughest teak can't fight off the relentless assault of sun, salt, and moisture forever. Sooner or later, it will surrender, which is why knowing how to properly apply teak oil is one of the most valuable skills you can have as a boat owner.

Think of oiling not as a cosmetic touch-up but as a critical investment in your boat’s health and long-term value. When you apply a good quality teak oil, you’re not just painting a pretty layer on top. You are feeding the wood from the inside out and replenishing the natural oils that the elements have stripped away.
What’s Happening to Your Wood, Anyway?
Deep inside, teak contains a natural oil called tectoquinone, which is a fantastic defense against rot and pests. The problem is that harsh UV rays and constant salt spray break down these protective oils on the surface, leaving the wood exposed. That familiar, silvery-grey color you see on weathered teak is actually oxidation—the first sign your wood is losing its natural protection.
A solid oiling routine does so much more than just bring back that rich, honey color. It actually soaks deep into the wood's pores to create a barrier that pushes water away, prevents the deep-set cracks that come from drying out, and stops mildew from ever getting a foothold. This is why you put in the work—to feed and protect the wood itself.
The difference this makes is staggering. Ever since teak became the go-to marine wood in the 1950s, boaters have learned a hard lesson: untreated teak can absorb 20-30% more moisture, which can lead to serious cracking in just one season. Properly oiled teak, however, can easily go 5-7 years before needing major refinishing, saving you a fortune in potential repairs. If you're a data person, you can see how the demand for these products has evolved in various teak oil industry reports.
More Than Just Maintenance—It's a Transformation
Oiling your teak is one of the most rewarding jobs on the boat because it's a project with immediate, dramatic results. You get to watch tired, faded wood come back to life, making your entire boat look cared for and sharp. It's your best defense against the big three culprits of wood damage:
- UV Damage: The oil acts like sunscreen for your wood, stopping the sun from bleaching the color and breaking down the fibers.
- Saltwater Corrosion: It forms a water-repelling (hydrophobic) barrier that keeps corrosive salt from getting into the grain and causing damage after a day on the water.
- Cracking and Splitting: By keeping the wood hydrated, you stop it from becoming brittle and developing those ugly cracks that are a nightmare to fix.
Once you understand why you're doing it, the process stops feeling like a chore and becomes more of a protective ritual for your vessel. This guide will walk you through exactly how to get it done right, step by step.
Choosing Your Finish and Gathering Your Supplies

Alright, with the "why" out of the way, it’s time to get your supplies organized. Getting everything you need now will save you from those frantic mid-project runs to the marine supply store. Trust me, nothing kills the momentum of a good project like a missing roll of tape.
First things first: what are you going to put on that beautiful wood? The world of teak finishes can feel overwhelming, but for a DIY boat owner, it really comes down to a few main choices.
Teak Oil vs Other Finishes
Let's cut through the noise. You’ve basically got three paths you can go down: traditional teak oils, modern synthetic sealers, or a full-blown varnish.
For the vast majority of us who want a great look without professional-level effort, a true teak oil is the way to go. We're talking about a blend of penetrating oils like tung and linseed. This stuff soaks deep into the wood, nourishing it from the inside out and leaving that classic, rich, matte look that’s never slick or slippery underfoot.
The biggest advantage of oil is that it doesn’t form a film on the surface, so it will never chip, flake, or peel like a varnish. This makes your life a whole lot easier when it's time for a quick touch-up coat next season. While you can get deep into topcoats, like when you might want to use a clear coat on a boat, a good oil is the simplest and most authentic way to keep teak healthy.
To make the choice even clearer, here’s a quick breakdown of your options.
Comparing Your Teak Finish Options
Use this table to quickly decide which teak finish is the right fit for your boat and maintenance style.
| Finish Type | Appearance | Maintenance Level | Best For |
|---|---|---|---|
| Teak Oil | Rich, warm, natural matte | Low-to-Medium (reapply 1-2x per season) | Boaters who love the traditional look and want easy, no-fuss upkeep. |
| Synthetic Sealer | Can be natural or glossy, forms a surface film | Low (lasts longer than oil) | Those wanting longer protection between coats and don't mind a less traditional feel. |
| Varnish | High-gloss, "yacht finish" | High (very difficult to prep and repair) | Show boats or owners committed to a significant amount of meticulous work. |
Ultimately, it's a personal call, but if you want that timeless look and a straightforward maintenance plan, teak oil is almost always the right answer.
Your Complete Supply Checklist
Having the right tools is just as important as the finish you choose. A good orbital sander, for instance, is a lifesaver on a big swim platform, but for small handrails or trim, sanding by hand is totally fine.
Here’s the shopping list you'll need to get a pro-level result every time:
- A Quality Teak Oil: Don't cheap out here. Get a marine-grade oil specifically made to handle sun, salt, and water.
- Sandpaper: You’ll want 120-grit to start. It’s aggressive enough to open up the wood grain and get rid of any old, stubborn finish. Follow that up with 220-grit to get everything silky smooth.
- Lint-Free Rags: This is crucial. Old, clean cotton t-shirts are perfect. Microfiber cloths work well, too. Just do not use paper towels—they’ll shred and leave a mess of tiny fibers in your finish.
- Painter's Tape: Use a good quality blue painter's tape to protect your gelcoat, non-skid surfaces, and any stainless hardware. A few minutes of careful taping will save you hours of cleanup.
- Tack Cloths: These sticky little cloths are your secret weapon. After sanding, they pick up every last speck of dust, which is key to a flawless finish.
- Disposable Gloves: Oiling is a messy job. A box of nitrile or latex gloves will keep your hands from getting stained.
- A Foam Brush: While rags are best for applying oil to large, flat areas, a cheap foam brush is perfect for getting into tight corners, joints, and around hardware.
Once you have your gear laid out and ready to go, you can move on to the most important part of the job with confidence.
The All-Important Prep Work for a Perfect Finish
If you want that stunning, rich teak finish, you have to be willing to put in the prep work. Seriously. I'd say a great result is 90% preparation. This is where you set the stage for a finish that not only looks professional but actually lasts. Rushing this part is the biggest mistake you can make.
Properly prepping the wood allows the oil to soak deep into the grain, which is the whole point—it's key for both protection and achieving that beautiful color we're all after. This isn't just a quick wipe-down; it's the most crucial step of the whole job.

Whether your teak is just a little dirty or has gone completely silver-grey, the journey always starts with a deep clean. You have to get rid of every trace of old oils, salt, grime, and any mildew that’s made a home there. Think of it as creating a perfectly clean canvas for your new oil.
Start with a Deep Clean
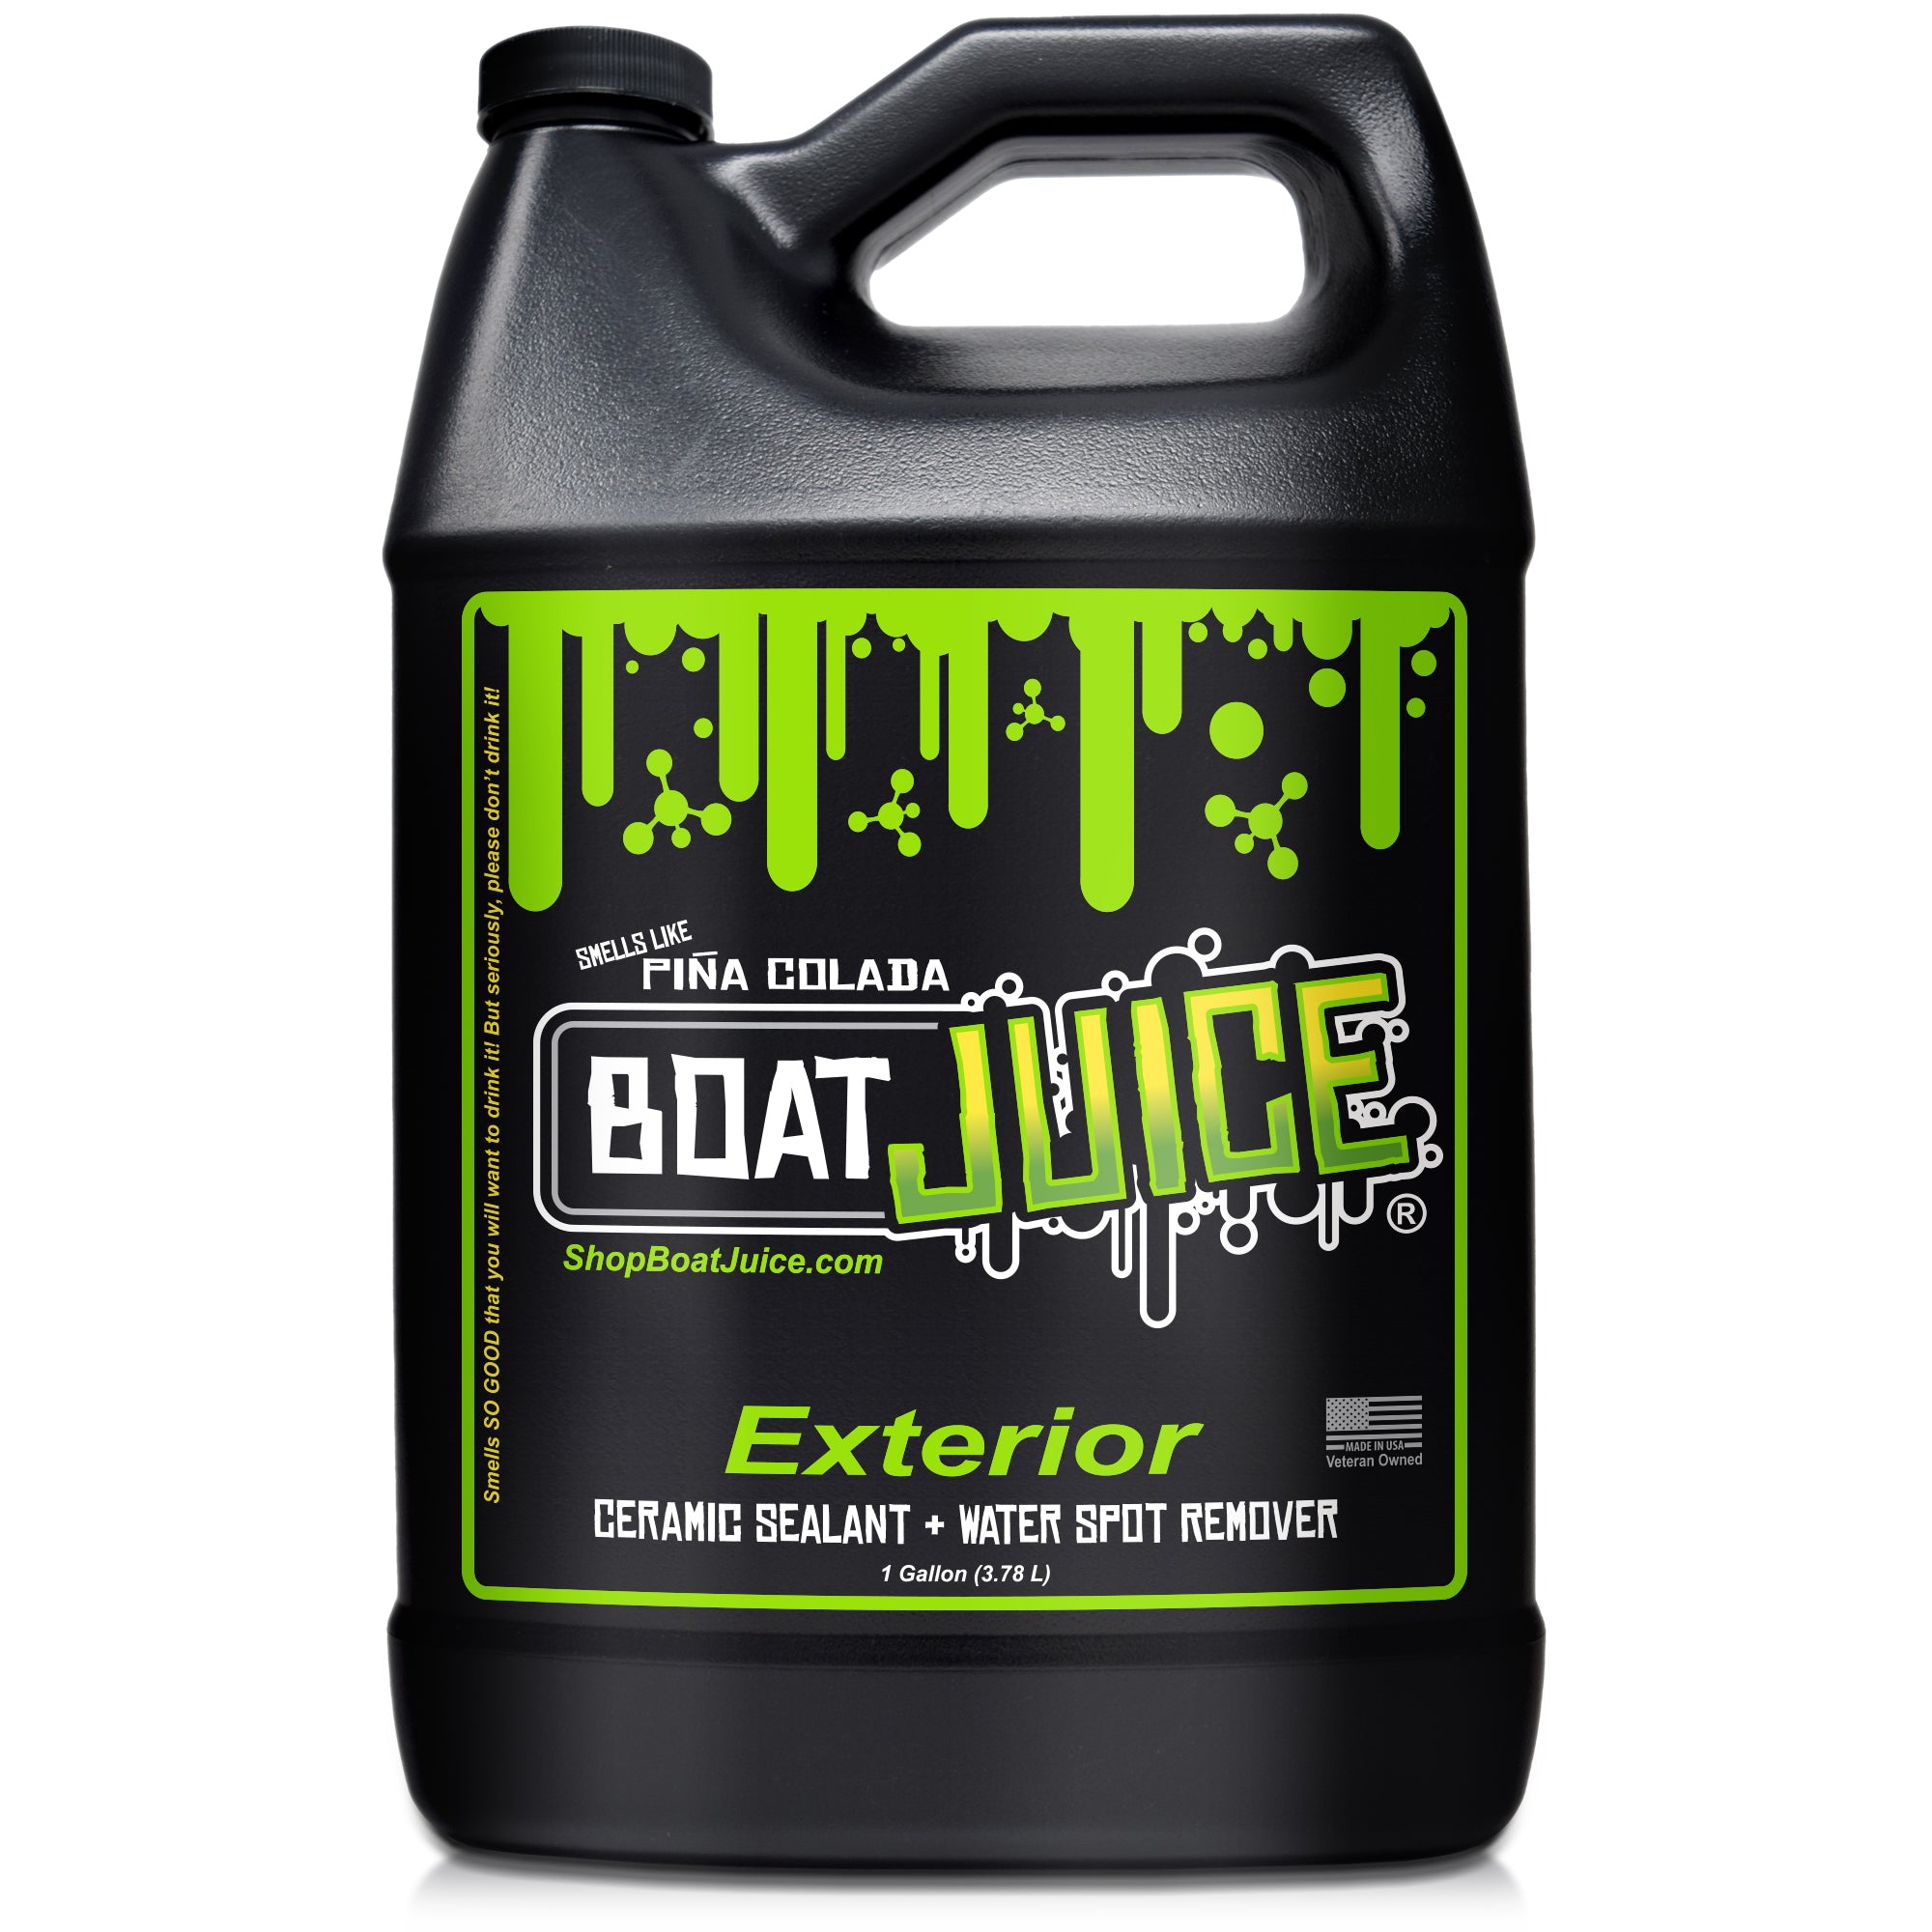
For teak that’s just dealing with surface-level grime, a good pH-neutral cleaner is your best bet. Using a pH-neutral formula is smart because it’s gentle on the wood fibers and won't harm the surrounding gelcoat if you splash some. For this kind of wash, something like Boat Juice's Exterior Cleaner is perfect for cutting through the dirt and salt without being too harsh.
Now, if your teak is looking really tired—weathered, grey, maybe with some black mildew spots—you'll need to bring out the big guns. This usually means a two-part teak cleaning system. These kits come with an acidic cleaner to strip away the heavy weathering and a neutralizer that brightens the wood back to its natural tone and rebalances its pH.
Here’s the step-by-step cleaning process:
- Wet the Teak First: Always soak the teak with fresh water before you apply any cleaner. This stops the cleaner from absorbing too quickly and creating blotchy spots, ensuring an even clean.
- Scrub Across the Grain: Apply your cleaner and get to scrubbing with a soft-bristle brush. The key here is to always scrub across the grain. This technique pulls the dirt out of the wood's low spots without tearing up the soft part of the grain.
- Rinse Like You Mean It: Wash the area thoroughly with tons of fresh water. You want to make sure every bit of cleaner is gone so it doesn't interfere with your new oil finish. While you're at it, it's a great time to wash down the rest of the boat. If you need some pointers, check out our guide on how to clean fiberglass boats.
Sanding for Perfect Oil Absorption
Once the teak is clean and has had at least 24-48 hours to dry completely, it’s sanding time. Please, don't skip this. Sanding isn't just about making the surface smooth; it’s about opening up the wood’s pores so the teak oil can penetrate as deeply as possible. This is what gives you that long-lasting, deep protection.
Start with 120-grit sandpaper. An orbital sander works great for big, flat areas like decks, but for smaller trim, do it by hand. This initial pass removes any leftover grey fibers and exposes a fresh layer of wood. After that, switch to 220-grit sandpaper for a final pass to get it perfectly smooth and ready for oil.
Pro Tip: After sanding, your teak will be covered in fine dust. A dry rag won't cut it. Grab a tack cloth or a clean rag lightly dampened with mineral spirits and wipe everything down. This picks up every last particle, ensuring you get a flawless, professional-looking finish.
There's a reason so many boaters tackle this job in the spring or fall. It's not just about cooler weather; it's about preparing the boat for the season ahead or protecting it for winter storage. With your teak clean, sanded smooth, and totally dust-free, you’re finally ready for the fun part: laying down that beautiful oil.
Bringing Your Teak Back to Life: The Art of Applying Oil
Alright, this is the moment you've been waiting for. Your teak is clean, prepped, and ready to be revitalized. Watching that beautiful wood soak up its first drink of oil is easily the most satisfying part of the entire job. This is where all that prep work really shines. Let's walk through how to get a durable, streak-free finish that looks like it was done by a seasoned pro.

Before you even think about cracking open that can, take a quick look at the weather forecast. You're looking for a dry day with temps somewhere between 60-80°F (15-27°C). The most important tip I can give you is to always work in the shade. If you try to apply oil in direct sunlight, it will dry on the surface too quickly, preventing it from soaking deep into the wood grain.
The Saturation Coat: Your Foundation for Success
We call the first coat the "saturation coat," and the name says it all. Your goal is to let that thirsty, newly-prepped wood drink up as much oil as it possibly can. Don't be stingy here; apply a generous, even layer.
Your best tool for this is a clean, lint-free cotton rag. It gives you so much more control than a brush and makes it easy to avoid drips and runs. Just pour a little oil into a separate container, dip your rag, and begin wiping it onto the teak. Always follow the direction of the wood grain and work in manageable sections—tackle one plank or one handrail at a time.
The biggest rookie mistake is failing to wipe away the excess oil. Let that first coat sit and soak in for about 15-30 minutes. Once that time is up, the wood has absorbed all it can. Grab a clean, dry rag and thoroughly wipe down the entire surface to remove every last bit of puddled oil. If you skip this, you’ll be left with a sticky, tacky disaster that’s a magnet for dirt and mildew.
Untreated teak can lose up to 40% of its natural oil content in just one year of sun exposure, but a proper oiling can restore its integrity. For this first coat, expect the wood to be thirsty. If you really want to get into the weeds and master wood finishing techniques, understanding how the wood absorbs the finish is key.
Building Depth with Additional Coats
Once you've wiped away the excess from that first coat, it's time to let it dry. The exact timing depends on the oil you're using and the weather conditions, but you'll generally wait anywhere from a few hours to overnight. The surface must feel completely dry to the touch—not oily or tacky—before you move on.
For your second and any subsequent coats, the technique changes. You’re going to use much less oil.
- Apply Lightly: Simply dampen your rag with oil; don't saturate it.
- Wipe On, Wipe Off: Apply a very thin, even coat and then immediately wipe off the excess with a clean rag. There's no need to wait for it to soak in like you did for the first coat.
- Repeat as Needed: For most boat projects, 2-3 coats is the sweet spot. You're aiming for a rich, even color without a thick, glossy film on the surface.
After your final coat, give the teak at least 24 hours to cure before you let it get wet or walk on it. This crucial waiting period allows the oil to fully harden deep within the wood fibers, giving you that lasting, beautiful protection you worked so hard for.
Maintaining Your Teak and Avoiding Common Mistakes
Alright, your teak is looking fantastic. The deep, warm glow is back, and it probably feels great to see it restored. So, how do you keep it that way? The good news is you've already done the heavy lifting. Maintaining that beautiful finish is way easier than the initial restoration project if you get into a simple routine.
Your maintenance schedule really boils down to where you boat and how much sun your teak gets. If your boat is constantly baking under the intense Florida or Arizona sun, you'll want to plan on a light re-oiling every 3-4 months. For those of you in more moderate climates, a good oiling in the spring and a quick touch-up in the fall is usually all you need.
Sidestepping the Common Pitfalls
Knowing what not to do is just as important as knowing what to do. Let’s walk through the most common slip-ups so you can get a perfect, lasting finish every time.
-
Applying Oil Too Thickly: This is, without a doubt, the number one mistake. Piling on thick coats just creates a sticky, gummy mess that never really cures and becomes a magnet for dirt. Always apply thin, even coats and wipe away every last bit of excess oil.
-
Skipping the Prep Work: I get it, you want to get to the good part. But trying to put fresh oil over dirty, gray, or weathered wood is a complete waste of time. The oil simply can't penetrate through the grime. You’ll end up with a splotchy, uneven look that fails in no time. Always clean and sand first.
-
Using the Wrong Stuff: Please, step away from the household cleaners and furniture polish. Many of these products contain silicones or waxes that seal the wood and block the oil from soaking in. Even worse, some can actually promote mildew growth, leaving you with ugly black spots.
The most important thing to remember is this: a sticky finish is a dirty finish. If you leave a film of oil sitting on the surface, it’s going to grab onto every bit of dust, pollen, and mildew it can find. Your goal is for the teak to absorb the oil, not wear it like a jacket.
Keeping Your Teak Looking Fresh All Season
Between those bigger re-oiling sessions, a few small habits can make a huge difference. A simple freshwater rinse after a day out on the boat does wonders to remove corrosive salt crystals. If you want to dive deeper, understanding the general Care And Maintenance Of Outdoor Teak Furniture provides a great foundation for long-term preservation.
For an extra layer of protection, you can give the teak a quick wipe-down with a quality marine UV protectant. For example, Boat Juice's Protection Spray adds a sacrificial UV-blocking layer that shields the oil from the sun's harsh rays. This step takes just minutes but can significantly extend the life of your finish and keep that 'just-oiled' look for much longer.
And remember, teak care is just one piece of the puzzle. For a full rundown on keeping your entire boat looking sharp, check out our comprehensive guide on how to detail a boat.
Common Questions and Curveballs When Oiling Teak
Even with the best instructions, a few questions always pop up when you're in the middle of a project. That's totally normal. Let's tackle some of the most common hangups so you can get this done with confidence.
So, How Often Do I Really Need to Re-Oil This Stuff?
The honest answer? It completely depends on where you boat and how much sun it gets. The real goal is to re-oil the teak before it starts to look thirsty and faded, not after.
If your boat lives in a high-sun area like Florida or Southern California, you've got to be more on top of it. A light re-oiling every 3 to 4 months is a solid benchmark. For those in more moderate climates, a good oiling in the spring and another in the fall is usually plenty to protect the wood year-round.
Can I Just Slap a New Coat of Oil Over the Old Finish?
I get this question a lot, and it's a hard "no." Trying to apply fresh teak oil over an old varnish or sealer is a one-way ticket to a sticky, ugly disaster. Teak oil is a penetrating finish, which means it has to soak deep into the bare wood grain to work.
Think of old varnish as a sheet of plastic wrap over the wood. The oil can't get through. It will just pool on the surface, refuse to dry properly, and turn into a gummy mess. You absolutely have to strip and sand everything down to clean, bare wood before you even think about opening that can of oil.
Teak Oil vs. a Sealer: What's the Real Difference?
It’s easy to get these two mixed up. The simplest way to think about it is that teak oil feeds the wood from the inside out, giving you that rich, classic, matte look. A sealer, on the other hand, builds a protective film that sits on top of the wood.
Oiling requires more frequent maintenance, but the upside is that it's incredibly easy to touch up a spot. Sealers can last longer, but when they eventually fail by chipping or peeling, stripping them off can be a massive, time-consuming nightmare. For most DIY boaters who love that timeless look, oil is the way to go.
Why Did My Freshly Oiled Teak Turn Dark and Splotchy?
This is a frustrating one, but it's almost always caused by the same thing: mildew. This happens when you don't wipe off all the excess oil after you're done applying it. That thin, sticky film of leftover oil is the perfect meal for mildew spores.
If you're facing this, you'll unfortunately need to go back to square one. Get a good two-part teak cleaner to kill the mildew, let the wood dry out completely, and then re-oil it. This time, be religious about wiping off every last bit of excess oil until the surface is dry to the touch.
Keeping your boat's teak in top shape is a truly rewarding part of the ownership experience. Your next step is to grab your supplies, check the weather, and set aside a weekend to bring that beautiful wood back to life. With the right prep and a little patience, you'll get a result you can be proud of all season long. Check out our complete lineup and find the perfect kit for your boat.