


· By Boat Juice Team
Your 2026 Guide on How to Winterize an Inboard Outboard Boat Engine
As the days get shorter and a chill hits the air, it’s time to think about putting your boat away for the winter. If you own a boat with an inboard-outboard (I/O) engine, this isn't a task you can afford to skip. Properly winterizing your boat is your single best defense against a cracked engine block—and the massive repair bill that comes with it in the spring.
This guide will walk you through the entire process, step-by-step, making sure you don't miss a thing. You'll understand not just how to do it, but why each step is so critical for protecting your investment.
Why Winterizing Your I/O Engine Is Non-Negotiable

When water freezes, it expands by about 9%. That might not sound like much, but that expansion force is powerful enough to crack cast iron and aluminum like an eggshell. Your I/O engine's cooling passages and exhaust manifolds are full of water, and just one hard freeze can turn that water into a destructive force, leading to catastrophic damage.
Proper winterization is about more than just freeze protection, though. Think of it as a complete layup procedure that protects your entire investment, ensuring your boat is ready to hit the water the moment warm weather returns.
More Than Just Freeze Protection
Beyond the immediate threat of a cracked block, letting your boat sit all winter without proper prep invites a host of other problems. Untreated fuel goes bad, old oil becomes acidic, and damp winter air starts corroding sensitive engine parts from the inside out.
Here’s why every part of the process is so important:
- Fuel System Health: Today's ethanol-blended fuels can start to degrade in as little as 60 days. Adding a quality fuel stabilizer prevents sticky varnish and gum from forming, which would otherwise clog your fuel injectors, carburetor, and filters, causing a real headache come springtime.
- Engine Longevity: Changing the engine oil and sterndrive gear lube is crucial. It gets rid of water, metal shavings, and other nasty contaminants that can eat away at internal components during storage. Starting the season with fresh fluids is one of the smartest things you can do for your engine's long-term health.
- Corrosion Prevention: Fogging the engine might seem like a small step, but it’s a big deal. It coats the cylinders, pistons, and valves with a fine layer of protective oil, stopping rust from forming on bare metal surfaces exposed to humidity.
Imagine pulling the cover off your boat next spring, excited for the first trip, only to discover the engine block is cracked from frozen water. It's a real nightmare that, according to industry data, happens to about 20-30% of unprepared boat owners in northern climates every year. Neglecting winterization leads to over $500 million in annual repair costs, with I/O engines being especially vulnerable. You can read more about these common winter storage failures and their staggering costs.
Step 1: Drain Every Drop from the Cooling System
Alright, let's get to the single most important part of this whole job. If you do nothing else, getting every last drop of water out of your engine's cooling system is what prevents a cracked block come spring. And trust me, that's a repair bill you never want to see. It’s not as simple as just opening a few drains; you have to be thorough.
First things first, get your boat out of the water and sitting level on the trailer. Now, you need to find all the drain plugs. The number and locations will be different depending on your engine manufacturer—Mercruiser and Volvo Penta have their own quirks—so your owner's manual is your best friend here. Look for them on the engine block, exhaust manifolds, and any coolers.
You're typically looking for plugs that are blue, brass, or have a wing-nut style handle that makes them easy to remove without tools. As you pull each one, you should get a nice gush of water.
Clearing Hidden Blockages
Now, here's a crucial tip: just pulling the plugs isn't always enough. Throughout the season, sediment, rust scale, or pieces of an old impeller can settle in the bottom of the cooling passages. This gunk can create a dam that traps water, even when the drain plug is out.
This is the one detail that trips up so many boat owners. You’ll see the water stop draining and think you’re done, but a small blockage could be holding back just enough water to crack the block. A single hard freeze is all it takes for that trapped water to expand with enough force to destroy cast iron.
To make sure you're truly empty, grab a small piece of stiff wire or even a straightened-out paperclip. Carefully poke it into each drain hole and wiggle it around. You'll probably be surprised when another stream of water comes pouring out from behind the crud you just broke up. Some boaters even use a quick blast of compressed air (at a low PSI) to blow out any stubborn bits.
Flush Salt and Grime (If You Boat in Saltwater)
Once you’re positive the system is completely drained, it’s a great time to give it a good flush with fresh water. This is non-negotiable if you spend your time in salt or brackish water. Salt is brutally corrosive, and leaving it to sit inside your engine all winter is asking for trouble.
Put the drain plugs back in, hook up a set of "earmuffs" to your outdrive's water intake, and run the engine for a few minutes on a garden hose. You're not trying to get it hot, just circulate fresh water to push out all that old gunk and salt. When you're done, you must drain the entire system again. If you want to get really serious, you can learn more about specialized engine flushing techniques to combat salt buildup.
Fill with Antifreeze for Peace of Mind
With the engine totally free of water, it's time for the final layer of protection: filling the system with marine-grade antifreeze. This isn't just a backup plan; it's your ultimate guarantee against freeze damage. The antifreeze pushes out any last droplets of water and contains corrosion inhibitors to protect your engine’s internal metal surfaces all winter.
Here’s the most common way to do it:
- Grab a 5-gallon bucket and fill it with undiluted, non-toxic marine engine antifreeze (it’s usually pink).
- Attach a hose from the bucket to your engine's raw water intake, right where the earmuffs go. You can find simple kits for this at any marine store.
- Start the engine. It will suck the antifreeze right out of the bucket and through the entire cooling system.
- Keep your eyes on the exhaust outlets. As soon as you see that pink antifreeze spitting out, you know the block and manifolds are full. This typically takes 3-5 gallons.
Let it run for another 30 seconds after you see the pink stuff, then shut it down. That’s it. Your cooling system is now fully protected, giving you the confidence that your engine is safe no matter how low the temperature drops. Nailing this task is the core of learning how to winterize an inboard outboard boat engine the right way.
Step 2: Take Care of Fuel, Oil, and Other Vital Fluids

Now that the engine is protected from freezing, it's time to address the fluids. The single biggest reason boats don't start in the spring is bad fuel.
Modern gasoline, especially the ethanol-blended stuff, has a shockingly short shelf life. It leaves behind a gunky, varnish-like residue that clogs everything in its path—fuel lines, filters, and the tiny passages in fuel injectors or carburetors.
Don't let this be you. Fuel-related headaches are the #1 cause of spring no-starts. Untreated gas can go bad in as little as 60 days, gumming up the works. The National Marine Manufacturers Association tracks over 100,000 fuel-related failures every year, hitting owners with an average repair bill of $1,200.
Stabilize Your Fuel for the Long Haul
Your best defense is to prep your fuel for its long winter nap. The mission here is twofold: keep the gas from going bad and stop water from collecting in your tank.
It’s a pretty straightforward process:
- Top Off the Tank: On your last outing, fill your tank to about 95% full. Why not 100%? You need a little room for expansion. A nearly full tank leaves very little space for air, which carries moisture. Less air means less condensation.
- Add Fuel Stabilizer: Grab a bottle of quality marine-grade fuel stabilizer. Follow the directions on the bottle to the letter—the ratio is critical.
- Run the Engine: This is the step everyone forgets. After adding the stabilizer, you must run the engine for 5-10 minutes (with the muffs on). This pulls the treated fuel through the entire system, protecting the lines, filters, and injectors or carb.
Think this is overkill? A recent study showed boats stored with stabilized, full tanks had an 85% reduction in hard starts. This is also a perfect time to check your fuel-water separator filter and consider changing it.
Change the Engine Oil and Filter Now, Not Later
Putting your boat away with old, dirty oil is like going to bed without brushing your teeth—you're just asking for trouble. Throughout the season, your oil collects moisture, acids, and all kinds of gunk. Letting that corrosive cocktail sit in your engine all winter can etch bearings and other critical metal parts.
The right time to do this is right after your last run, while the engine is still warm. Warm oil flows out easily, carrying all those suspended contaminants with it. A warm oil change can drain up to 25% more gunk than a cold one, making a big difference in your engine's long-term health.
Don’t Forget the Sterndrive Gear Lube
Alright, last but certainly not least is the gear lube in your sterndrive. This is one of the most important checks you can perform, as it can save you from a financial disaster.
When you drain the gear lube, look at it closely. If it looks milky, like coffee with too much cream, you have a problem. That milky color means water is getting past your drive seals. Catching this in the fall gives you the whole off-season to get those seals replaced. If you don't, that trapped water can freeze, expand, and crack your gearcase—a repair that easily runs into the thousands.
Even if the lube looks perfect, change it anyway. This ensures the gears are bathed in fresh lubricant with all its protective additives, ready for a new season. Your sterndrive takes a beating; fresh lube is the least you can do for it.
Step 3: Shield Internal Engine and Electrical Components

Now that you've handled the fluids, it's time to guard the engine's internals against a silent killer: corrosion. The humid, still air inside a stored engine is the perfect environment for rust to form on critical parts like cylinder walls, pistons, and valve seats. This is precisely why fogging oil is a non-negotiable part of winterization.
Think of fogging oil as a waxy, rust-proofing shield. When you spray it into a running engine, it atomizes and sticks to every metal surface inside, creating a protective film that stops corrosion cold all winter long.
How to Properly Fog Your I/O Engine
Fogging the engine is a quick job you'll tackle right after running antifreeze through the system, since the engine needs to be running. All you need is a can of marine-specific fogging oil, which usually includes a thin straw to help you aim.
With the engine idling on your earmuffs or antifreeze bucket, aim the spray directly into the carburetor's throat or the air intake for fuel-injected models. As you spray, the engine will start to bog down and produce a lot of smoke. Don't panic—that's exactly what you want! It means the oil is circulating.
Industry reports from recent marine tech conferences are eye-opening. They show 35% of post-winter engine teardowns trace back to rust and corrosion, often from humidity pitting the cylinders and valves. An engine that isn't fogged can lose 10-15% of its compression and up to 20% of its lifespan just from sitting. You can explore more detailed insights on effective winterization techniques to see just how critical it is.
Keep spraying until you've used enough oil to stall the engine completely. This ensures a thick, even coat is left on everything. For a typical V8, this usually takes about 8-12 ounces of oil. Once the engine cuts out, you're done. Resist the urge to start it again.
Lubricate External Moving Parts
With the inside protected, let's move to the outside. Your steering system, throttle cables, and shift linkages can all seize up over the winter from moisture and inactivity. Grab a grease gun and a can of quality moisture-displacing lubricant and hit every pivot point you can see.
- Steering Cable: Find the grease zerk on the steering tube where the cable emerges and pump it full of fresh marine grease. Keep going until you see the old, dirty grease get pushed out.
- Throttle and Shift Linkages: Lightly spray the pivot points for your throttle and shift cables.
- Gimbal Bearing and U-Joints: Check your owner's manual to locate the grease fittings for the gimbal bearing and U-joints, then give them each a few pumps of grease.
Battery Care for a Guaranteed Spring Start
The last thing you want next spring is a dead boat. Leaving your battery hooked up all winter is a surefire way to kill it, as it will slowly discharge. If it drains completely, it can freeze, crack, and become a useless, acid-leaking paperweight.
The best move is always to pull the battery out of the boat completely. Take it home to a garage or basement where it won't be exposed to extreme cold.
Once you have it out, give the terminals a good cleaning with a wire brush and a paste of baking soda and water to neutralize any corrosion. Store the battery on a block of wood—never directly on a concrete floor. Hook it up to a smart battery tender. These devices maintain the battery at a perfect charge all winter, so it's ready for action on that first beautiful spring day.
Step 4: Final Cleaning and Storage Preparations

You’ve tackled the technical side, but don't throw the cover on just yet. Putting your boat away dirty is a huge mistake. It’s an open invitation for mold, mildew, and pests, and it lets stains bake themselves into your surfaces for months. A thorough cleaning now will save you a world of scrubbing next spring.
Deep Cleaning Your Boat's Exterior
First, let's deal with the hull. After a season of fun, it's sporting a layer of scum and that stubborn waterline "beard." If you leave that stuff on, it can permanently etch your gelcoat.
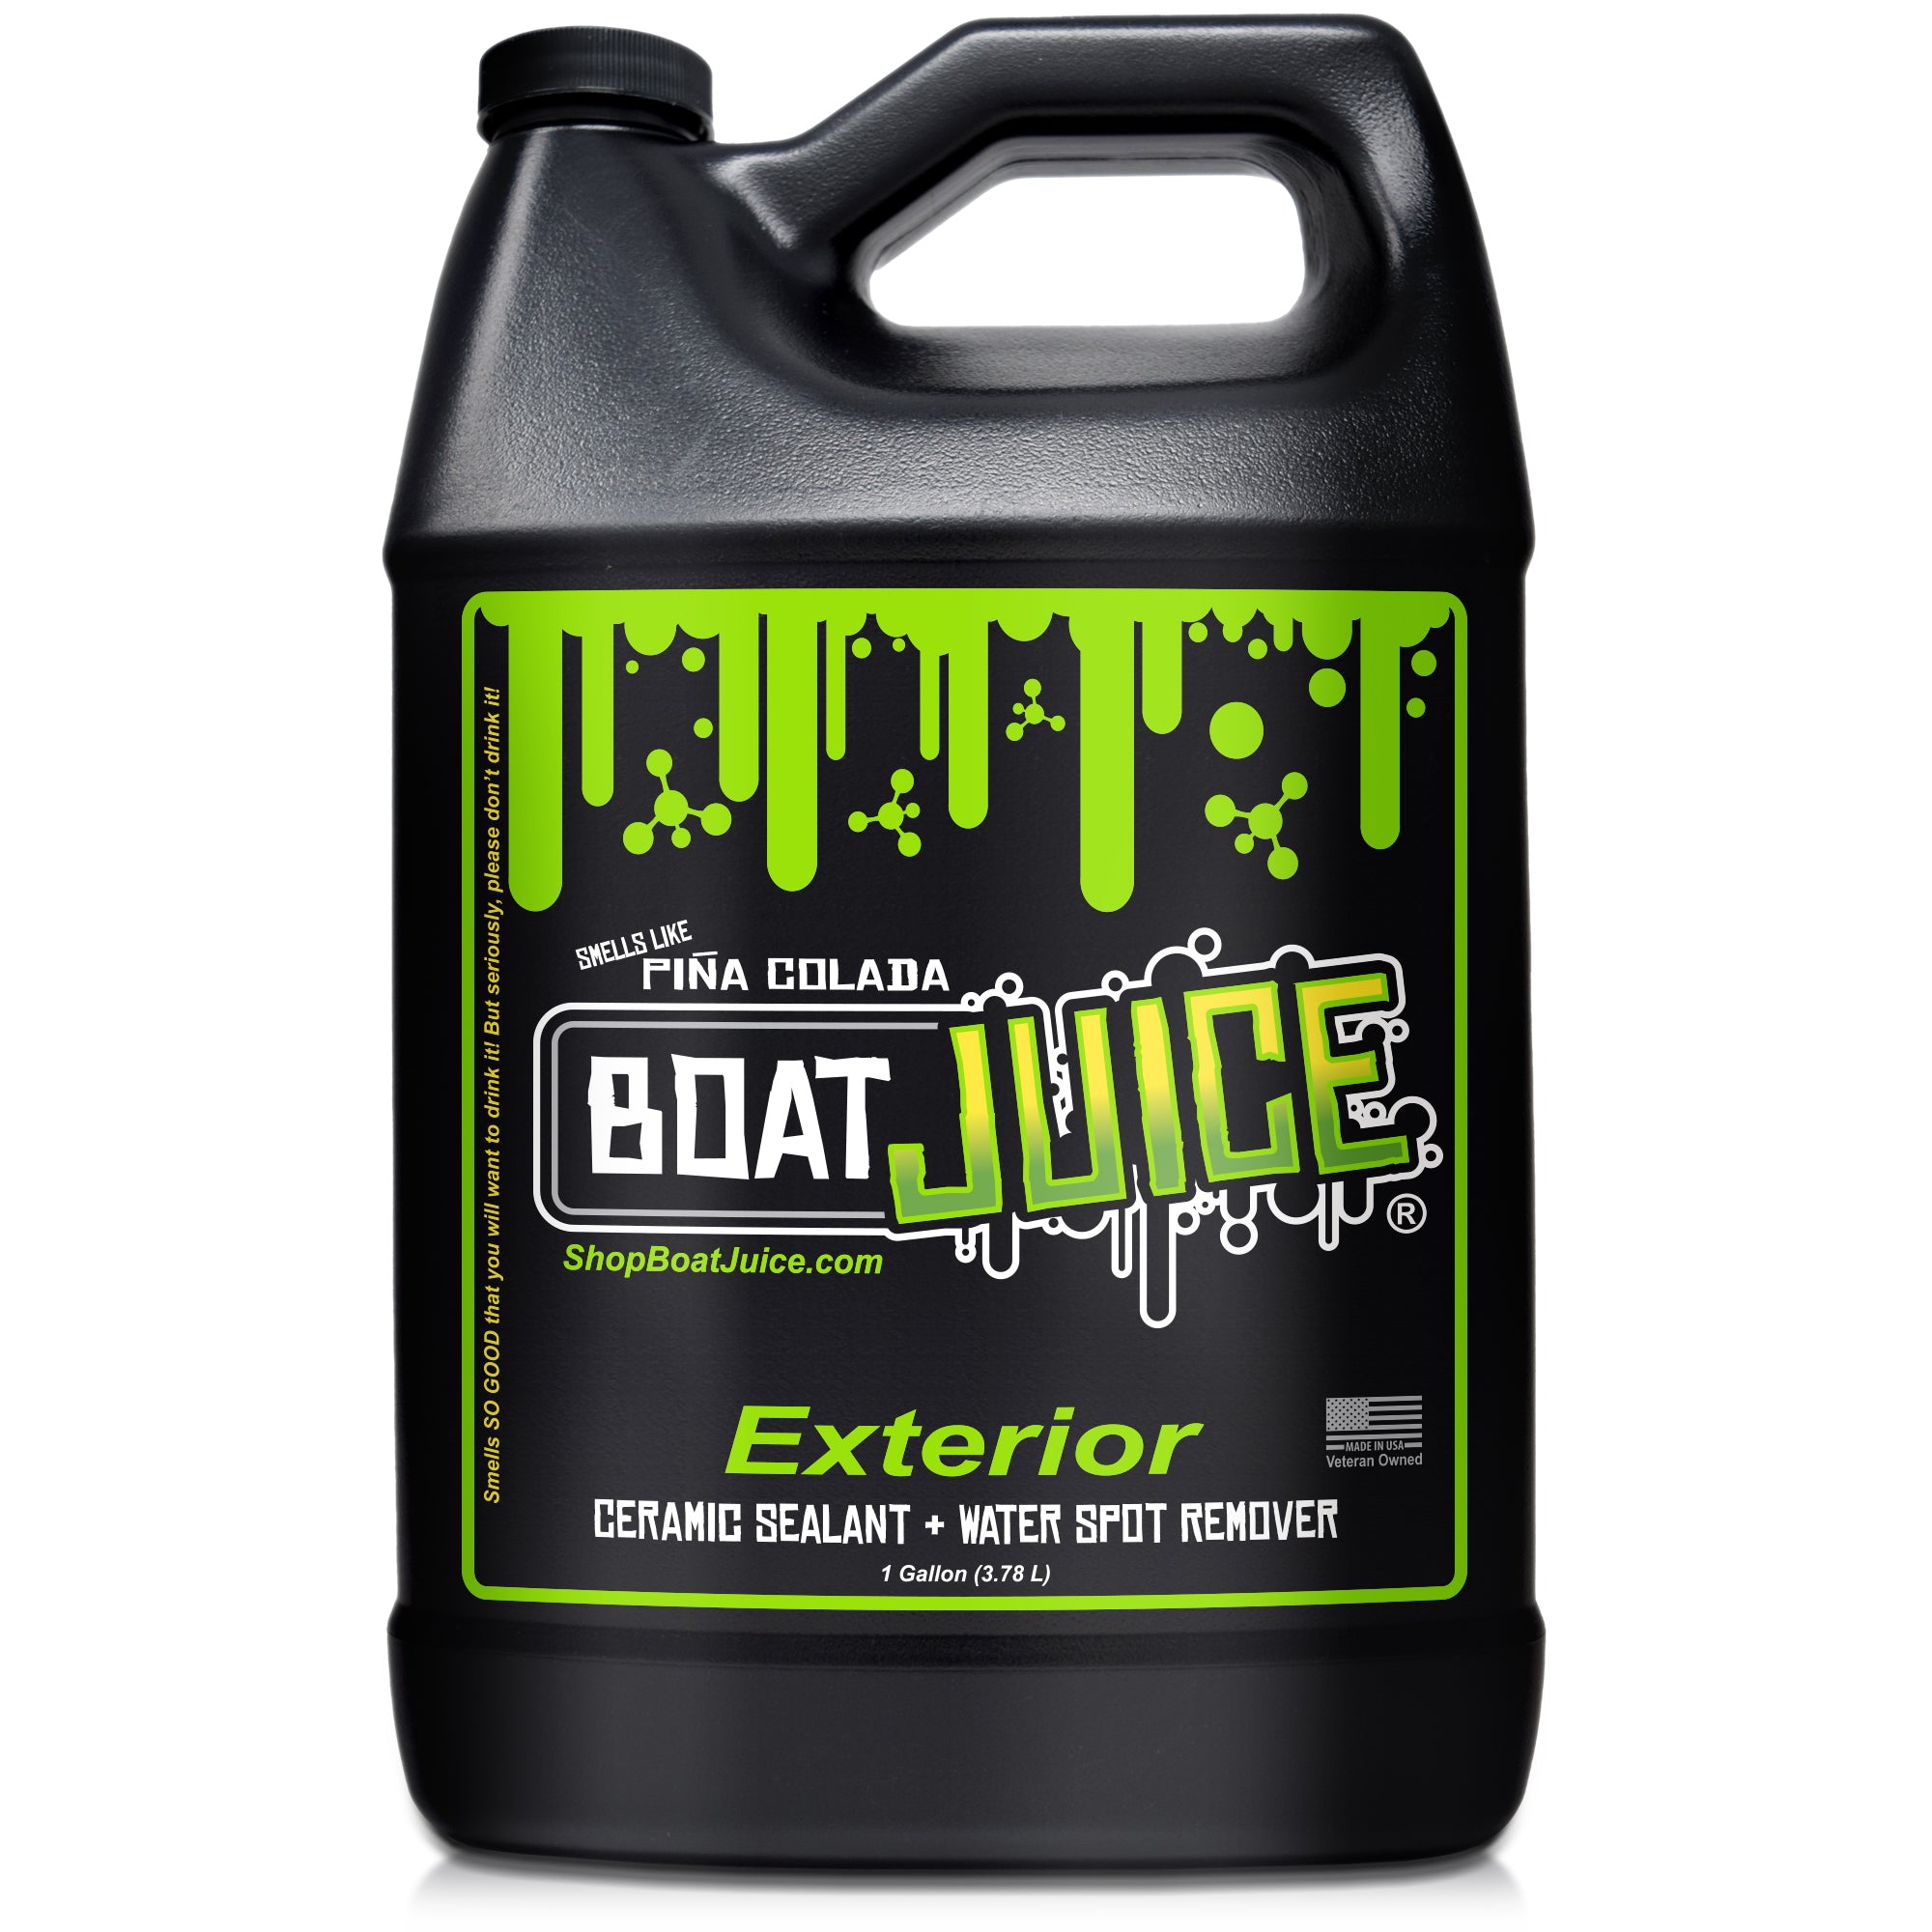
This is a job for a dedicated cleaner. A product like Boat Juice Exterior Cleaner is my go-to for this. It’s formulated to dissolve tough hard water spots and grimy film without stripping away your wax. Just spray it on, let it work its magic, and wipe it clean. The difference is immediate.
Tackling the Interior to Prevent Mold and Odors
With the outside gleaming, it’s time to move inside. This is where moisture and grime love to hide, creating a five-star resort for mold and that awful musty smell.
Your vinyl upholstery is ground zero. Get it truly clean with a pH-balanced product like Boat Juice Interior Cleaner. It’s tough on sunscreen residue and dirt but gentle on the vinyl, so it won’t dry it out. This is key for preventing those nasty little black mildew spots from taking root.
Don't just stop at the seats. Make sure you:
- Vacuum Everywhere: Get the shop vac into every corner, locker, and crevice.
- Empty Everything: Pull out wet life jackets, soggy towels, ropes, and especially any forgotten snacks or trash.
- Prop It Open: Crack open seat cushion hatches and storage lids to promote airflow.
Once your vinyl is clean, hit it with a quality UV protectant spray. This adds a final barrier against moisture and helps keep the material supple, preventing cracks that can form from winter temperature swings.
I’ve seen it happen too many times: leaving even a few crumbs or some dirt in the boat is like putting out a welcome mat for pests. Rodents can cause thousands of dollars in damage by chewing through wiring and upholstery over a single winter. A spotless boat is a far less attractive home.
Choosing the Right Cover
Alright, the boat is sparkling. Now, let’s protect it. Your cover is the primary shield against snow, ice, rain, and damaging UV rays. A custom-fit canvas cover designed for your boat’s specific model is a fantastic choice. The snug fit means it won't flap in the wind and chafe your gelcoat. Make sure it's properly supported with poles so snow and water can't pool on top.
Shrink-wrap is another top-tier solution, creating a drum-tight seal that’s completely waterproof. It’s perfect for outdoor storage because it sheds snow and ice like a champ.
For more general advice on protecting vehicles from the cold, checking out a flawless winter vehicle storage guide can provide some extra tips. No matter which cover you pick, proper ventilation is non-negotiable. You need to let air circulate to prevent moisture from getting trapped inside.
Got Questions? Let's Talk I/O Winterization
Alright, so you’ve got the main steps down. But I know a few “what if” scenarios are probably still rattling around in your head. Let's clear the air on some of the things we get asked about all the time.
"Can't I Just Drain the Engine and Skip the Antifreeze?"
I hear this one a lot, and my answer is always the same: it's a massive gamble. Sure, draining the block is essential, but it's shockingly easy for small amounts of water to get trapped in the nooks and crannies of the engine block or a low-hanging hose. When that water freezes, it expands by about 9%, which is more than enough force to crack cast iron.
Think of antifreeze as your final knockout punch against freeze damage. After draining, it pushes out any sneaky, leftover water and protects all those internal passages. It’s the cheapest insurance policy you'll ever buy against a repair bill that can easily run into the thousands.
"What's the Big Deal Between RV and Marine Antifreeze?"
This is a critical one. You'll see them side-by-side on the shelf—both usually pink—but they are built for entirely different jobs.
-
RV/Plumbing Antifreeze: This stuff is non-toxic and made for your boat's freshwater systems and the plastic pipes in a camper. It has zero corrosion inhibitors for an engine.
-
Marine Engine Antifreeze: This is formulated with a heavy-duty dose of corrosion inhibitors. These additives are specifically designed to protect the mix of metals in your engine—cast iron, aluminum, brass, steel—from rusting and corroding while it sits all winter.
Using RV antifreeze in your engine is a rookie mistake that can cost you dearly. It might stop it from freezing, but it does absolutely nothing to prevent the humid air from corroding your engine's cooling passages from the inside out. Always grab the jug that explicitly says it's for marine engines.
"Do I Really Have to Change the Sterndrive Lube Every Single Year?"
Yes, you absolutely do. This isn't just routine maintenance; it's one of the most important diagnostic checks you can perform on your boat.
When you pop that drain screw in the fall, you're not just getting rid of old fluid—you're looking for trouble. If the lube comes out looking milky or like a creamy cup of coffee, you've got water in the drive. That's the telltale sign of a failed seal.
Finding this in the fall gives you all winter to get it fixed properly. If you wait until spring, you might find that the water inside froze, expanded, and cracked your gearcase. That’s a catastrophic failure.
"My Boat Is in a Heated Garage. Do I Still Need to Bother?"
Even if your boat is tucked away in a cozy, heated garage, skipping the full winterization process is a bad idea. For one, a nasty winter storm could knock out the power for days. If the heat goes off and the temperature drops, your engine is just as vulnerable as one sitting outside.
But more importantly, winterizing is about so much more than just freeze protection. It’s about putting the boat to bed properly for a long nap.
- Fuel Stabilization: Stops your fuel from turning to varnish.
- Fogging: Coats internal engine parts to prevent rust from humidity.
- Fluid Changes: Gets corrosive gunk out of your engine oil and gear lube.
- Battery Care: Keeps your battery healthy and ready to crank in the spring.
Proper winterization ensures every part of your engine is preserved, no matter where it's spending the off-season.
Now that you have successfully winterized your inboard outboard boat engine, you can rest easy knowing your investment is protected. Your next step is to ensure your boat's exterior and interior are just as ready for storage. Check out our complete line of cleaning products at https://shopboatjuice.com to make sure your boat emerges next spring looking brand new.